Experiment 01

TFT Display Test

The first real making step this semester was getting a TFT display to work with an ESP32 on a breadboard, around the same time I was moving away from the ESP32 CAM direction. Before deciding on a physical form or interaction logic, I needed to understand what this screen size and resolution could actually show. I began with simple abstract visuals like concentric rings and basic geometric tests to check that drawing performance was stable and that the SPI wiring and pin setup were reliable enough to continue building from.
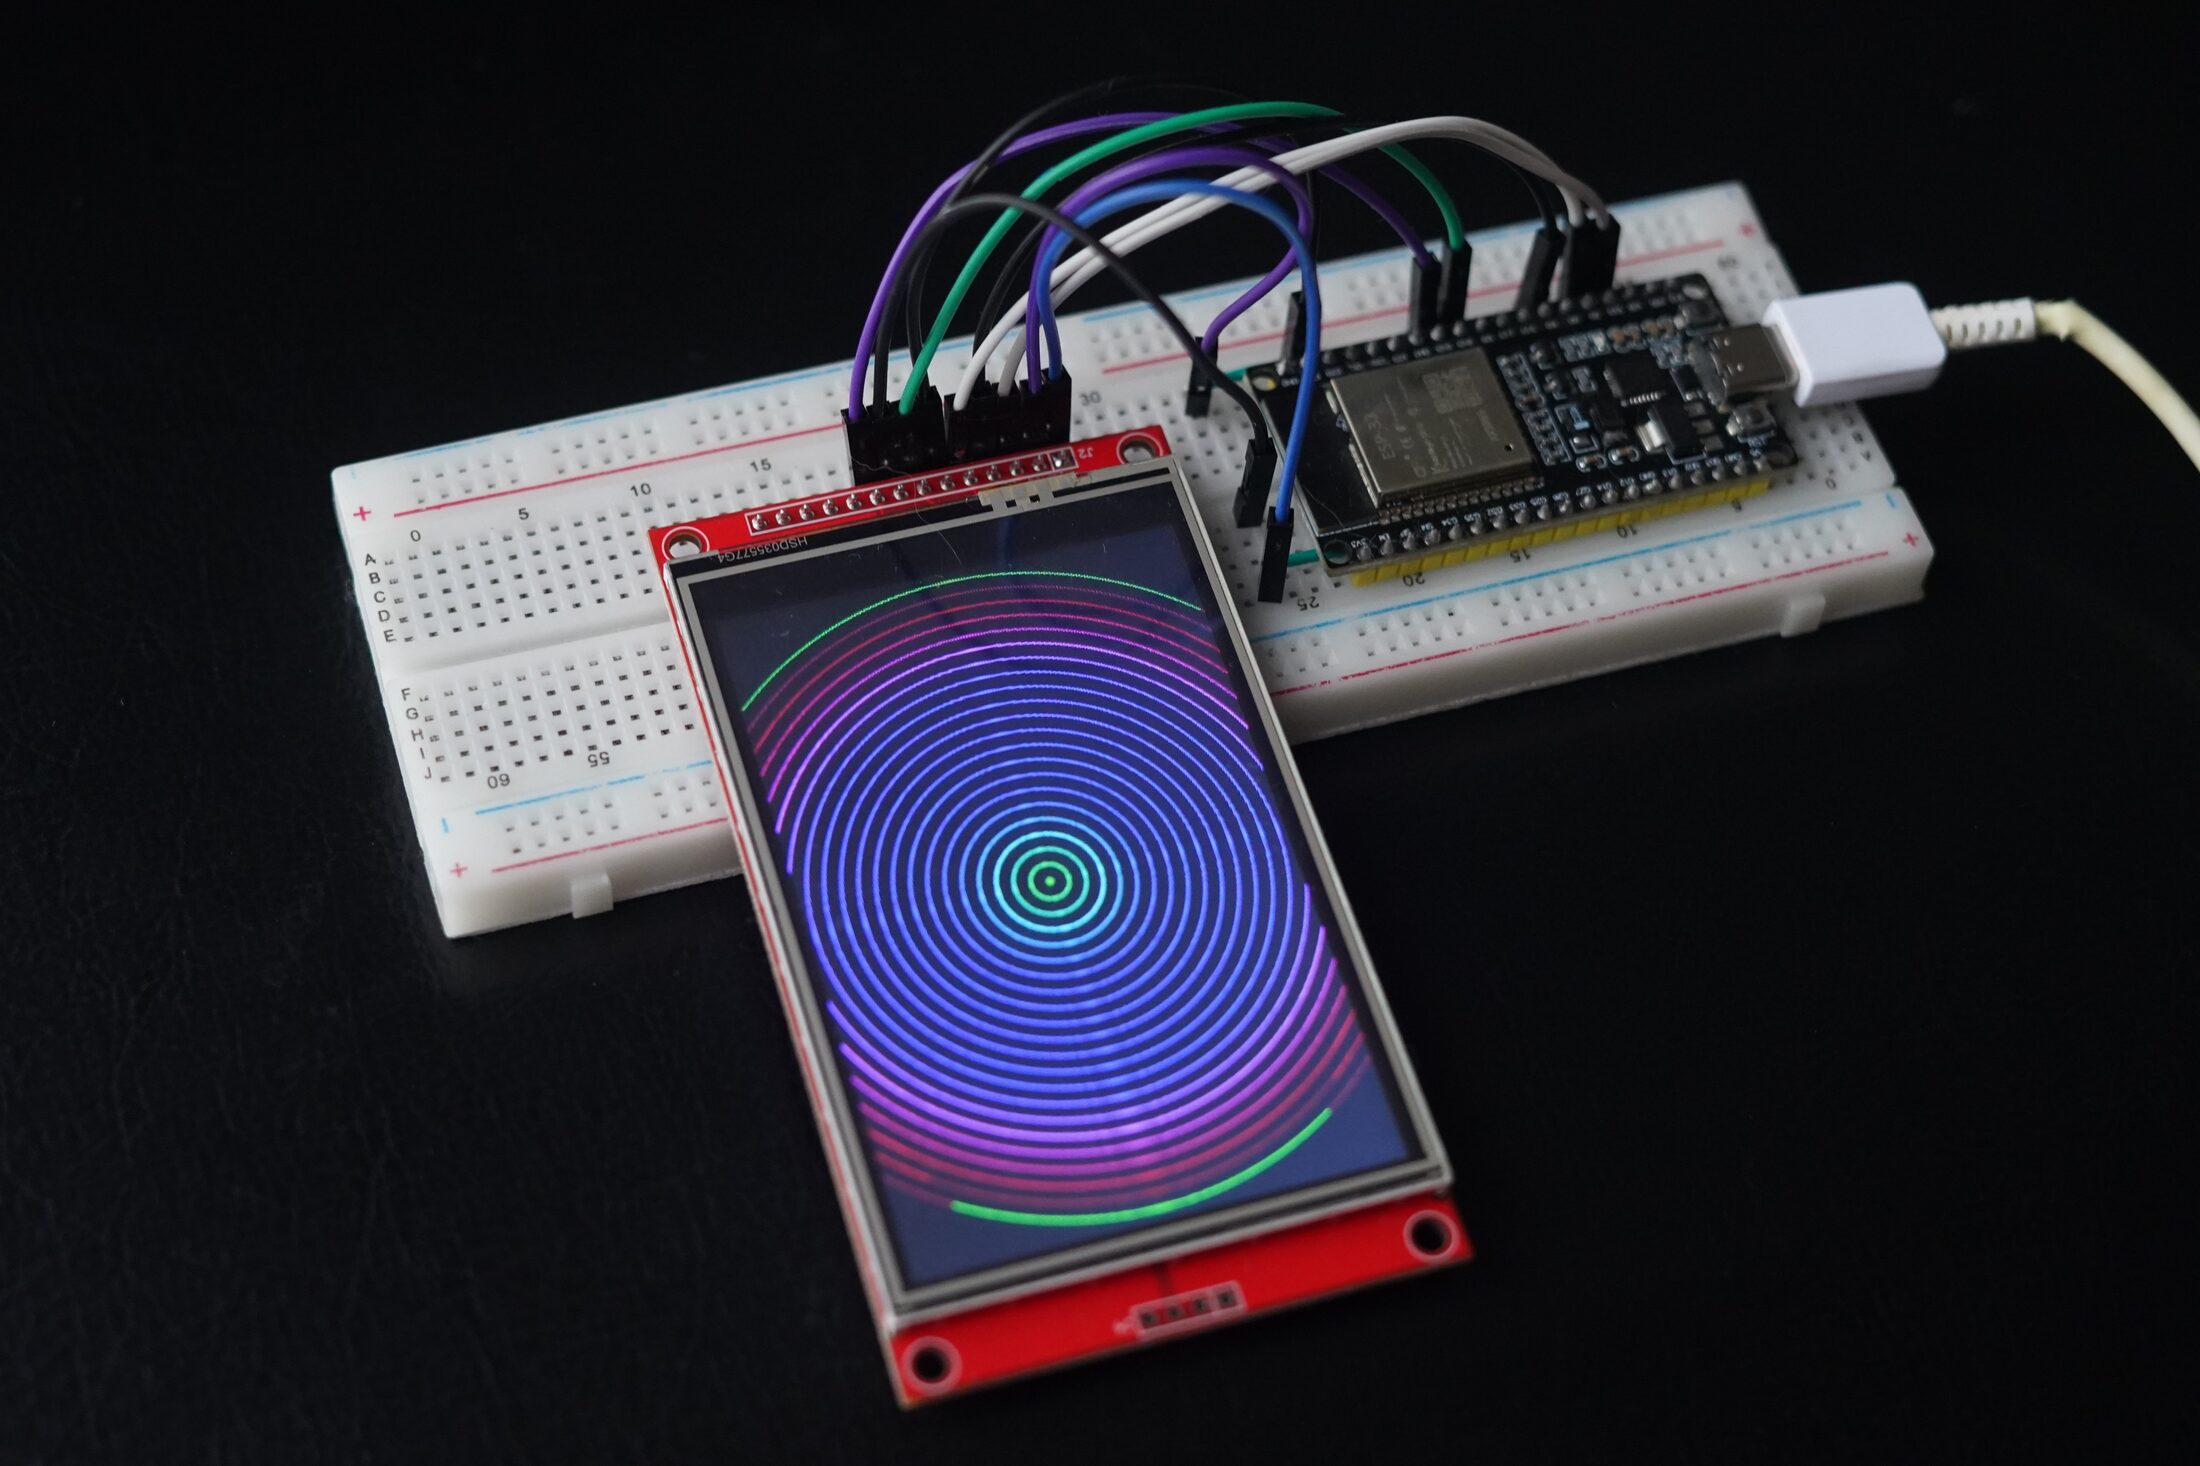
TFT display on breadboard rendering concentric circle pattern driven by ESP32

Experiment 02

TFT Display with Resistor Tokens

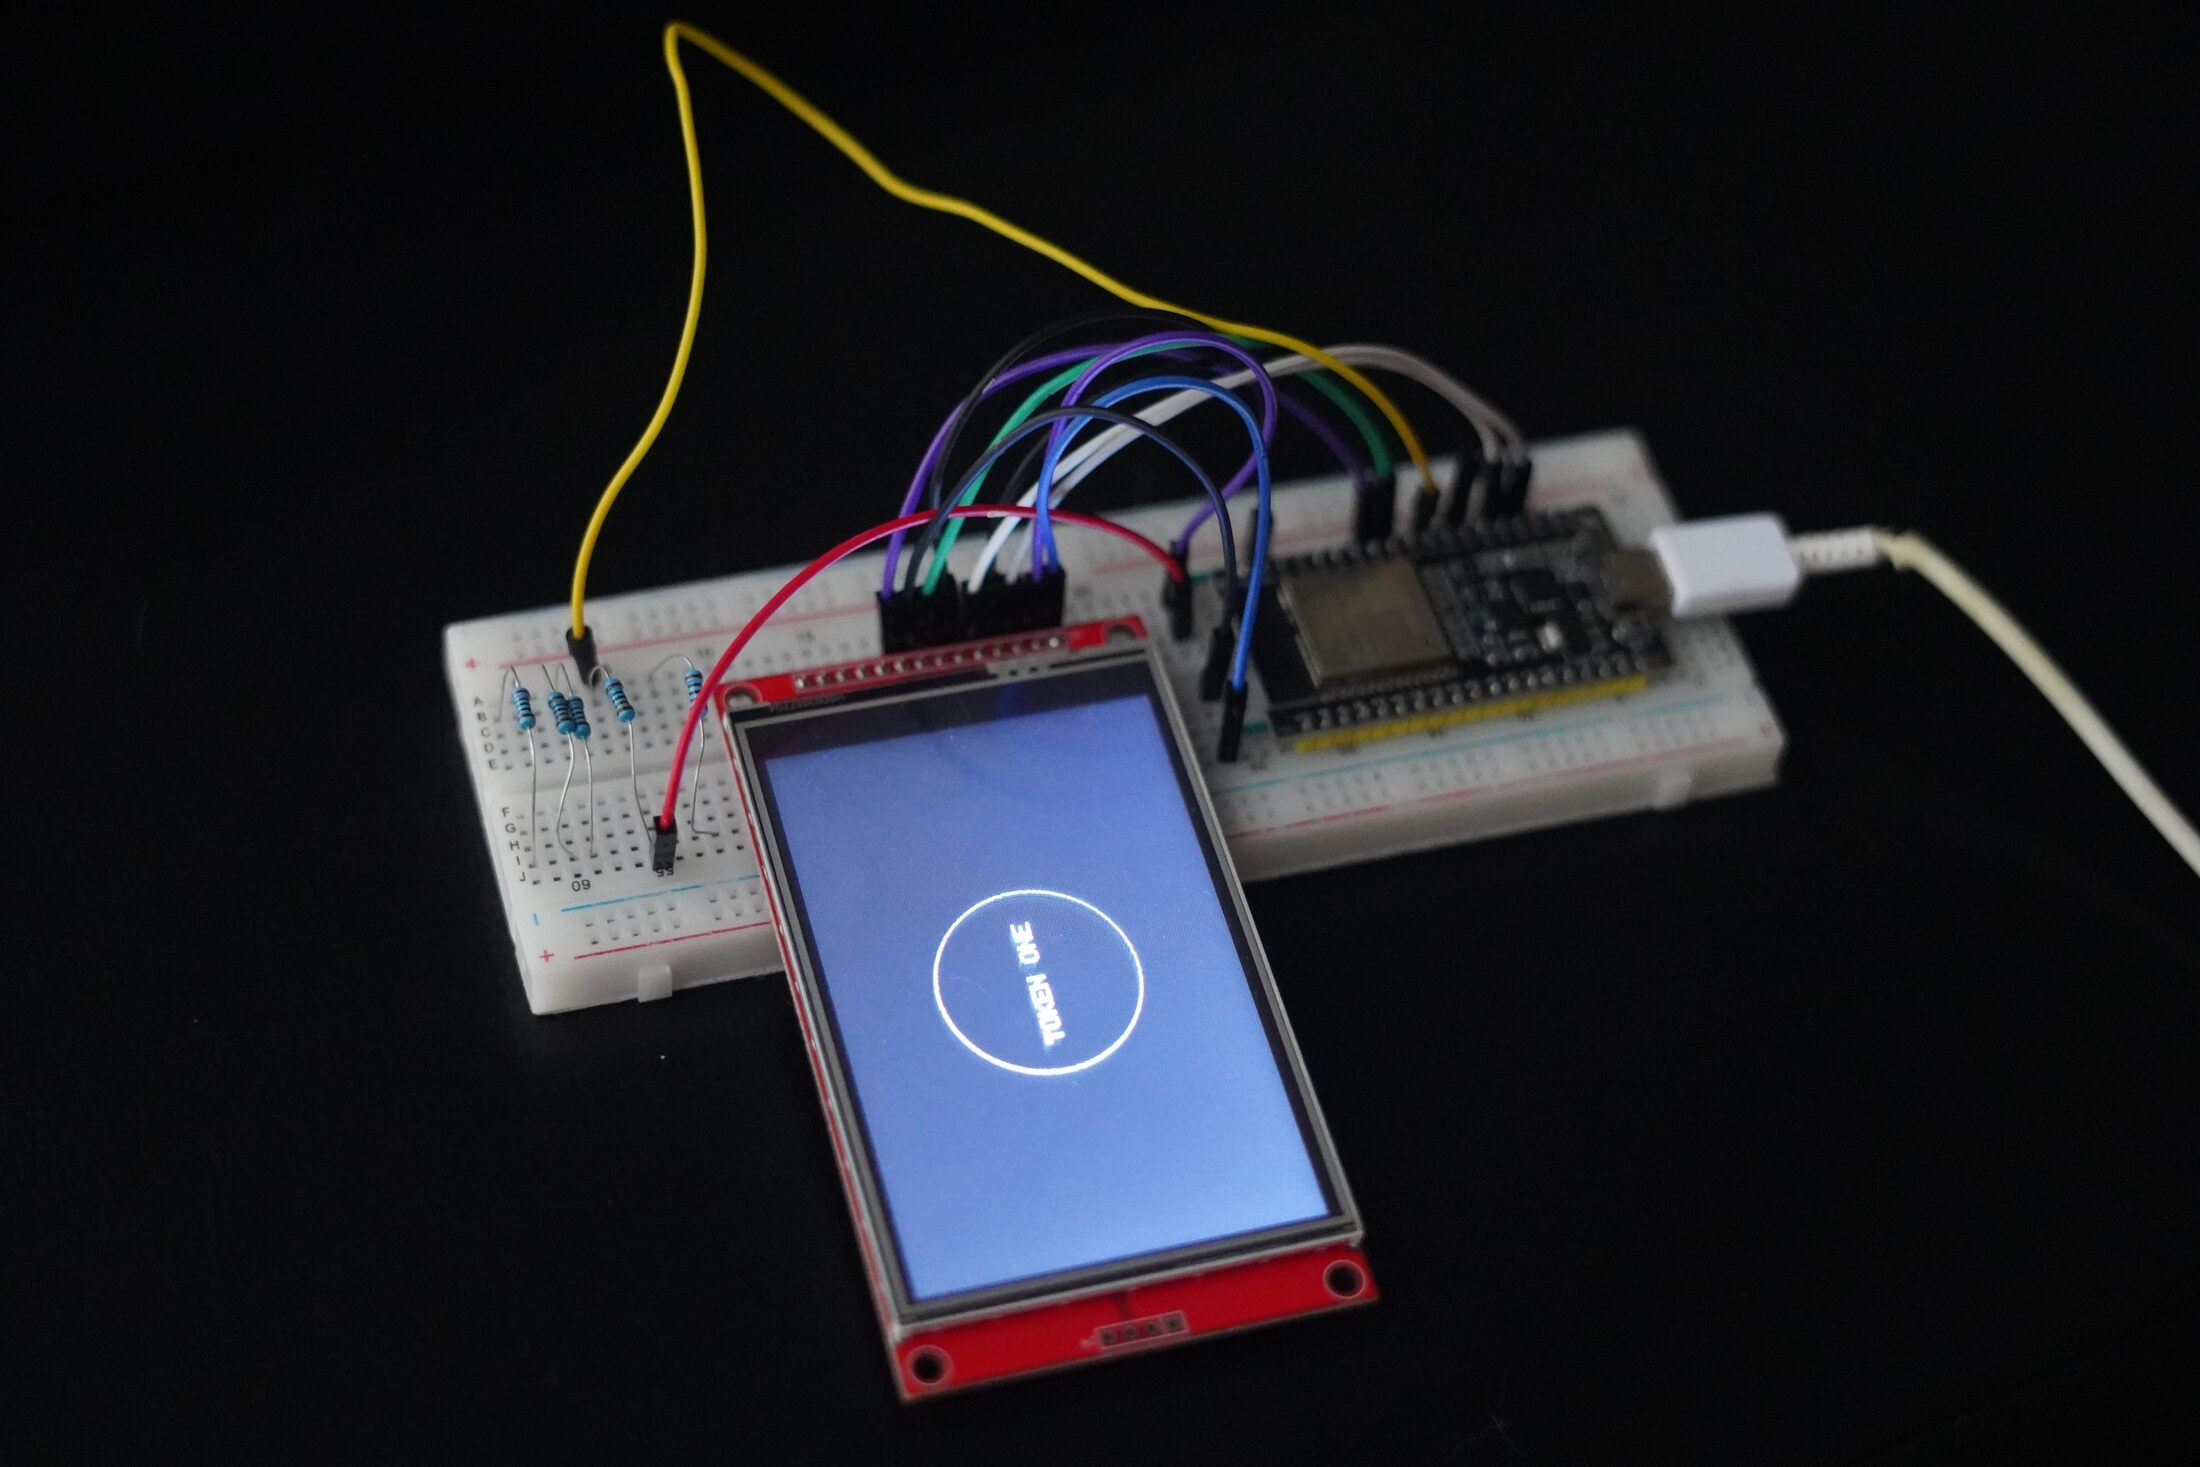
The next question was whether physical tokens could be identified cheaply, using nothing more than resistance. The idea was that each token would carry a different resistor value, and dropping it onto a pair of contact pads would let the ESP32 read its ID by measuring voltage. The breadboard test was enough to flash the current token's label on the TFT, but the scheme was fragile: contact pressure, pad alignment, and corrosion all nudged the readings around. It proved the loop could work, but not that it could be trusted inside a proper enclosure.

ESP32 with TFT display showing Token One label and resistor tokens wired on breadboard

Experiment 03

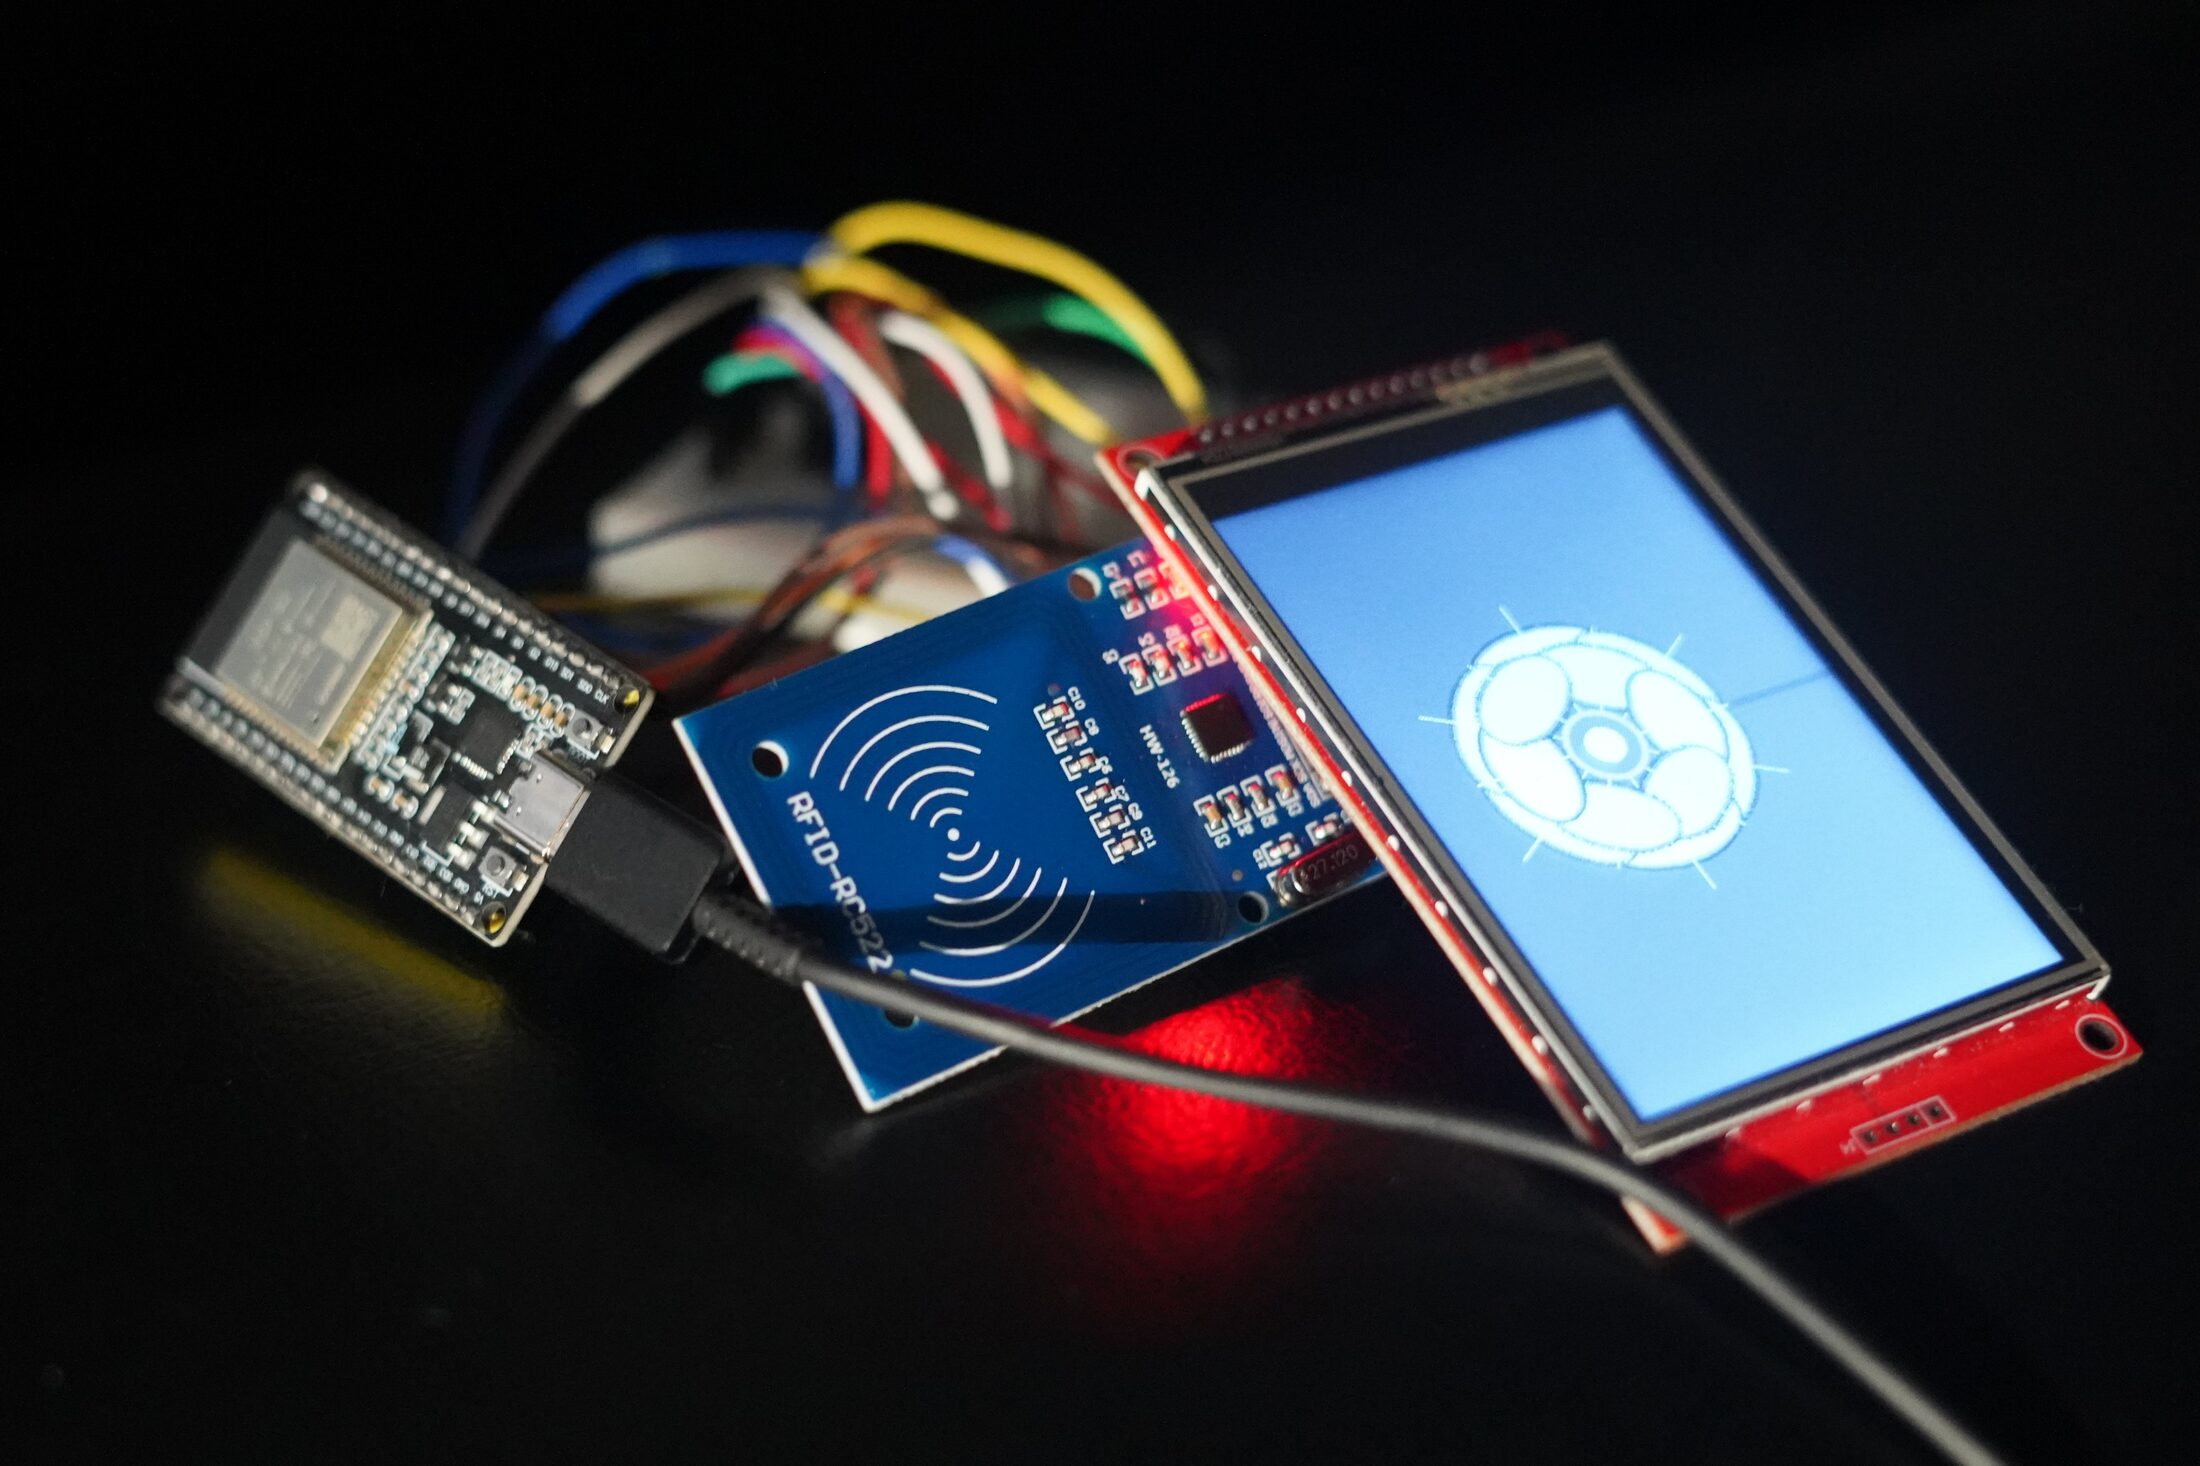
TFT Display with RFID Reader

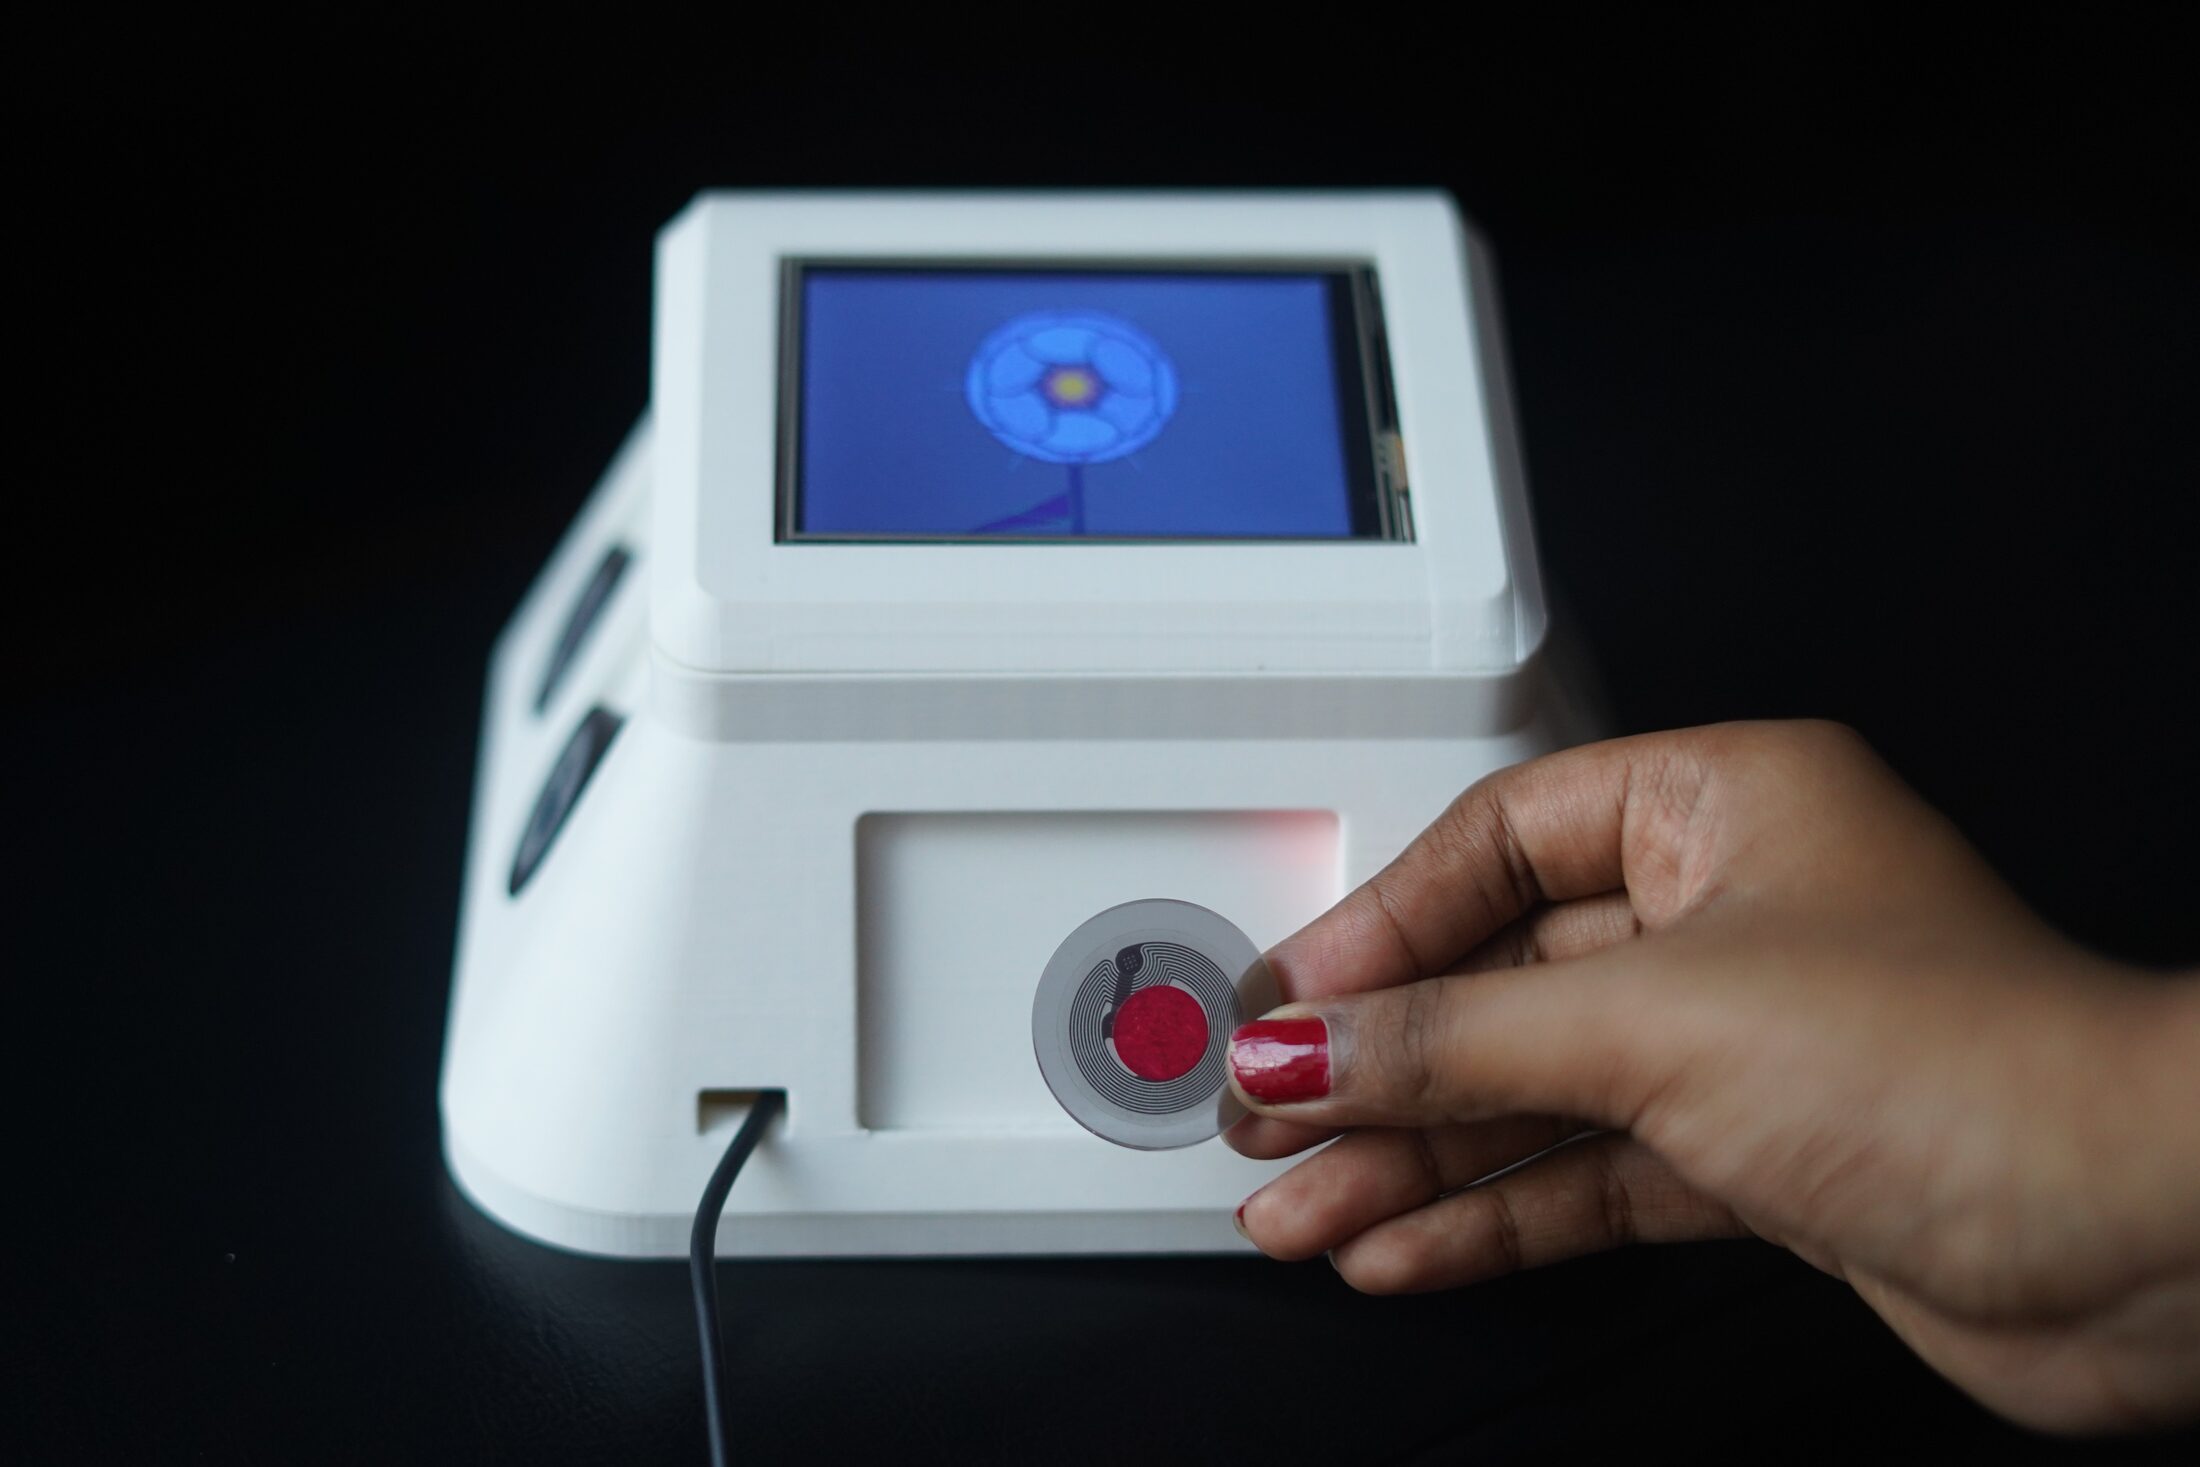
After the resistor scheme kept misbehaving, I moved to an RFID/NFC reader paired with the TFT display. Each token now carried a small NFC sticker with a unique UID that the RC522 module could read cleanly, independent of contact pressure or alignment. The TFT began showing stylised flower graphics in response to specific token taps, and the loop finally felt reliable: tap a known ID, the screen changes to the right state, nothing ambiguous in between. This became the identification method that carried all the way through to the final prototype.

ESP32 paired with RFID-RC522 reader and TFT display rendering a stylised flower on tap

Experiment 04

3D-Printed Enclosure

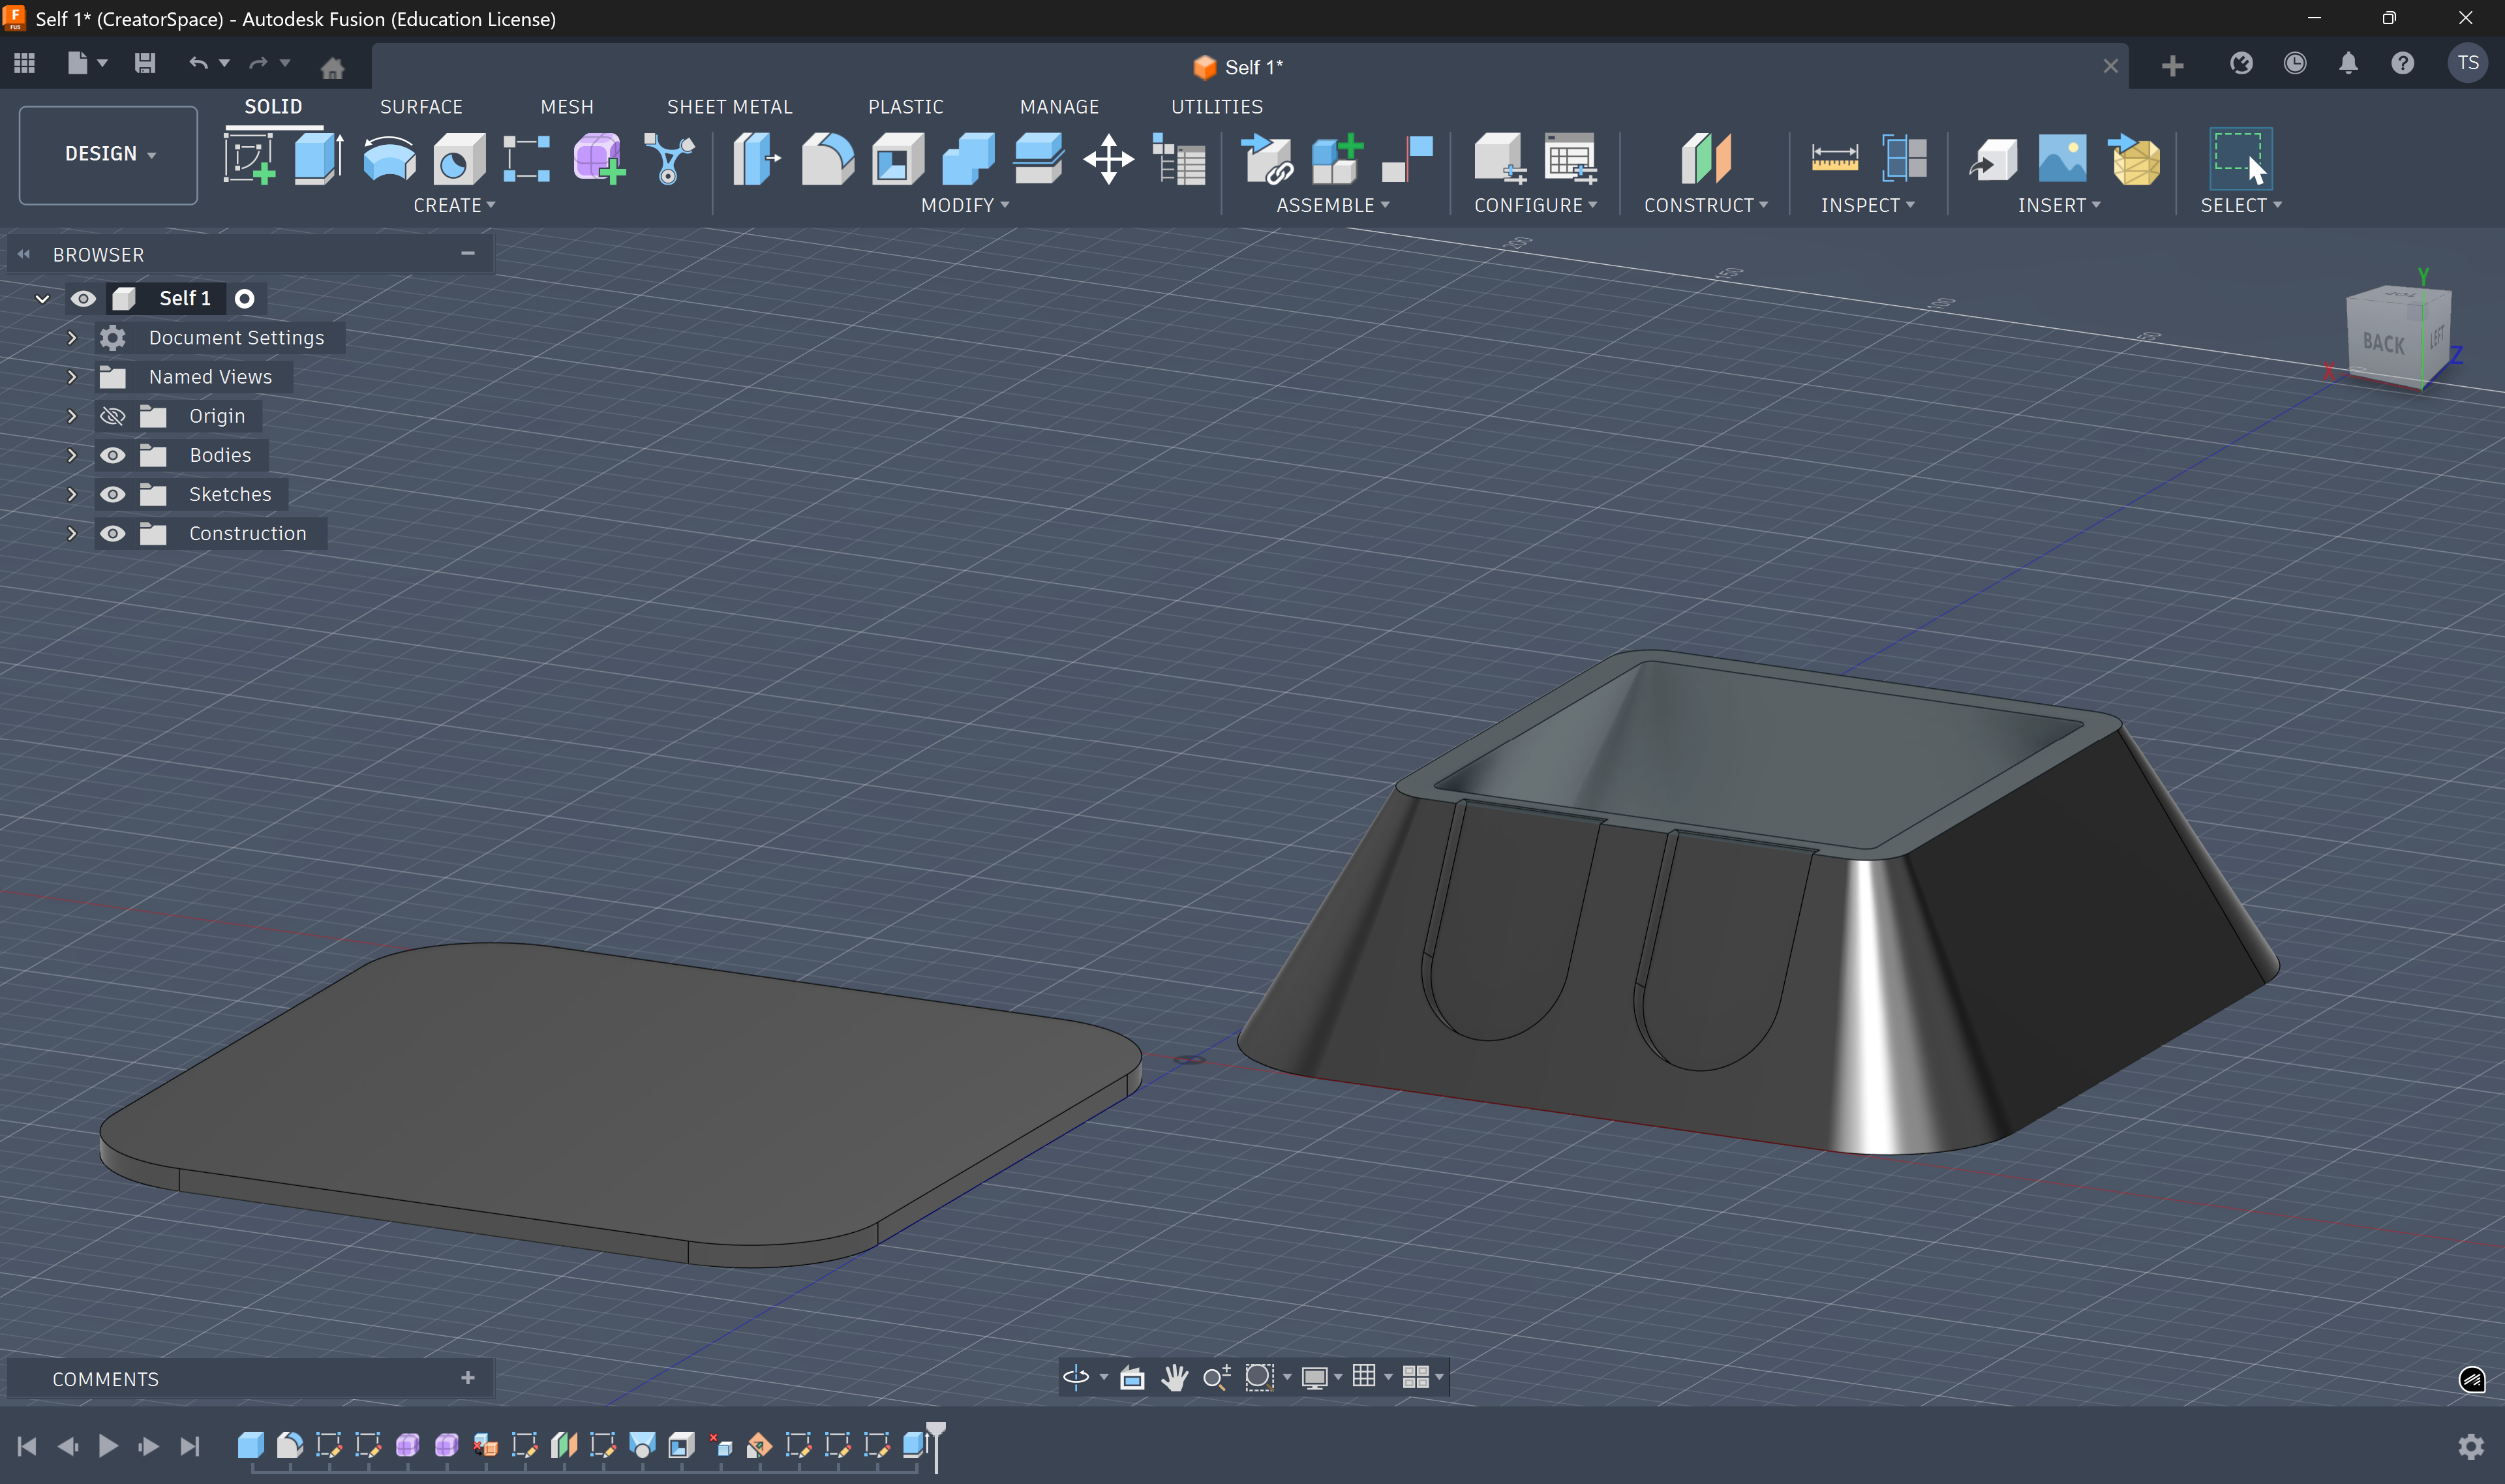
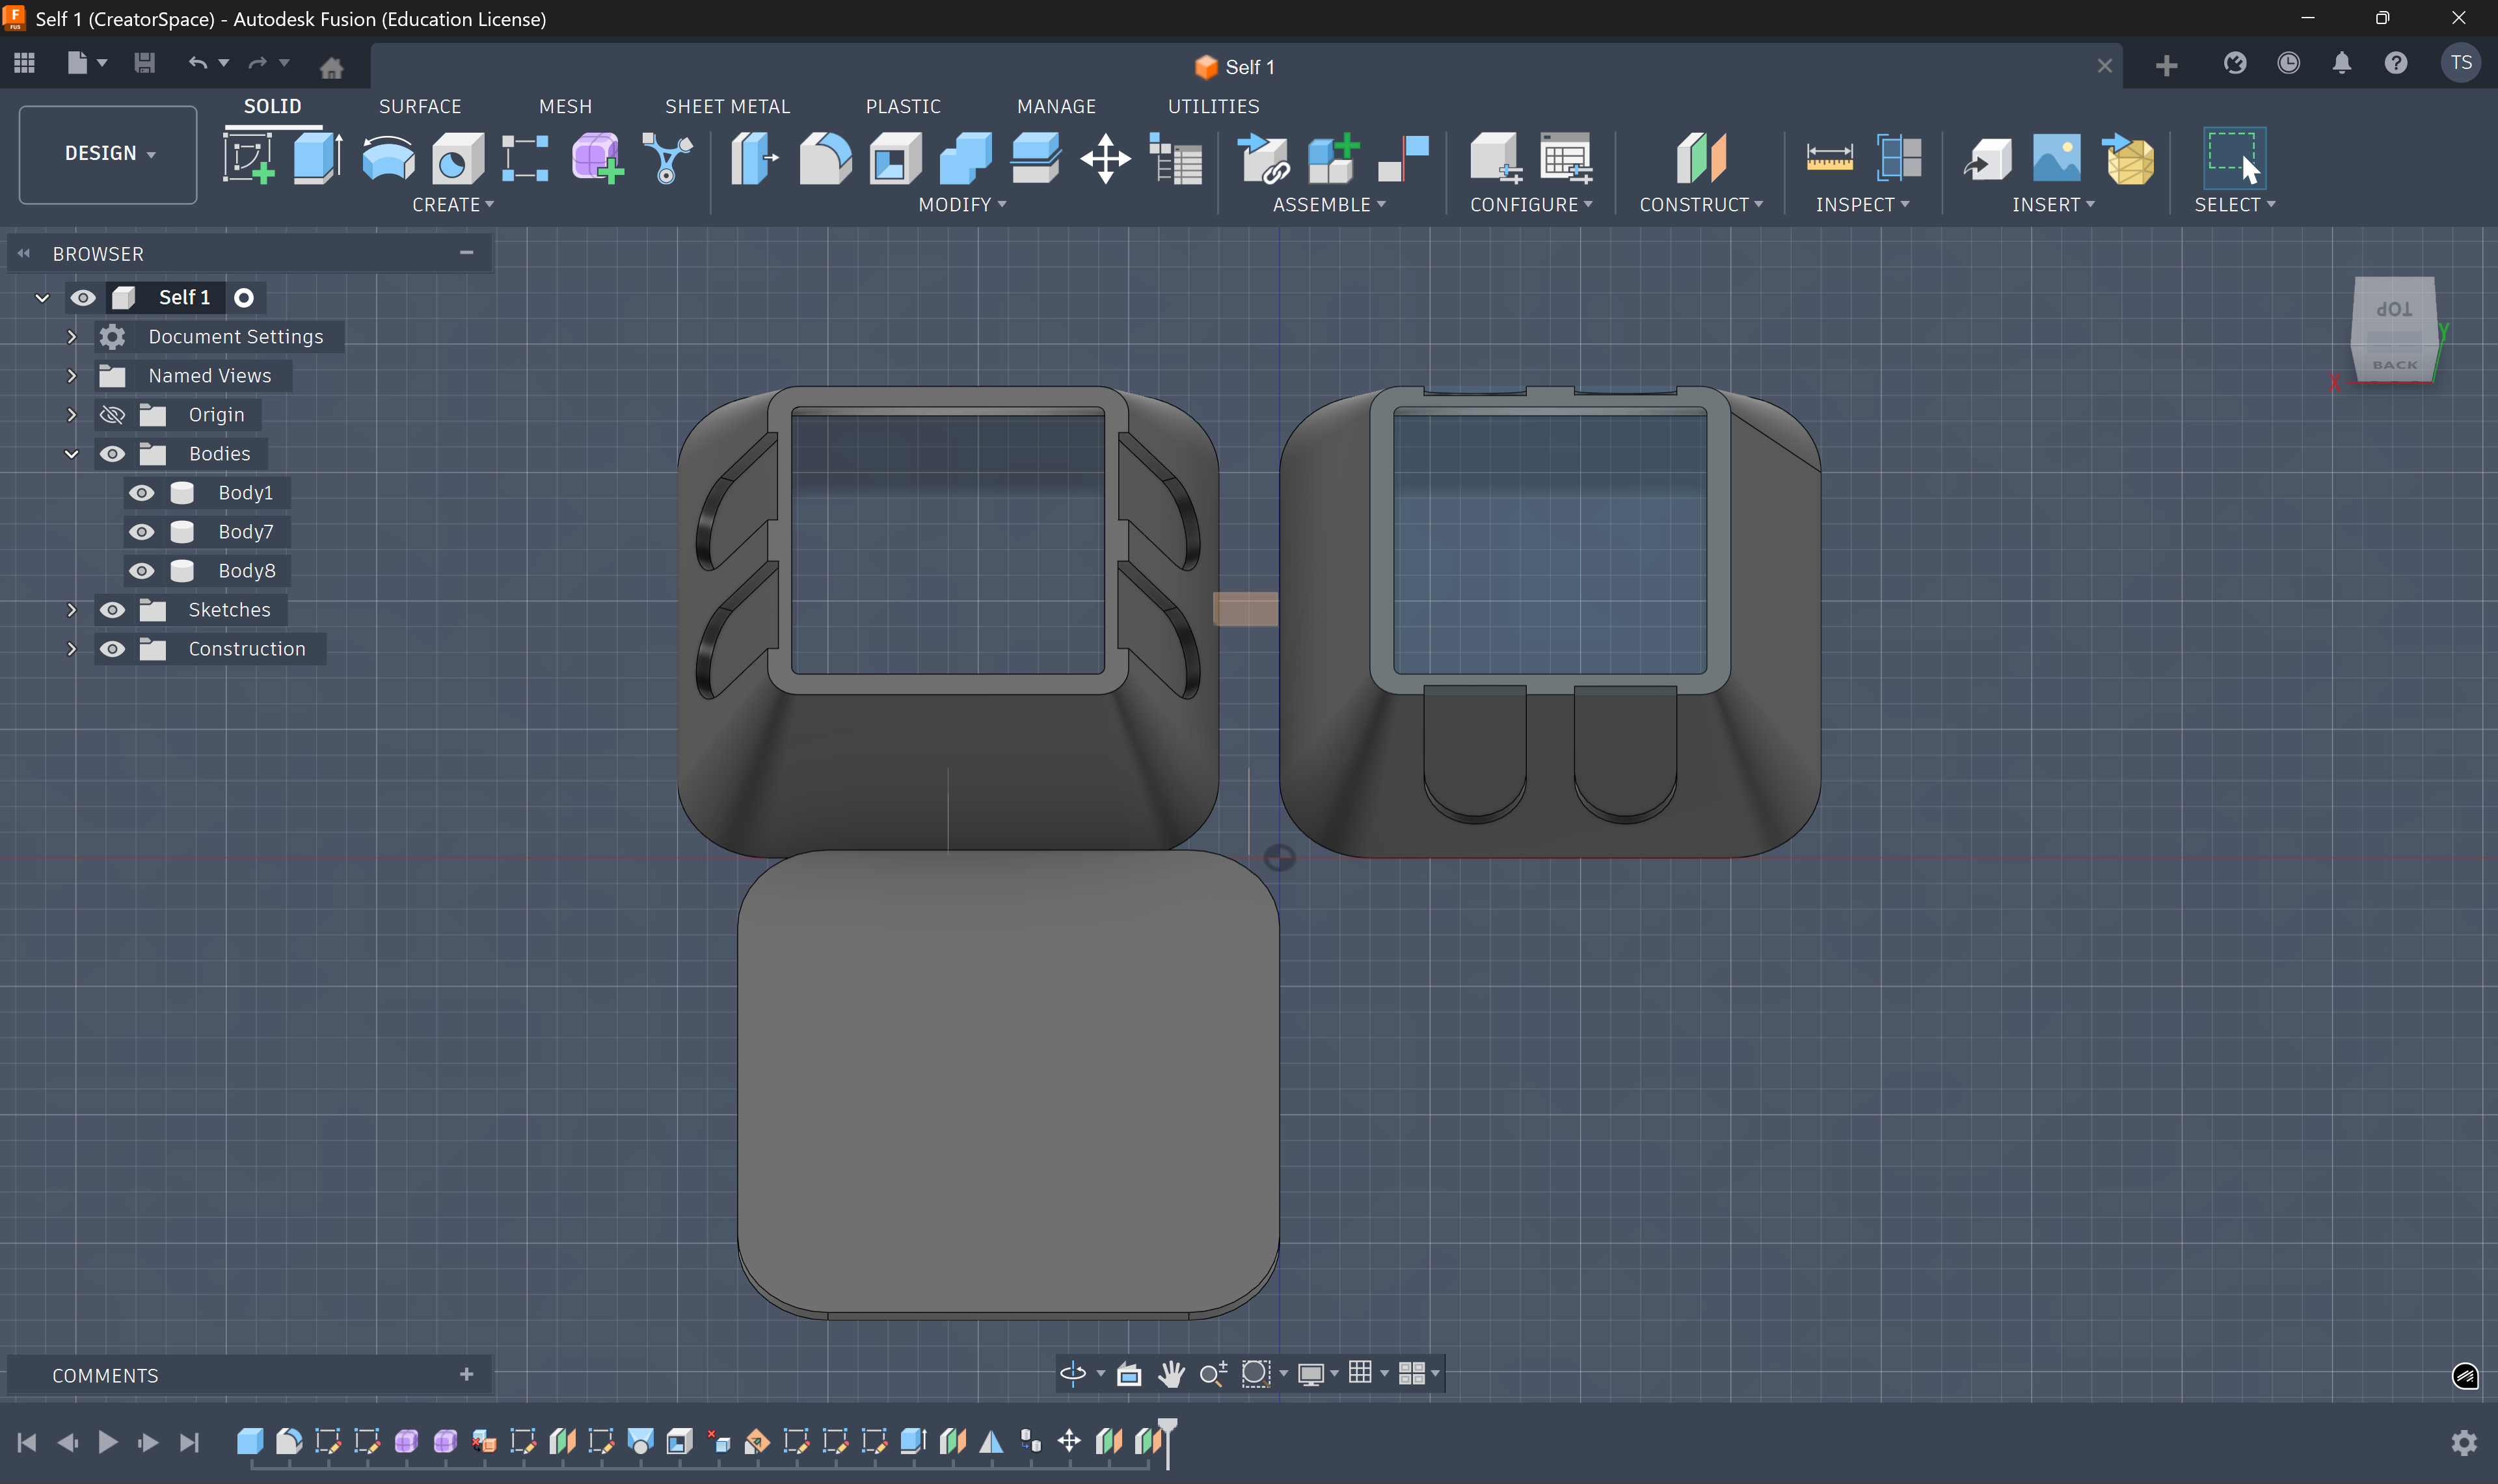
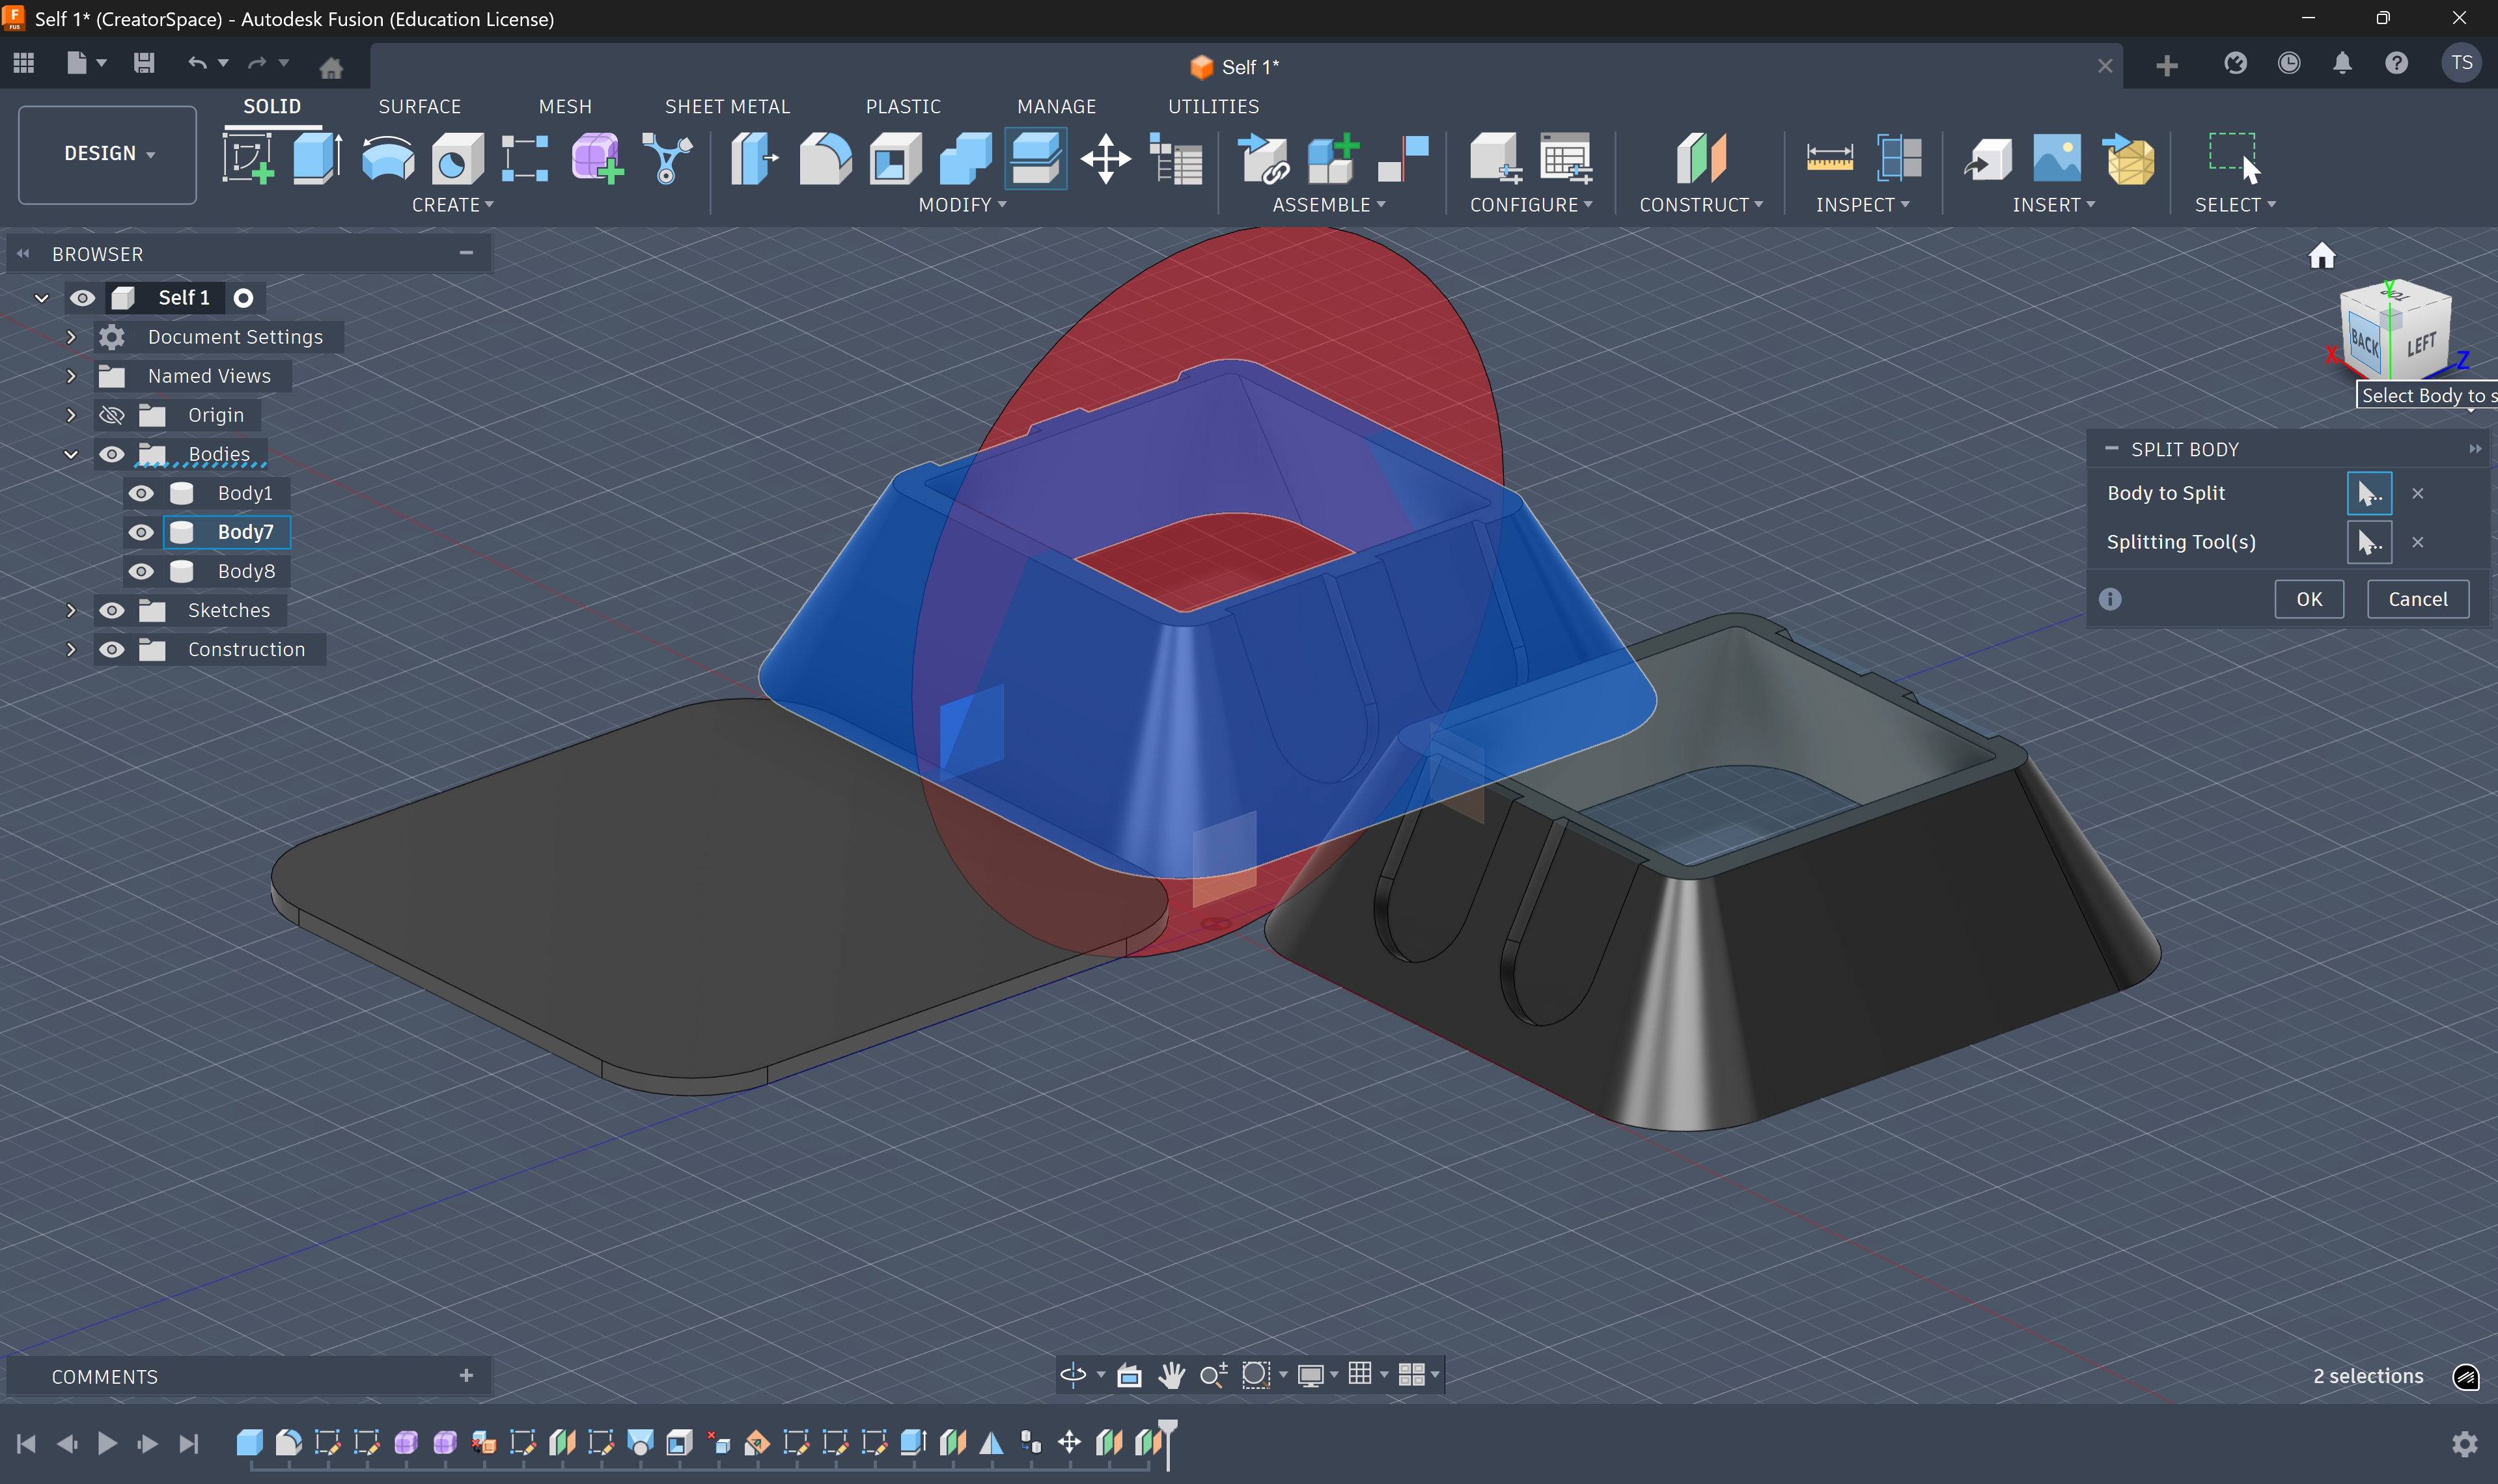
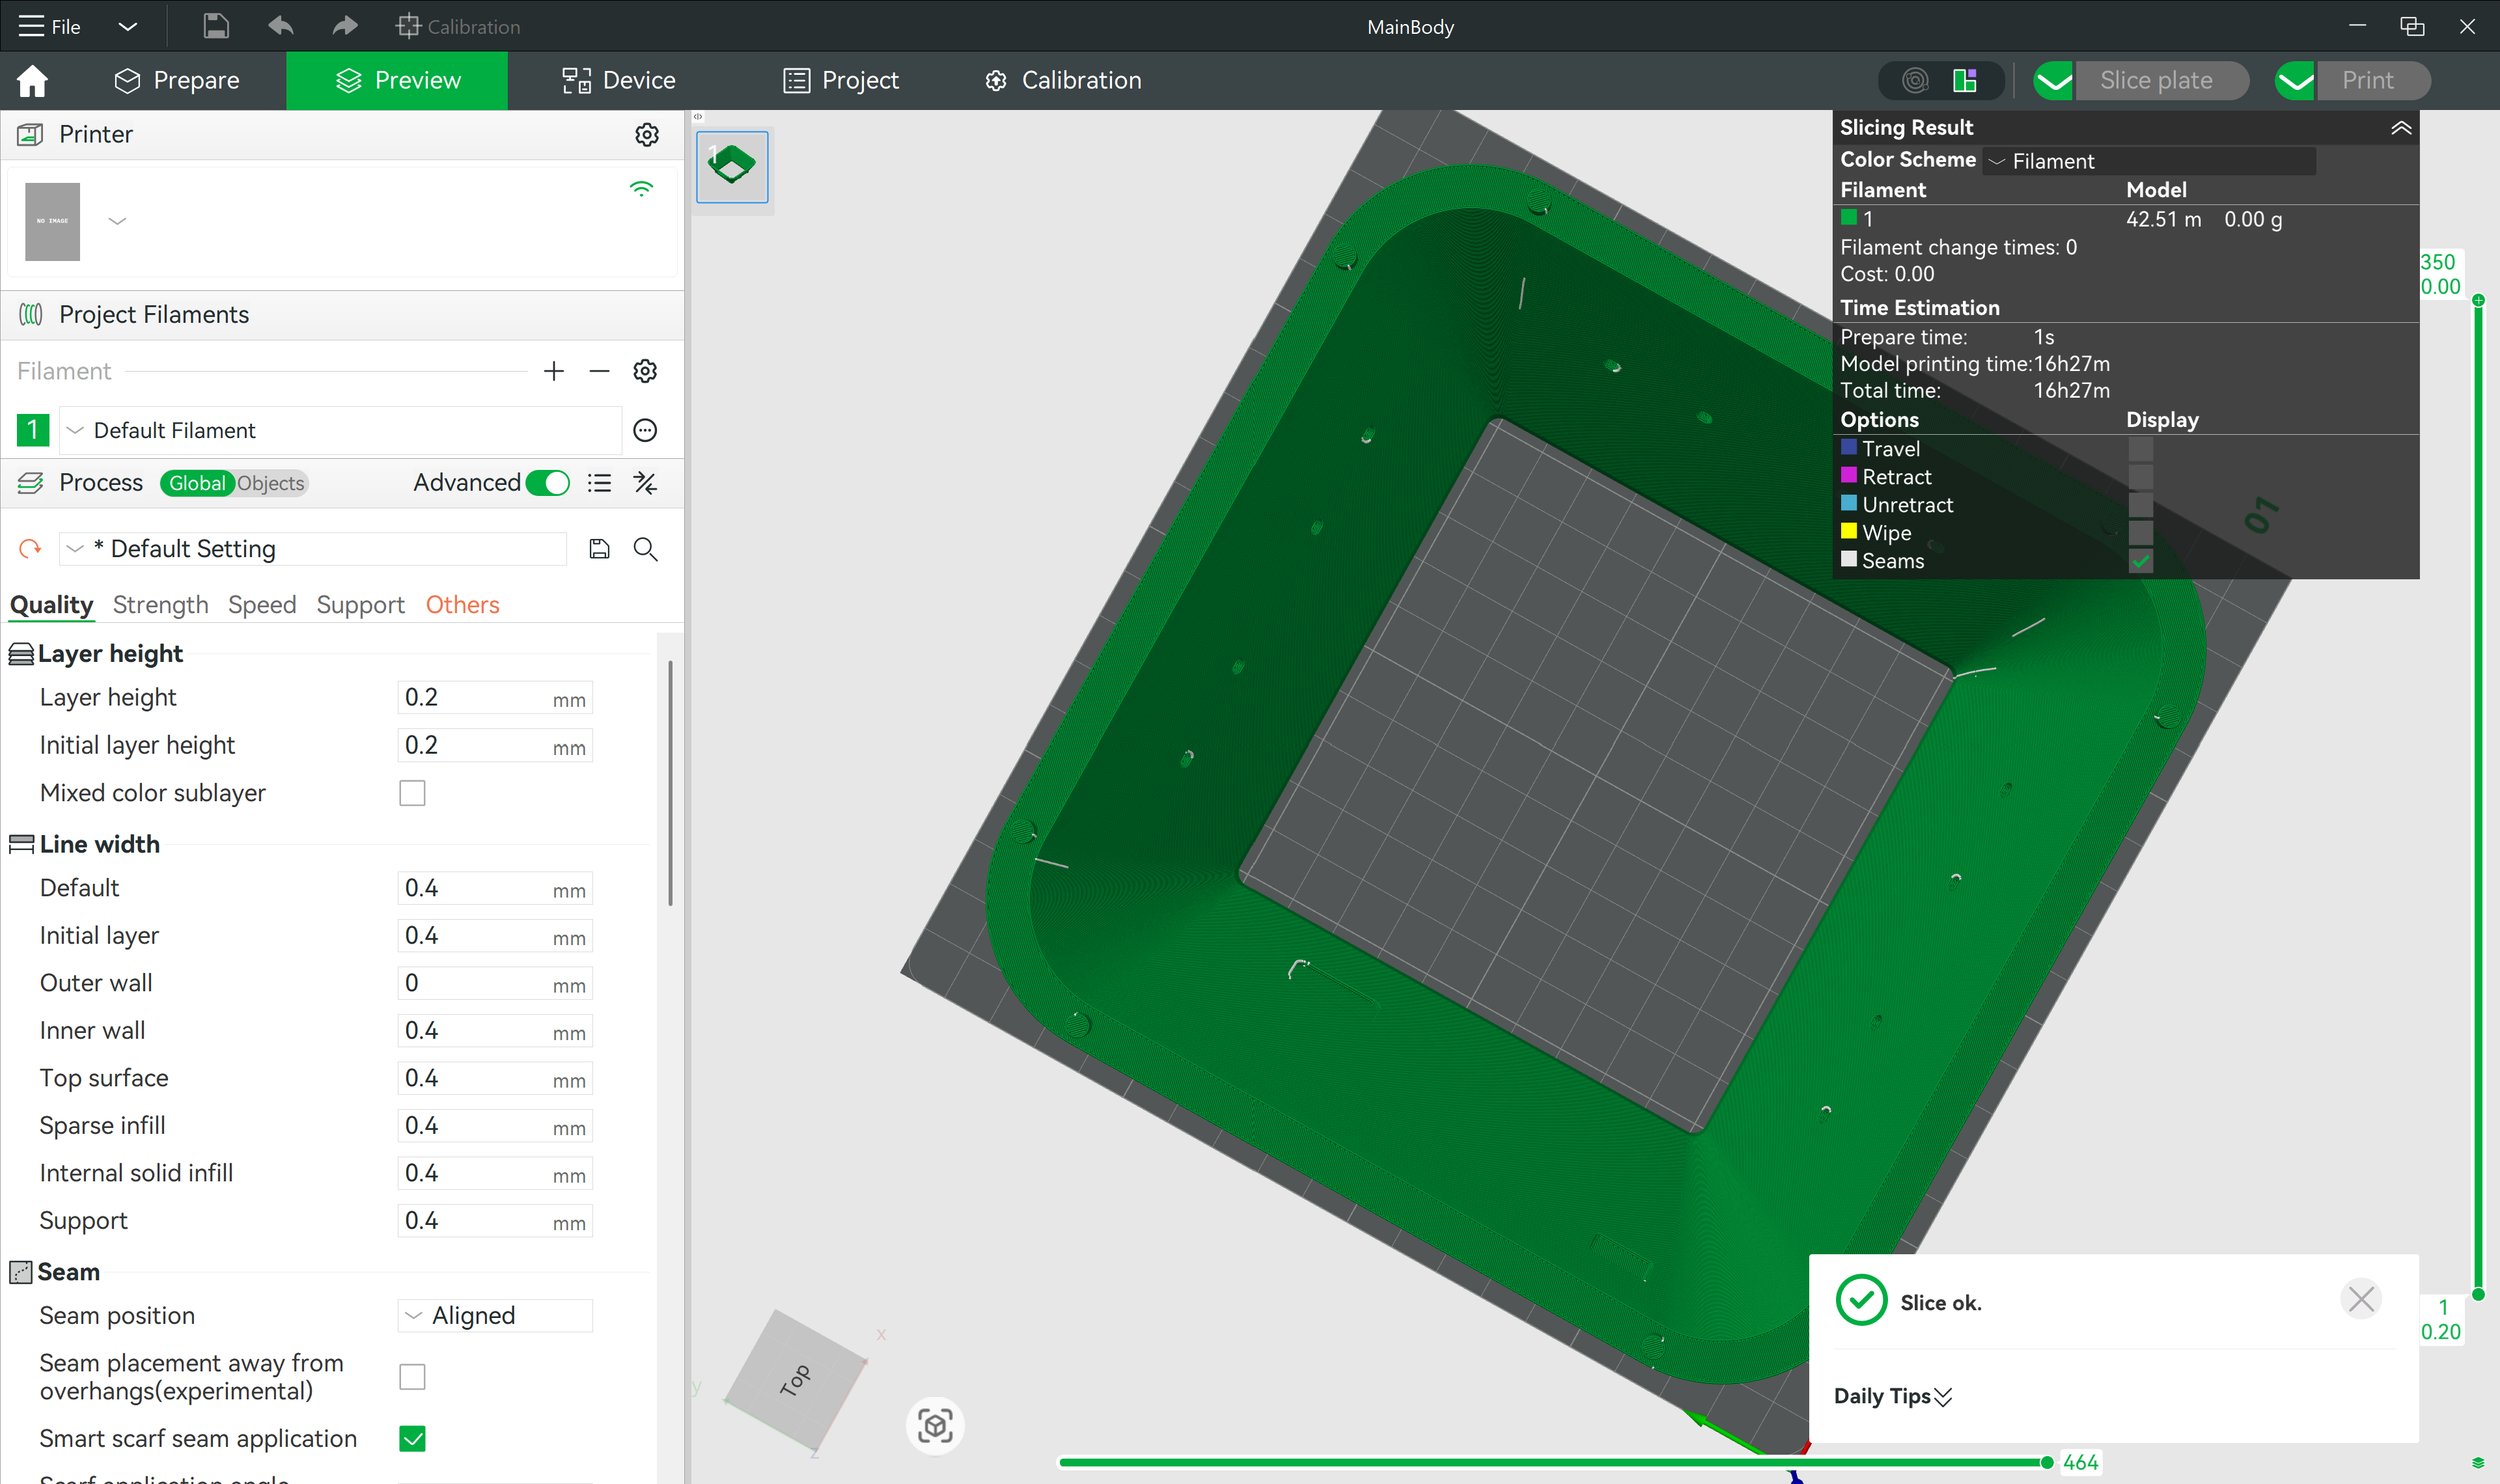
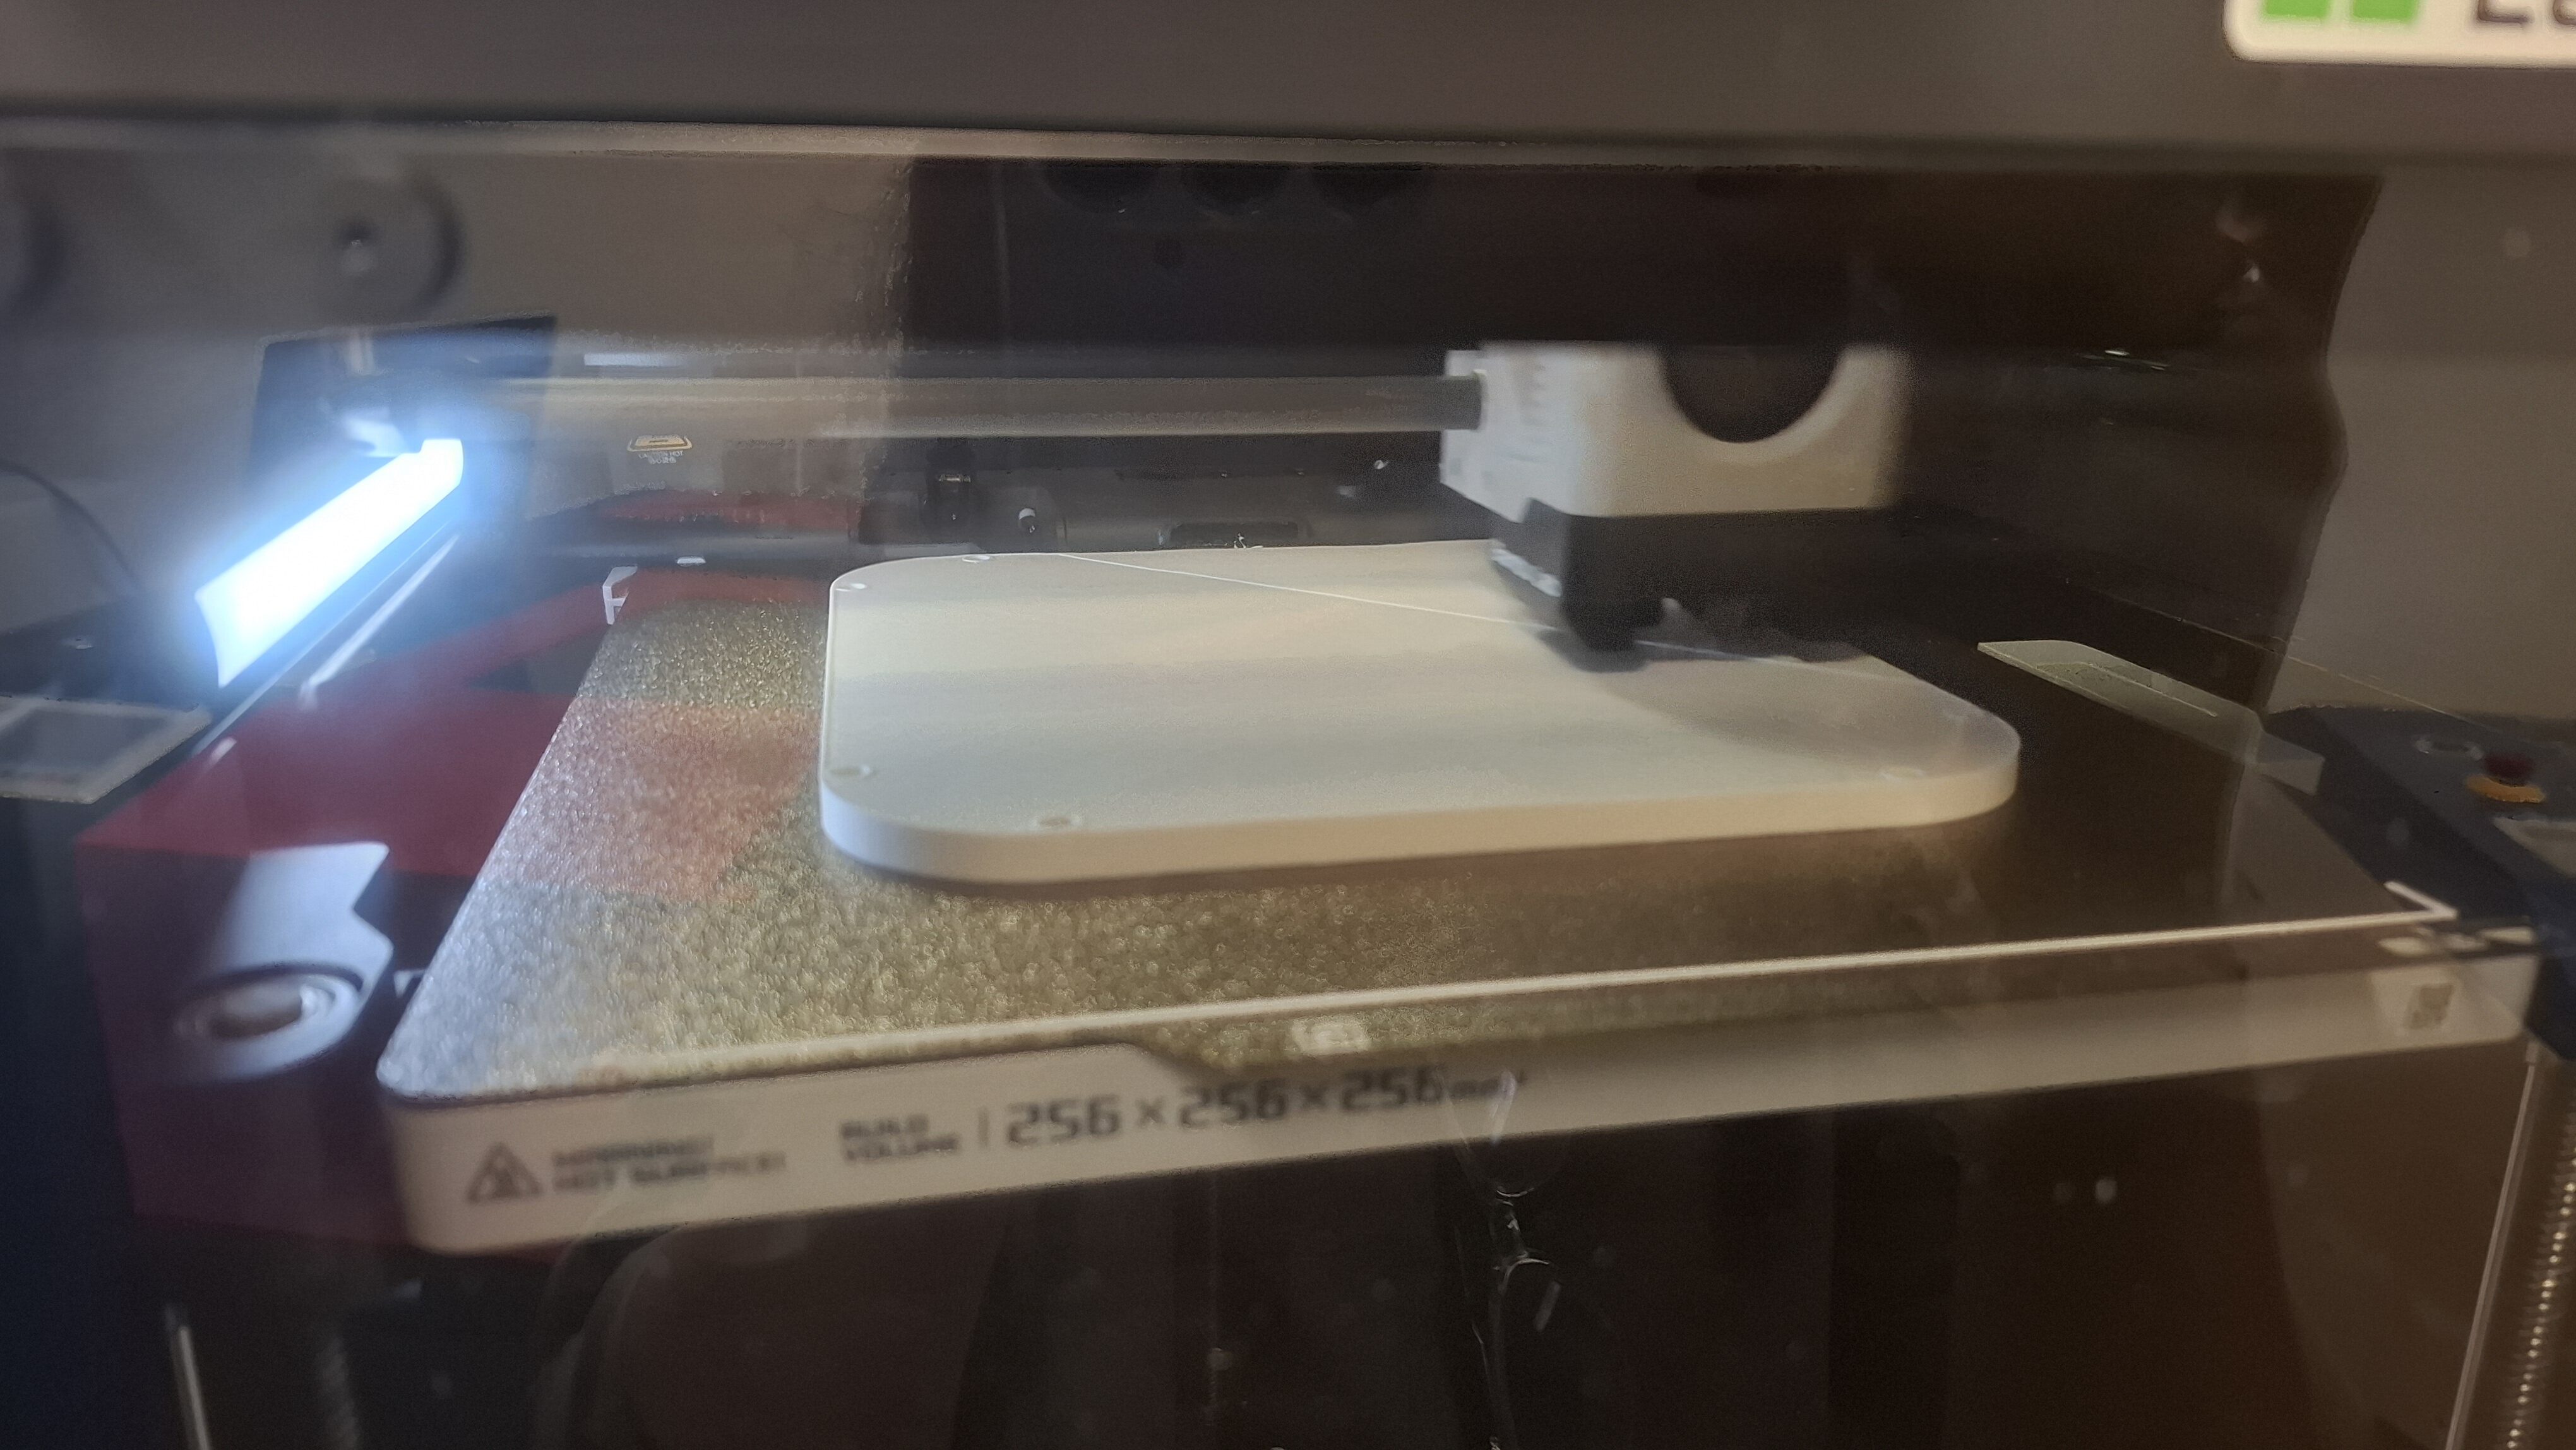
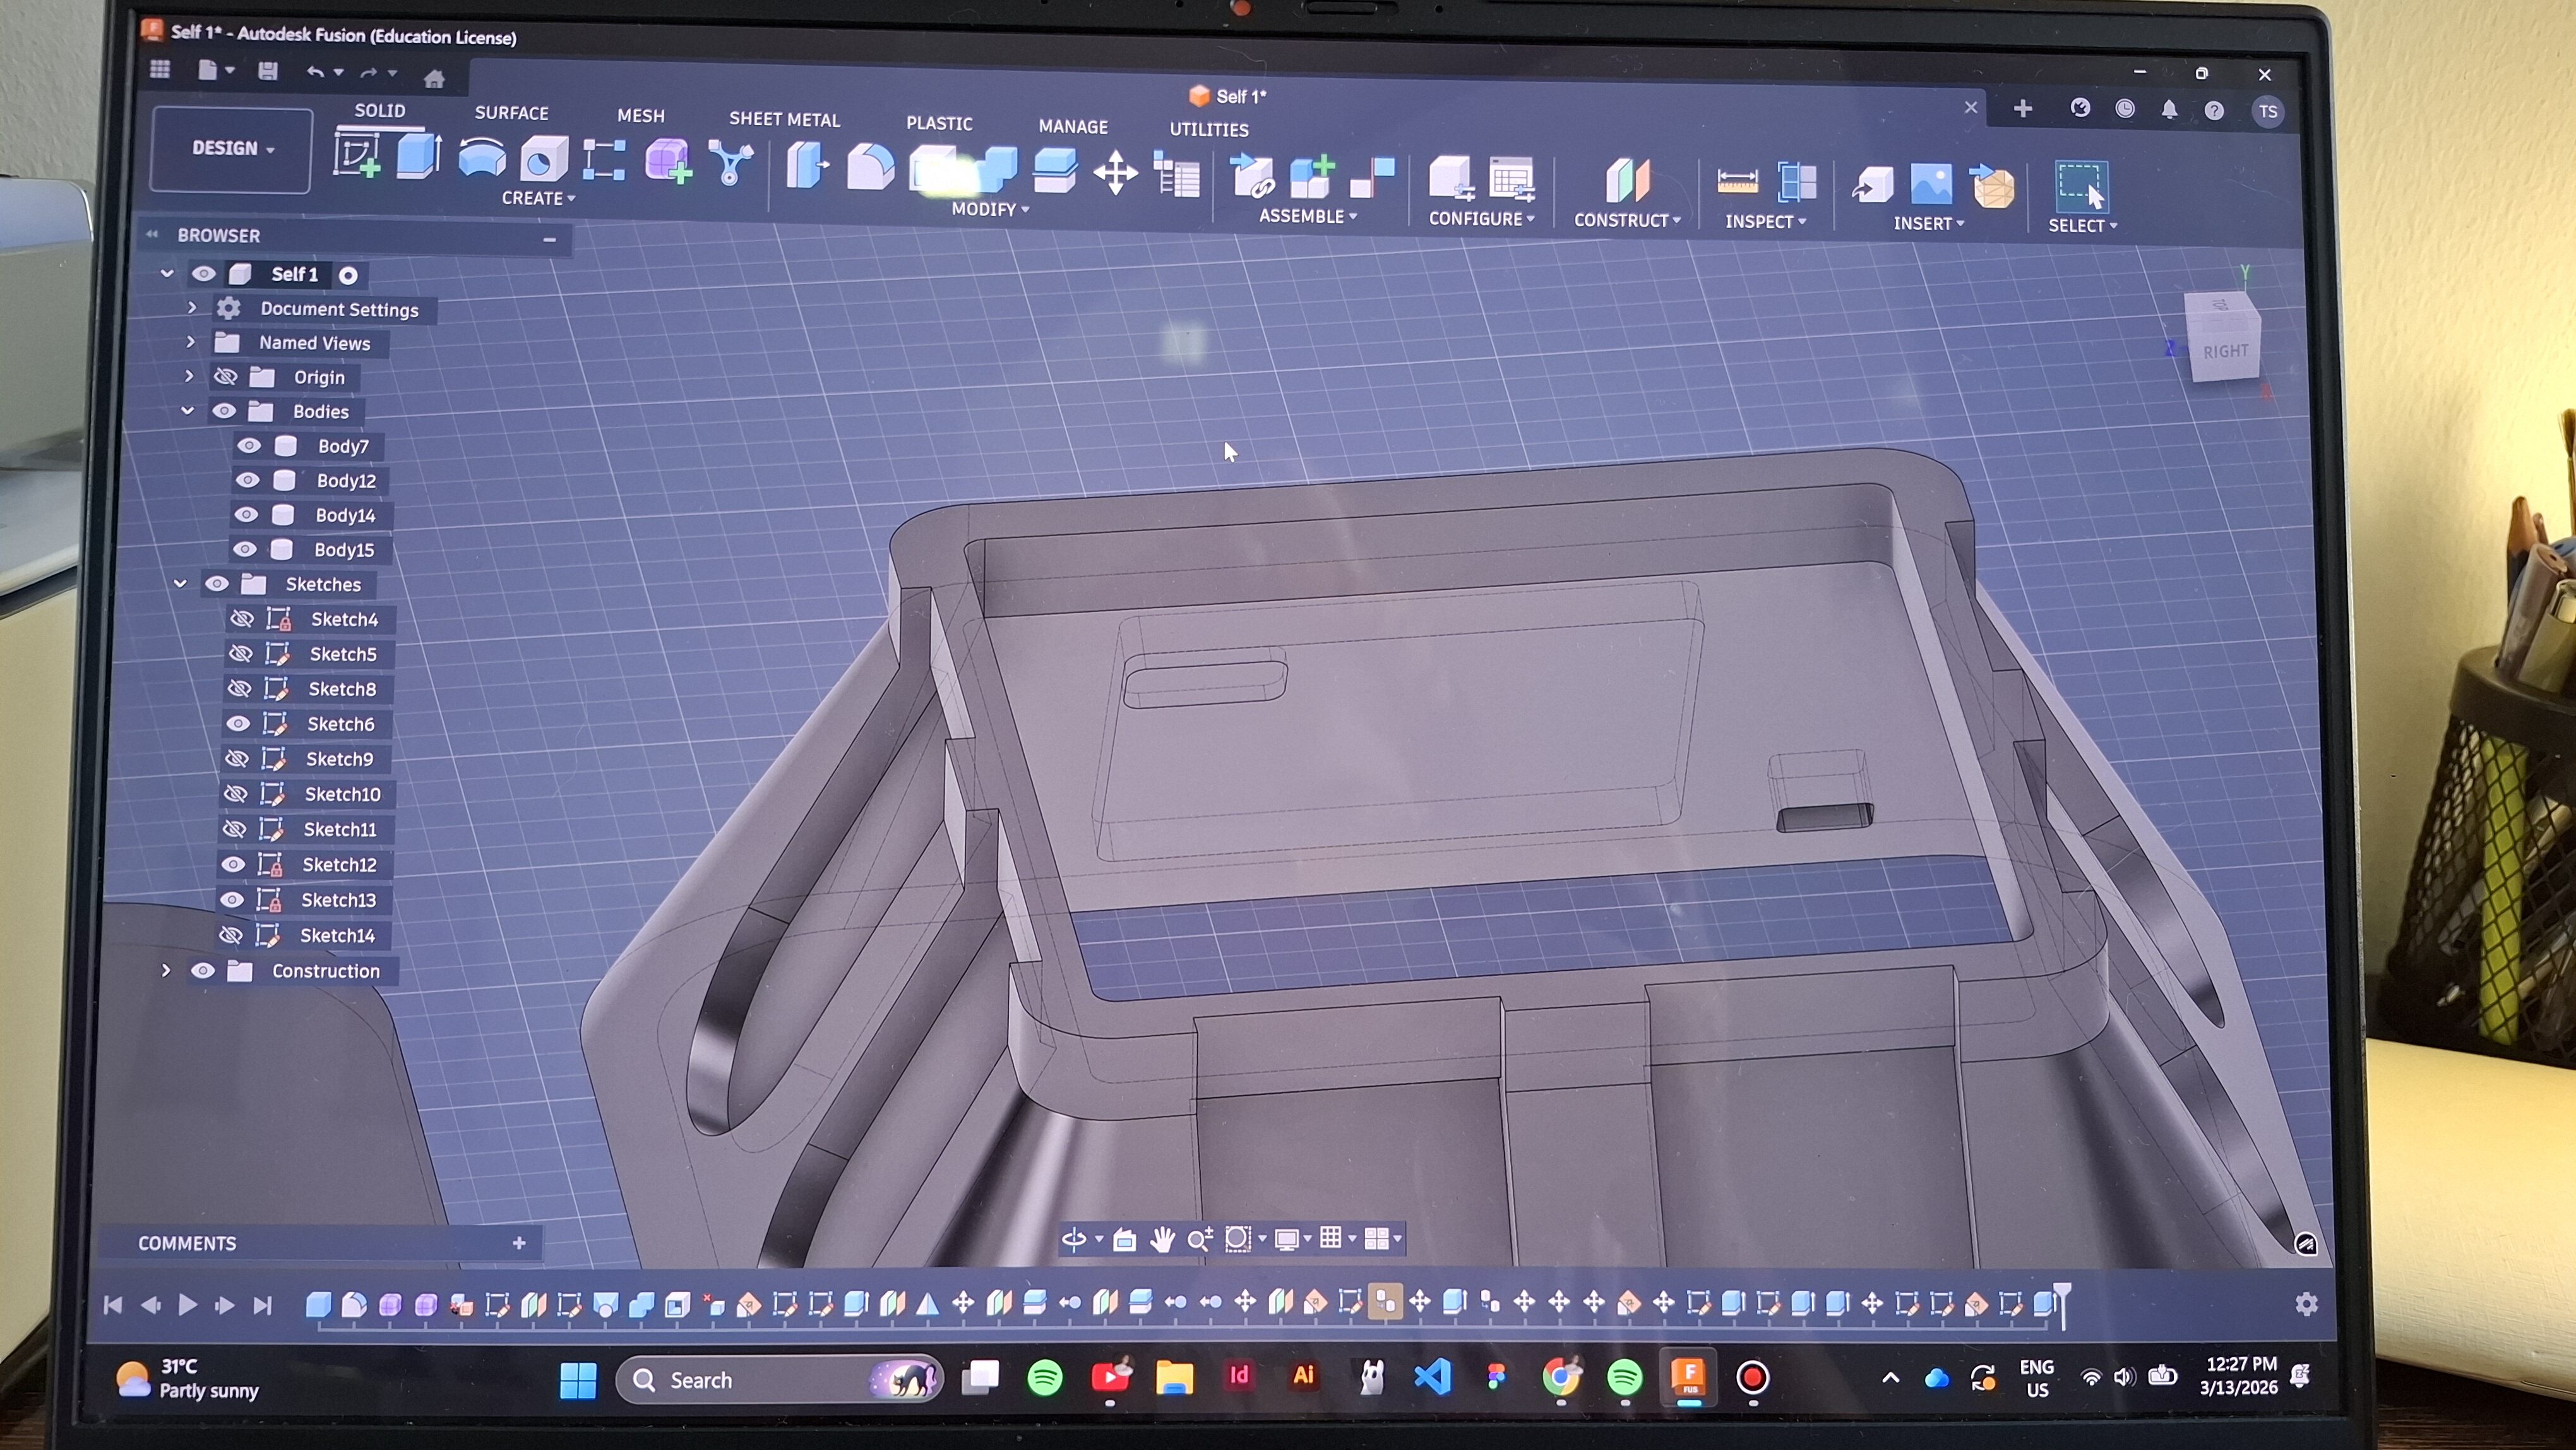
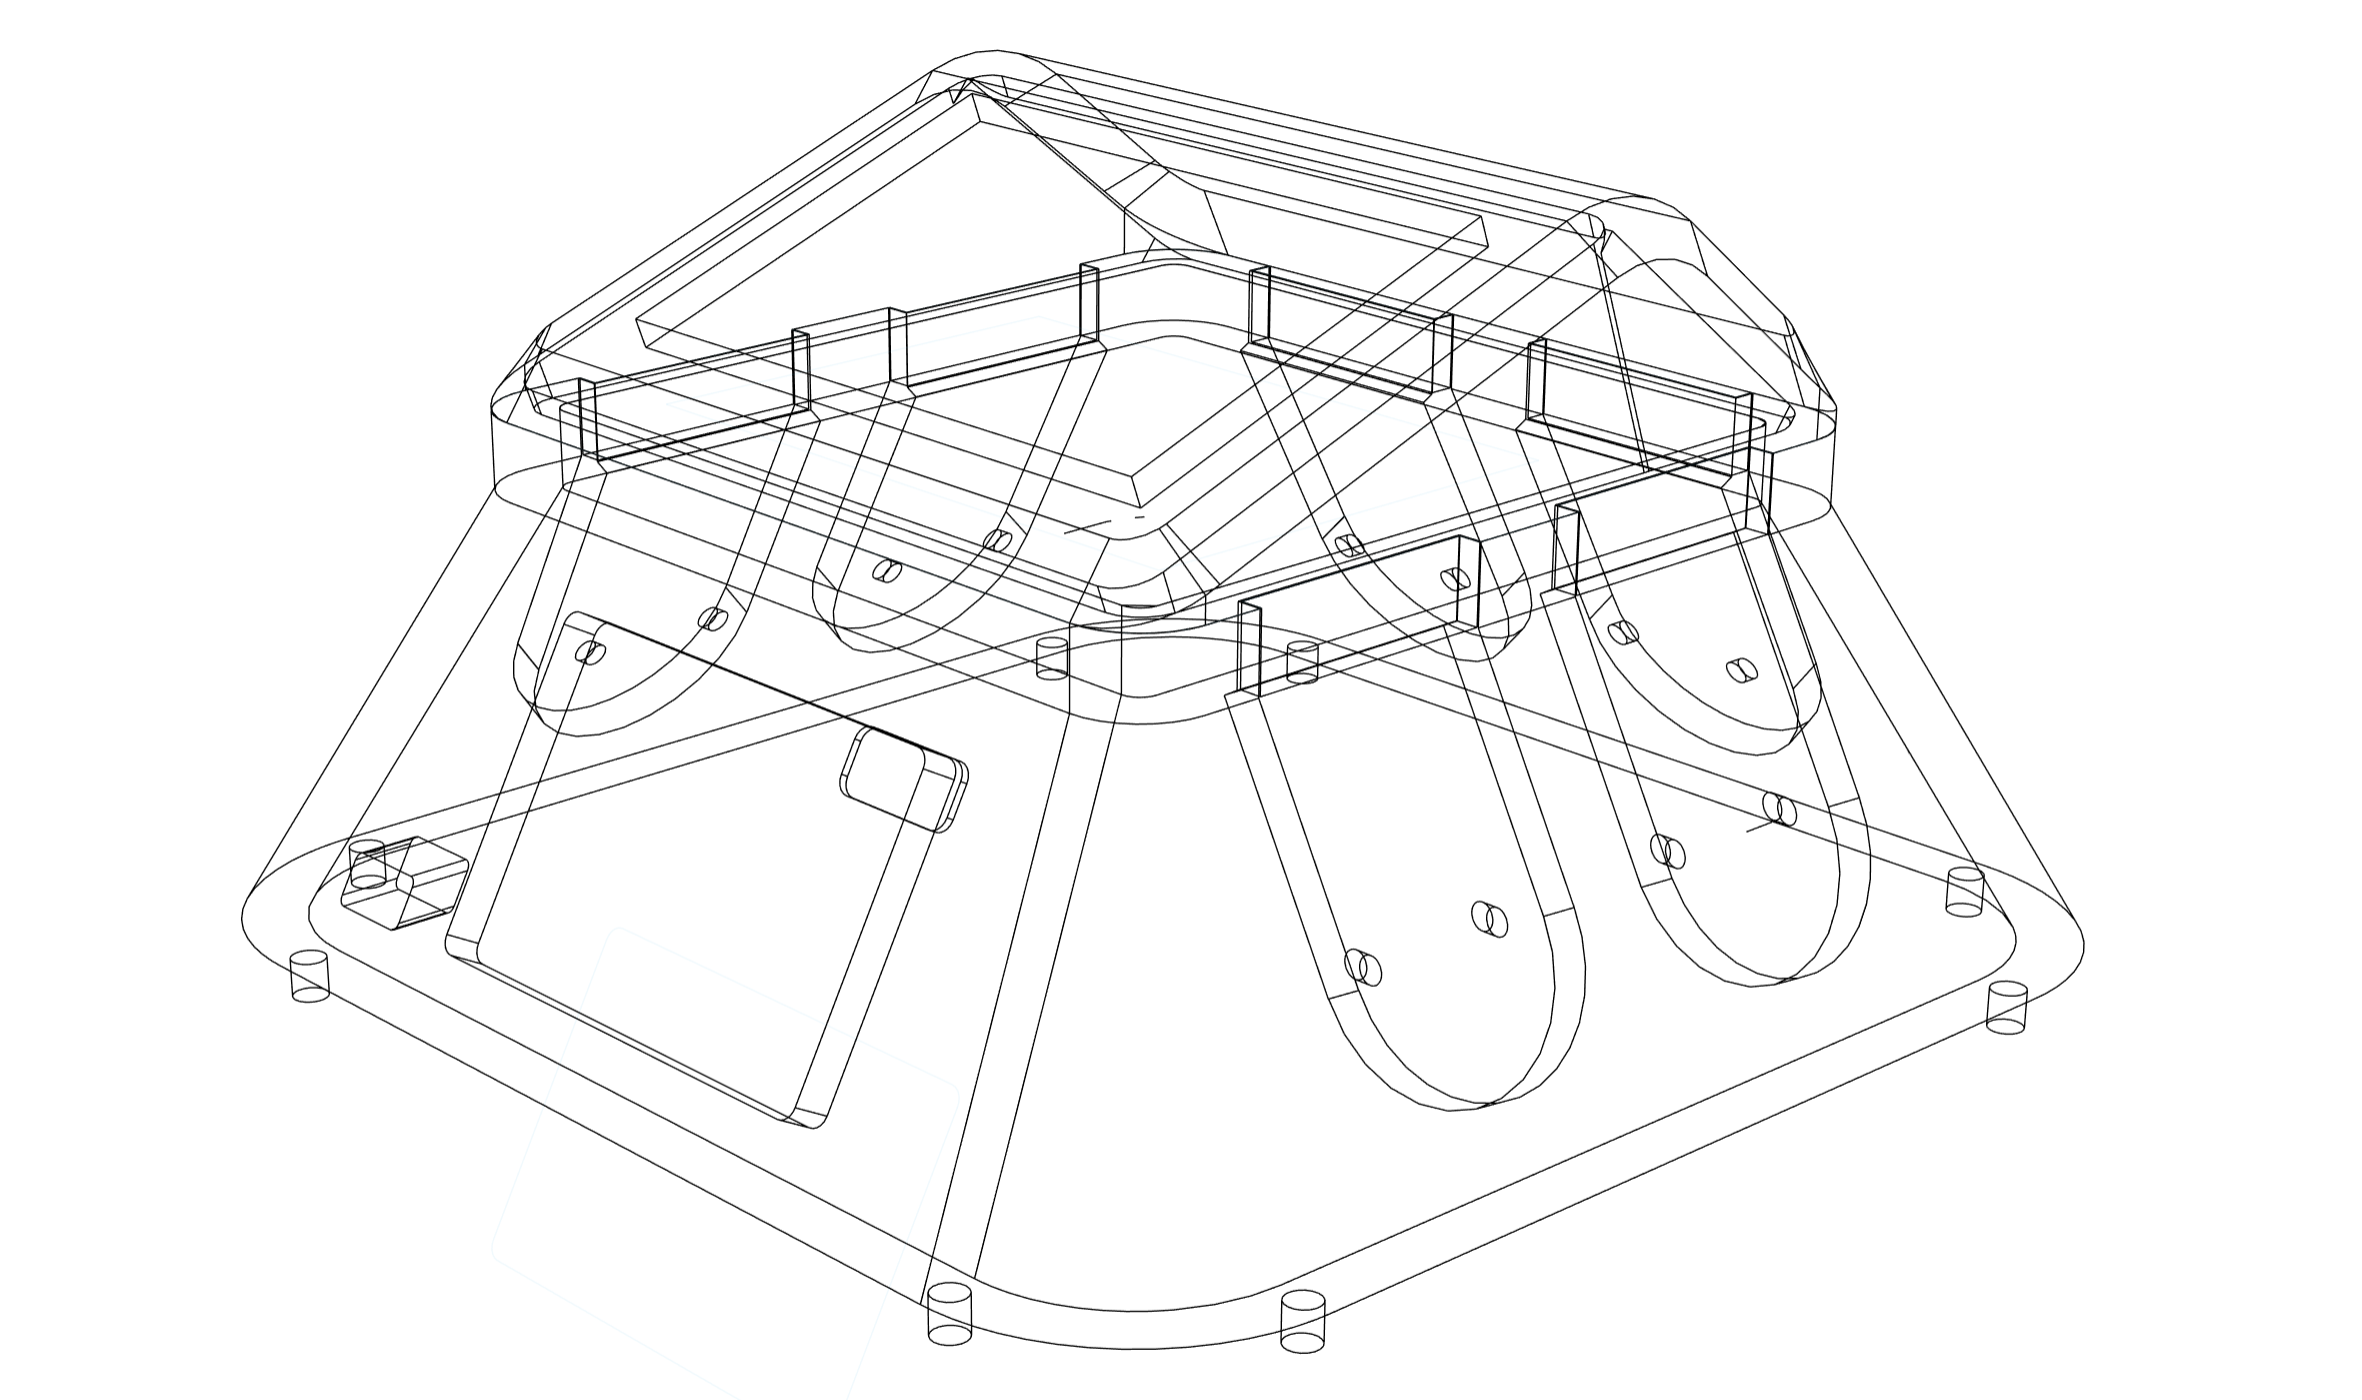
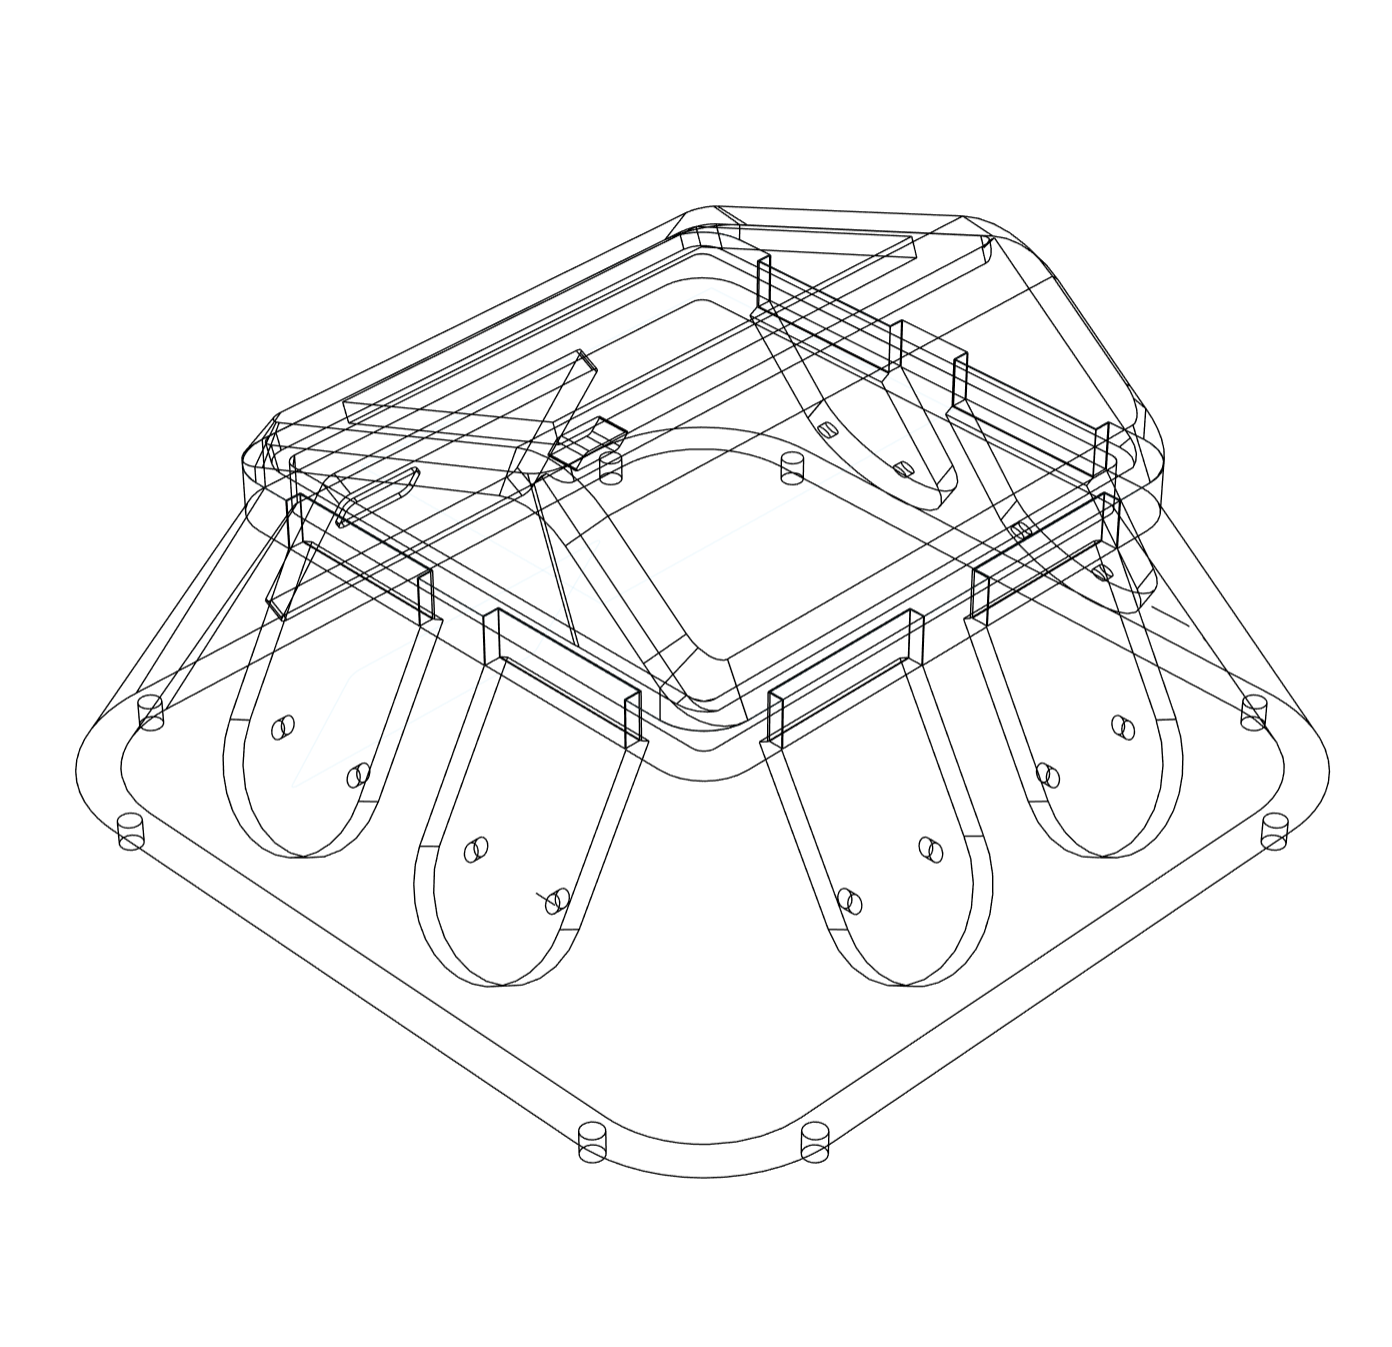
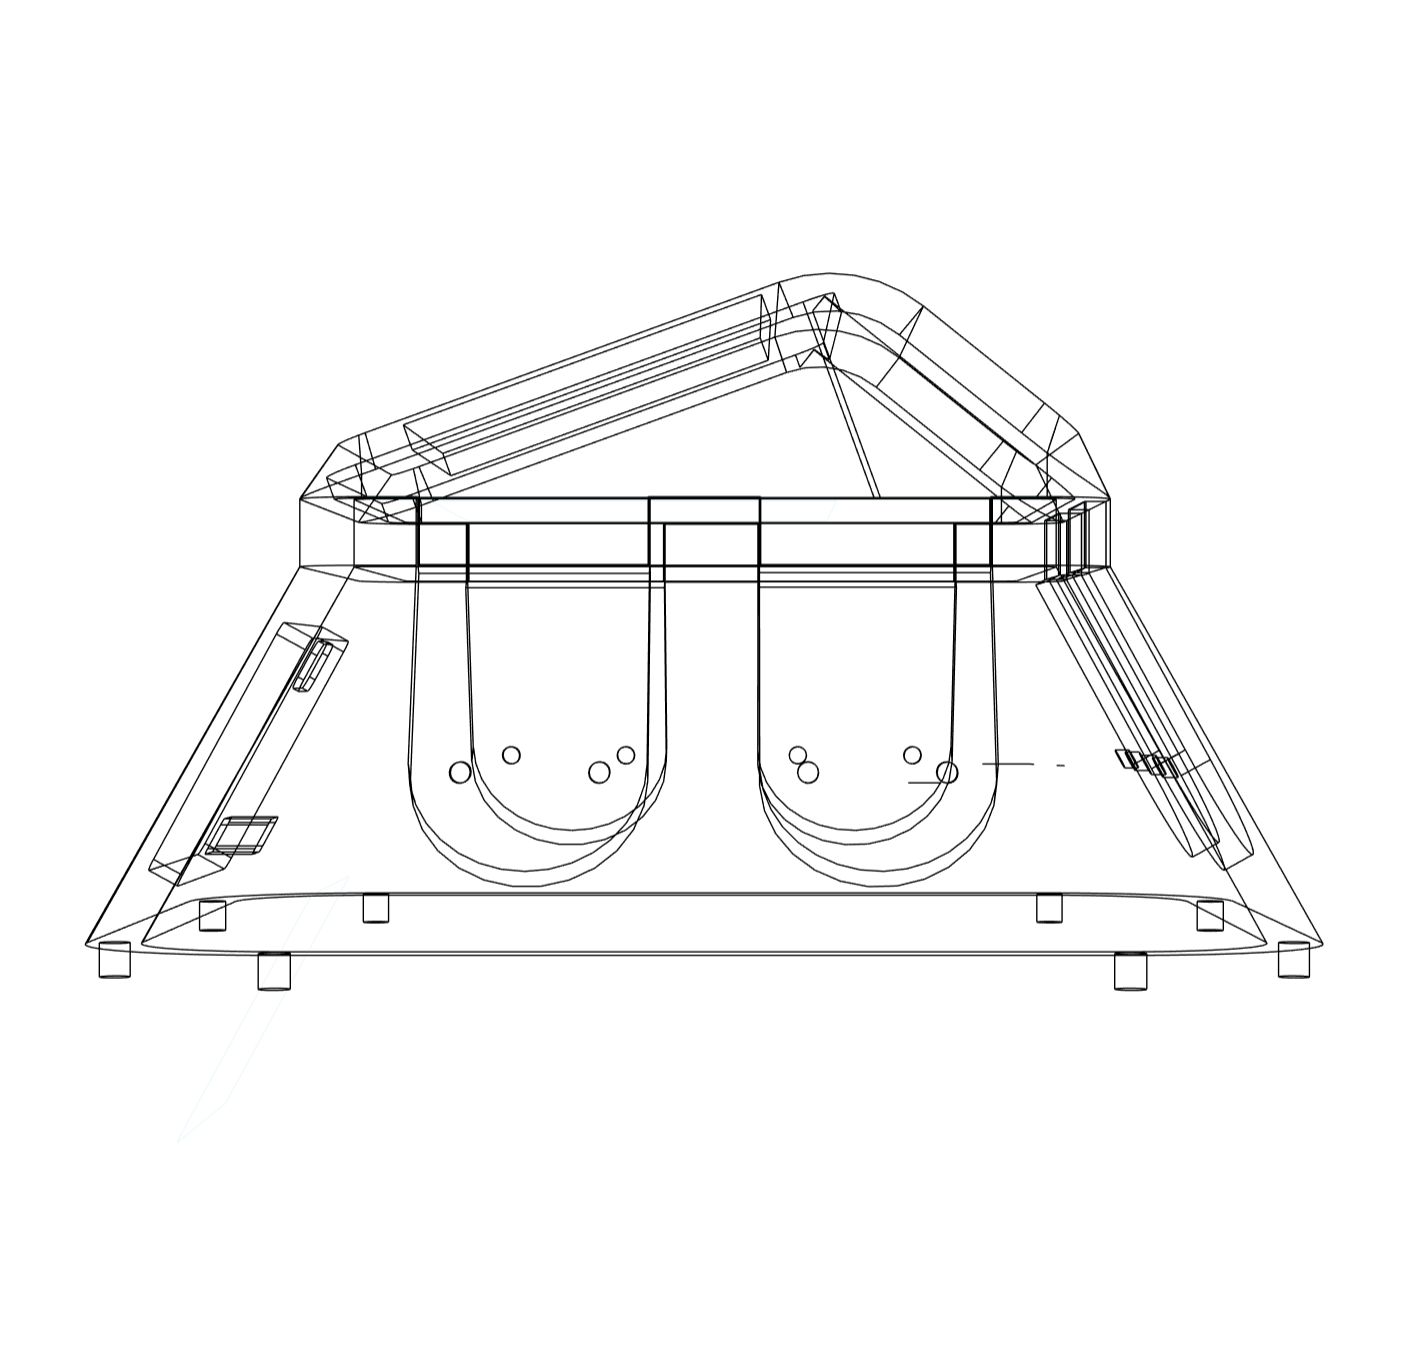
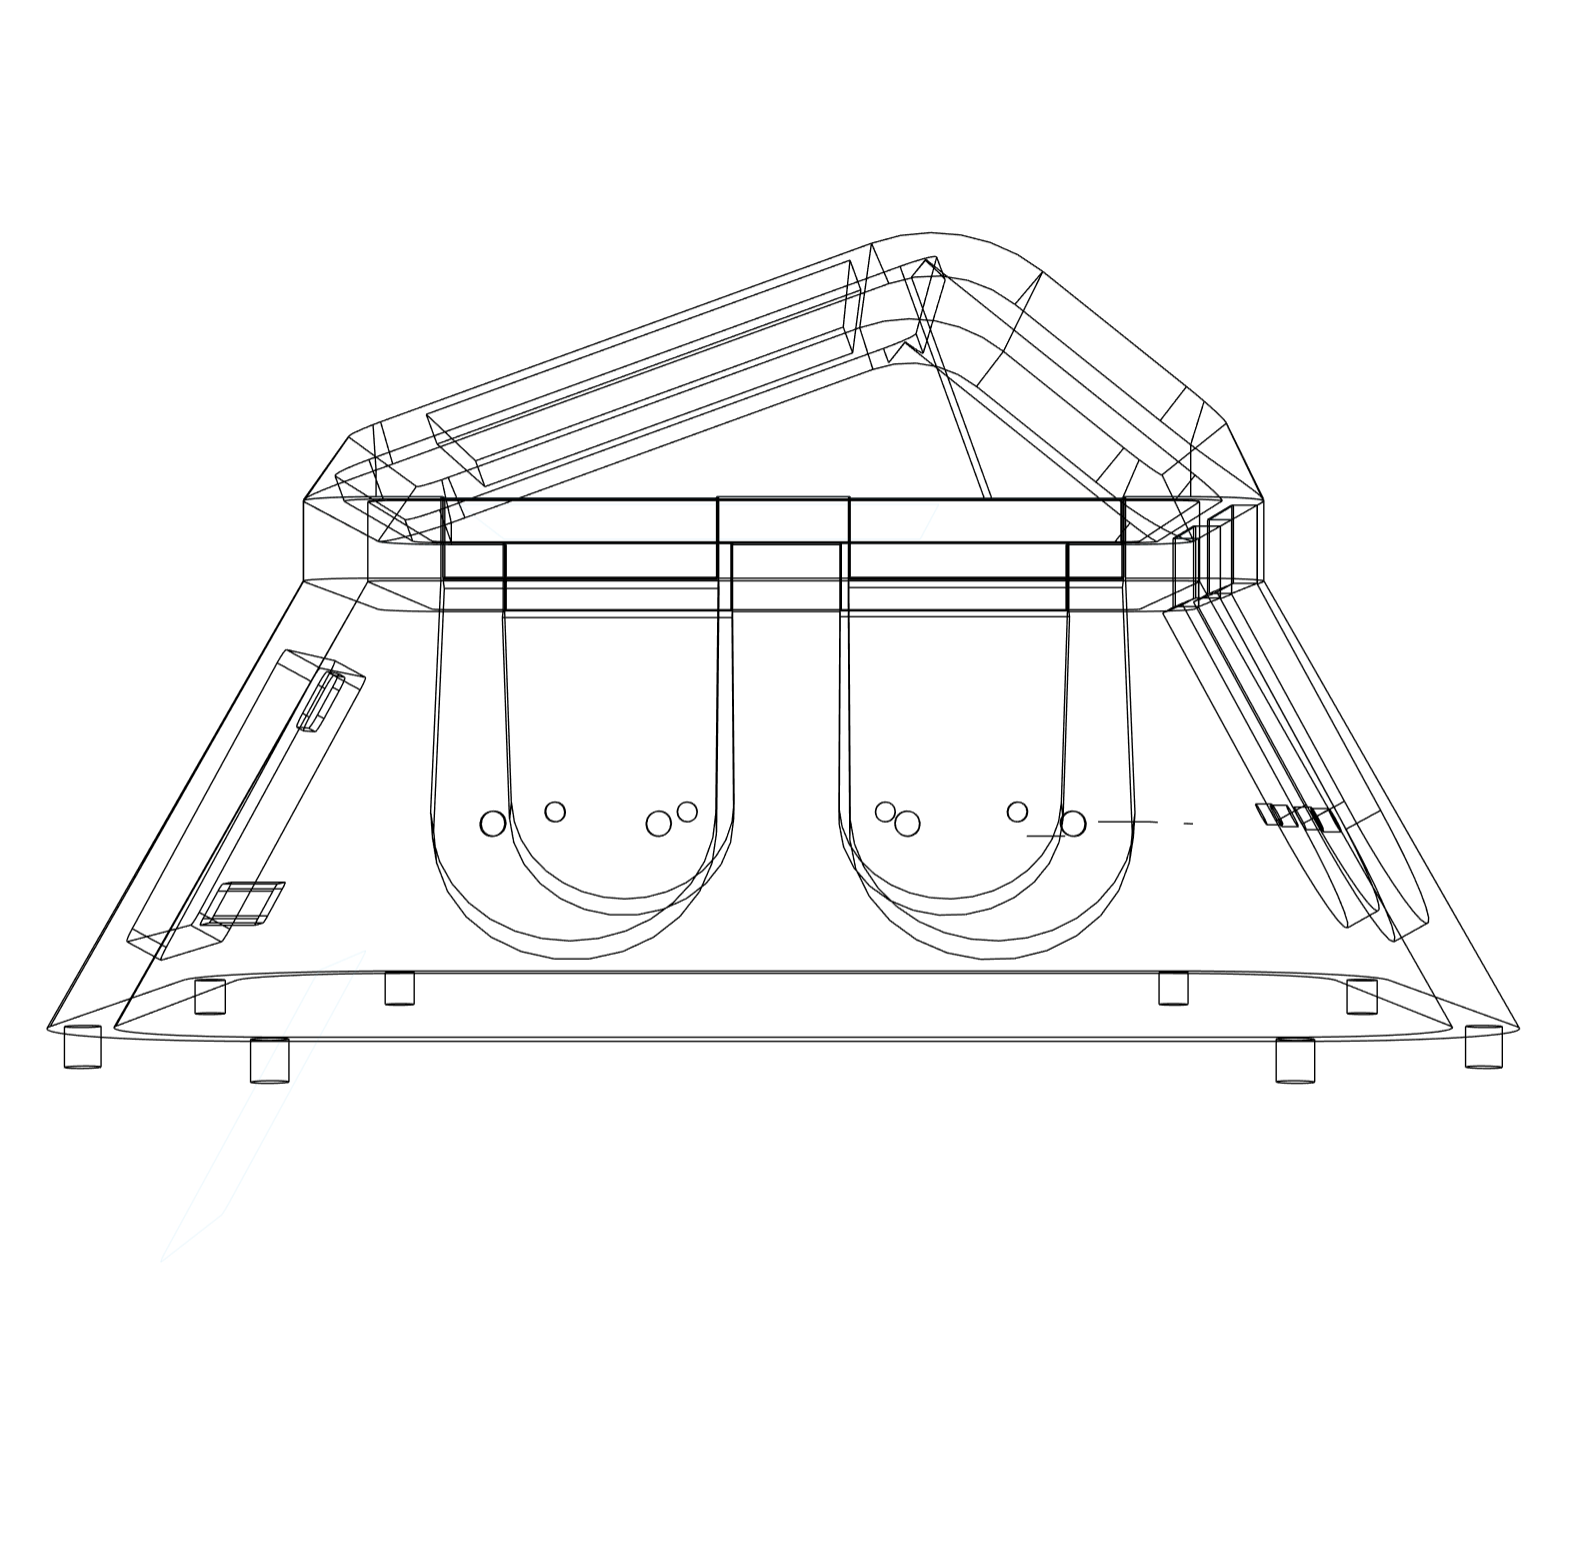
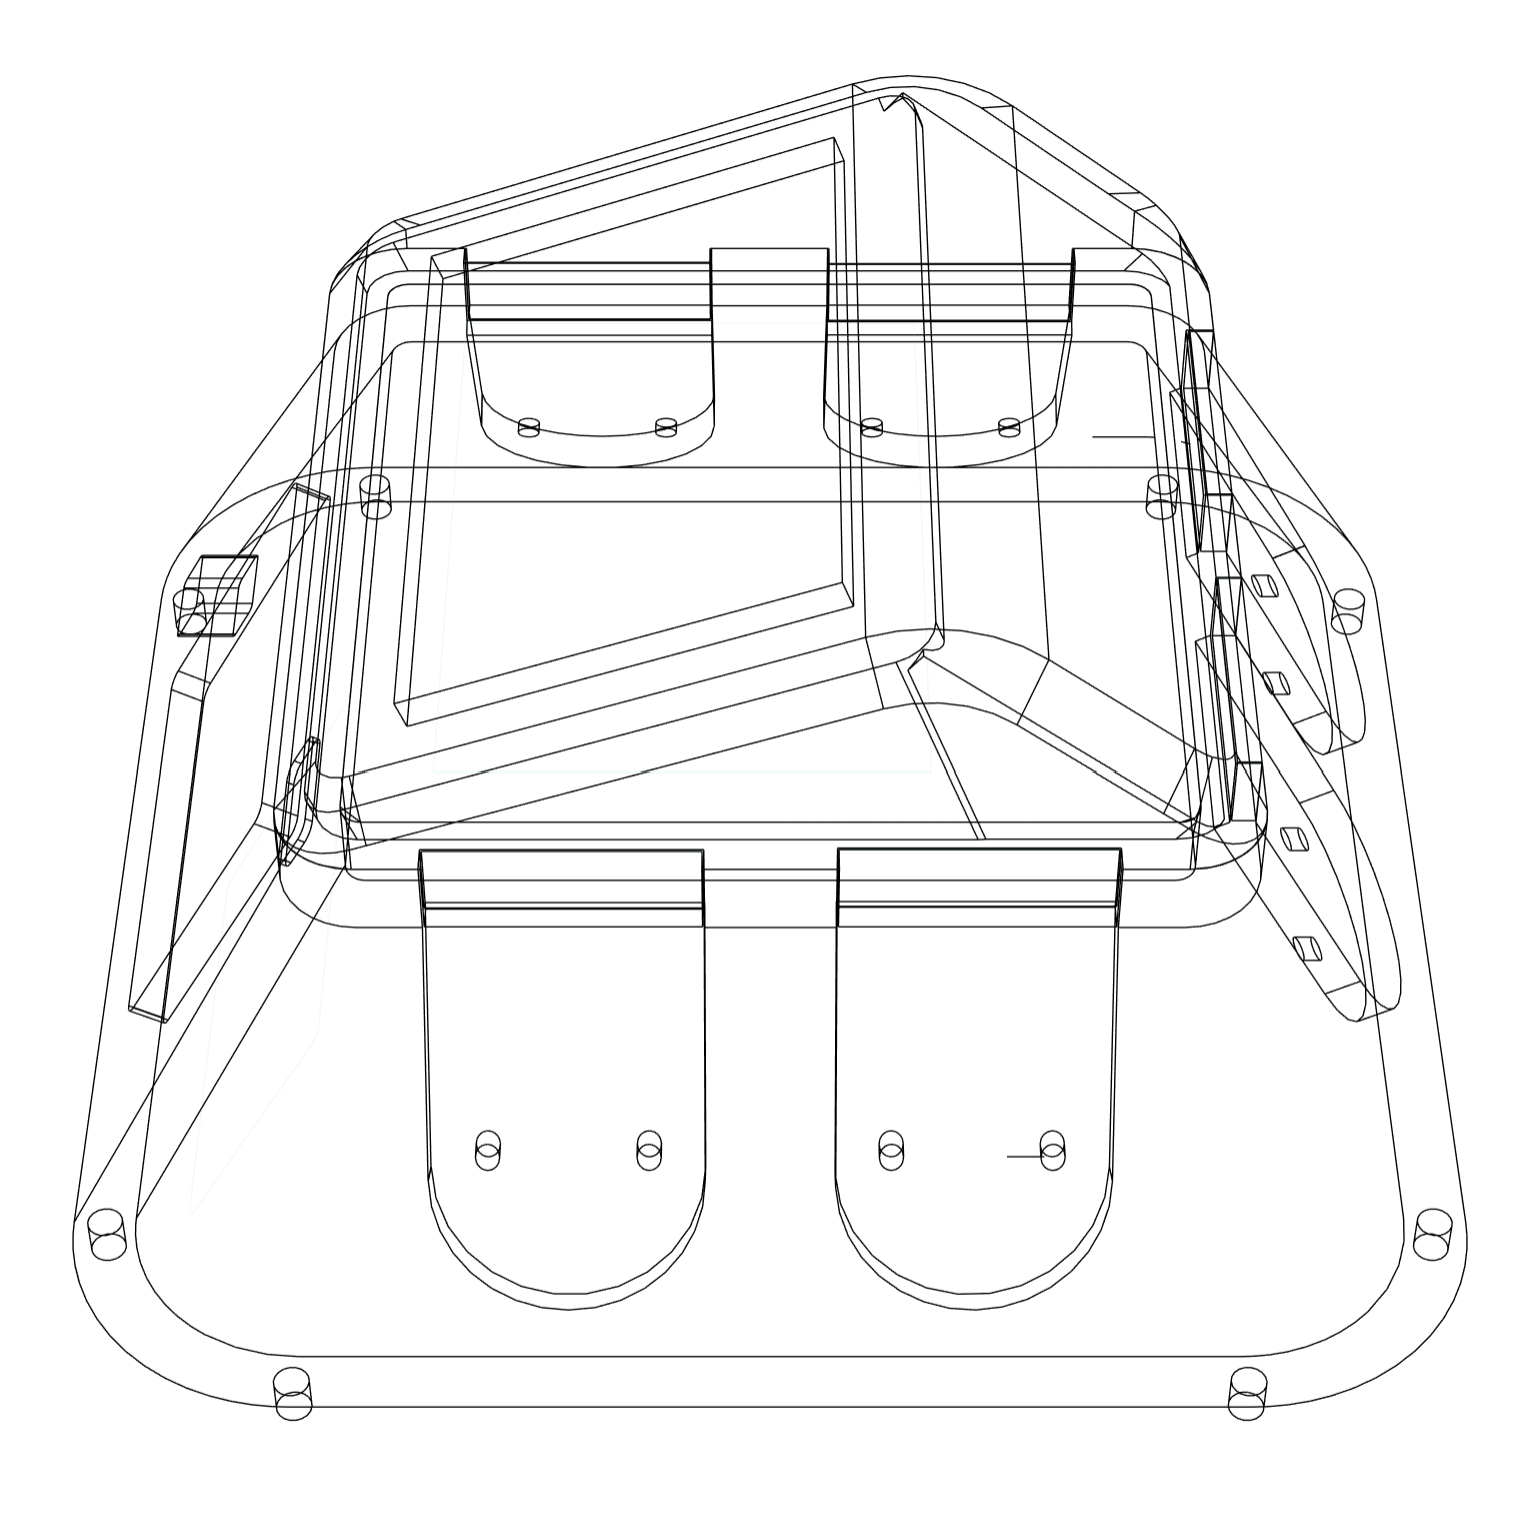
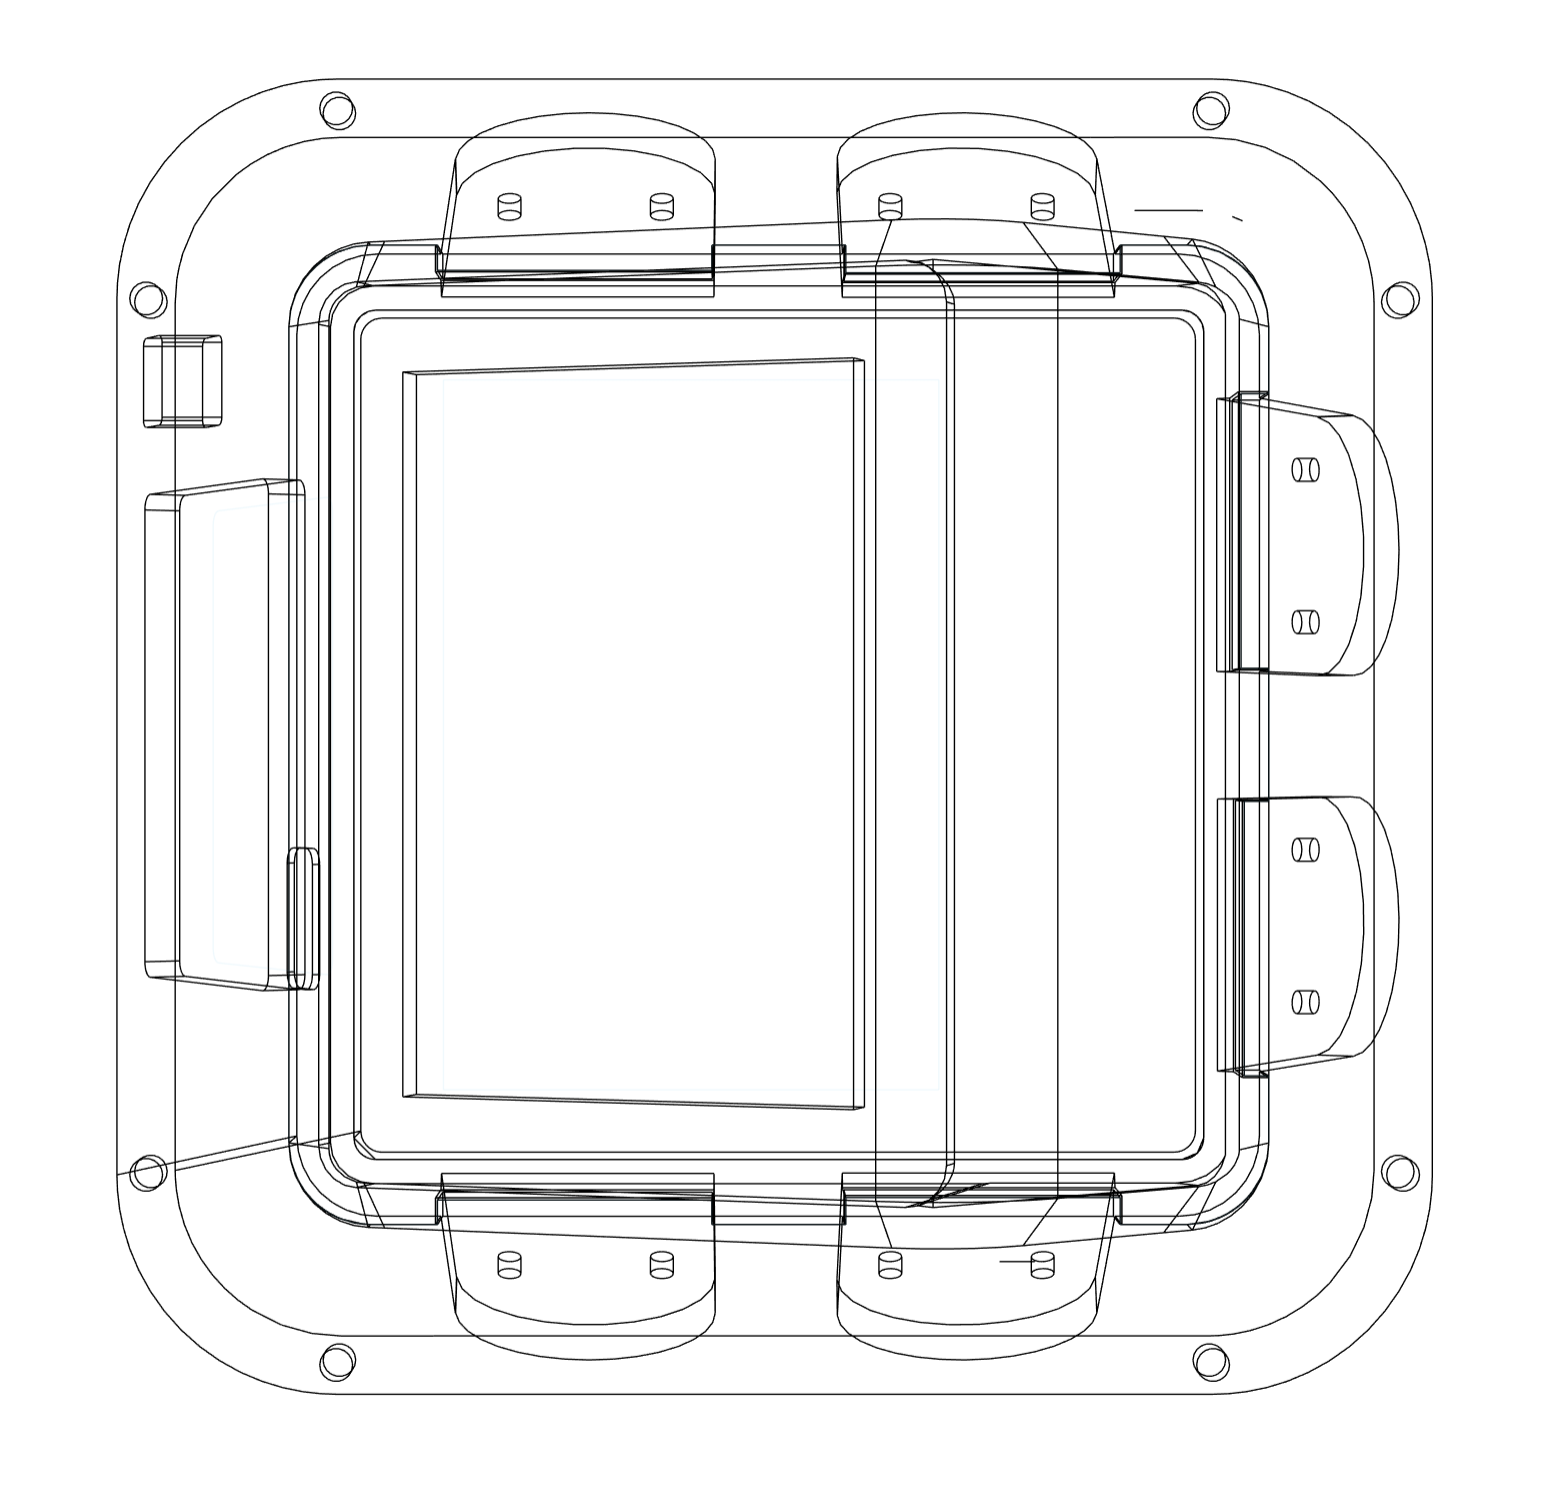
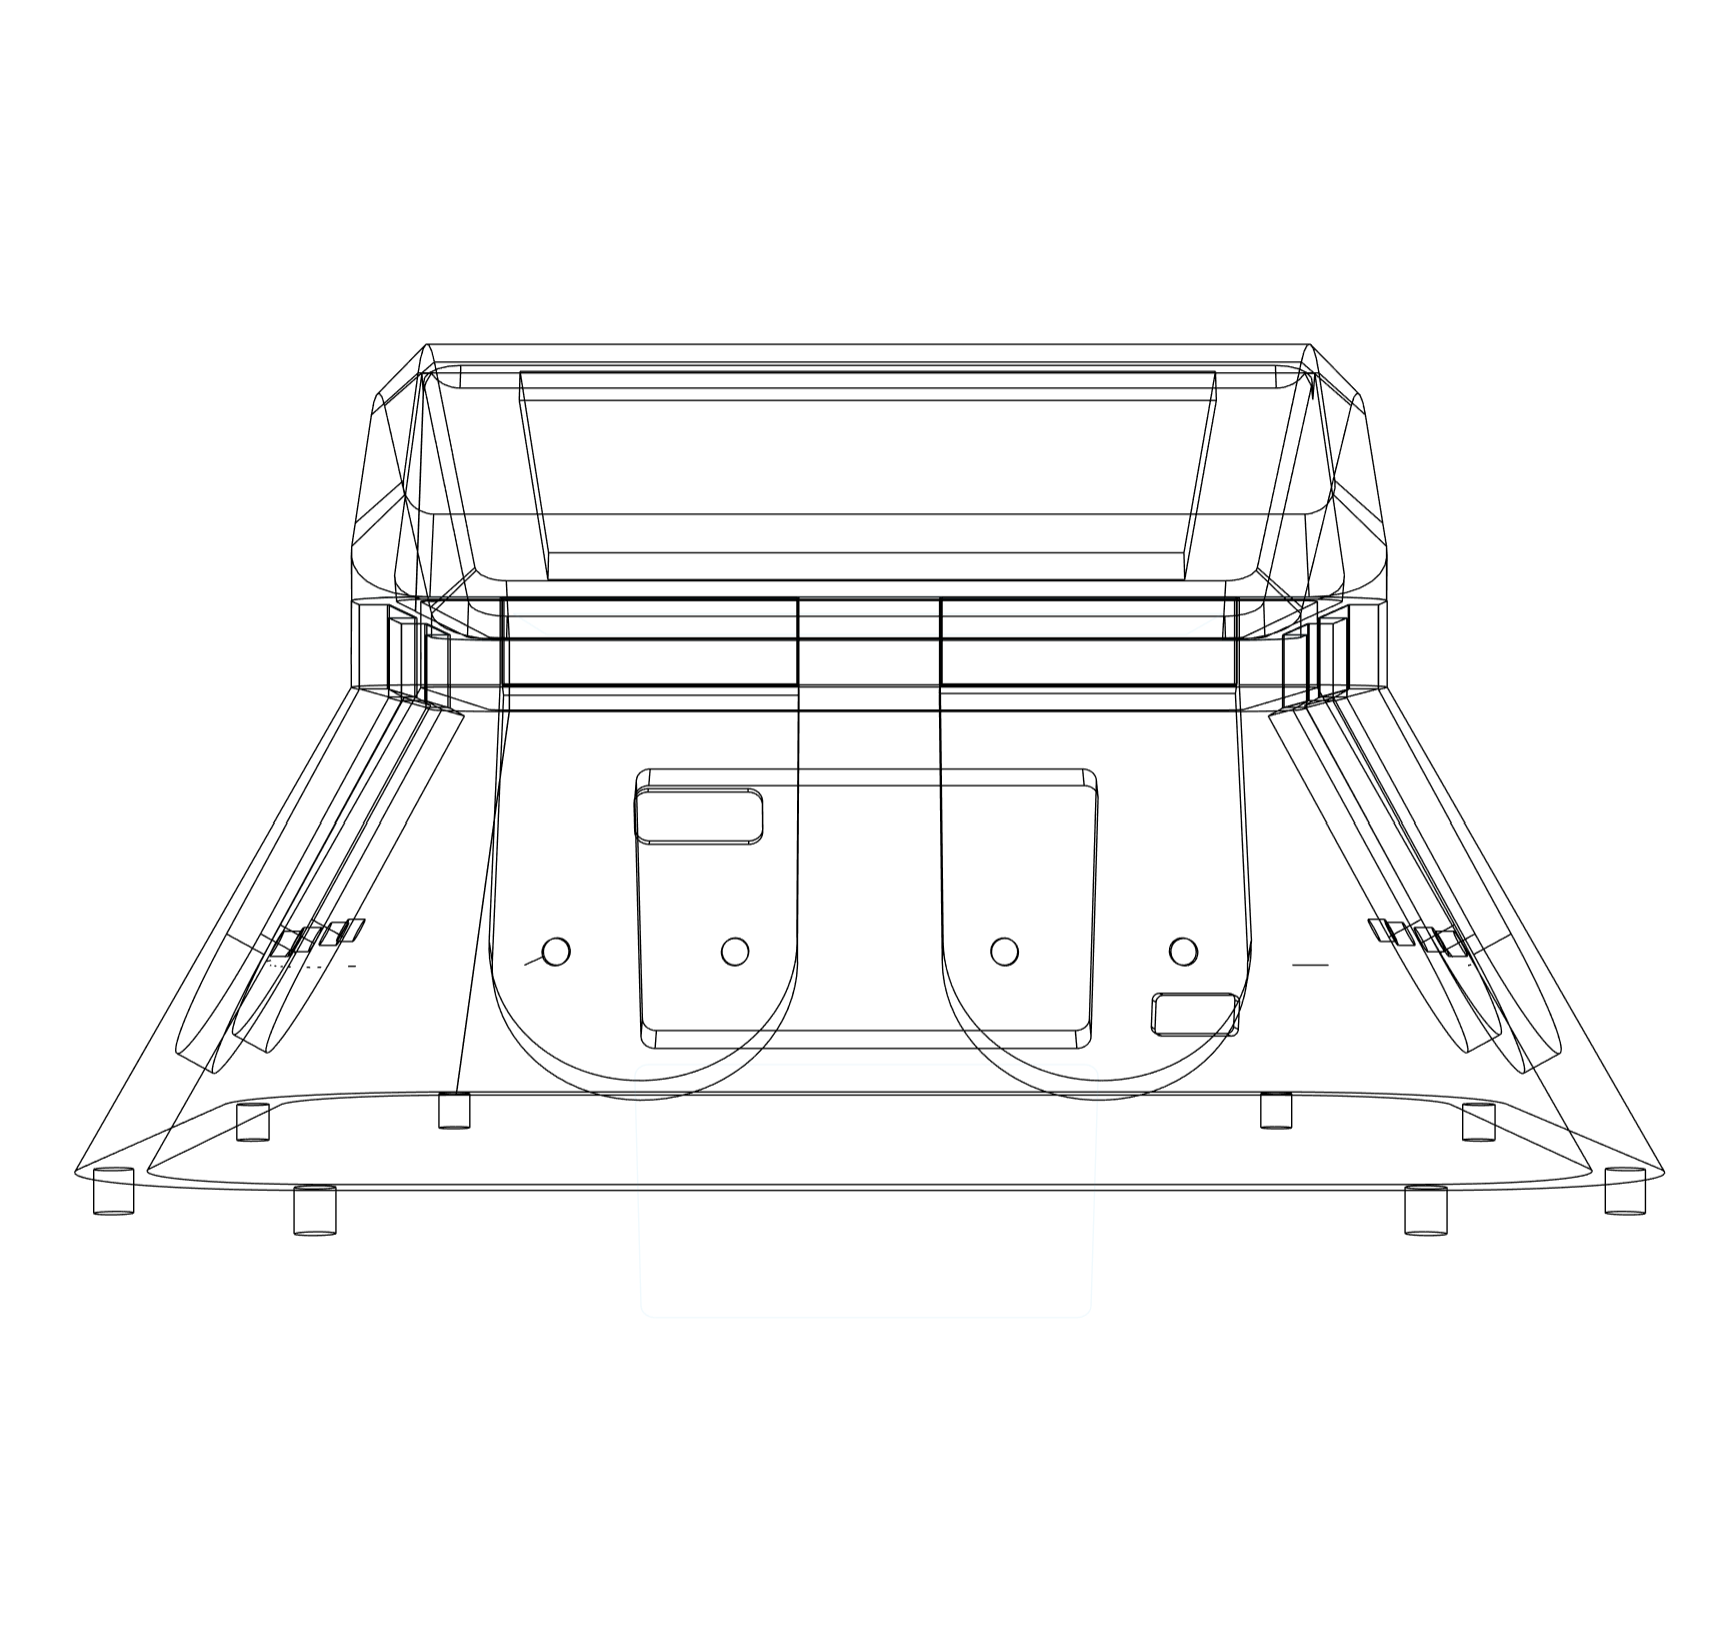
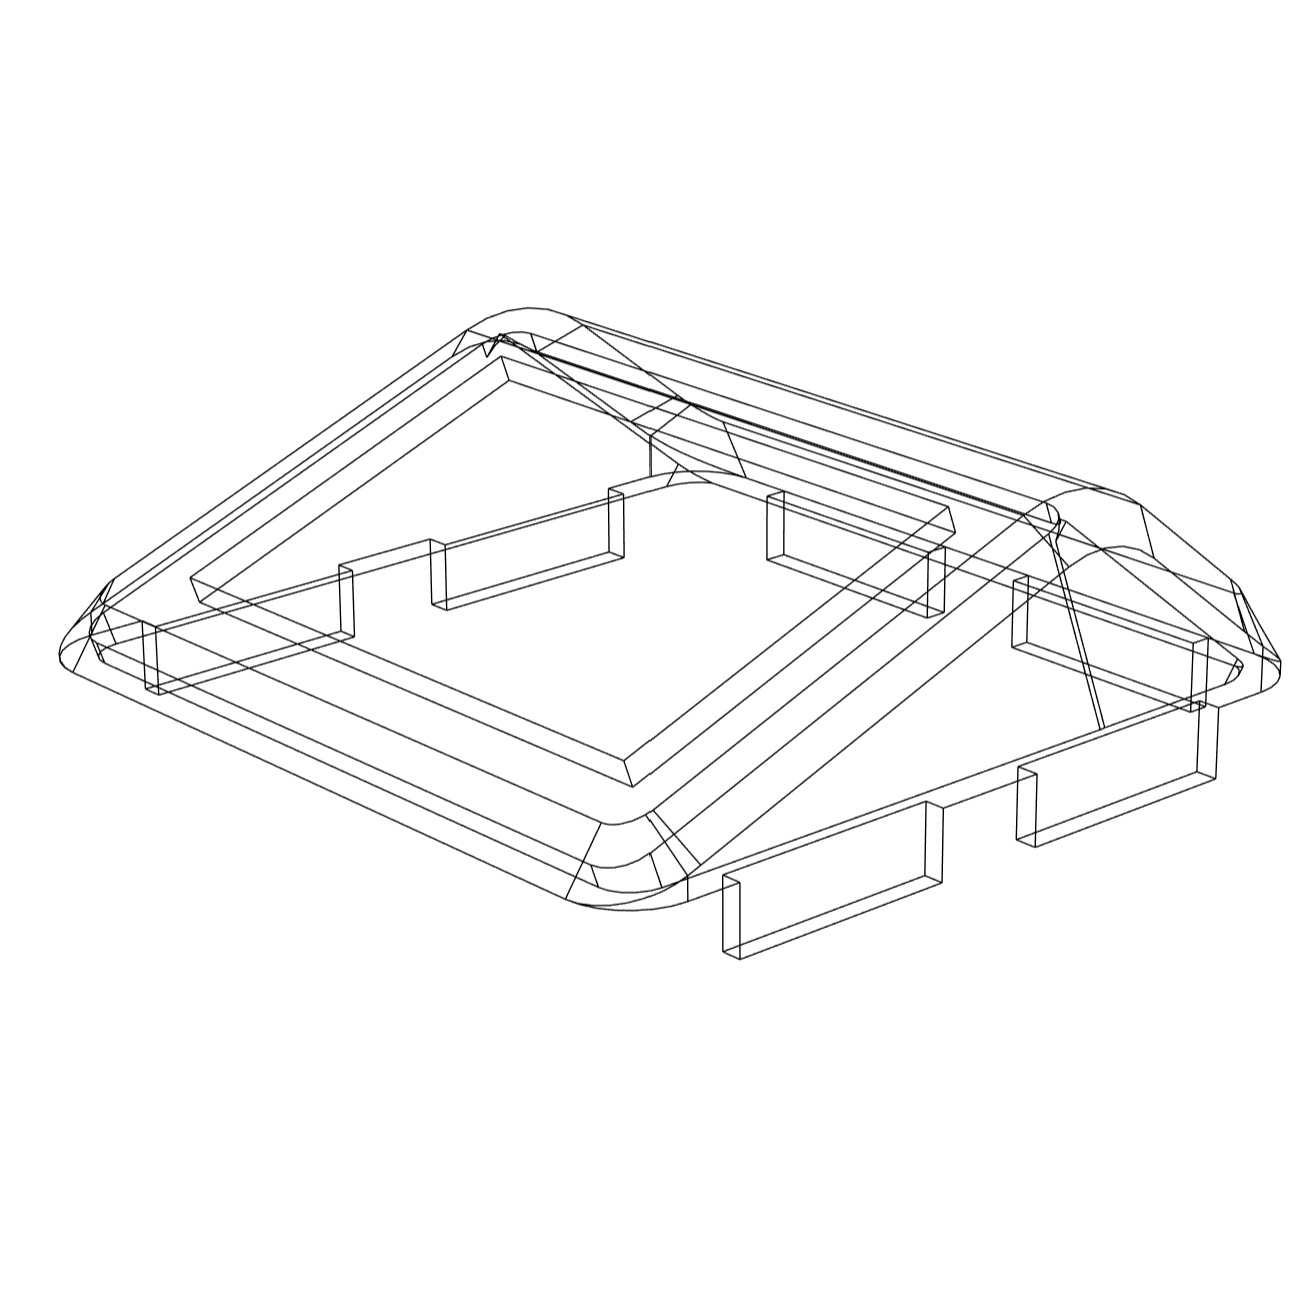
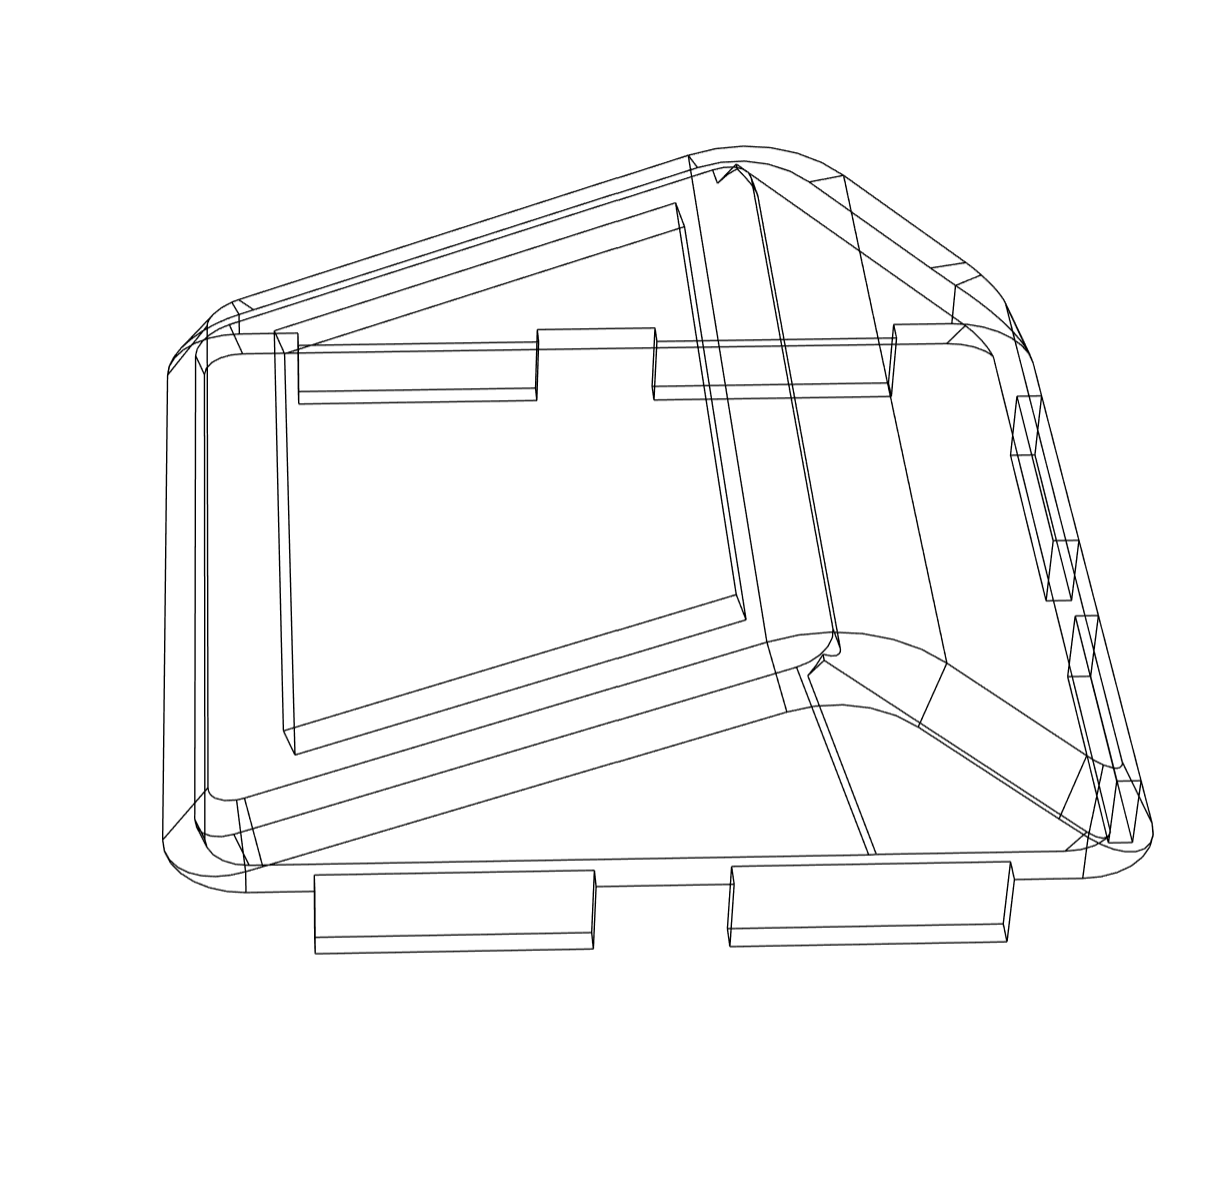
Part of the Tangible Garden project, this custom-modelled and 3D-printed enclosure became the first real bridge between digital interaction and physical form. The goal was to move the hardware out of a breadboard and into a body that could house the TFT display and RFID module with workable tolerances and wiring access. The process was slow and iterative through Fusion 360 modelling, slicing, and repeated print tuning, but it established the first functioning enclosure where physical objects could reliably trigger and communicate with the virtual garden.
Work-in-progress 3D model of enclosure in Fusion 360
Second iteration of the enclosure model with refined proportions
Third iteration of the 3D model ready for printing
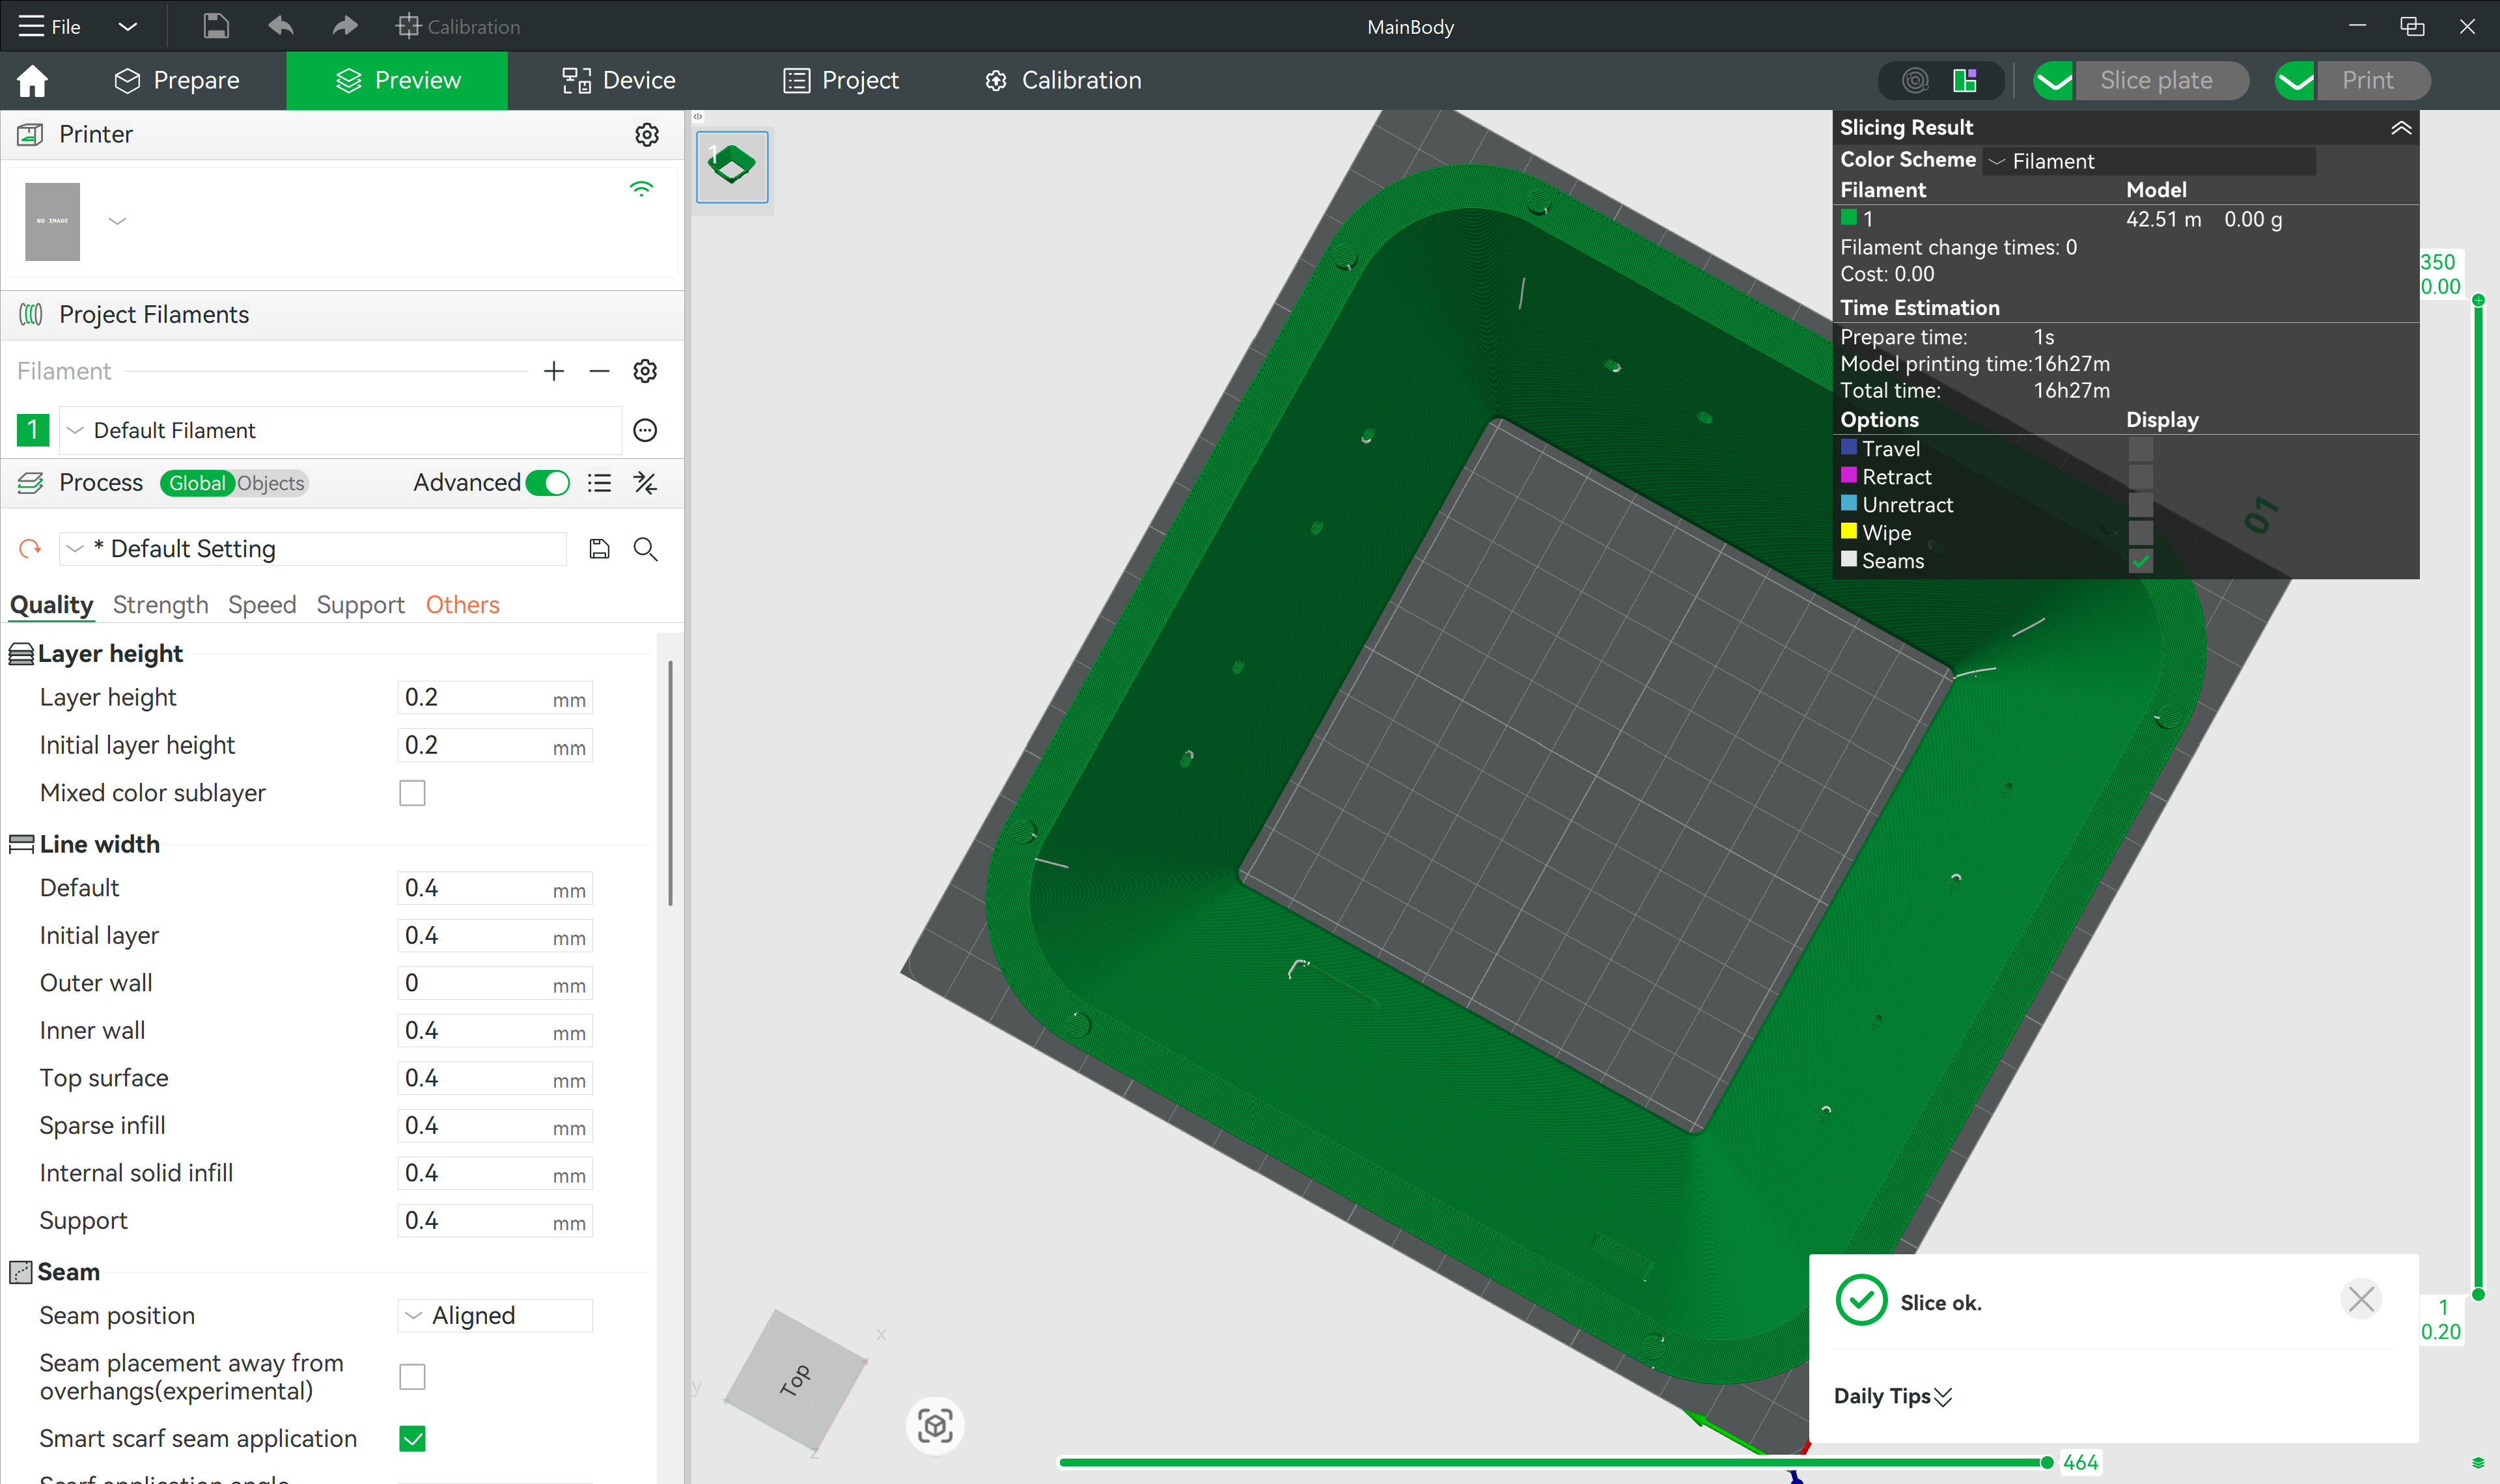
Bambu Studio slicer interface
Bambu Studio print settings
First 3D print on the workshop bed with tree-branch supports
First 3D-printed enclosure in hand after support removal
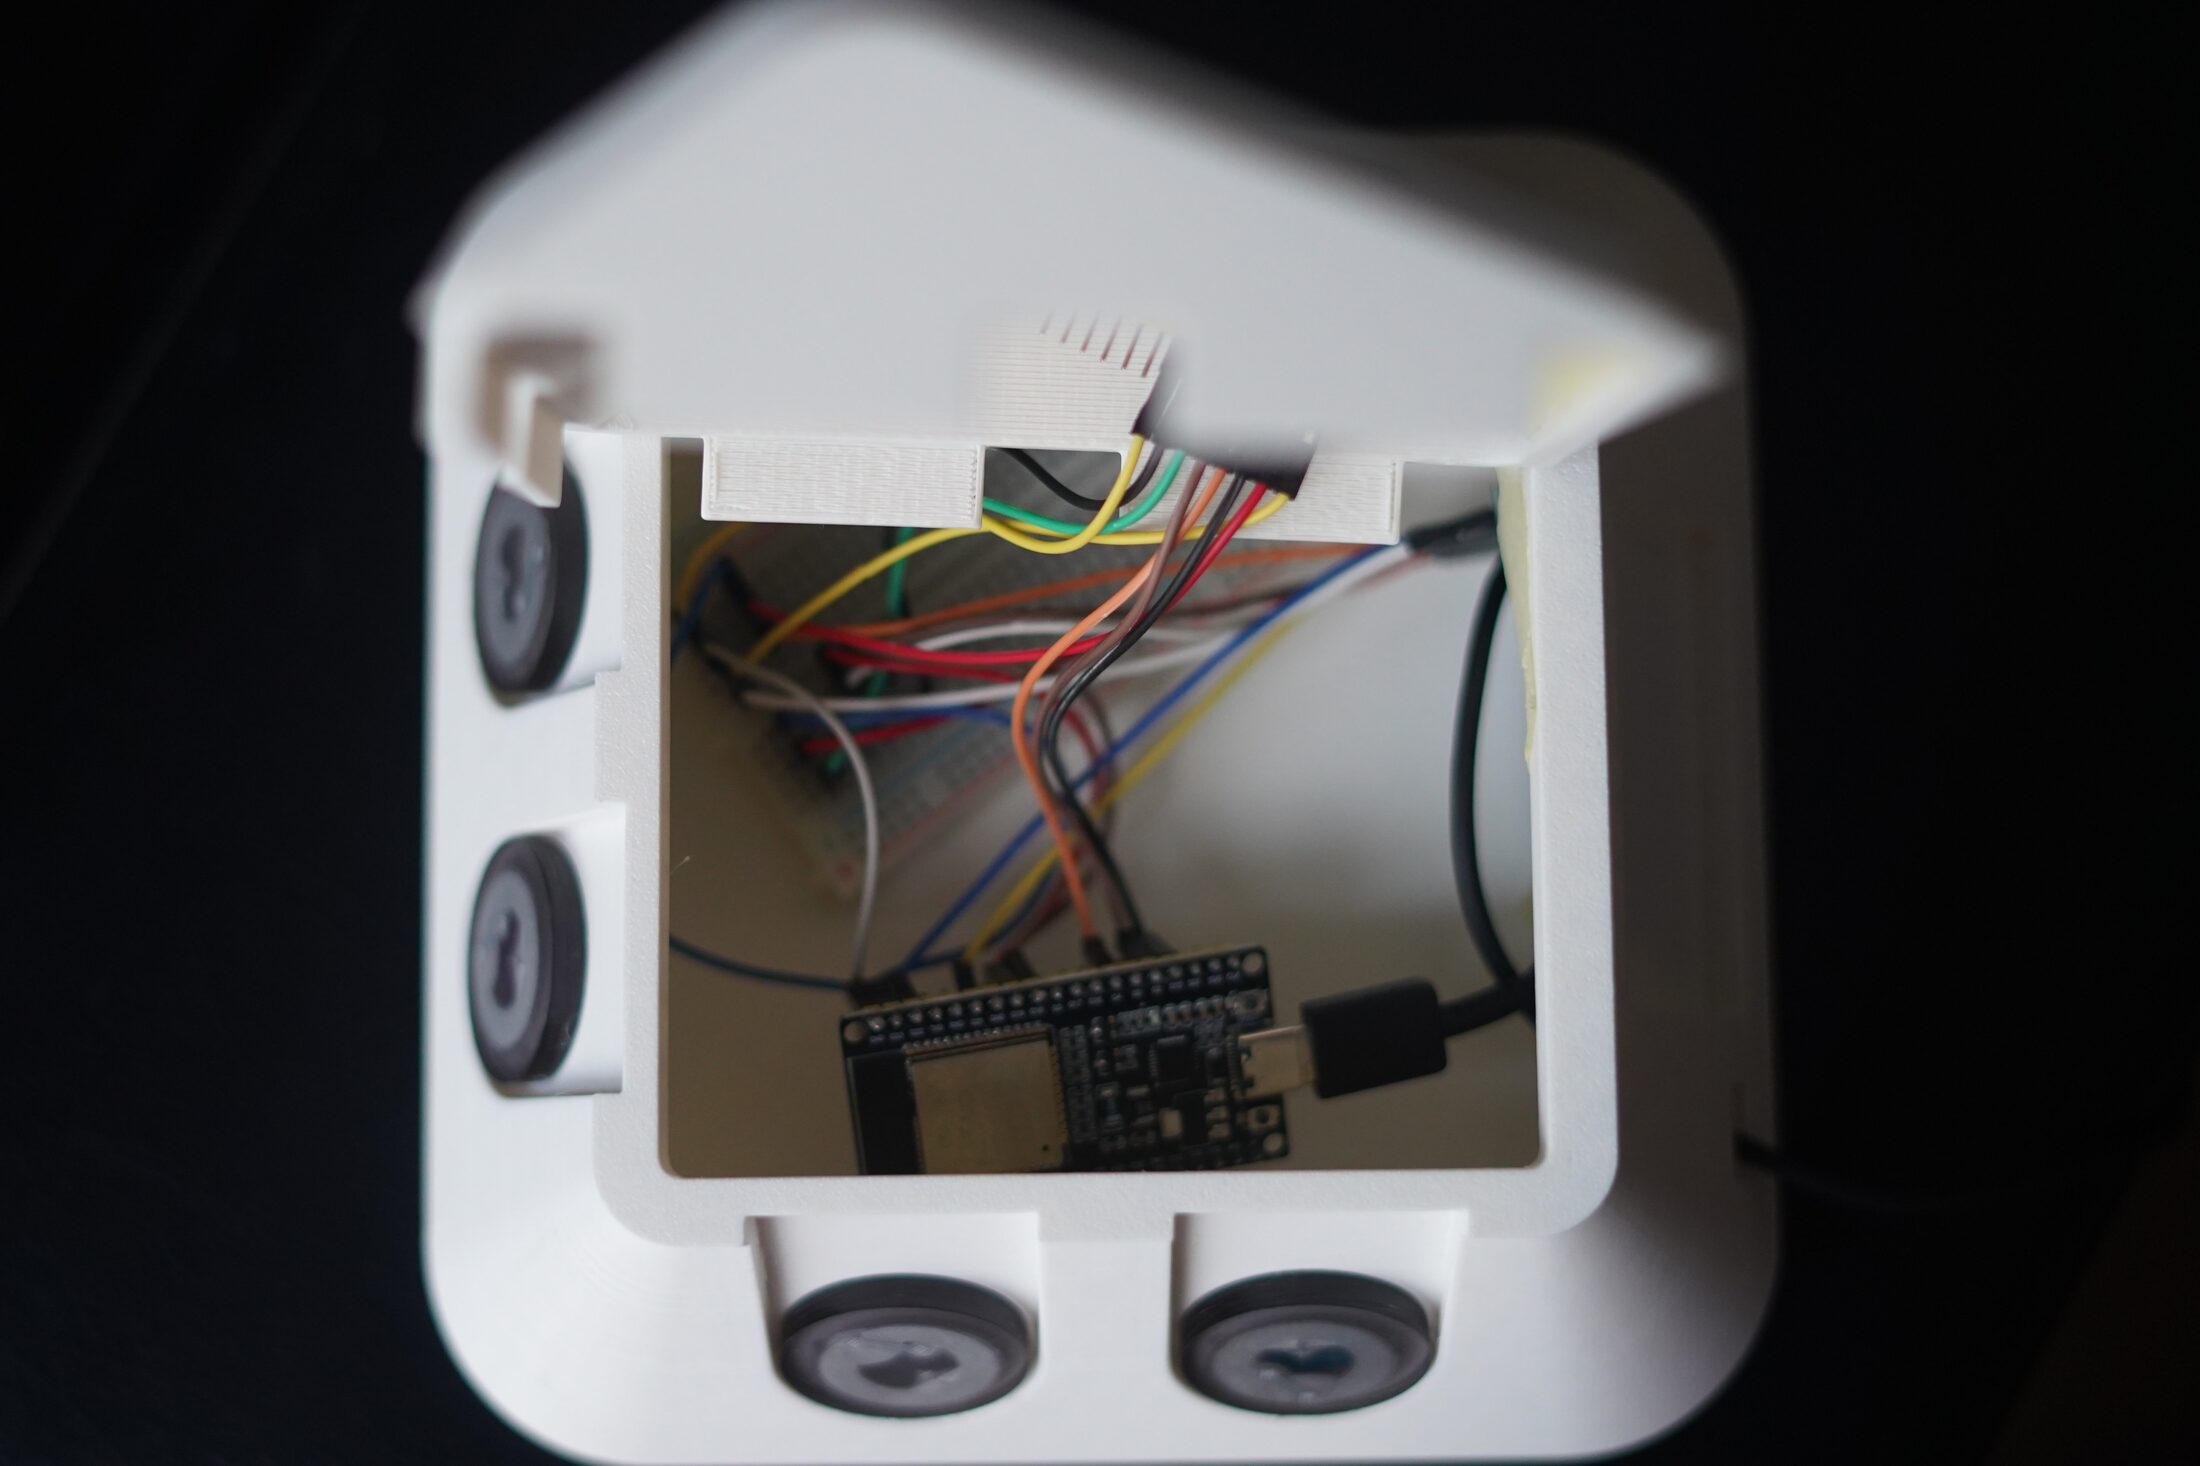
Main wiring view inside the 3D-printed box
Wiring detail 1
Wiring detail 2
Wiring detail 3
Wiring detail 4
Wiring detail 5
Wiring detail 6
Wiring detail 7
Wiring detail 8
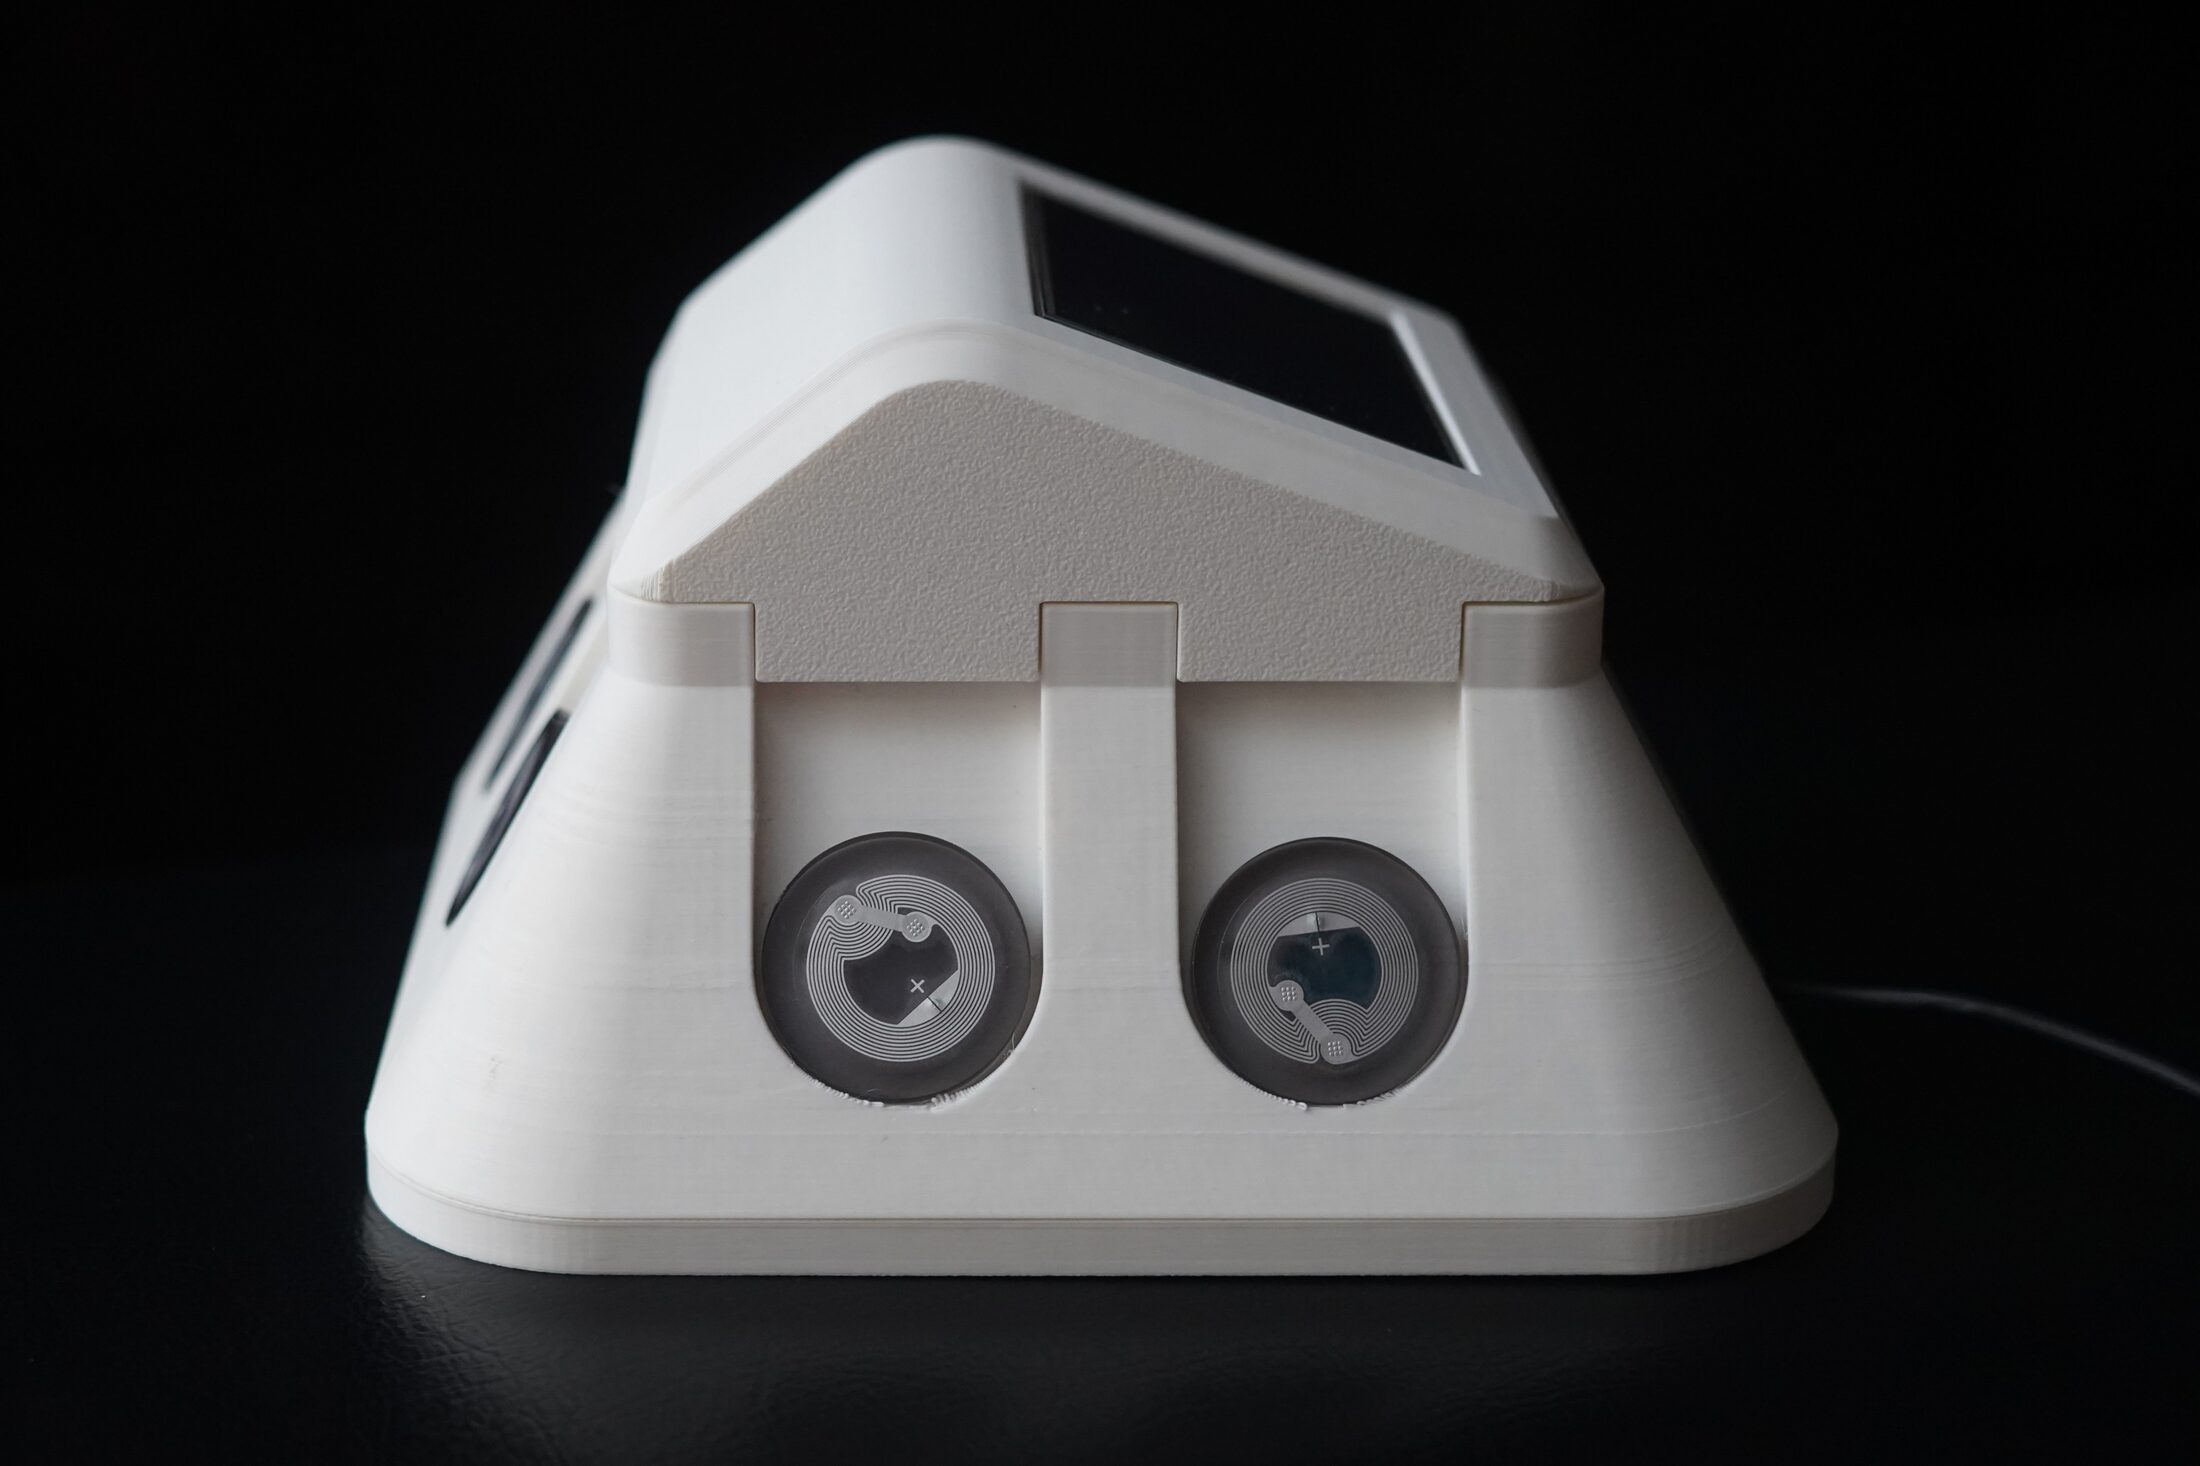
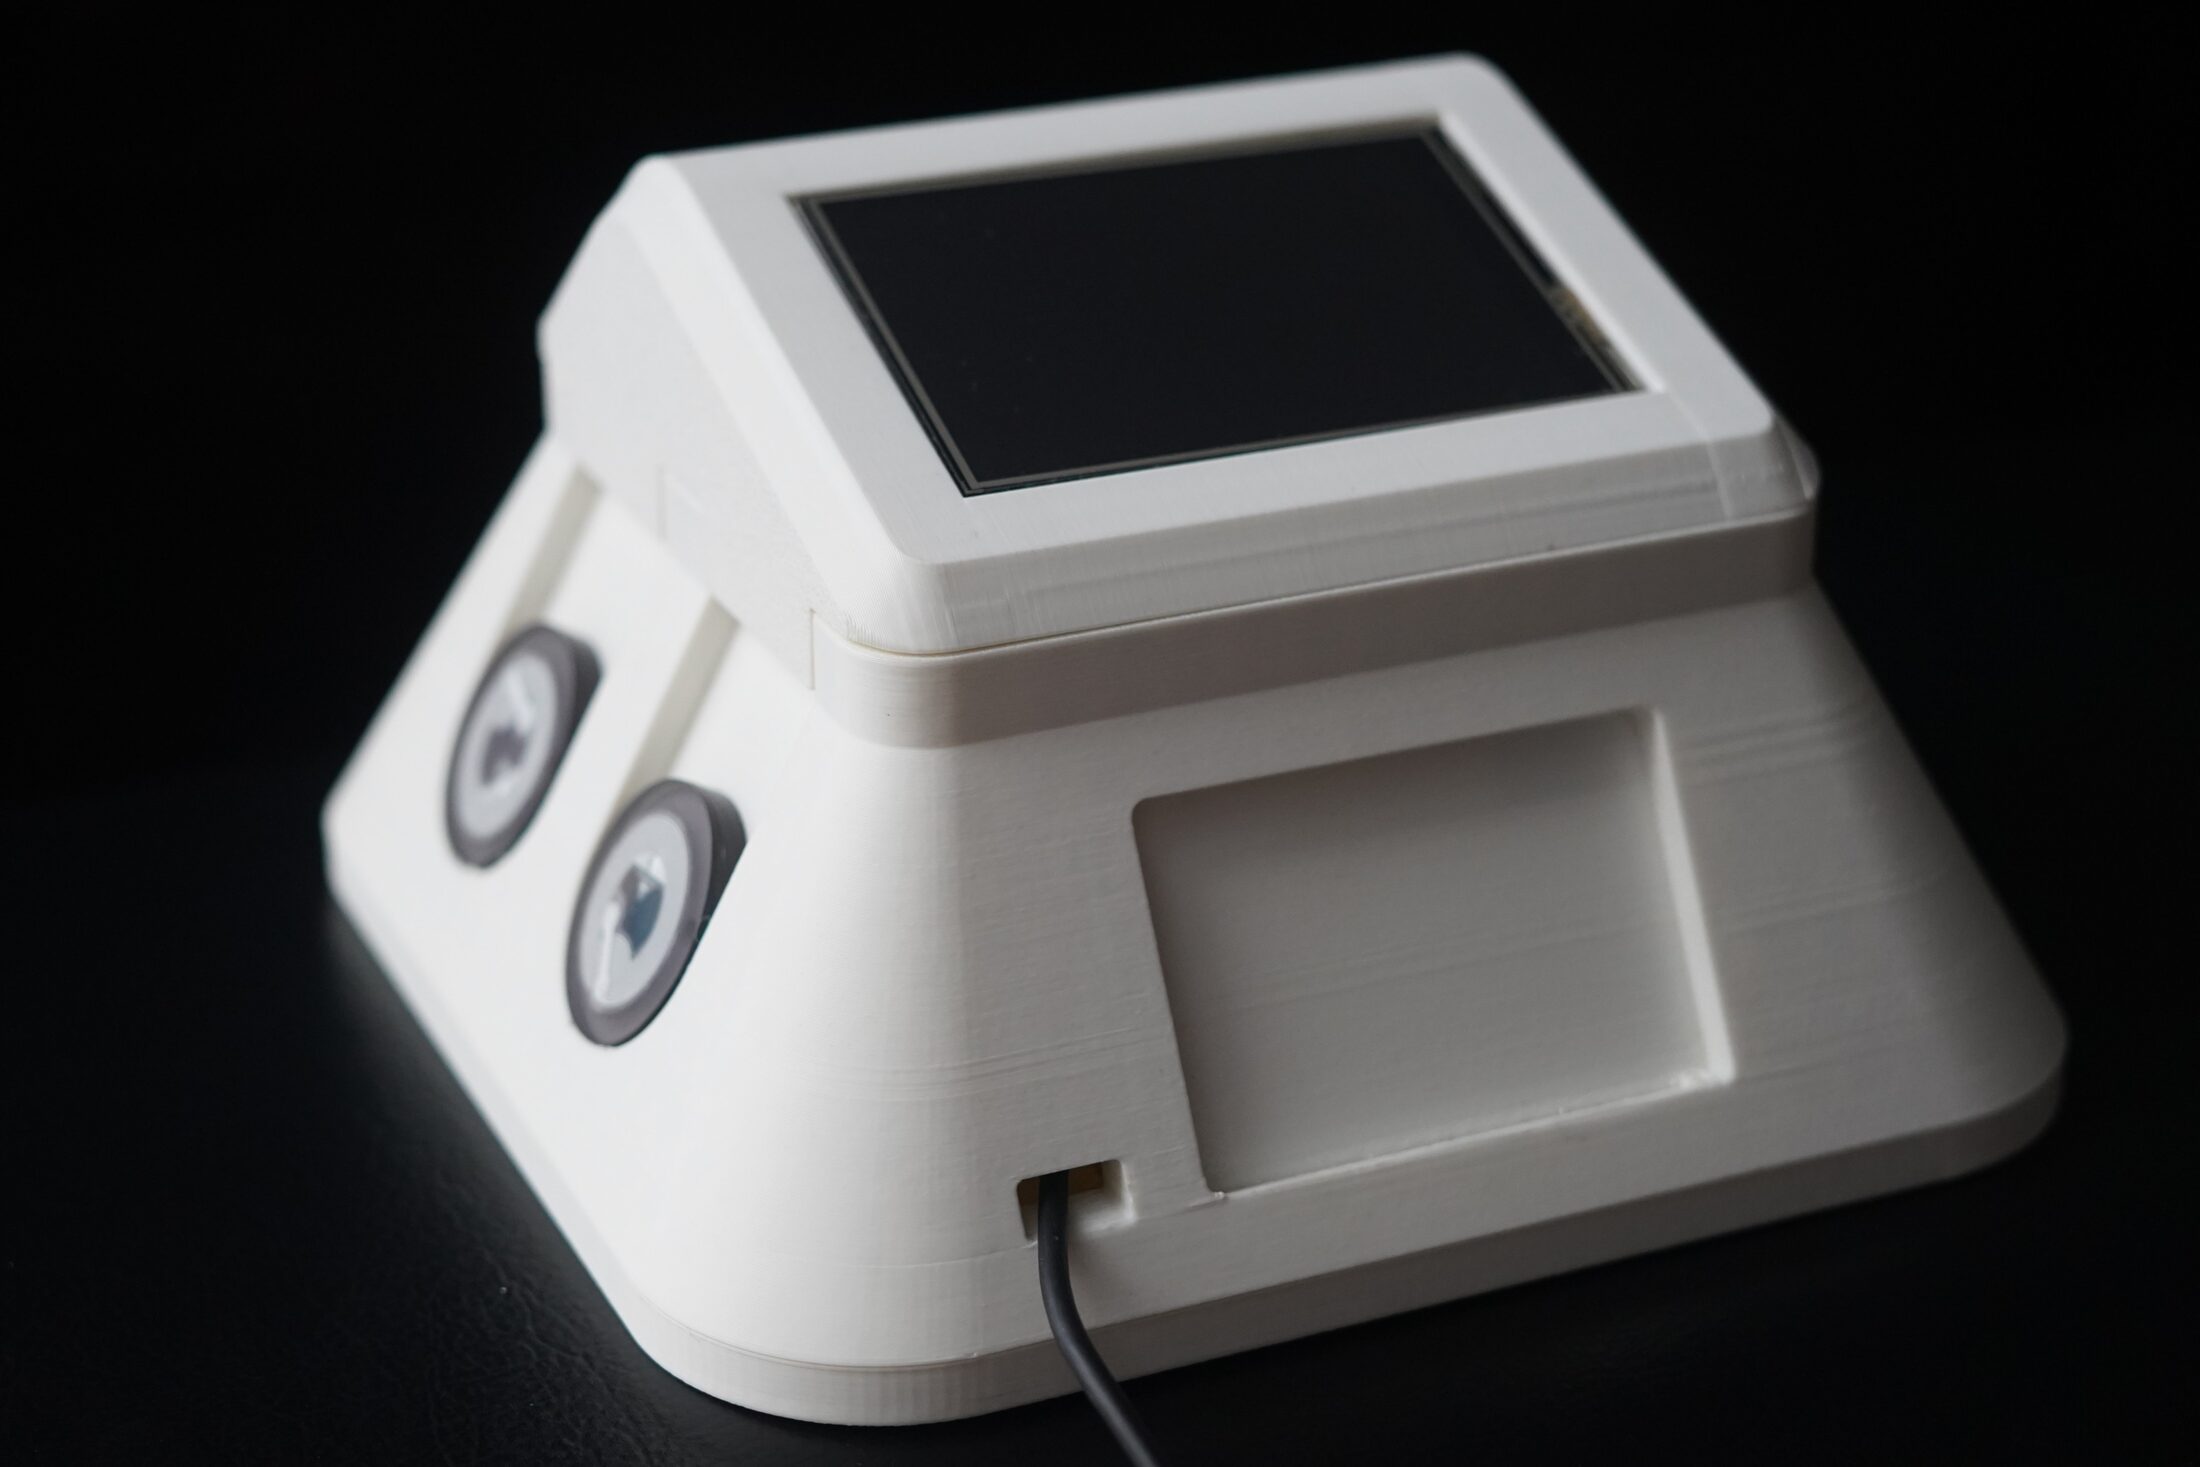
Final Teleflora prototype front view with two NFC token slots and TFT screen
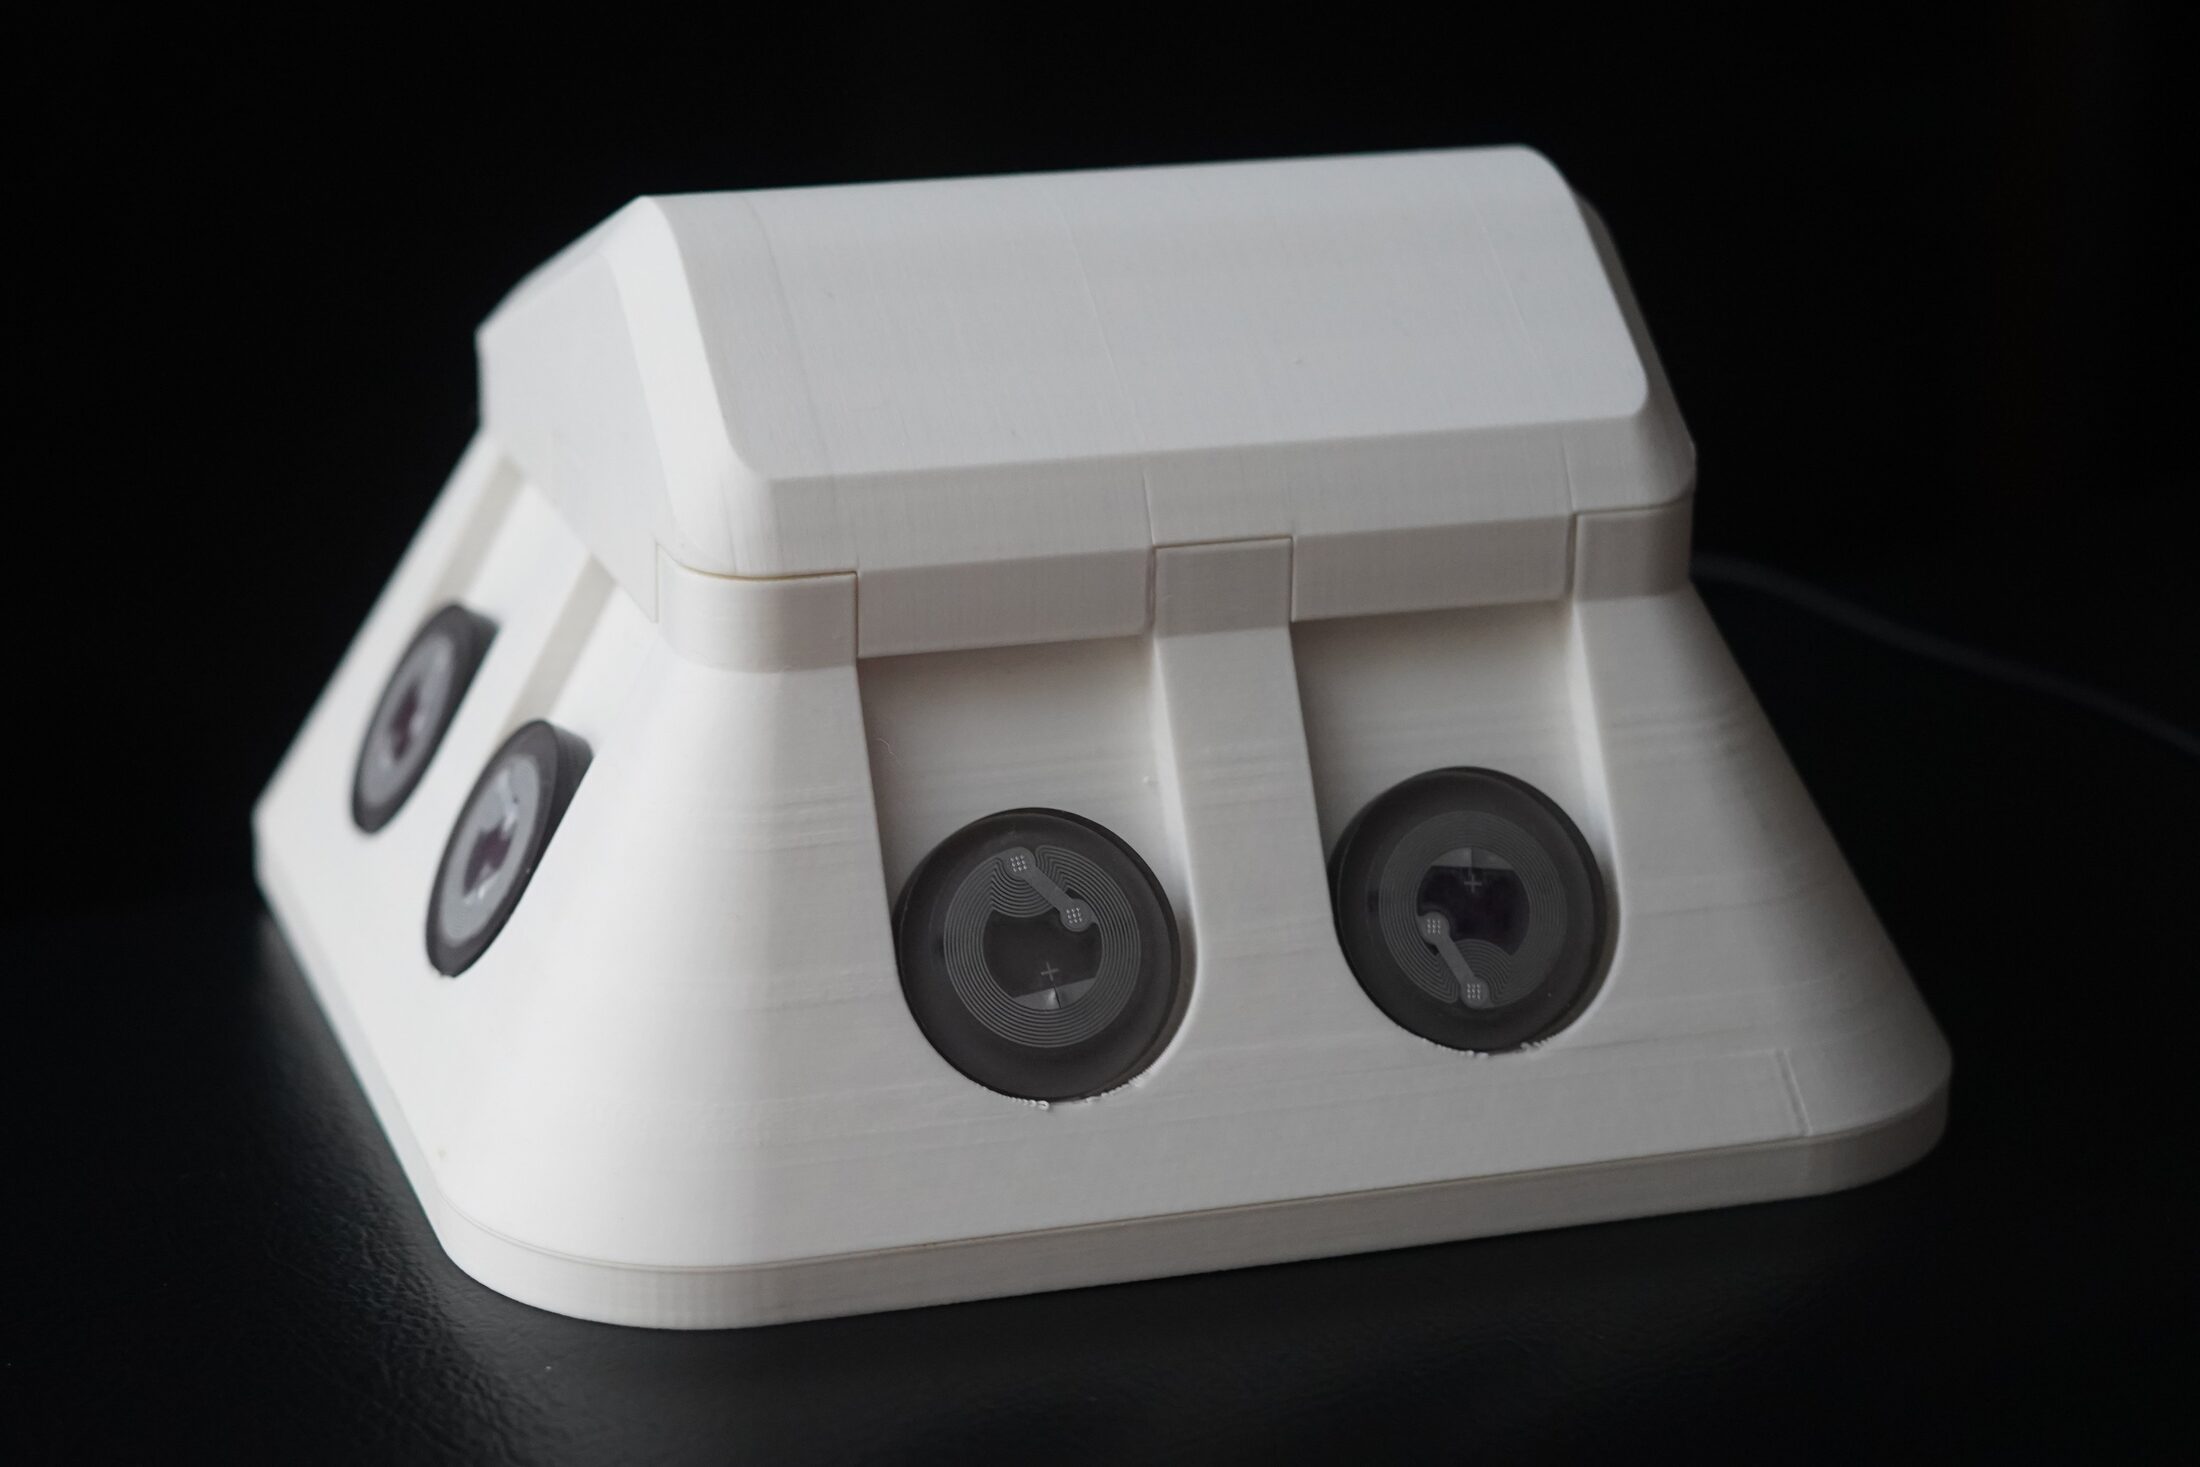
Three-quarter view of Teleflora showing four NFC token slots across two sides
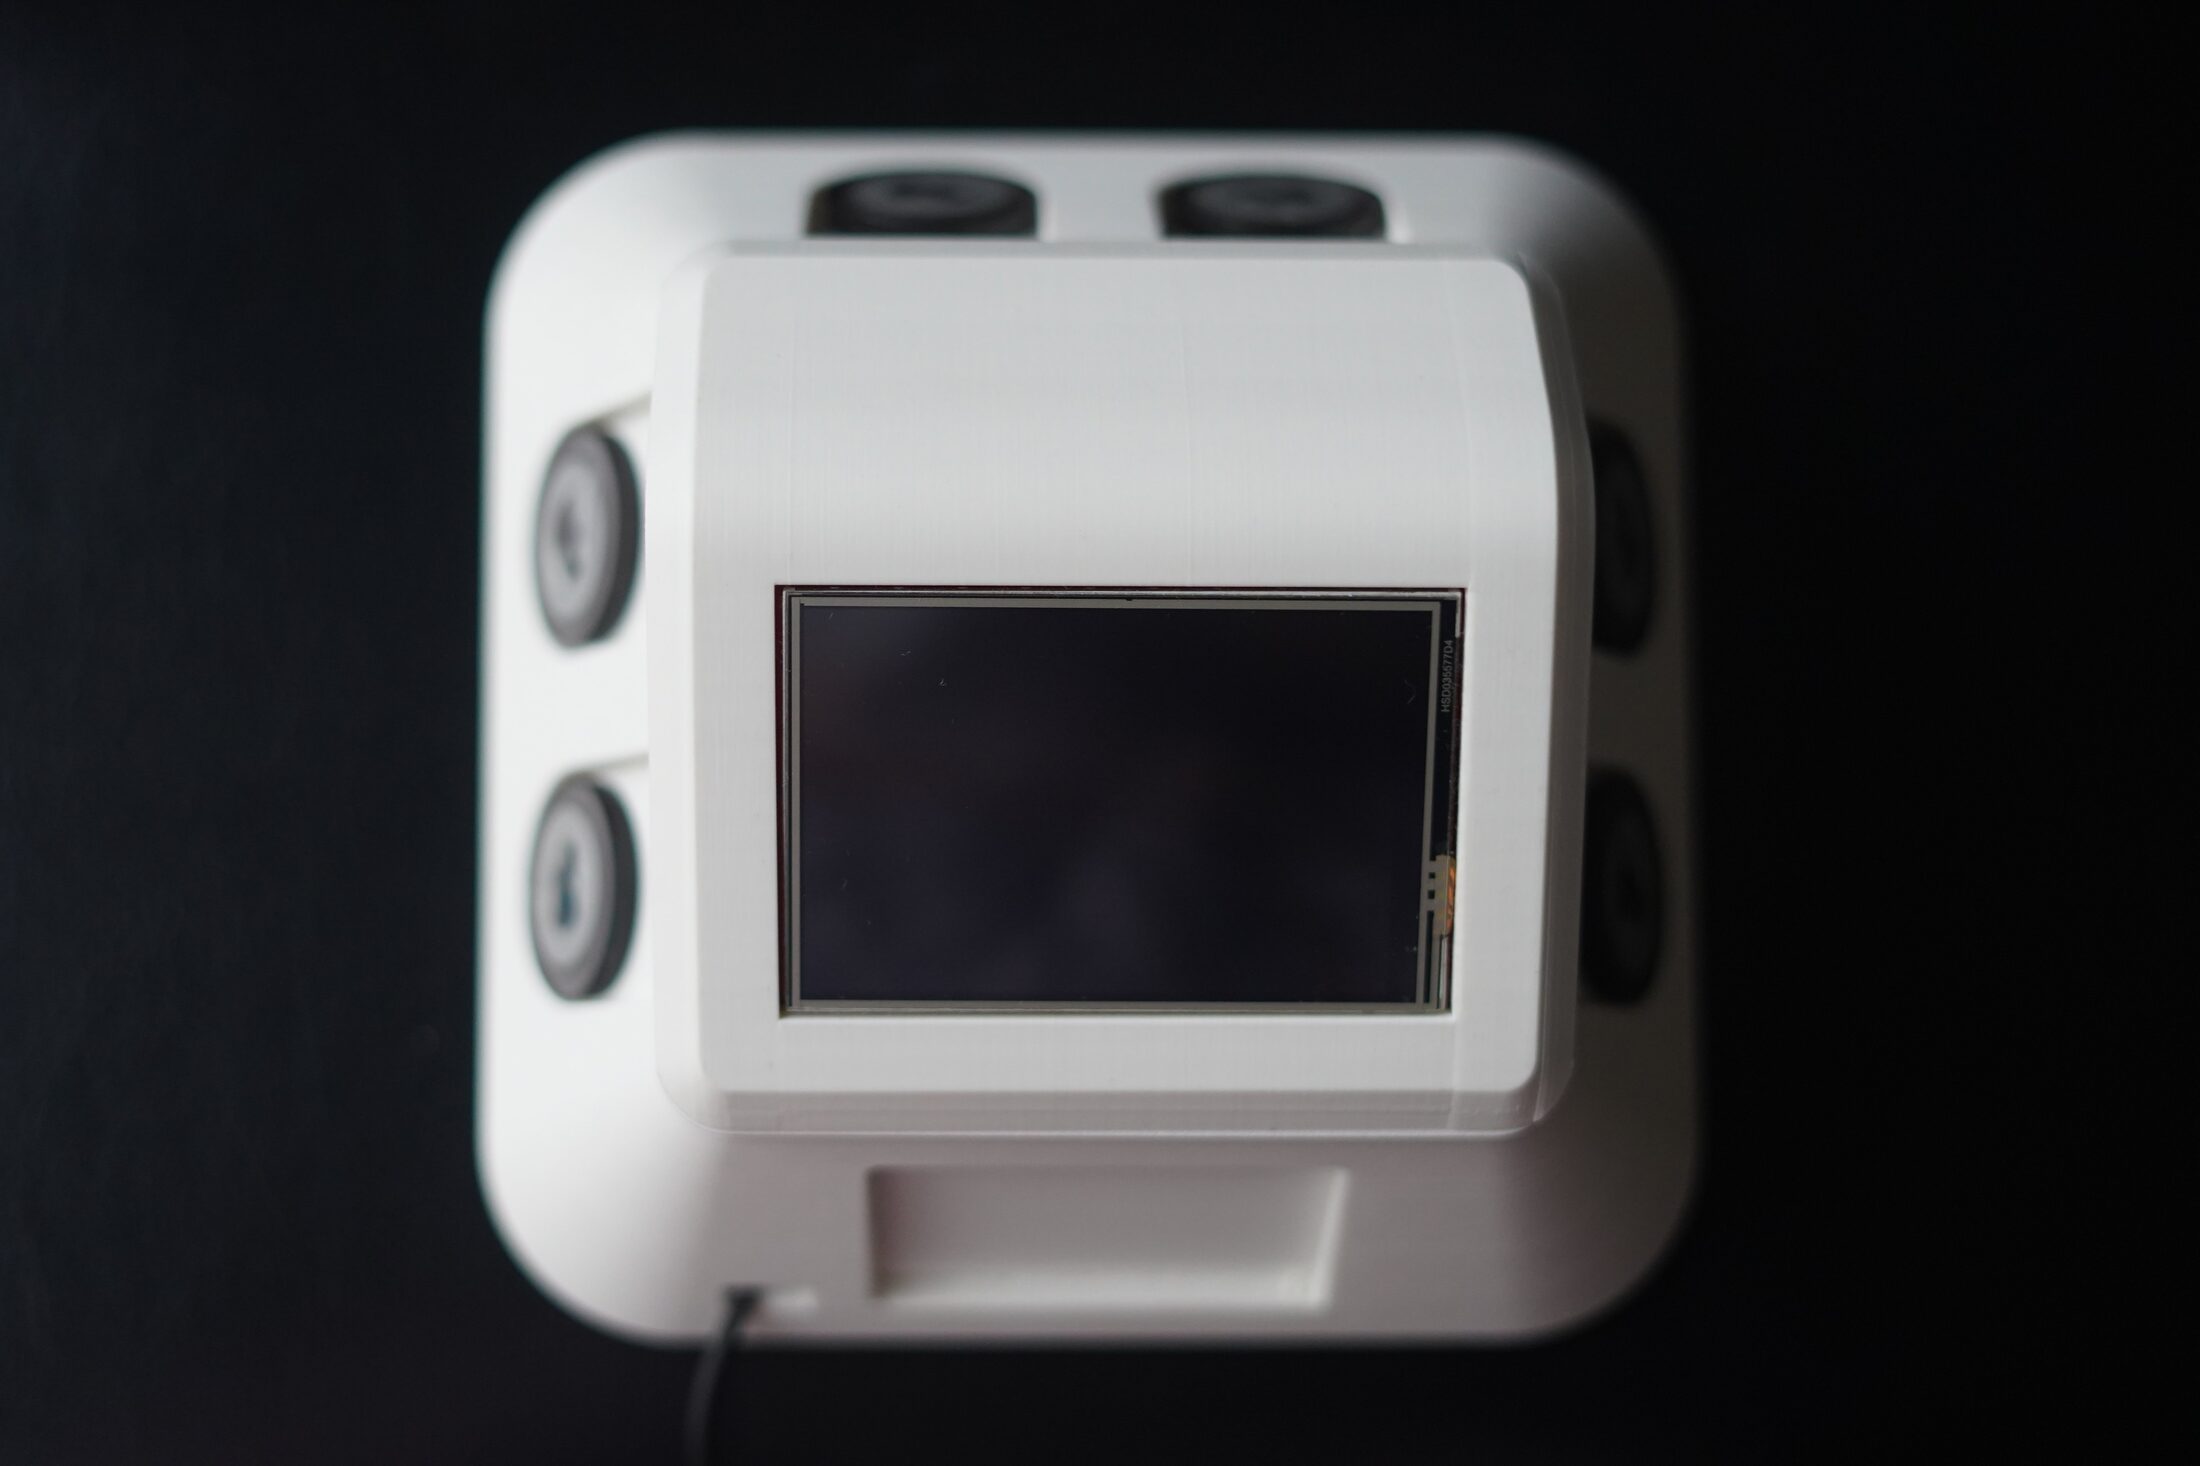
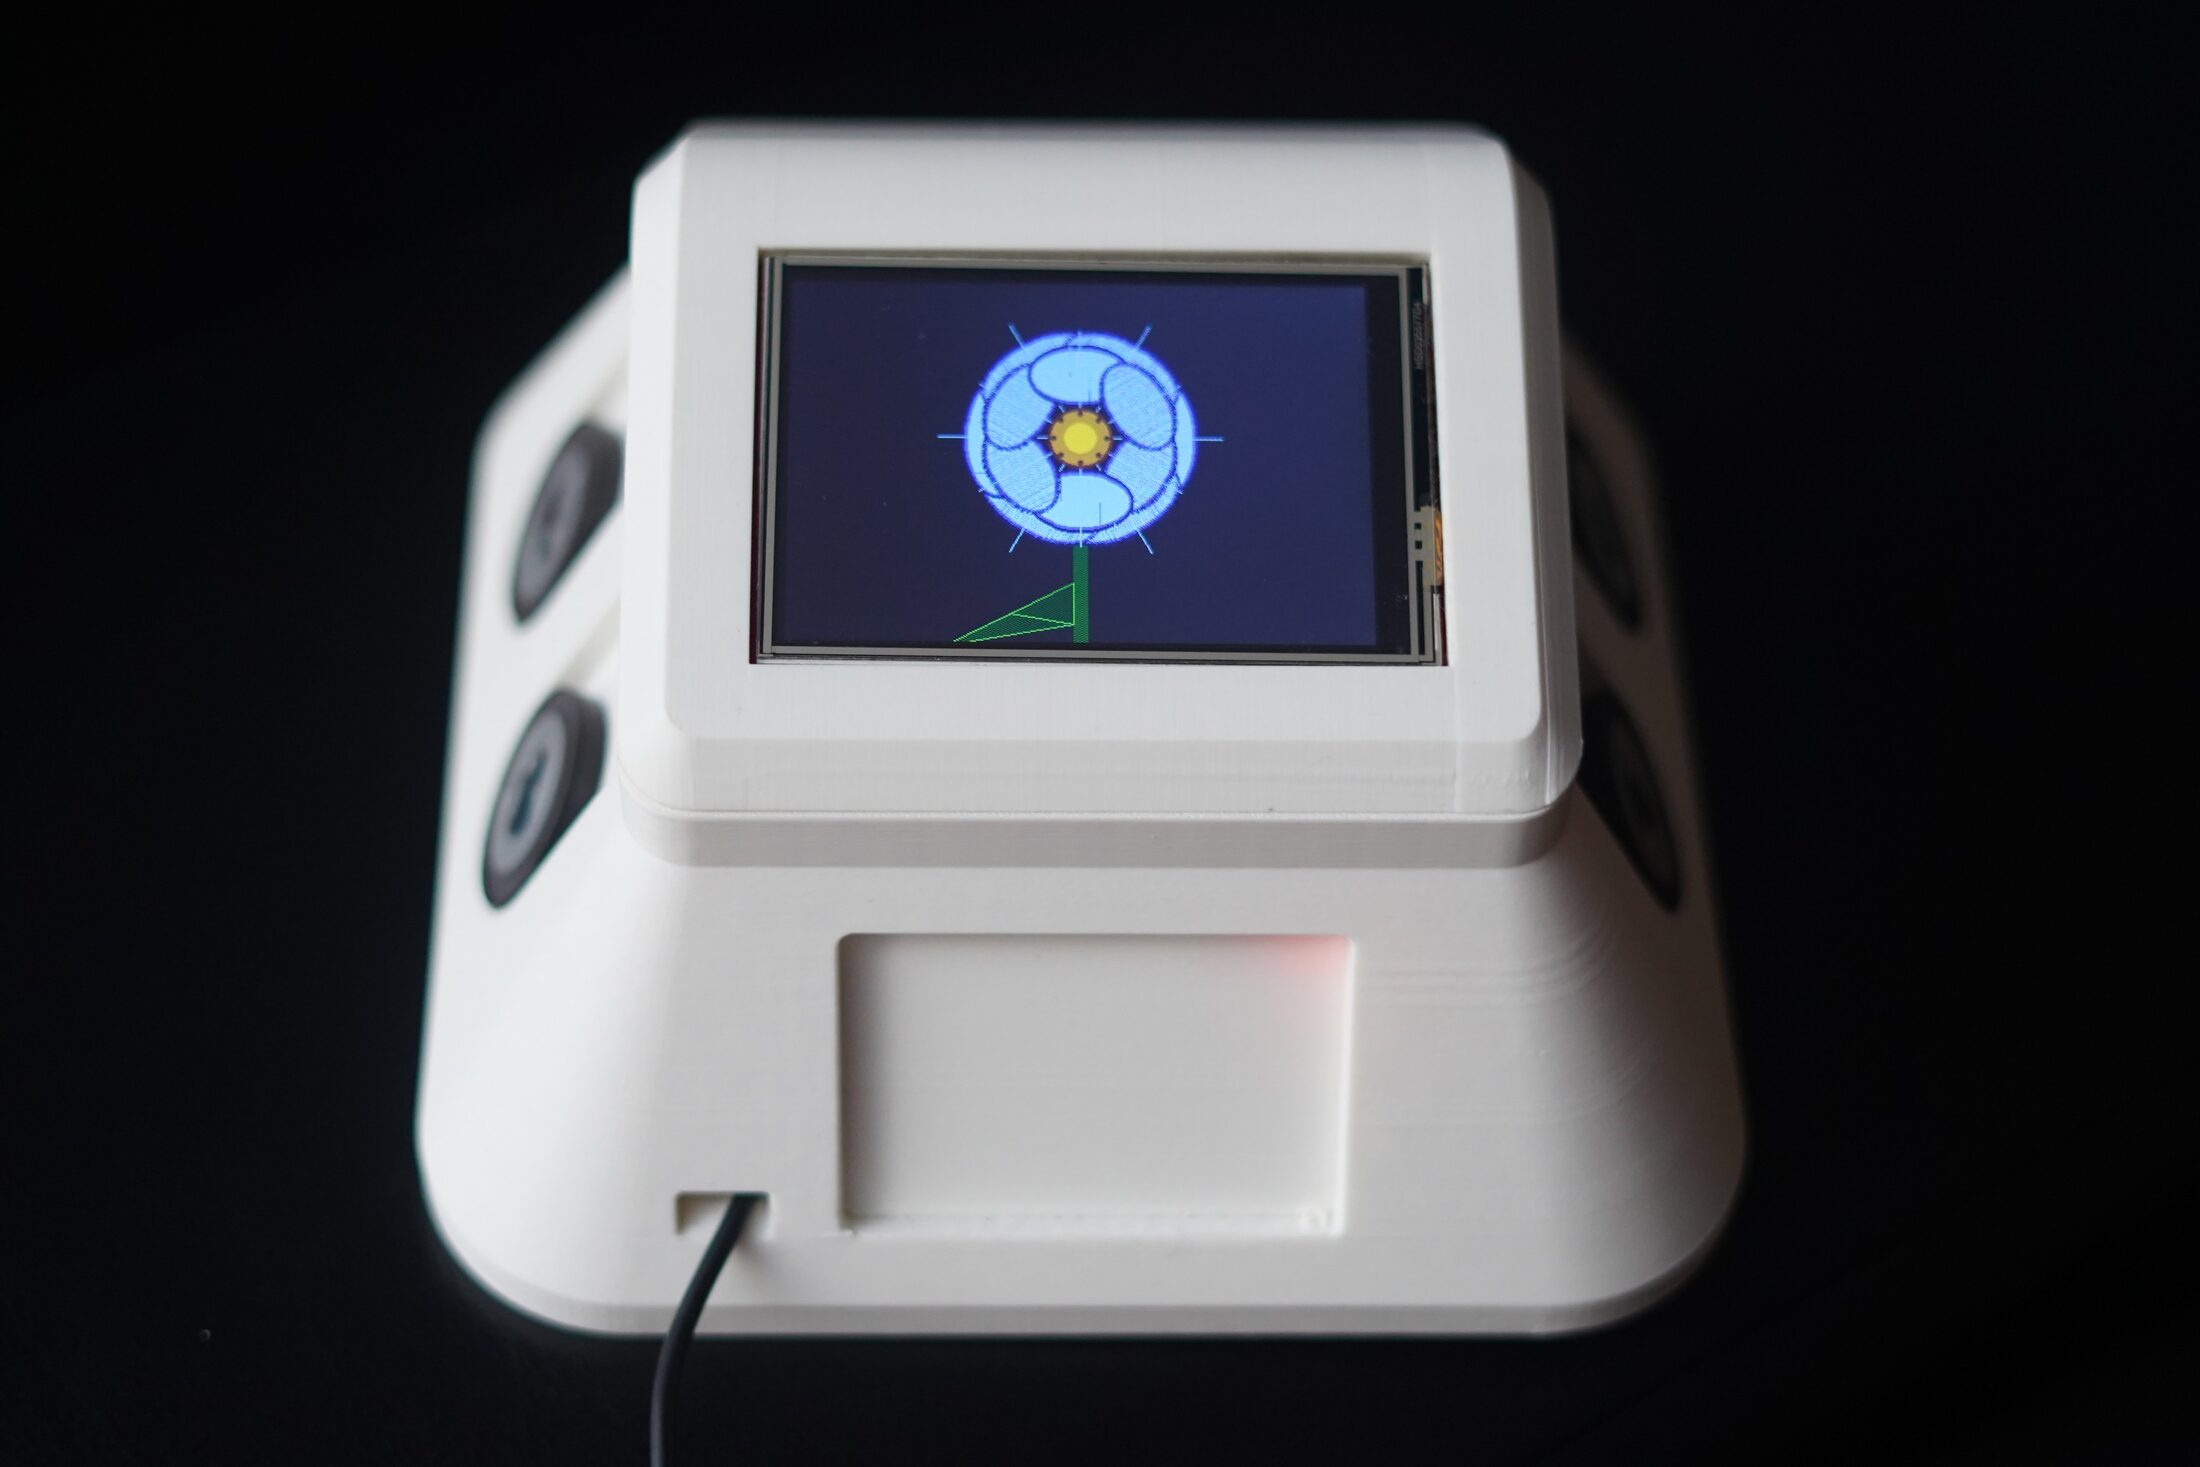
Top-down view of Teleflora with TFT display centred and tokens arranged around it
Side angle of Teleflora showing the base plate where the flower sits
Final Teleflora prototype running with a blue drawn flower on the screen
Hand tapping a red-dotted NFC token into the side slot of Teleflora
Interior view of Teleflora through the service window showing ESP32 and wired breadboard

Experiment 05

Wooden Laser-Cut Box

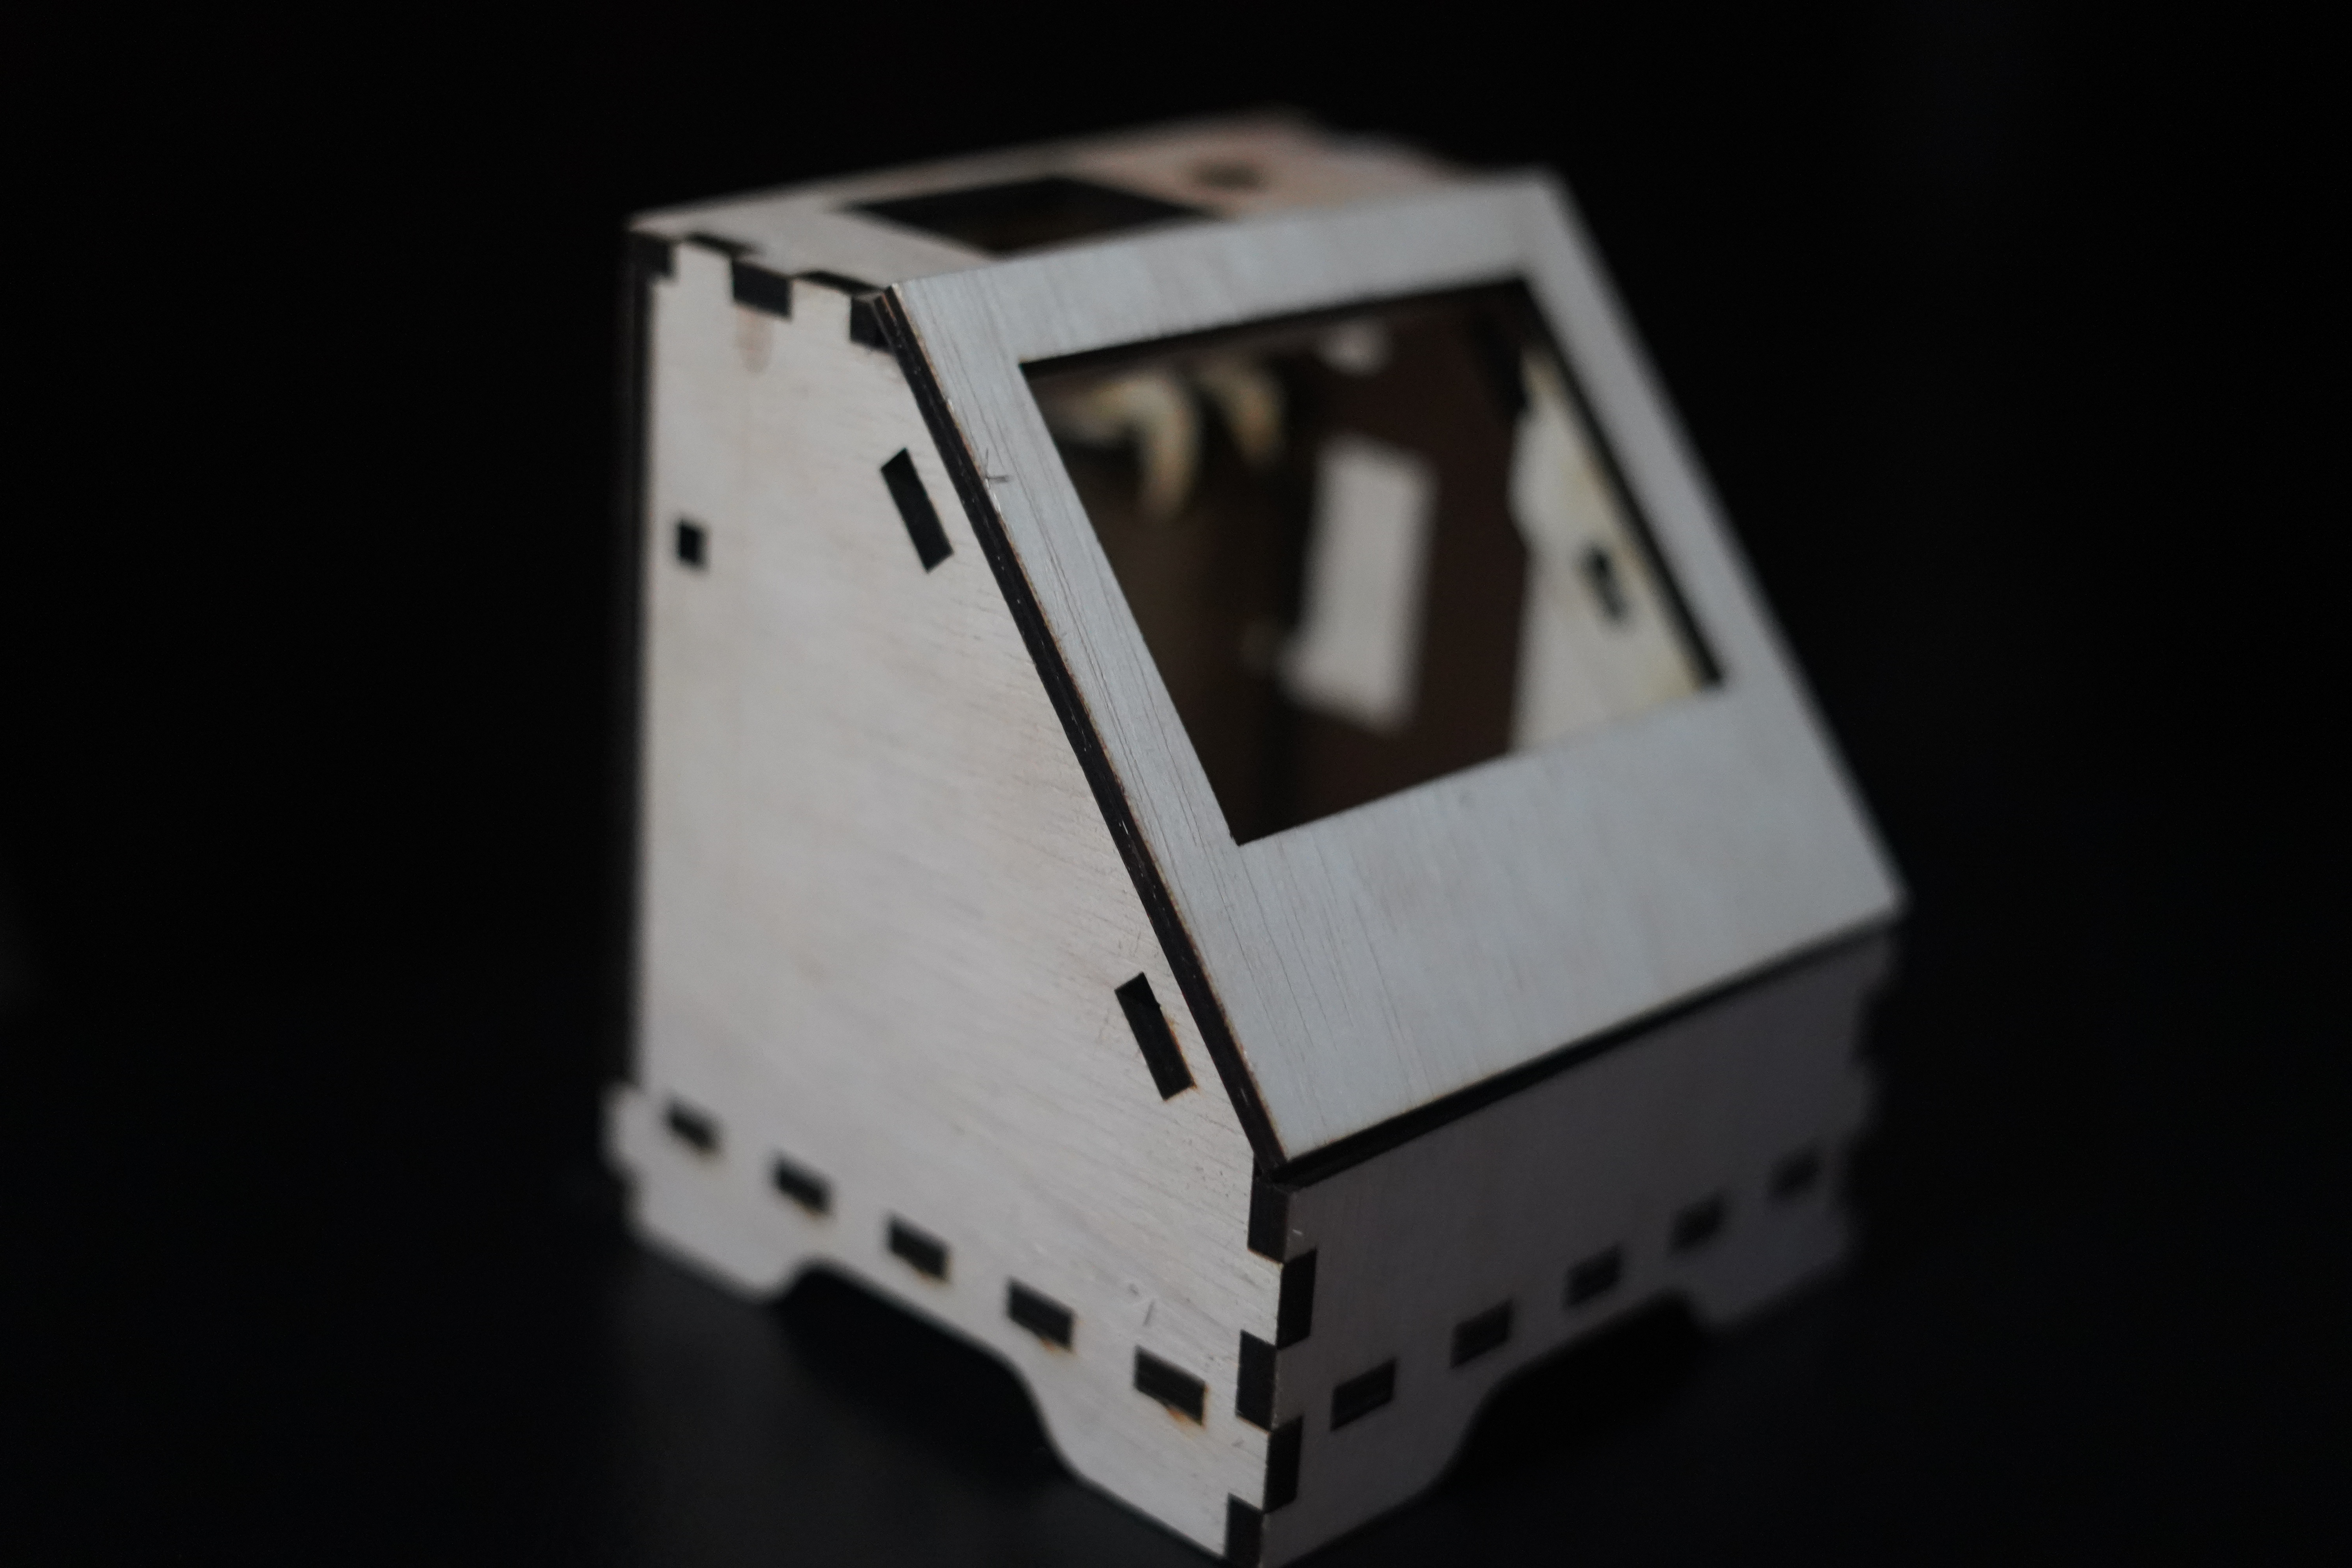
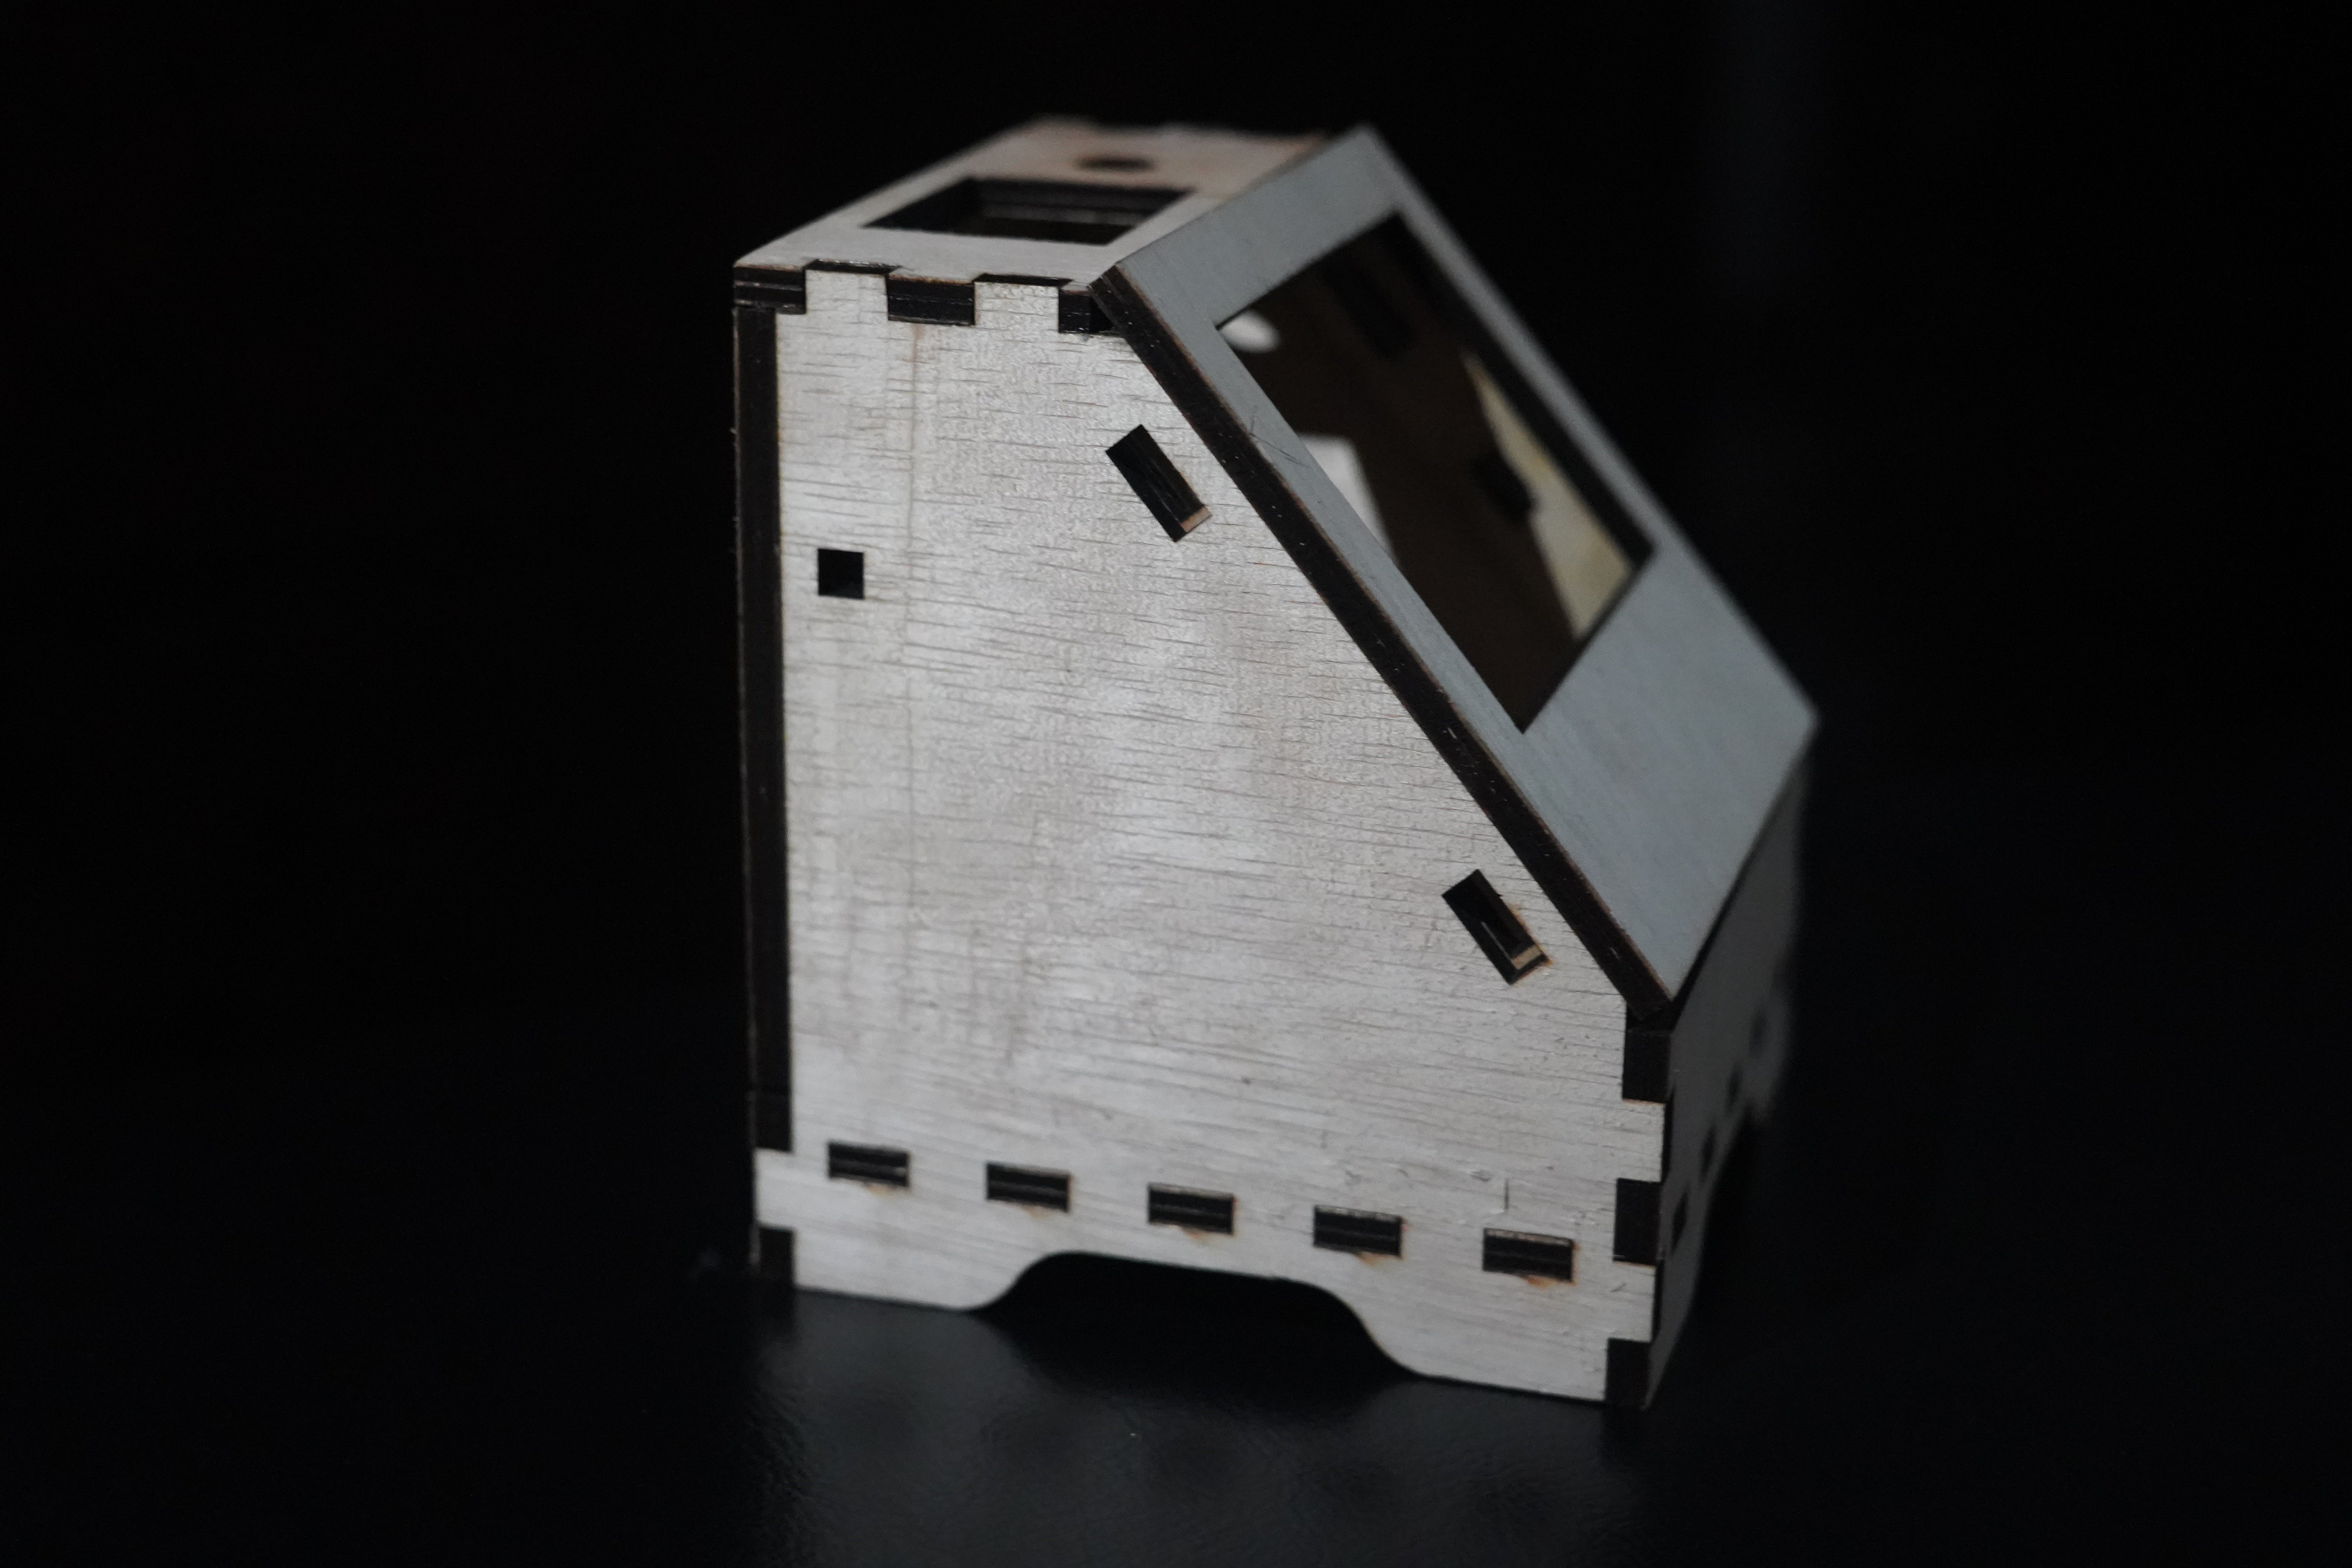
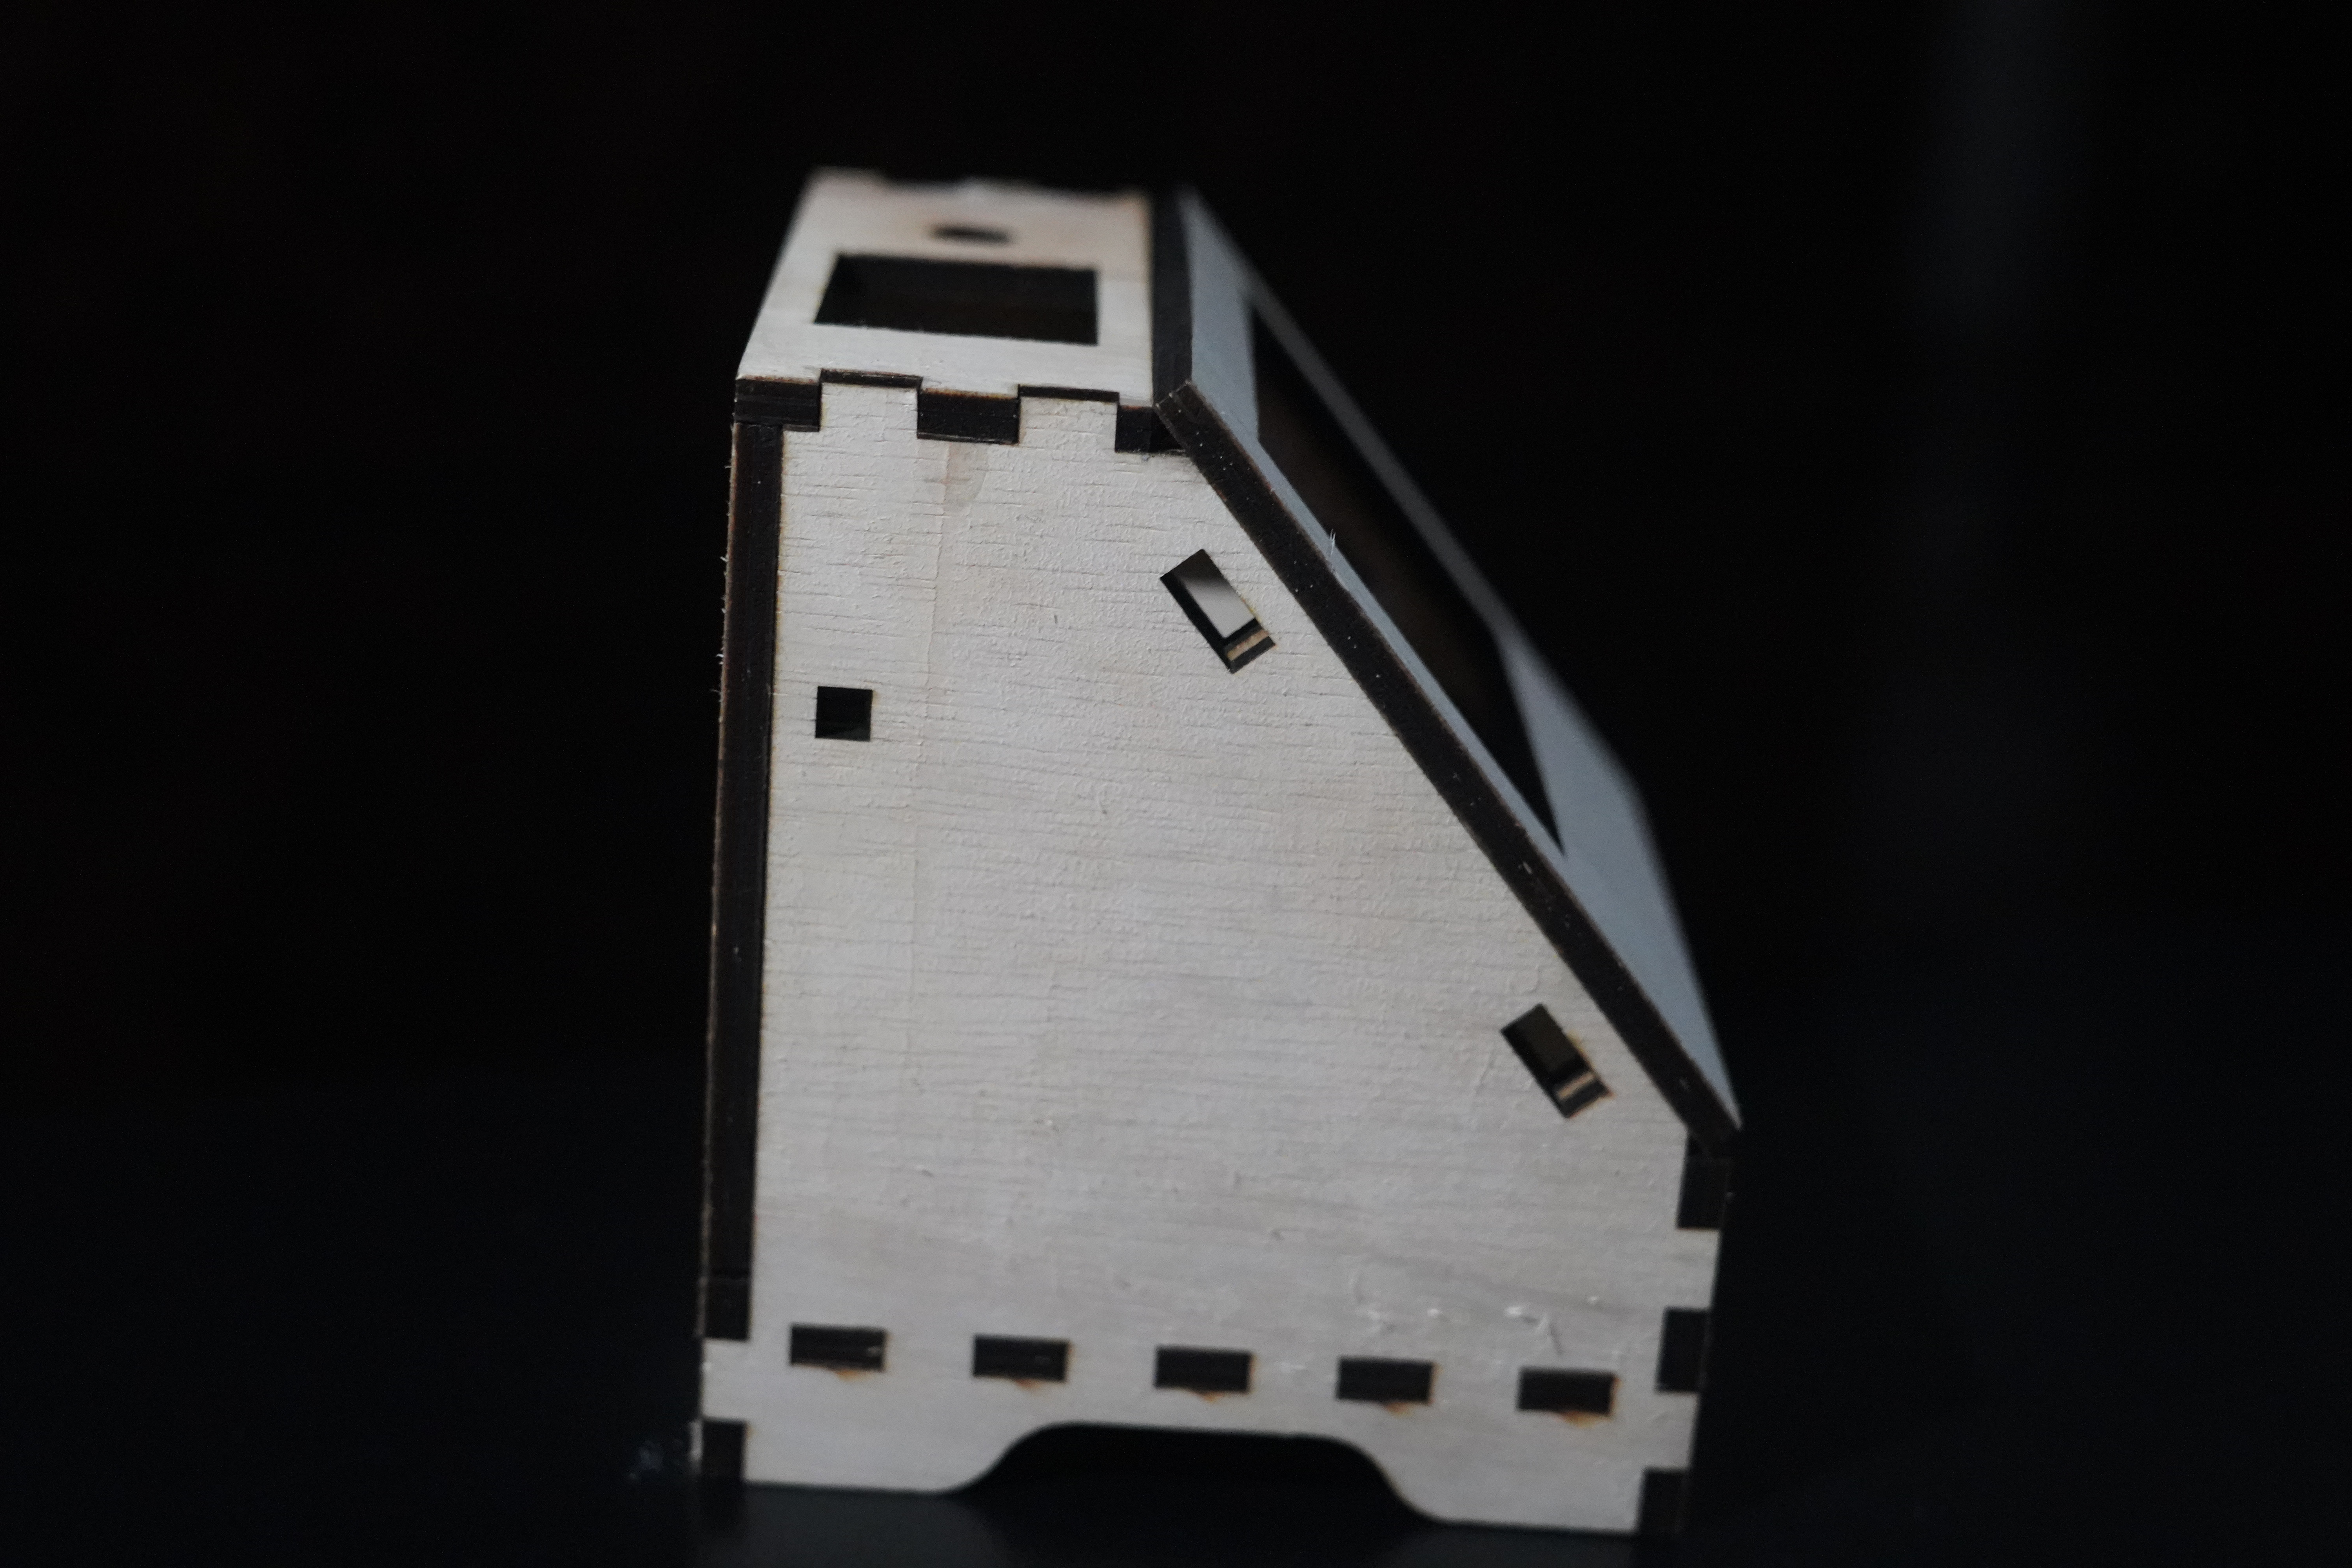
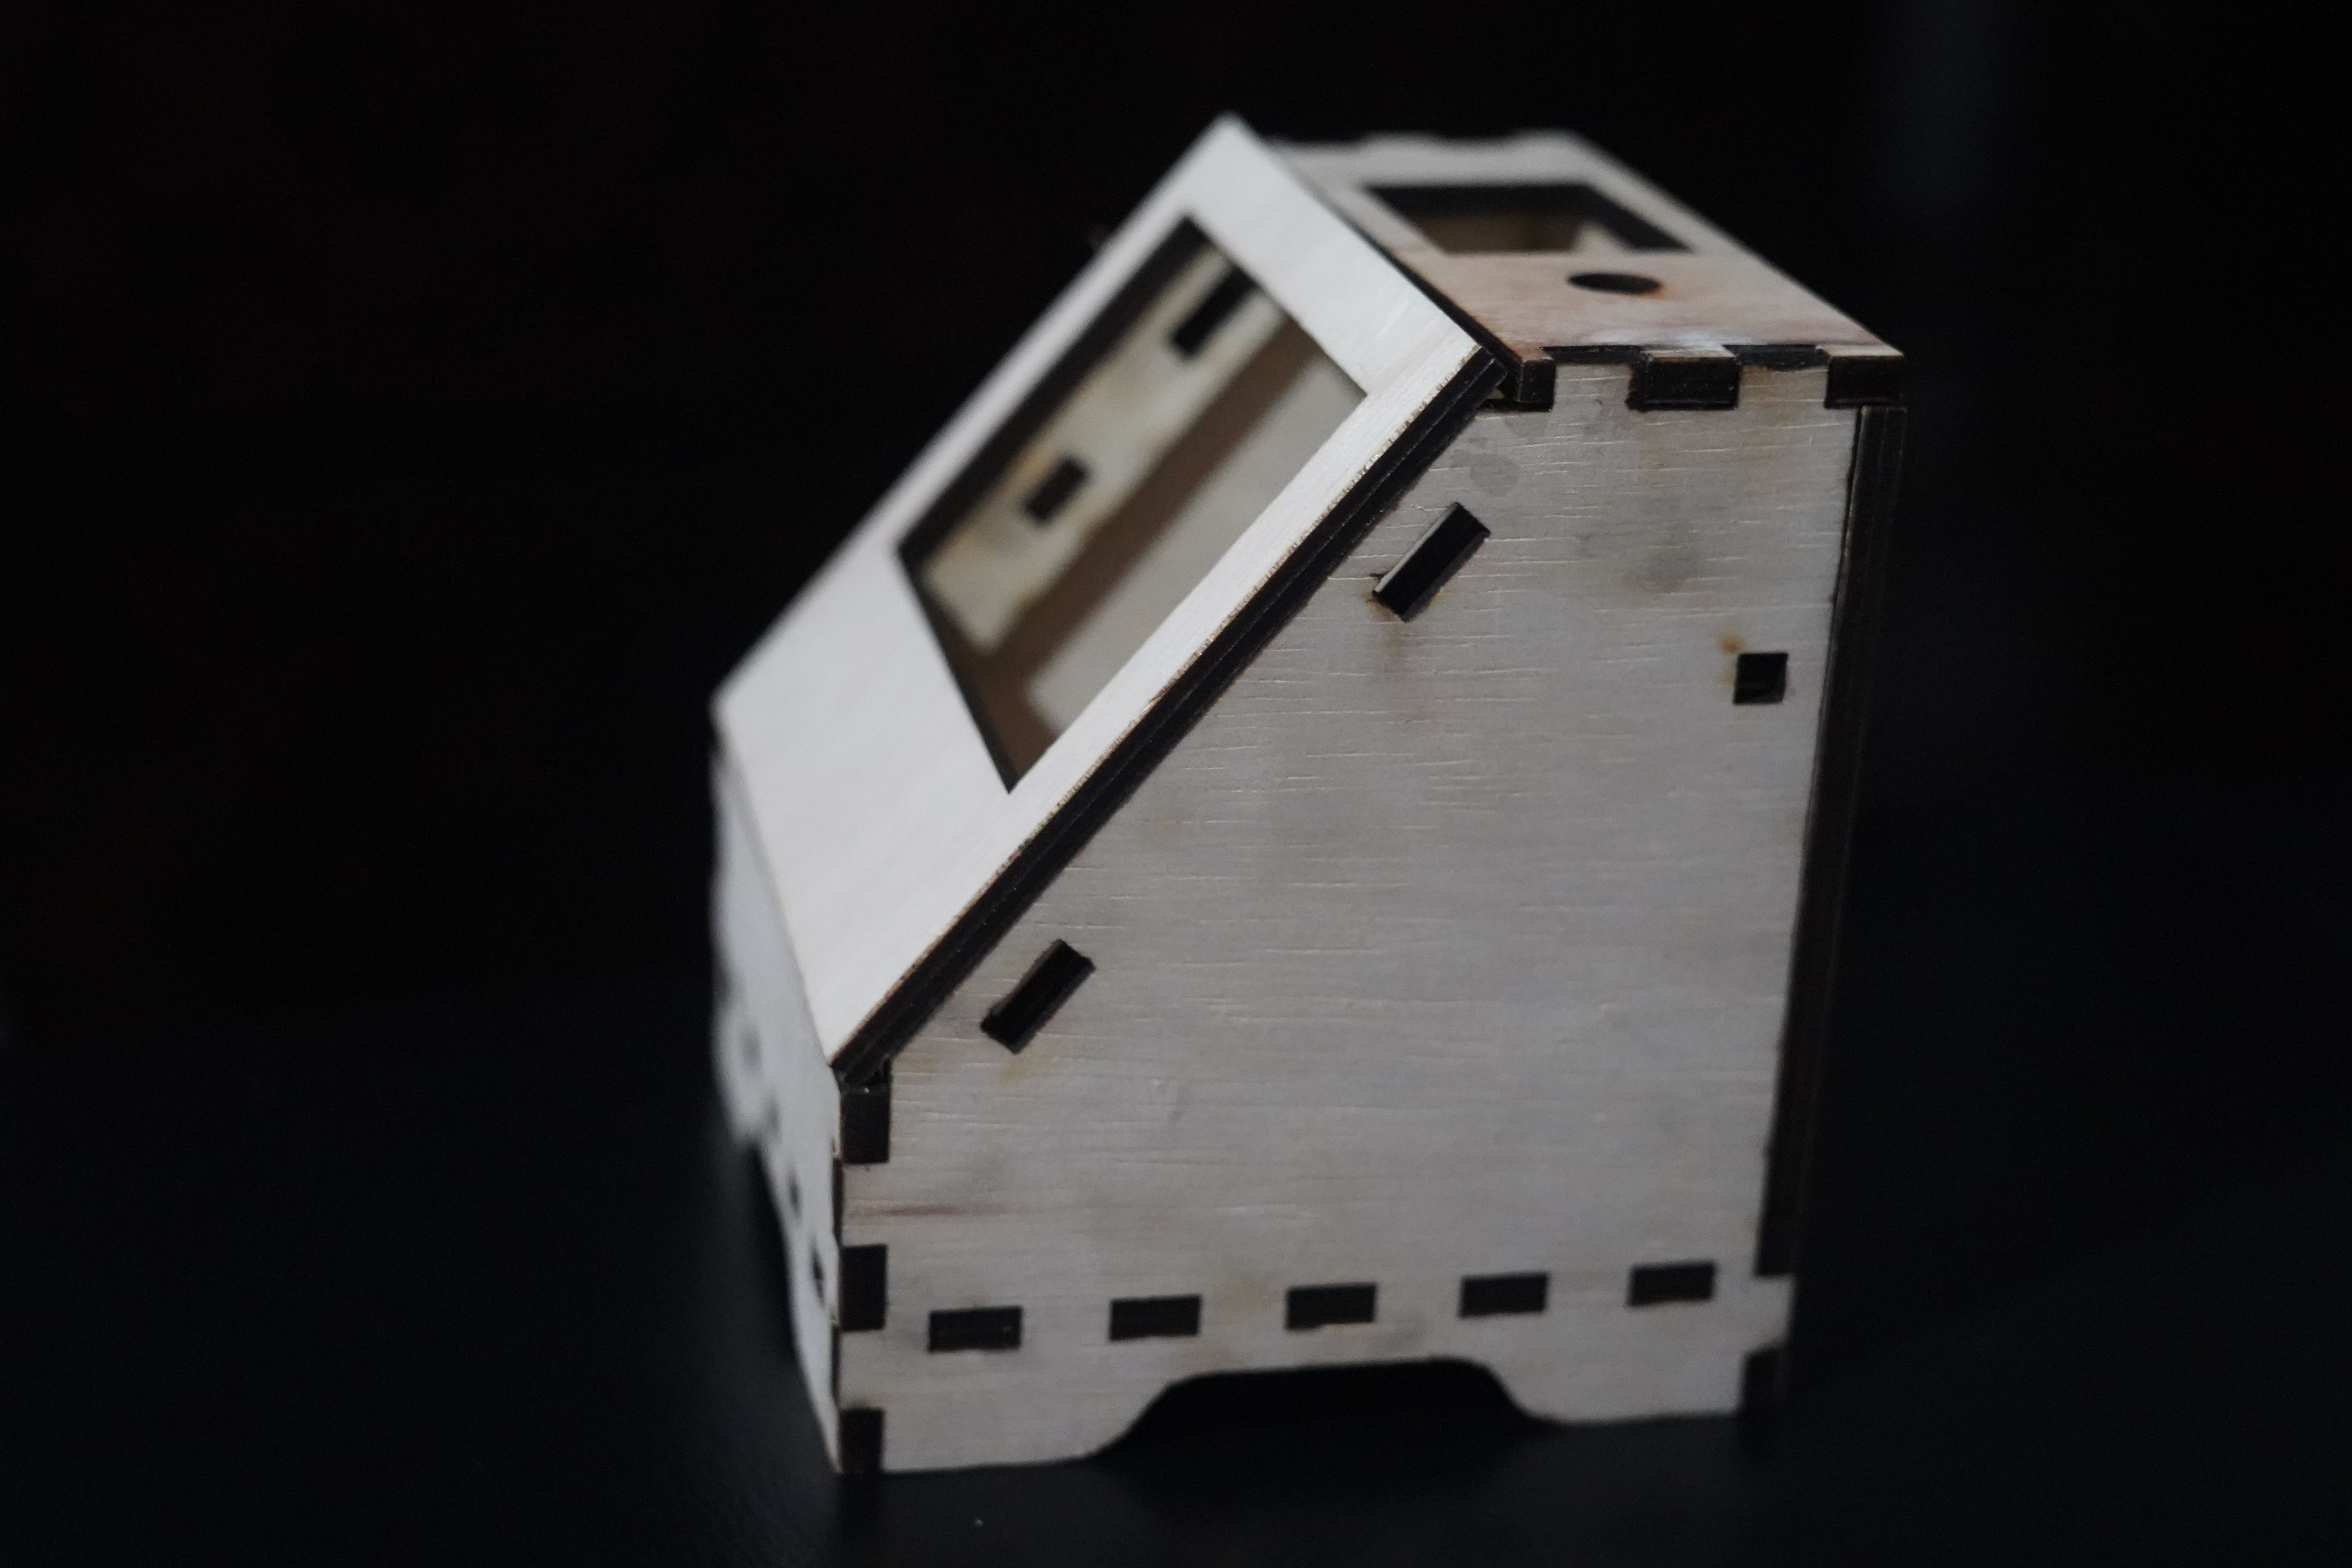
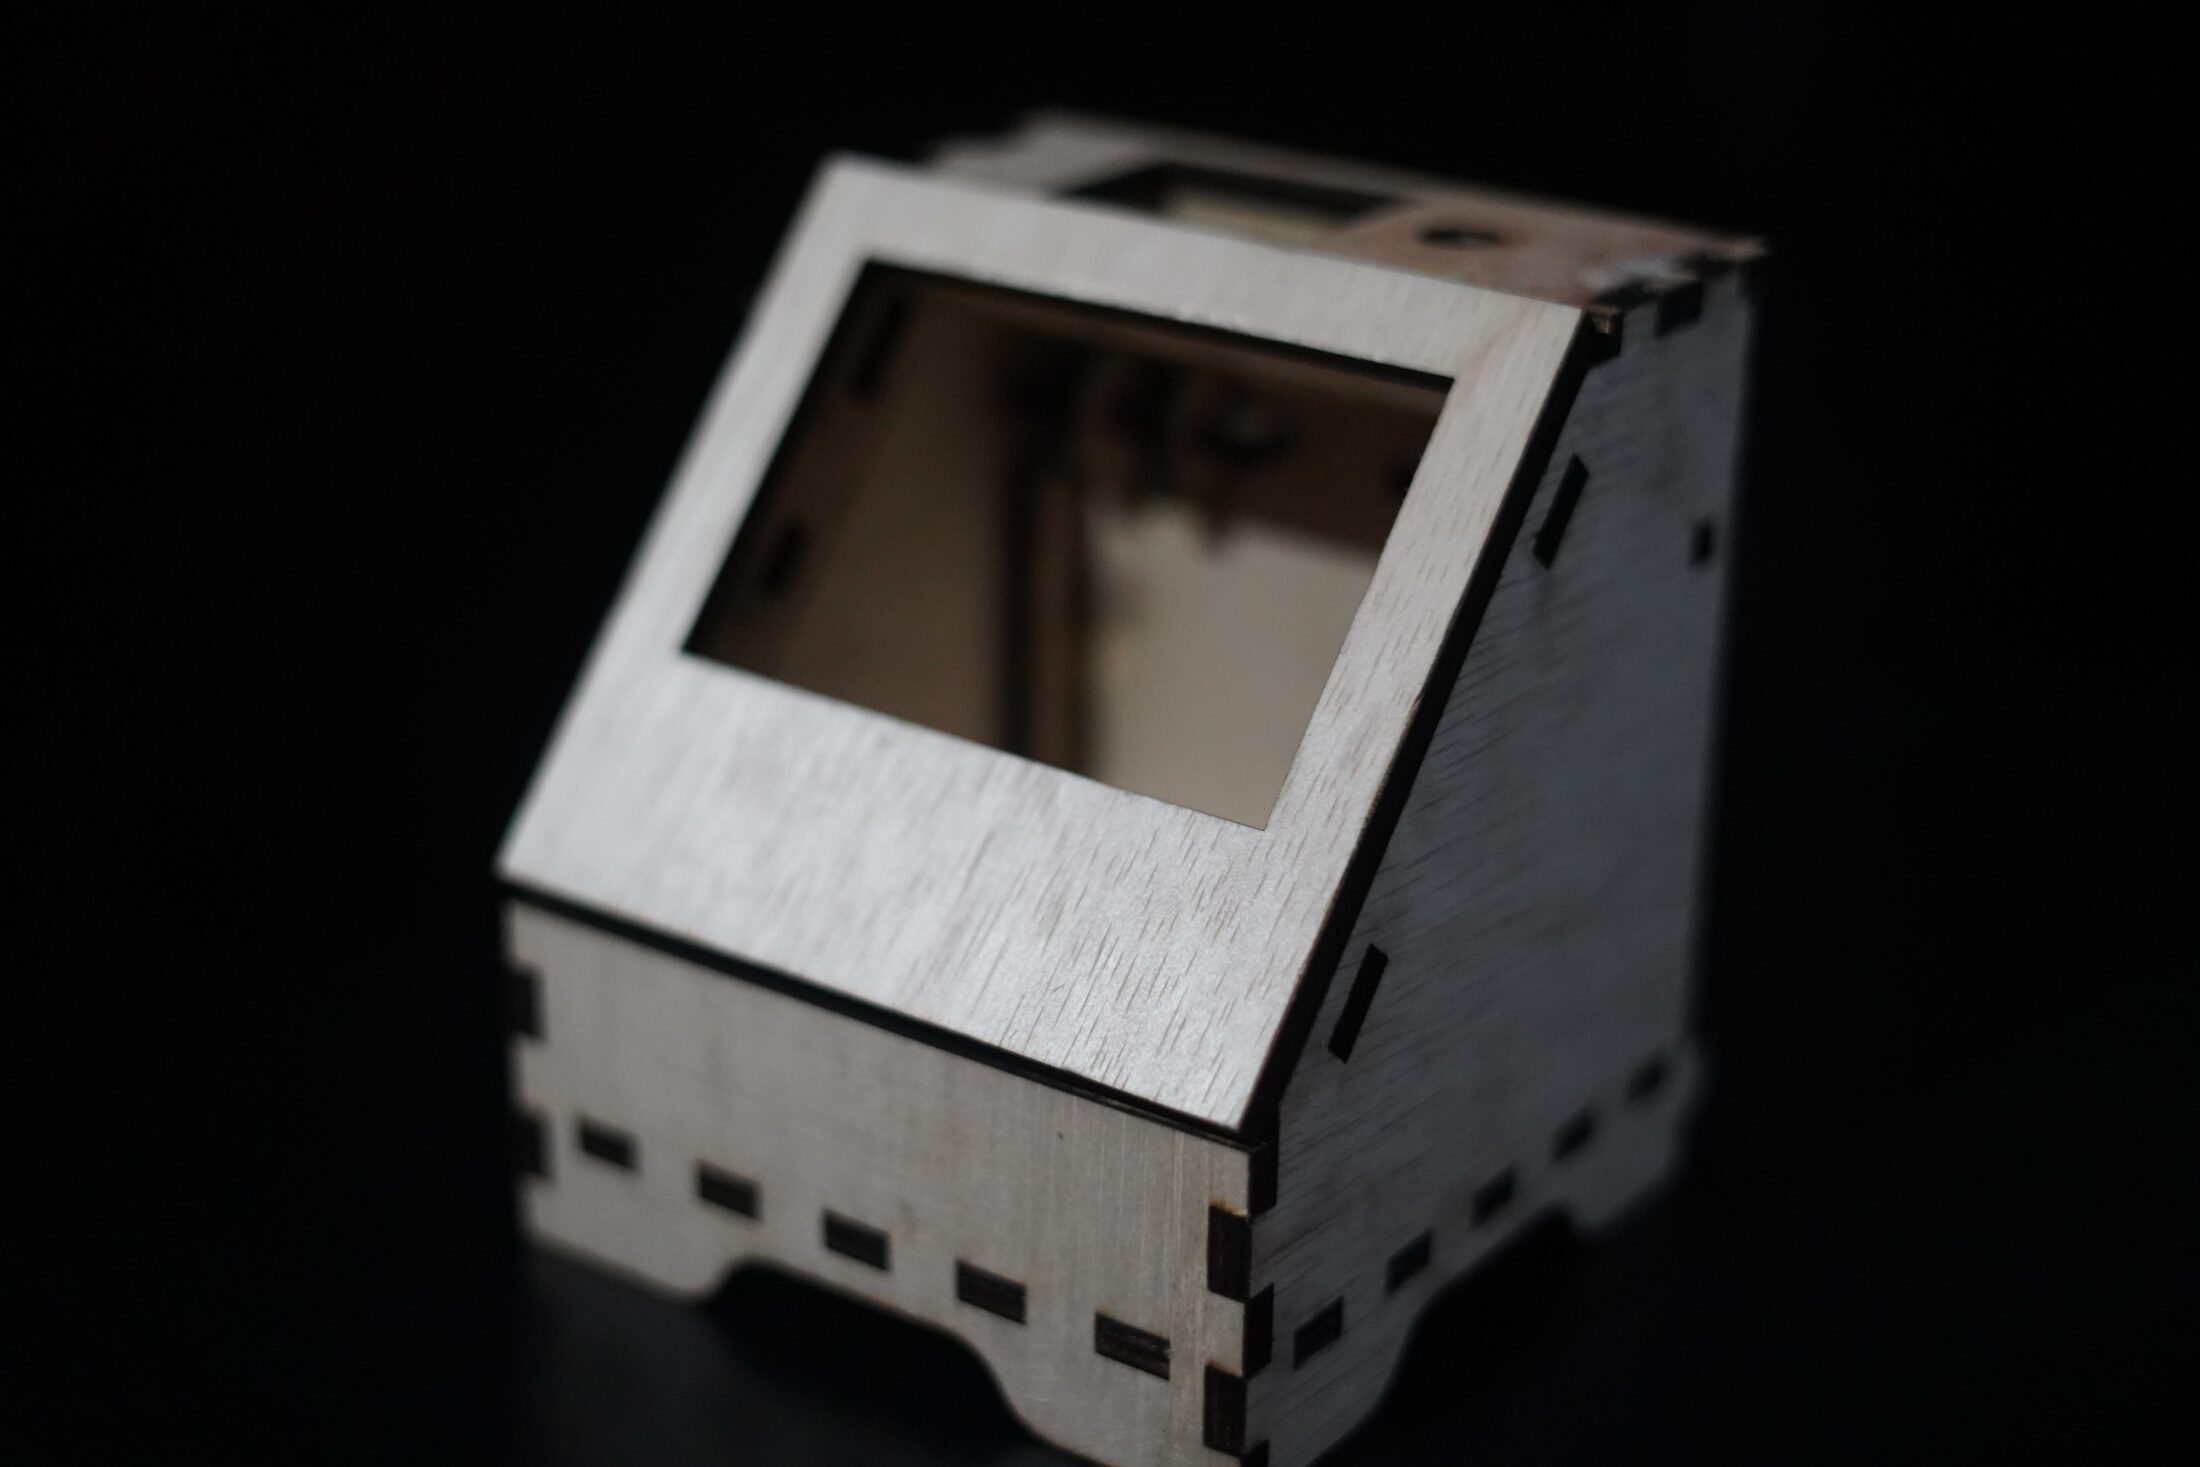
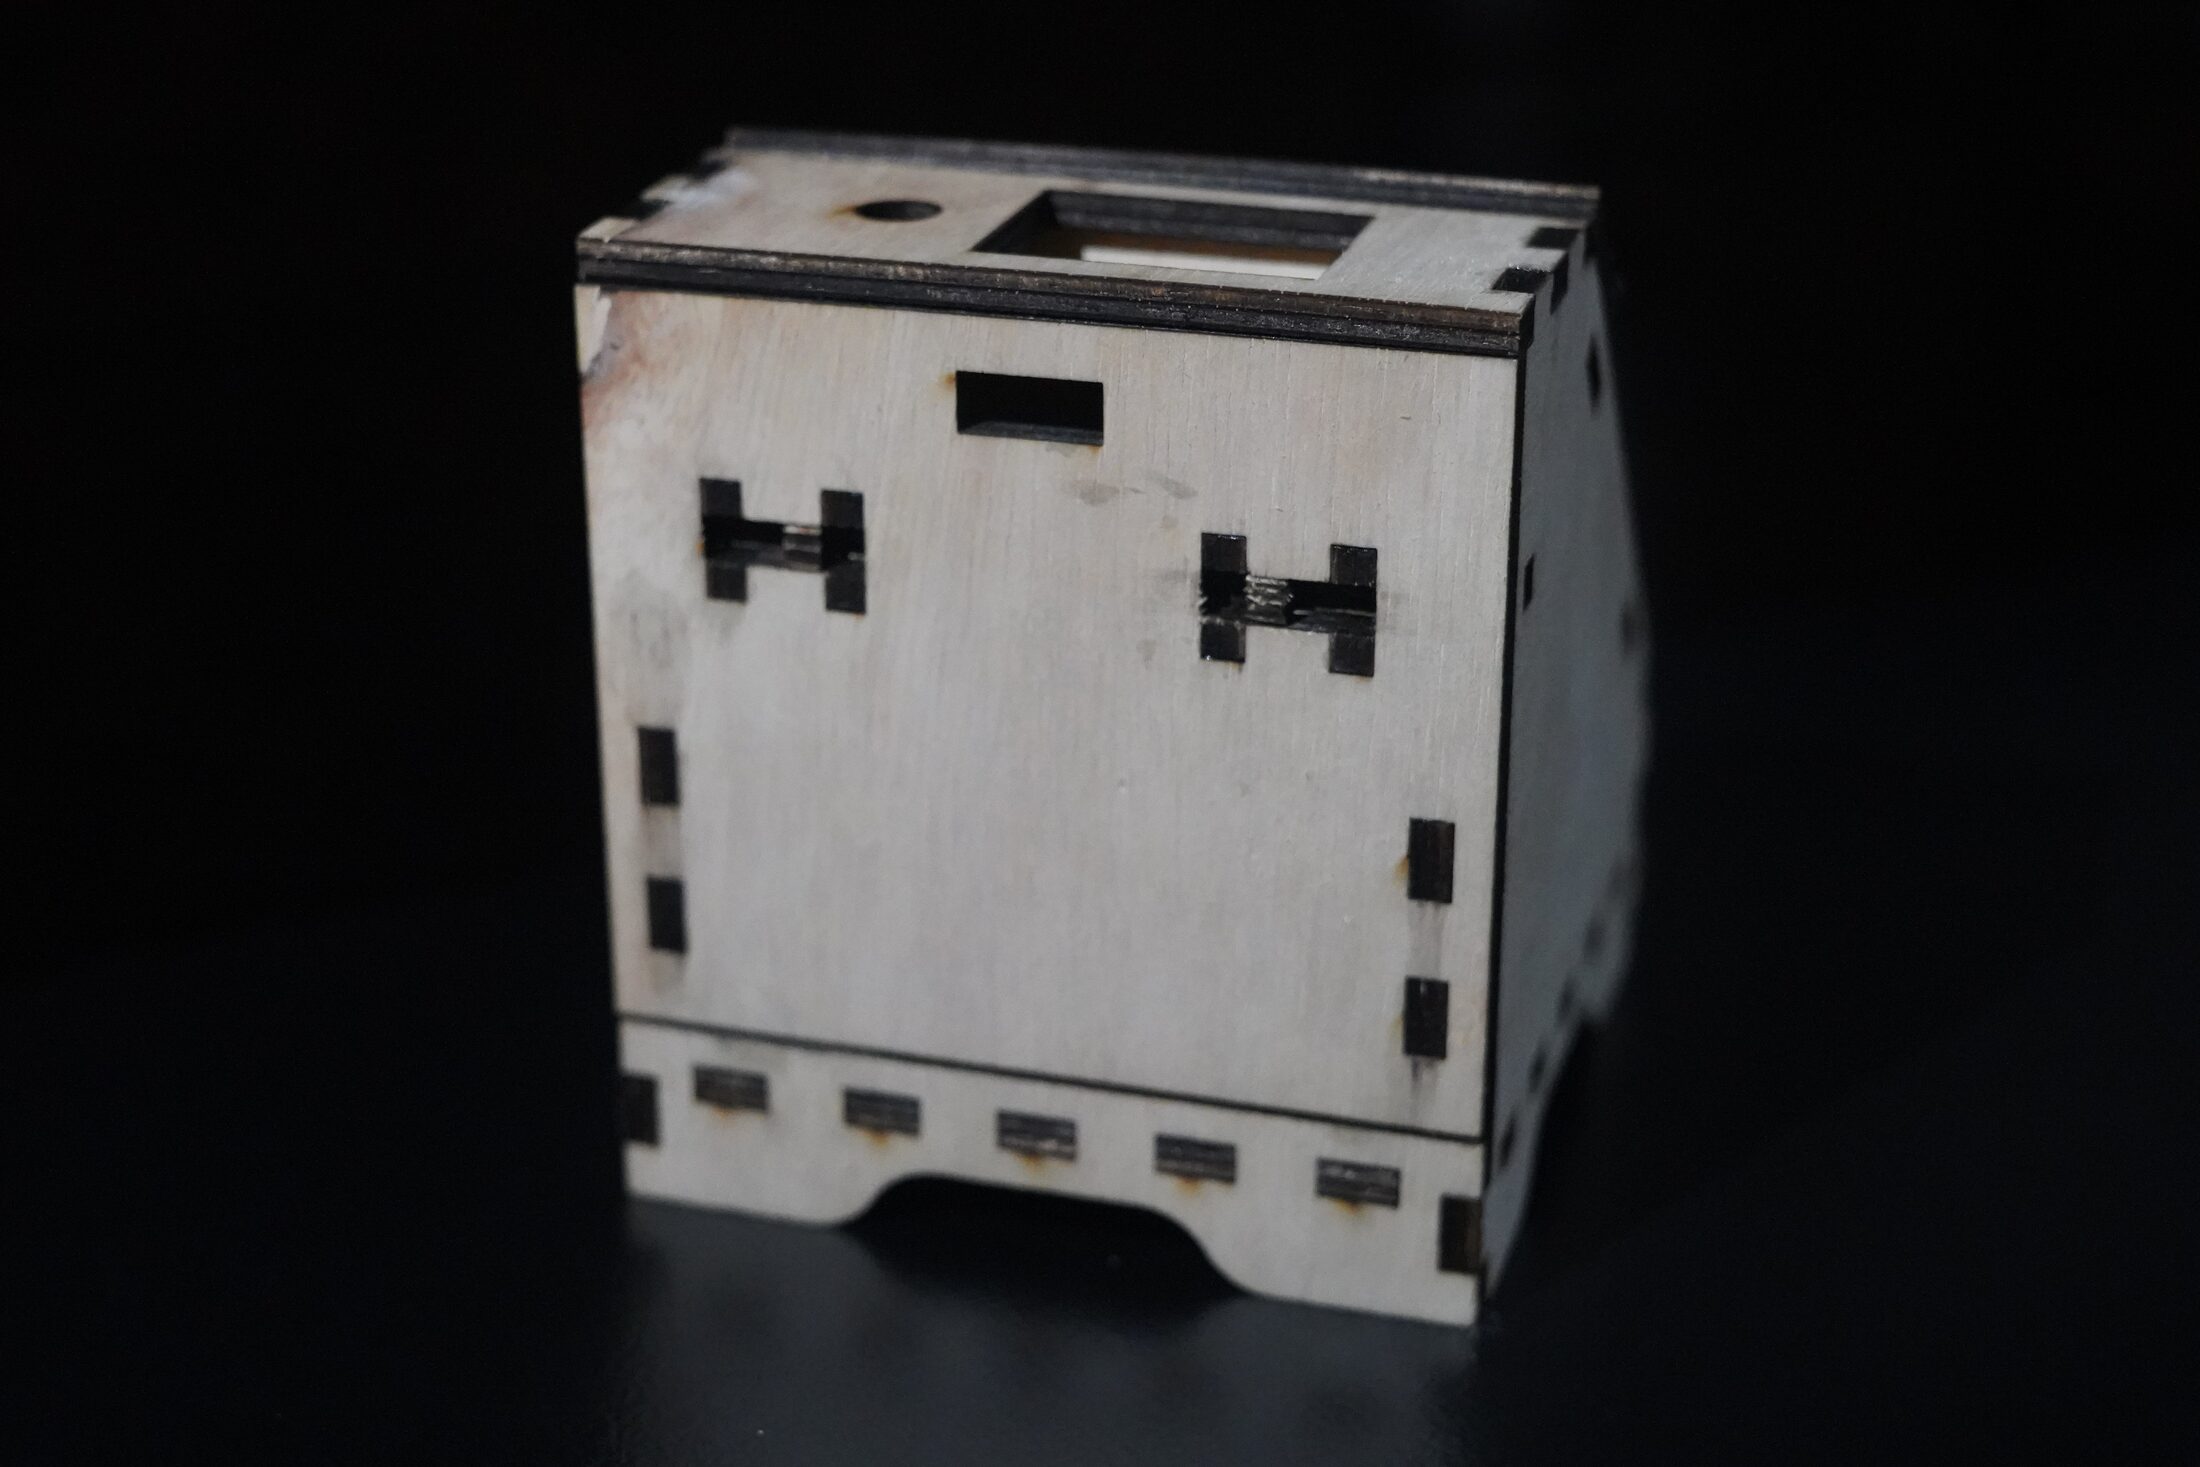
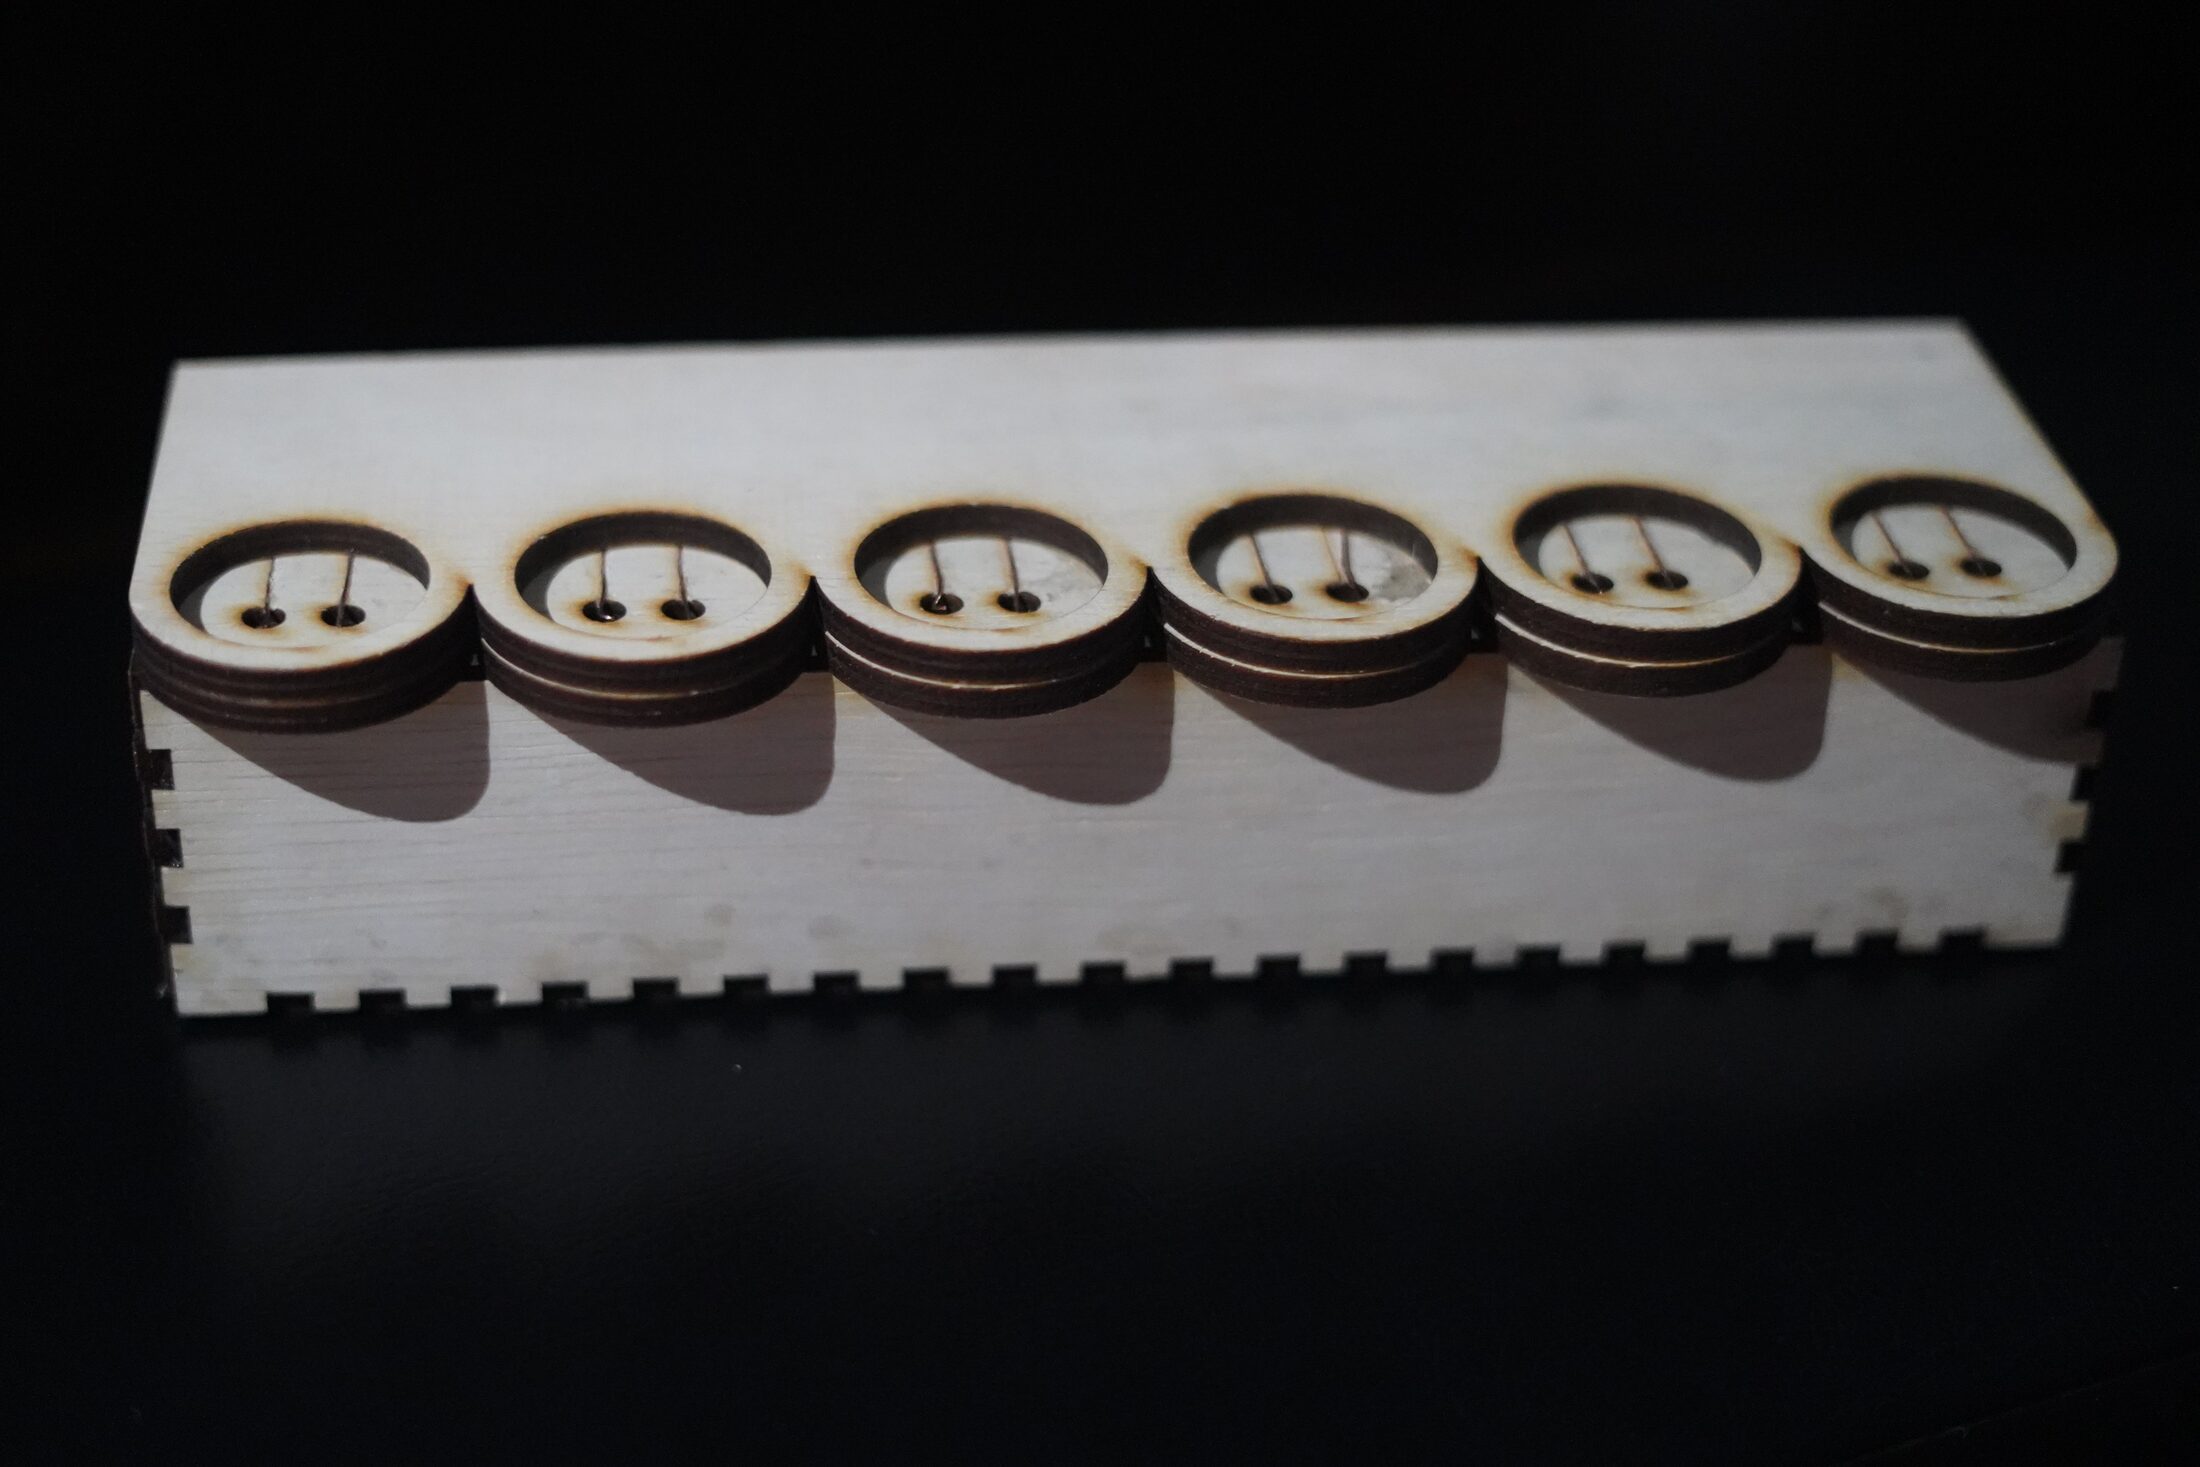
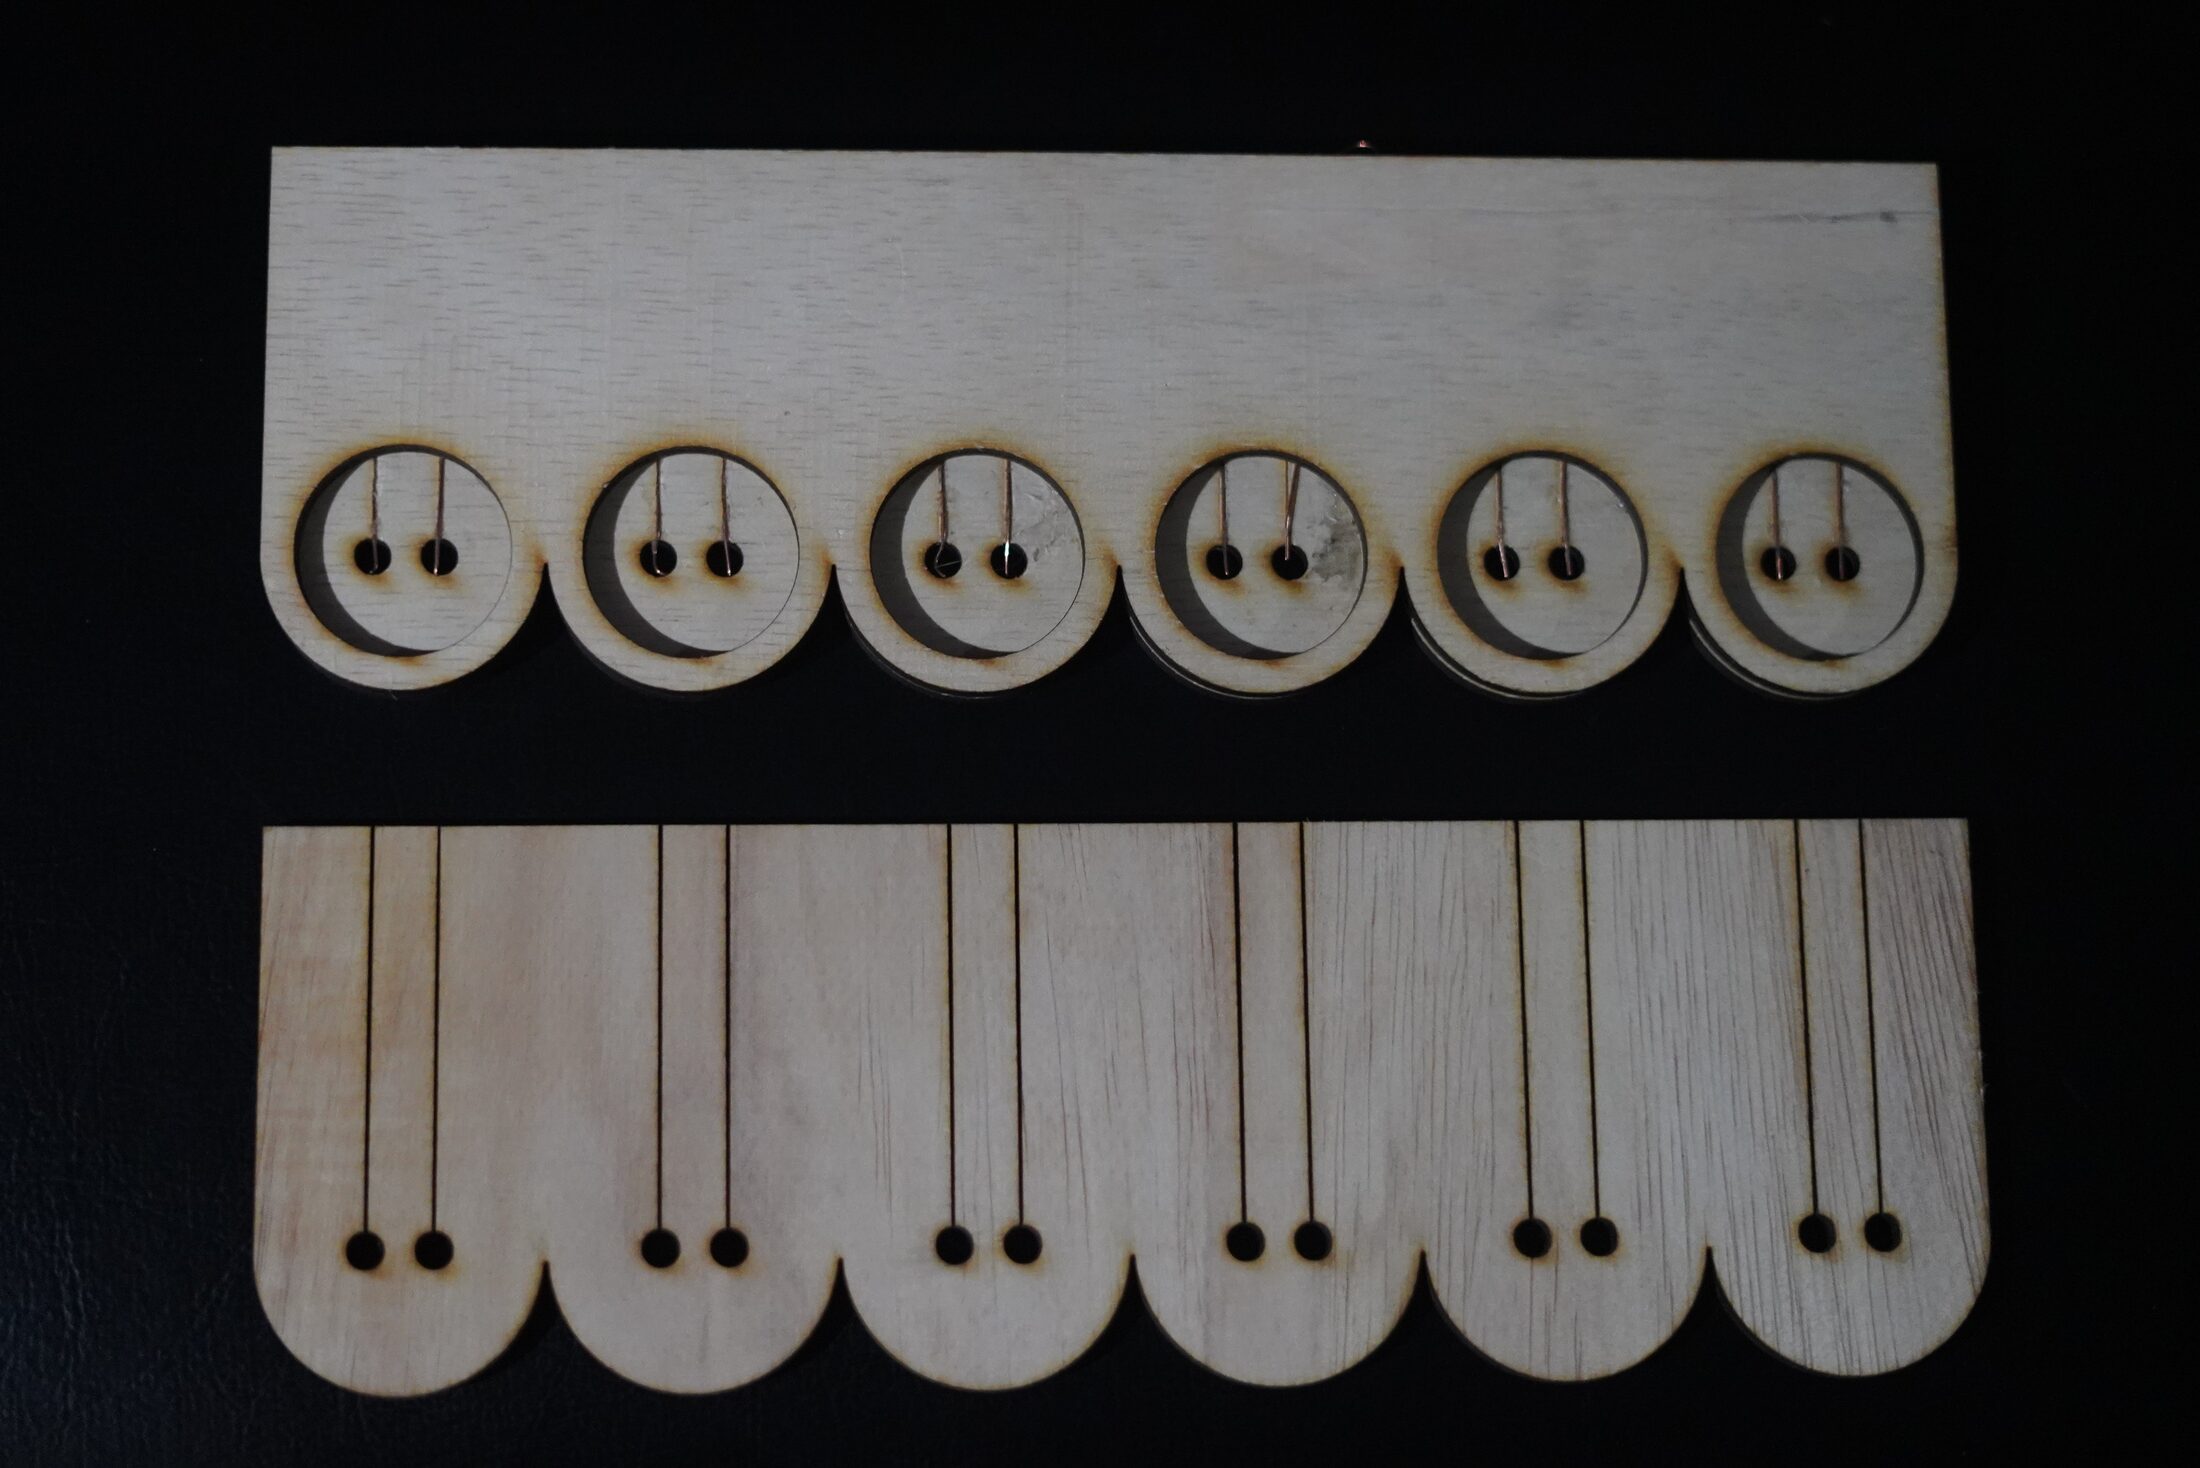
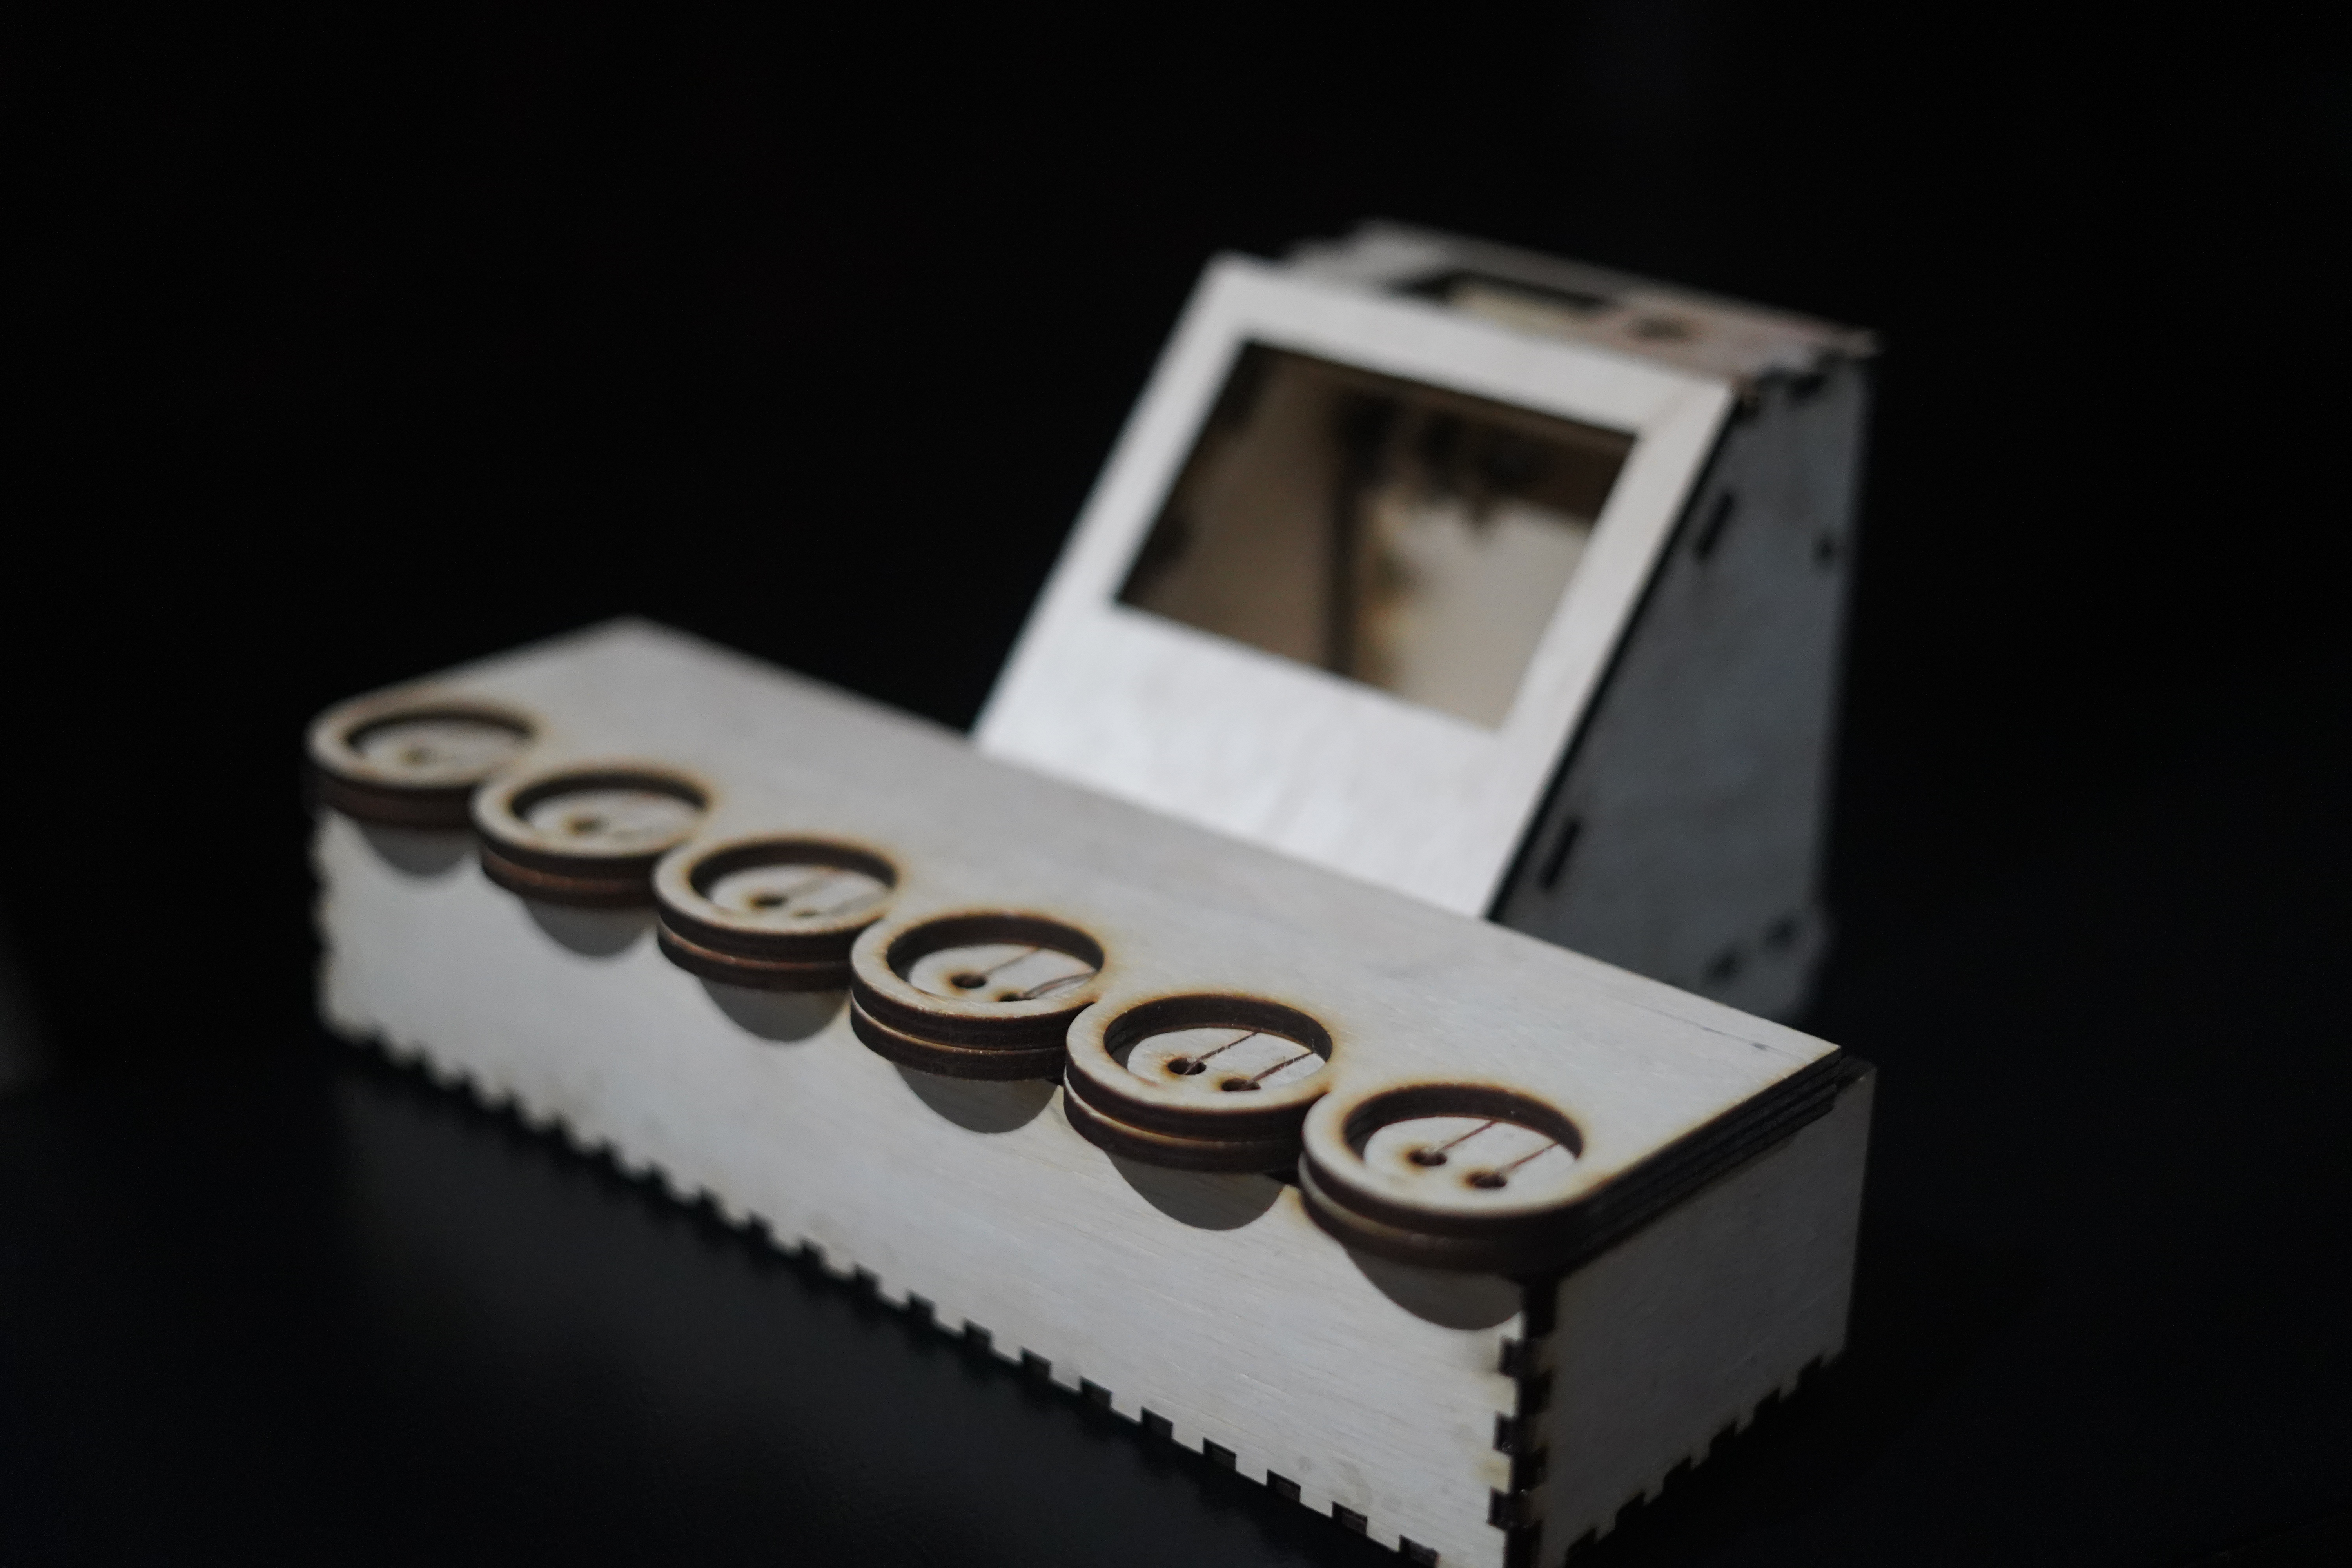
This was a material exploration of the same enclosure logic in wood, using engraved and layered laser-cut construction to test circuitry, fit, and assembly. One part became an angled display housing, while another formed a token strip with pin contacts for resistance-based input. The warmer, organic quality of wood felt closer to the garden idea, where nature and technology meet at the point of touch, but the build remained difficult to service and the contact reliability stayed inconsistent. It became an important directional test rather than the final path.

Wood experiment main image
Wood experiment image 1
Wood experiment image 2
Wood experiment image 4
Laser-cut wooden angled enclosure with window for the TFT display
Laser-cut wooden cube enclosure with interlocking joints
Wooden block with six coin-shaped resistor tokens on top
Flat-laid laser-cut wooden parts showing token discs and mounting pieces
Wood experiment main overview image

Experiment 06

Flower-Shaped Tokens

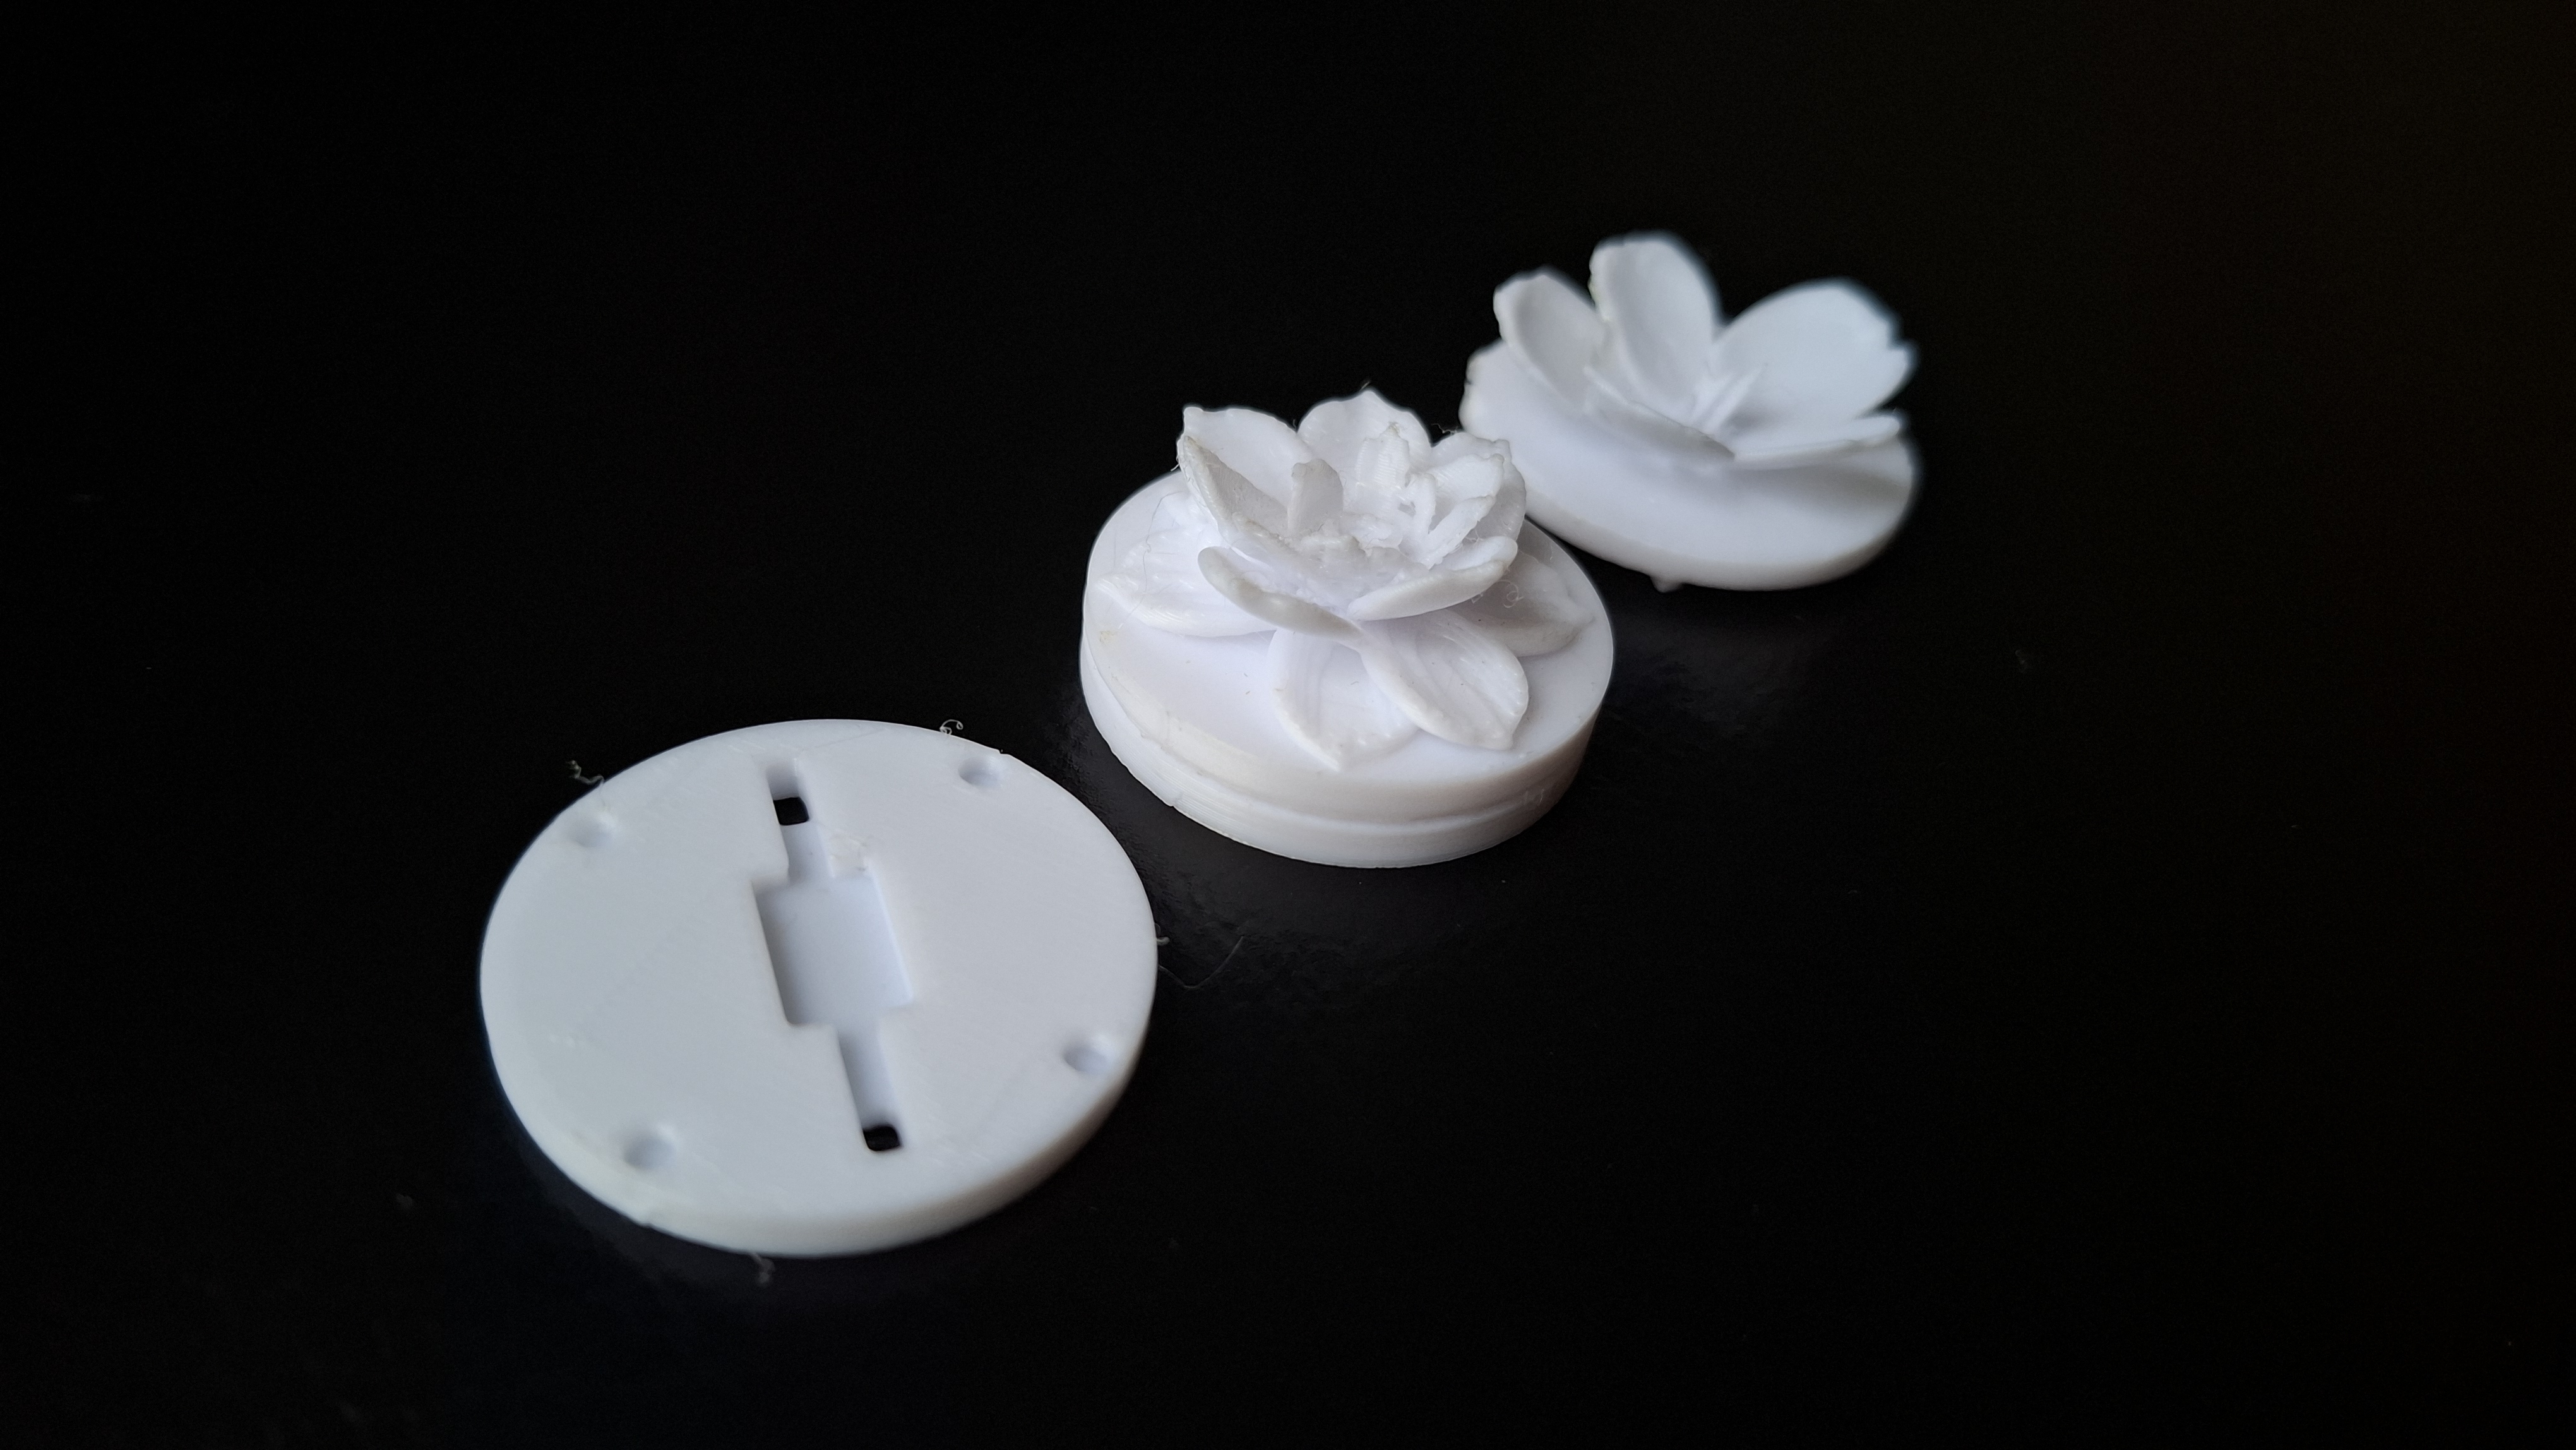
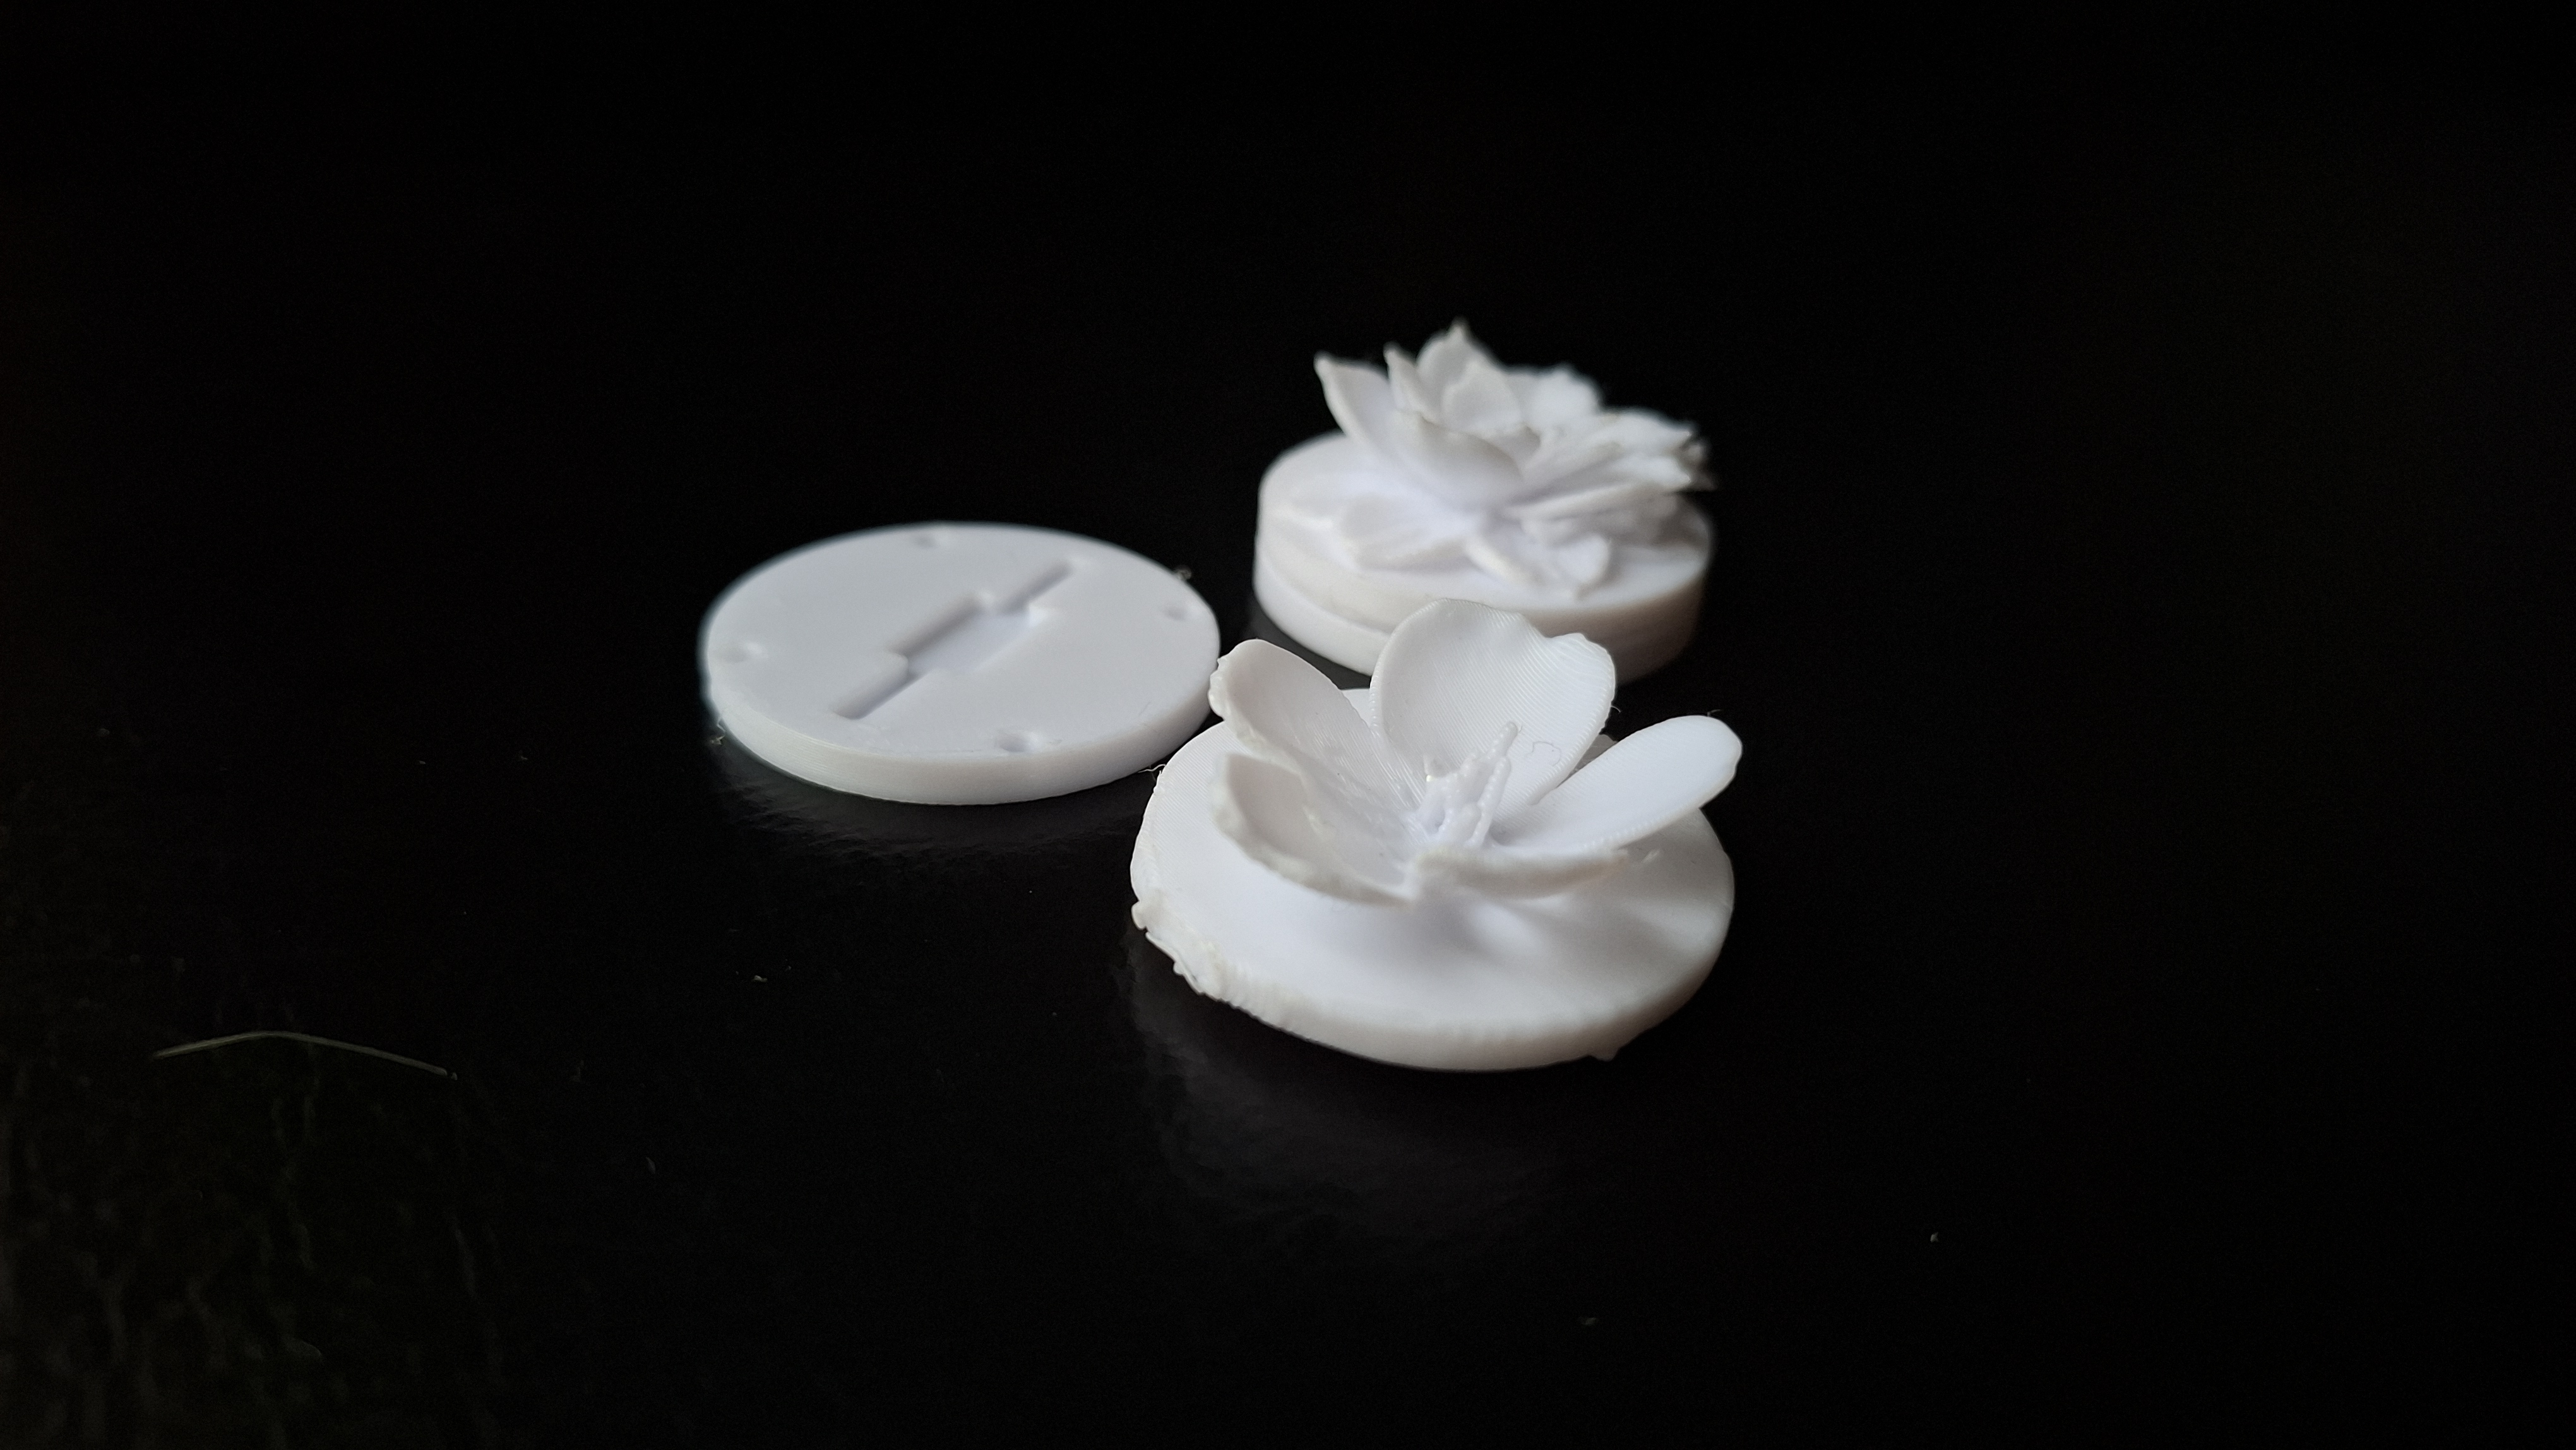
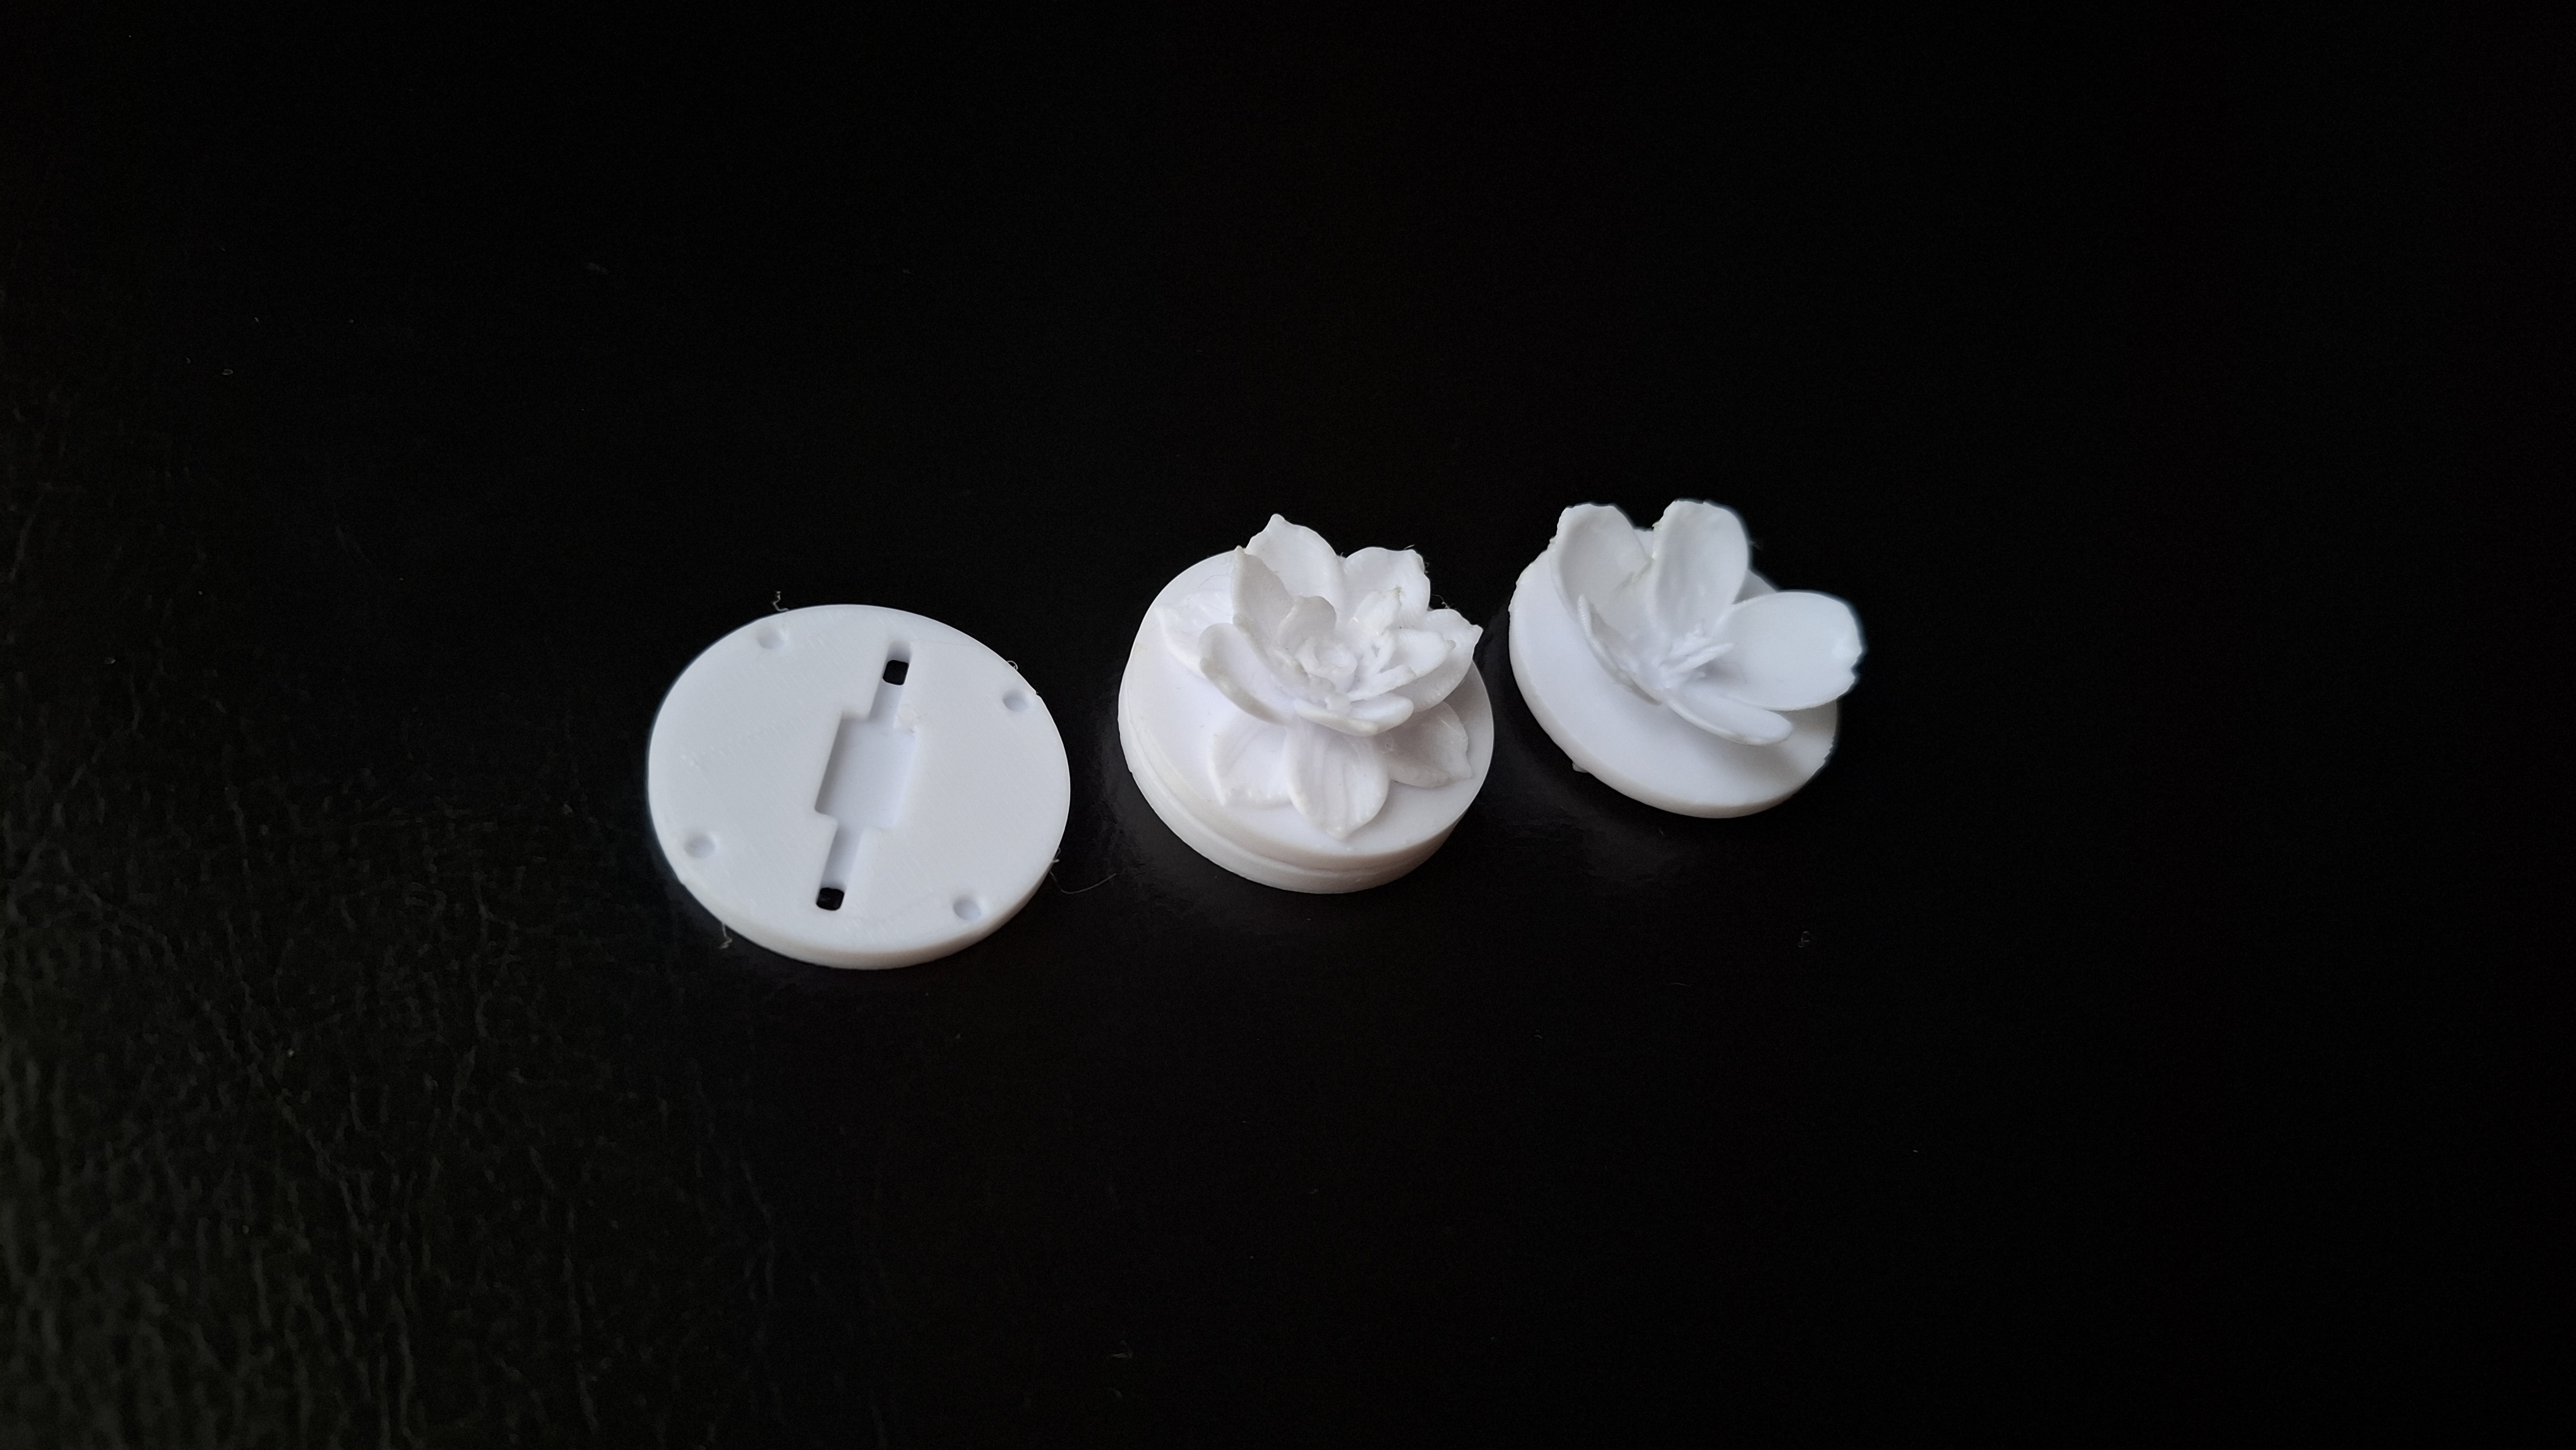
Once the garden concept had settled, an obvious question was whether the tokens themselves should look like flowers too. Each token became a small 3D-printed flower sitting on a circular base, with a cavity underneath for a resistor or NFC sticker, and a matching docking disc with a slotted key so tokens could be inserted in a specific orientation. Visually they were charming, but at this scale the supports were painful to remove without damaging the petals, the bases kept cracking, and the interaction reintroduced the resistance-contact problems from earlier. The eventual decision was to keep the larger moving flower as the expressive object and leave the tokens themselves as simple, reliable discs.

Token 1
Token 2
Token 3

Experiment 07

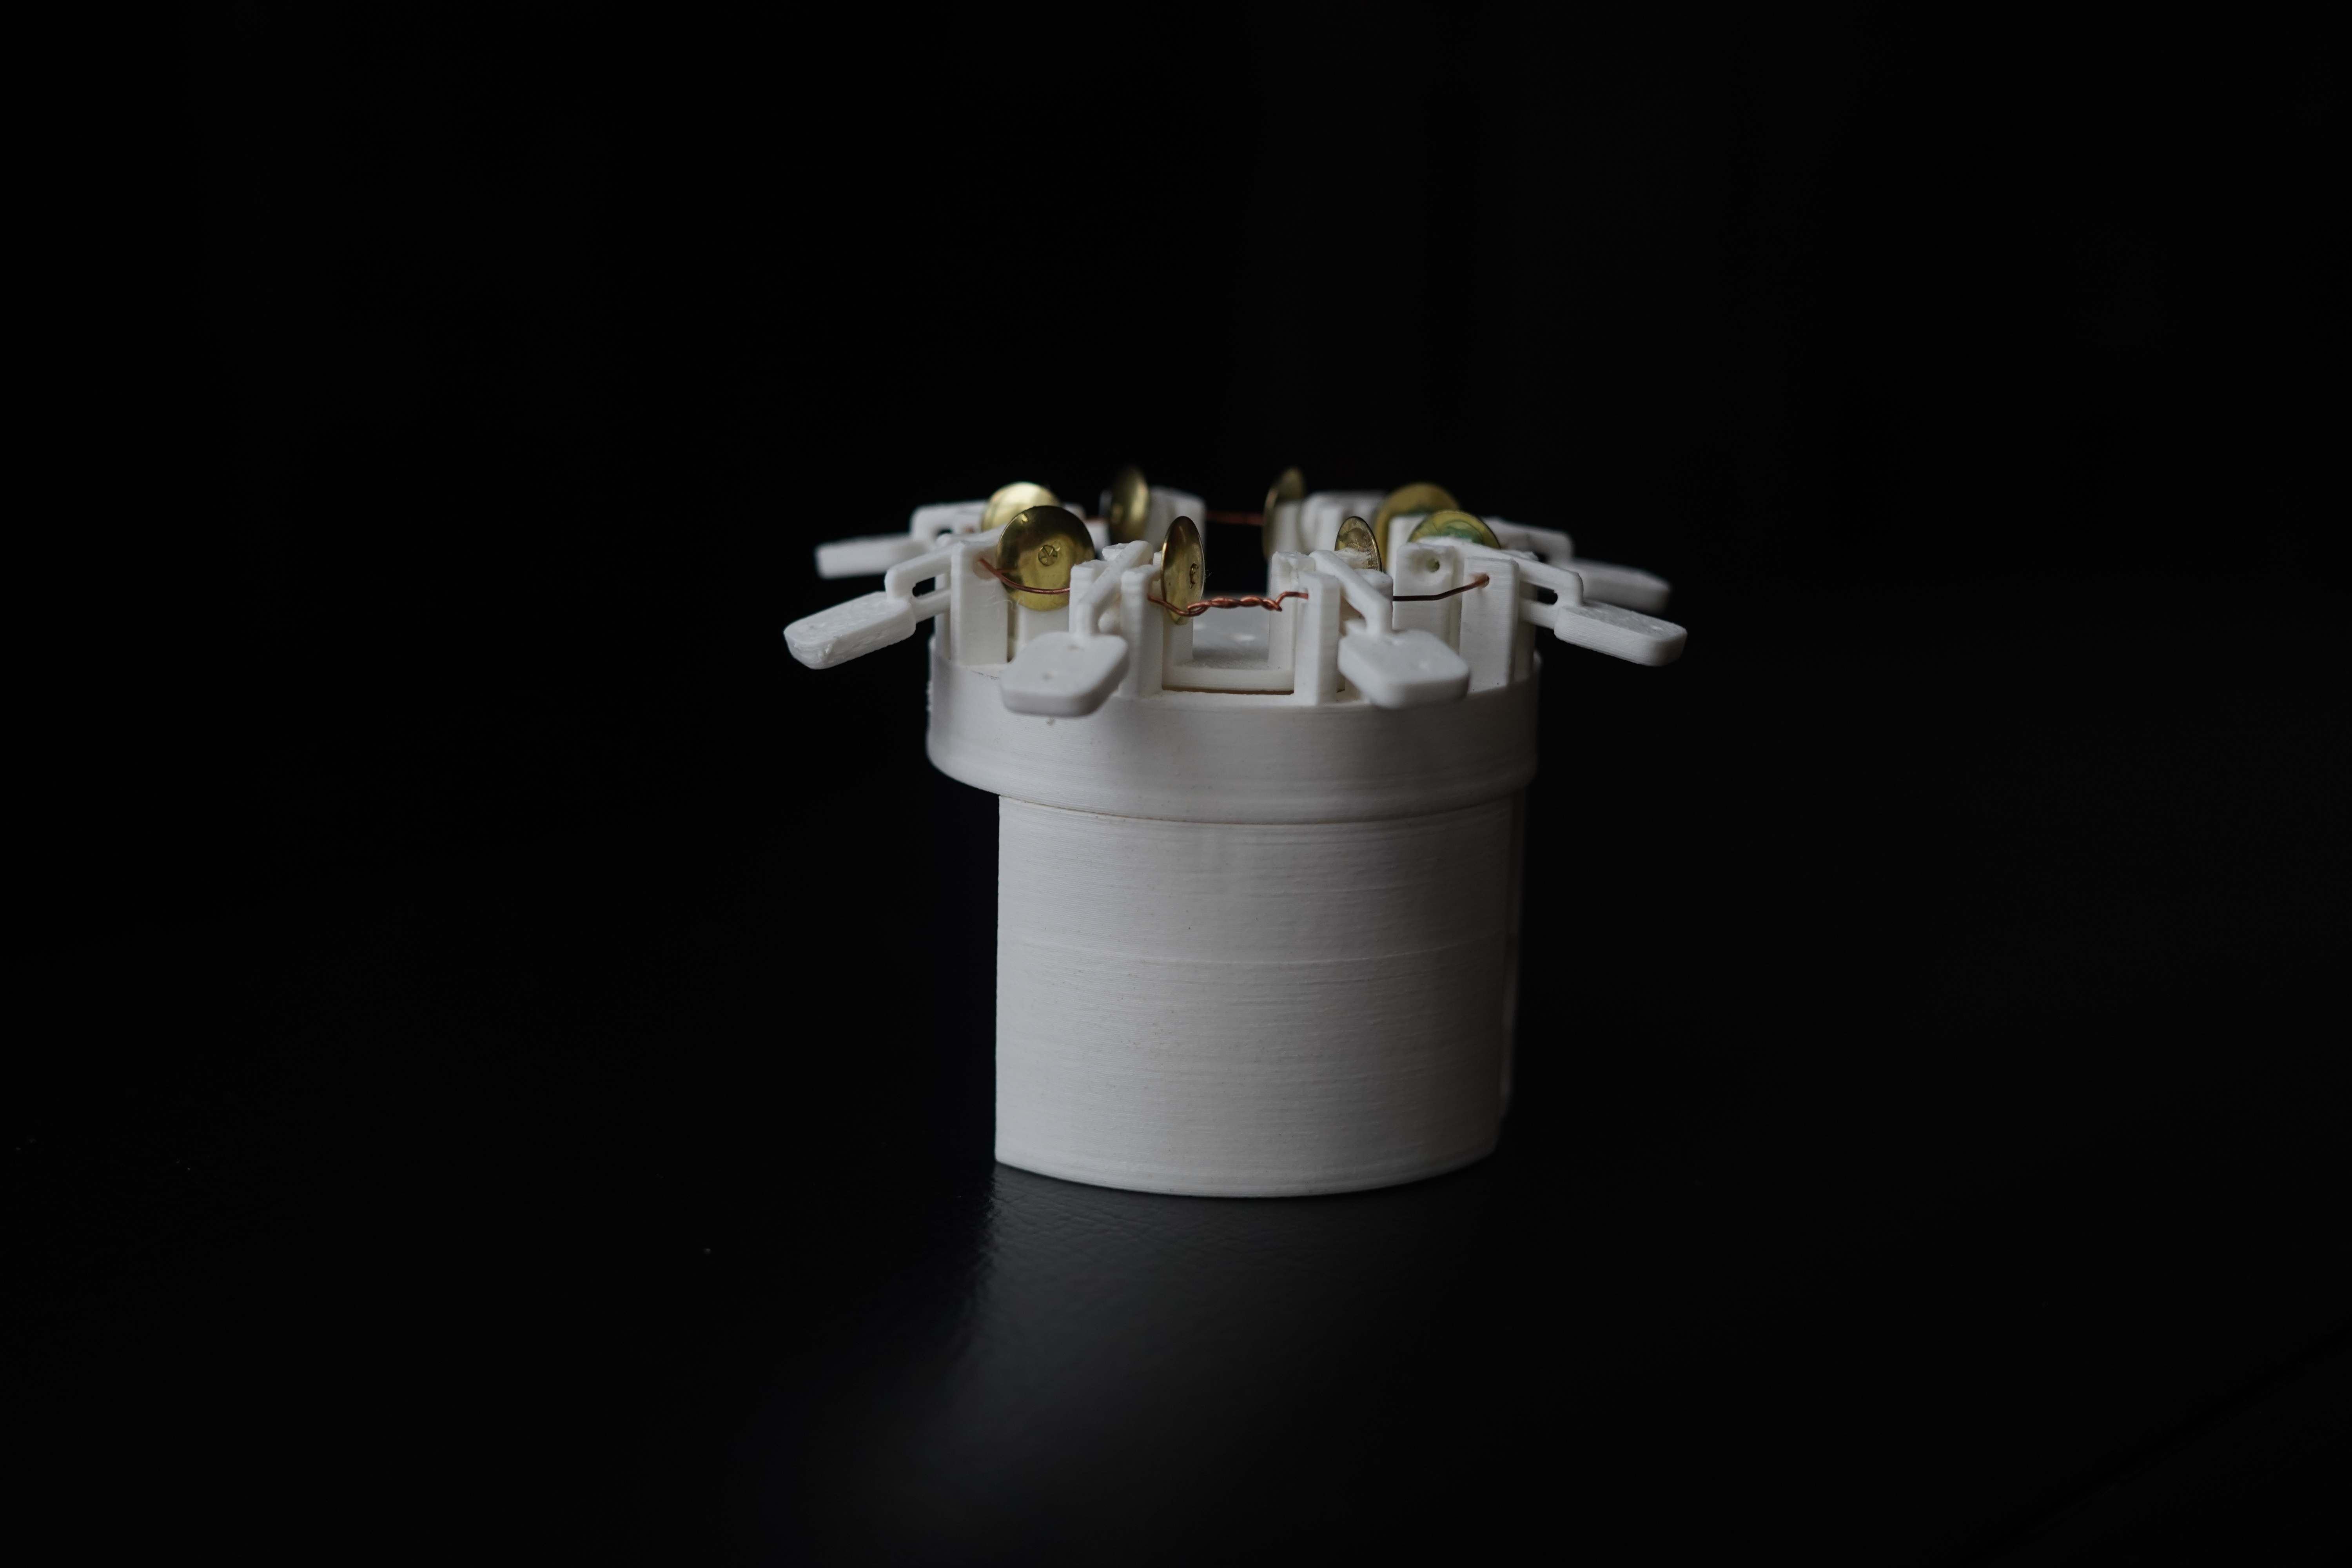
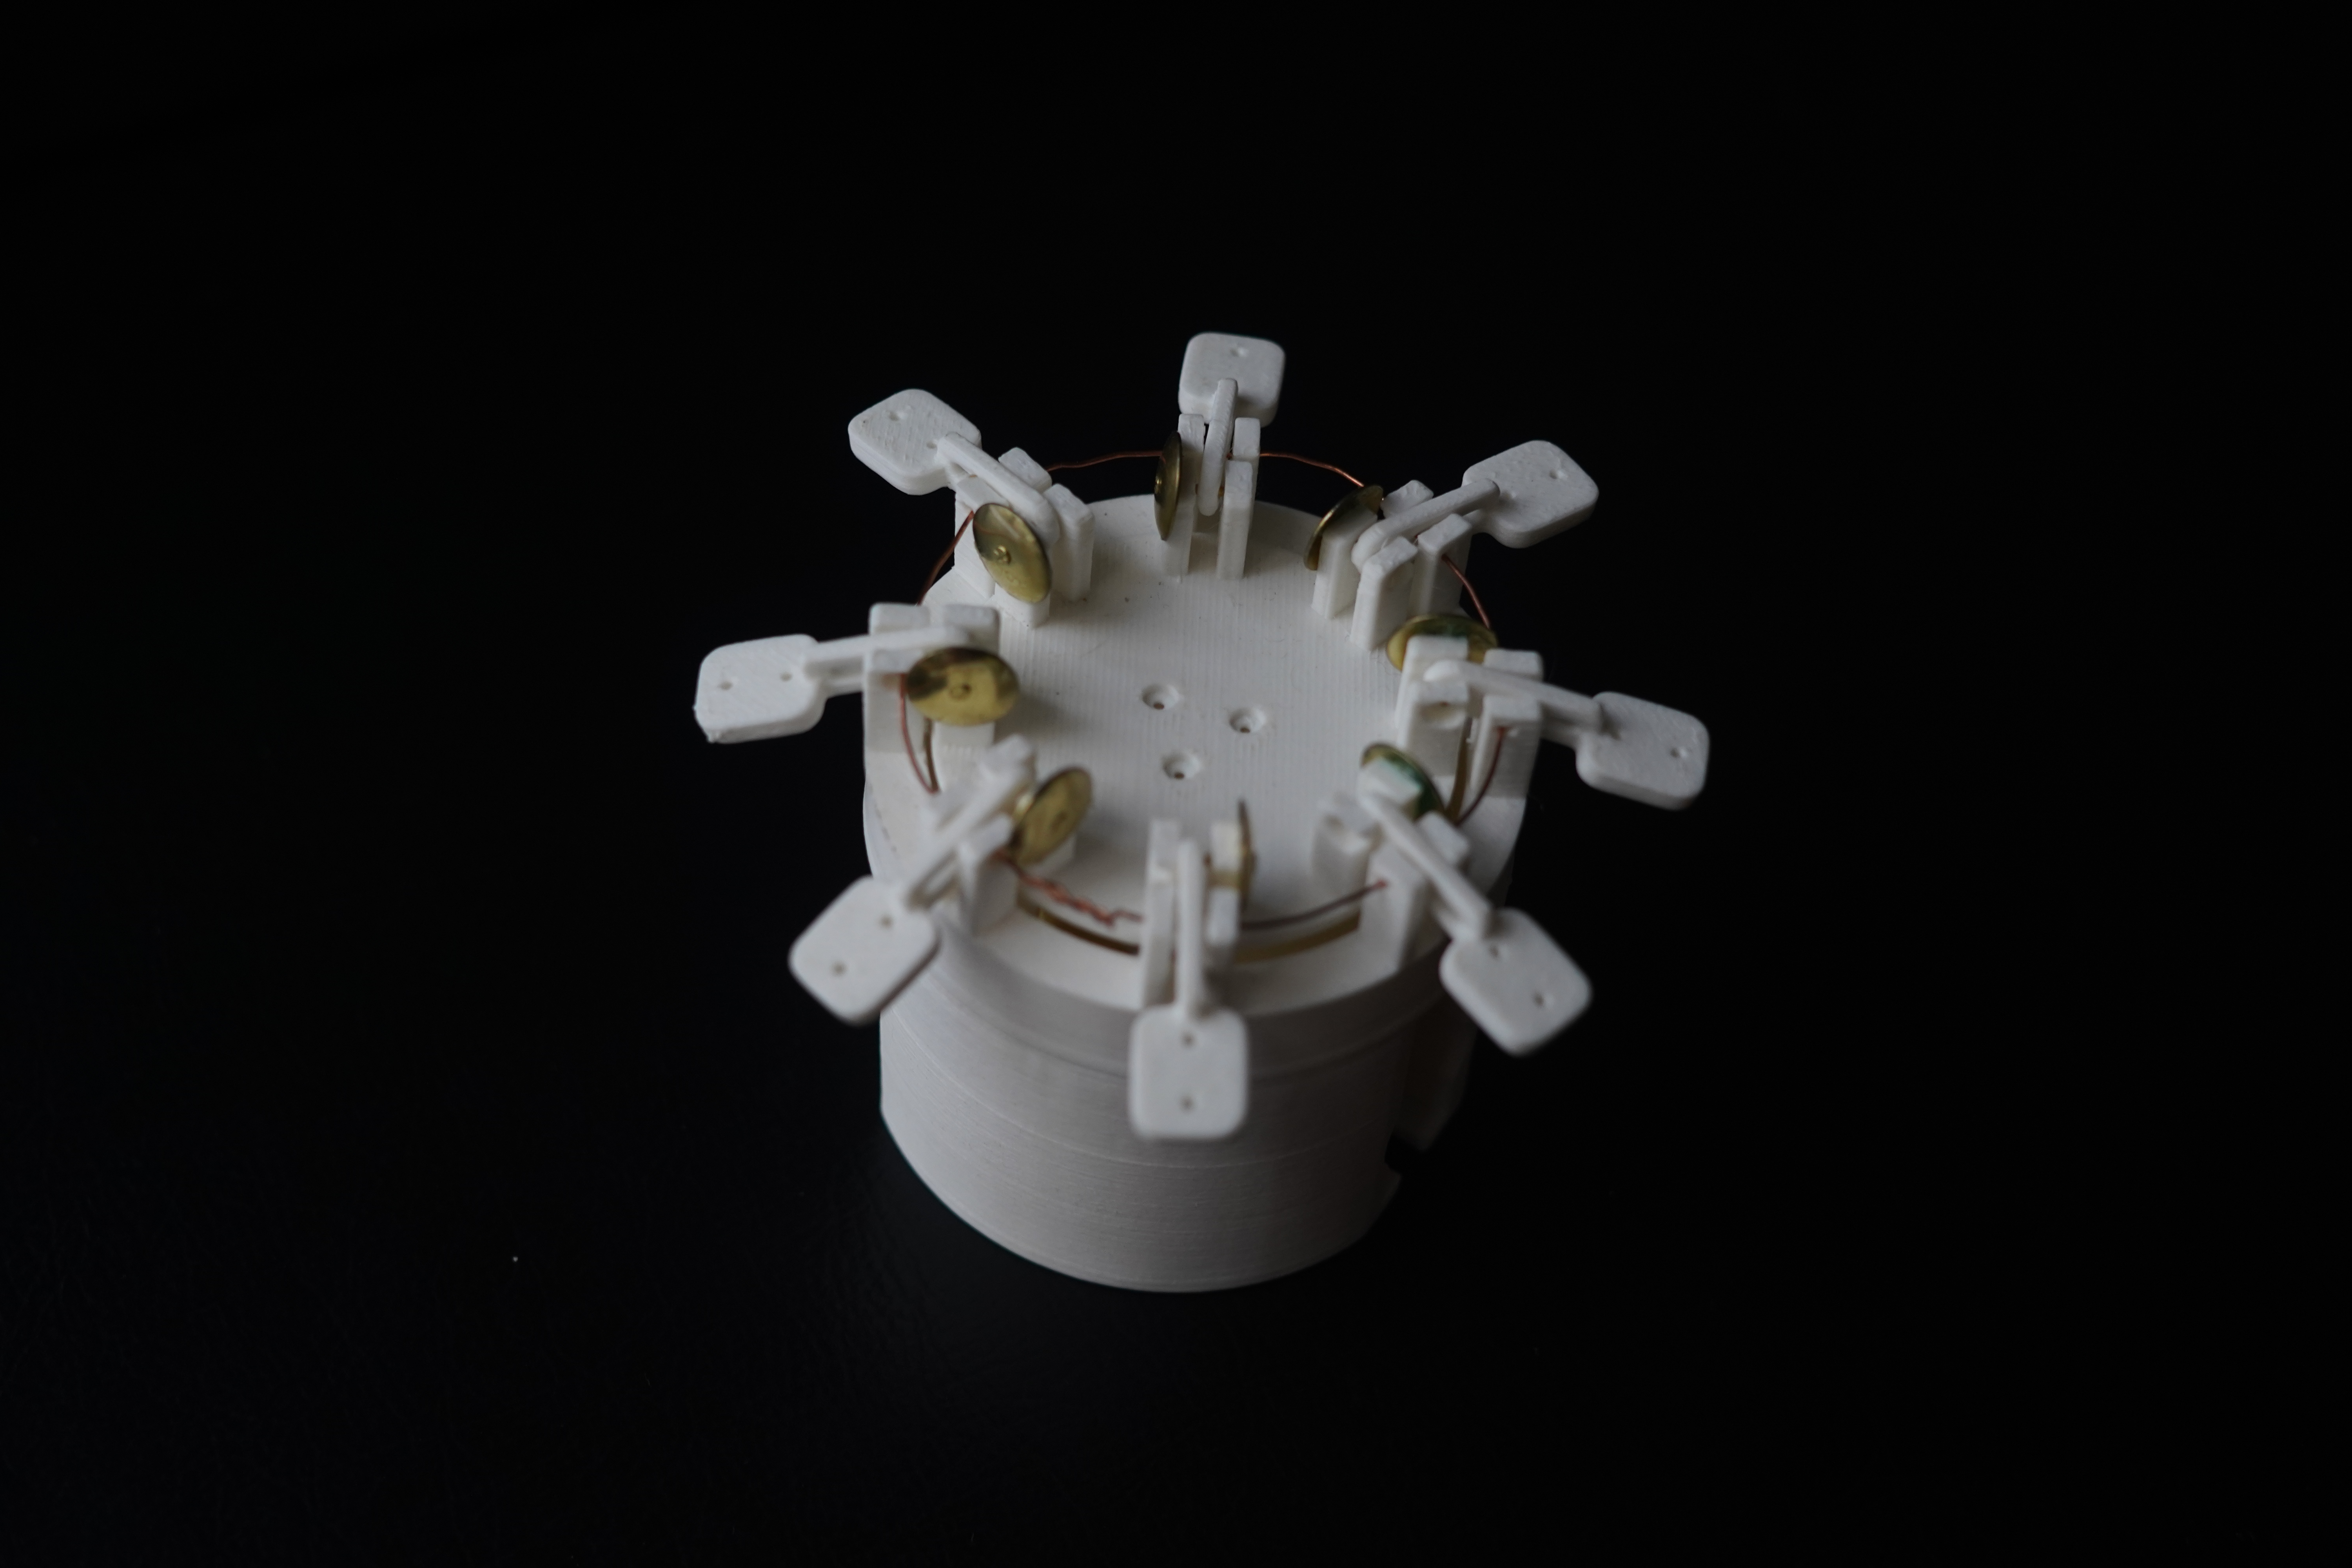
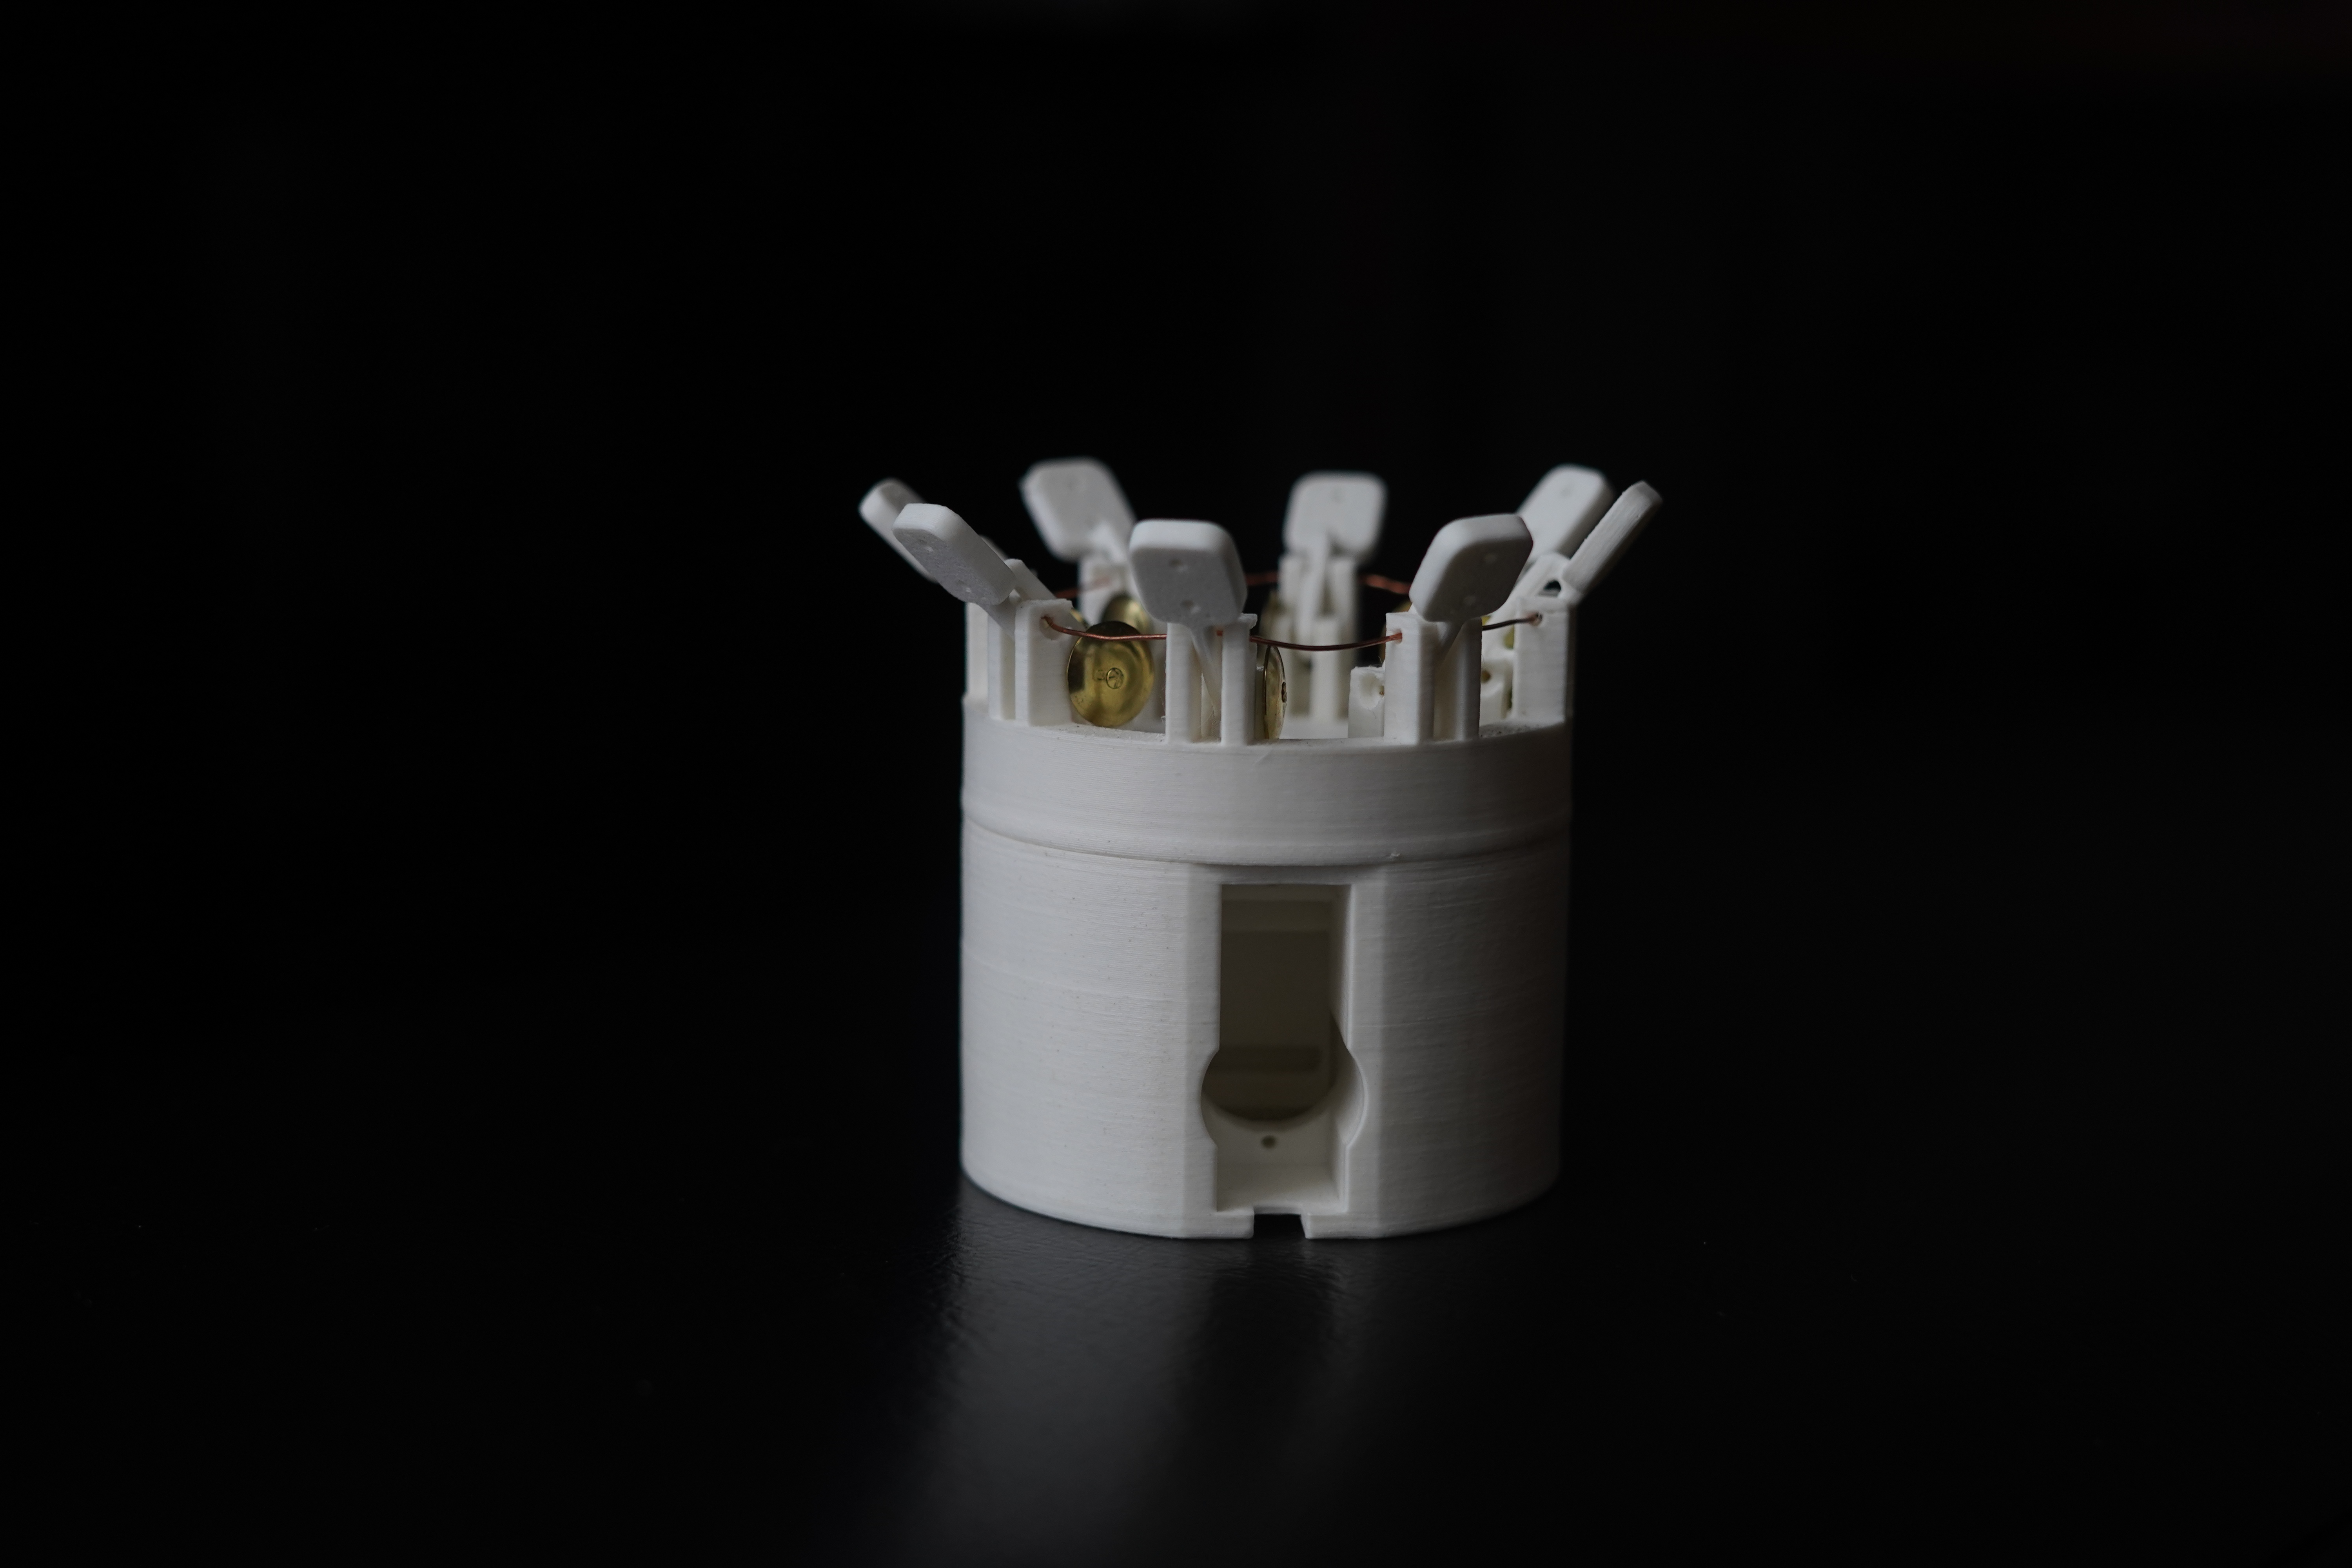
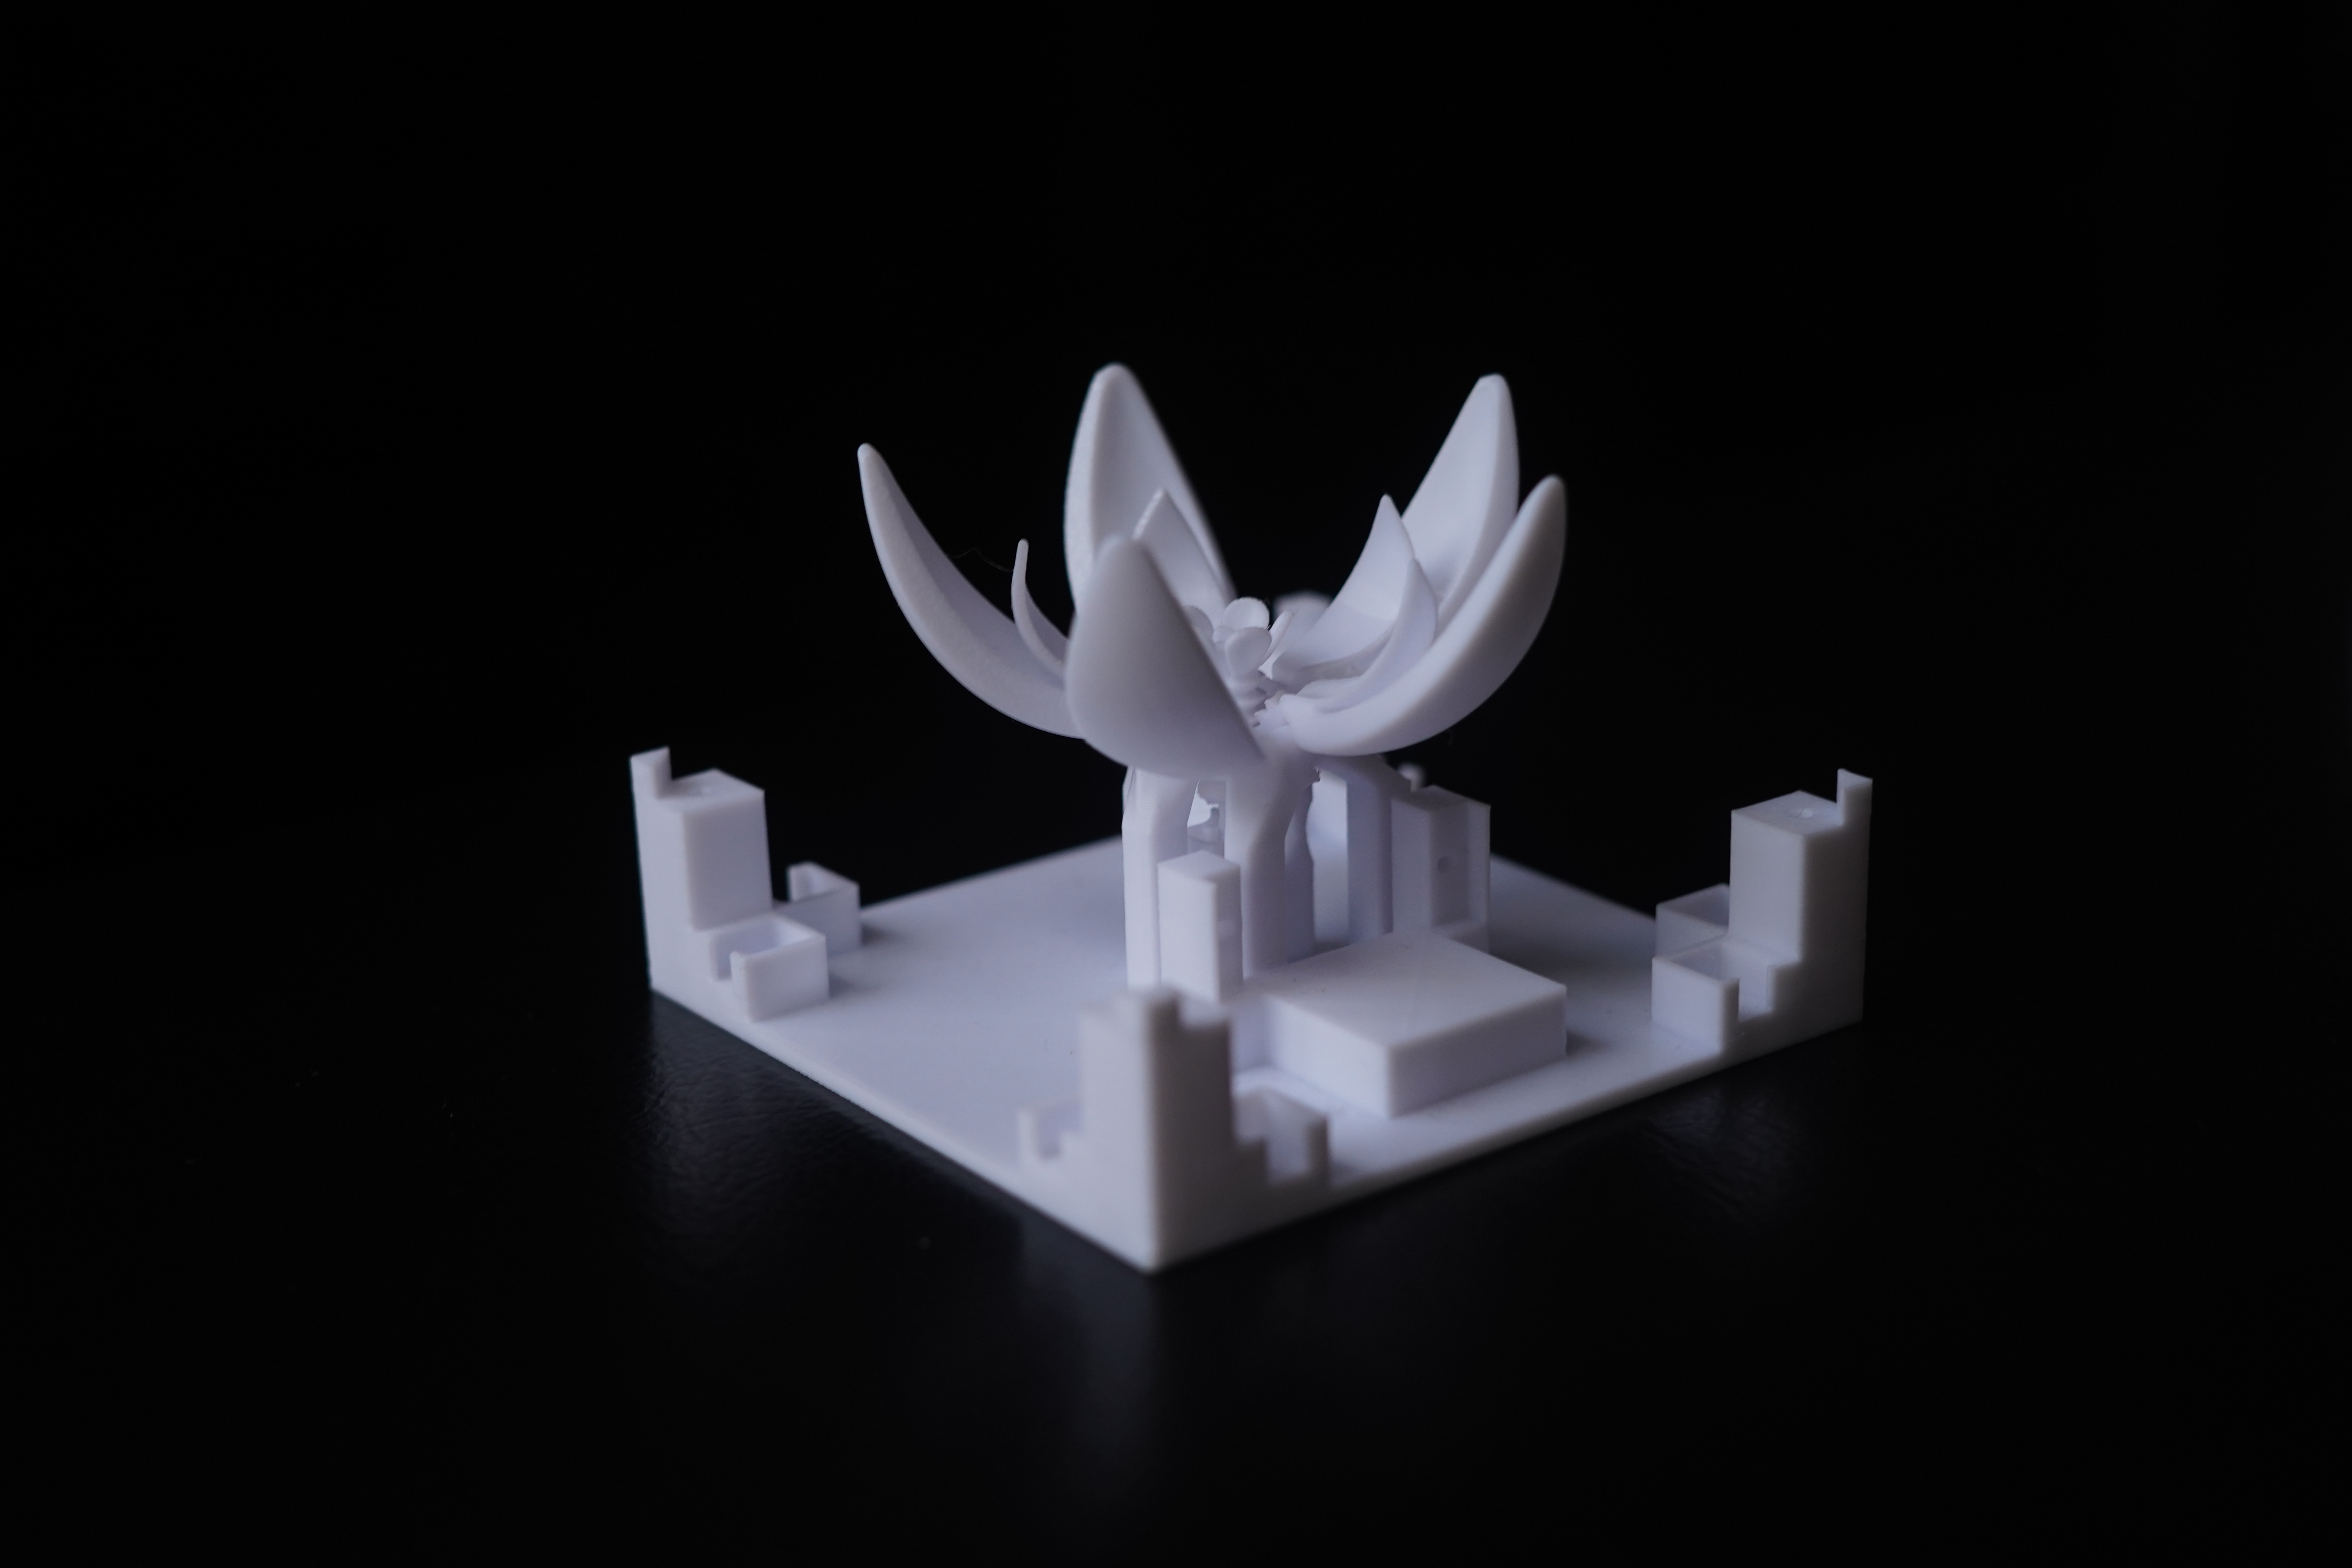
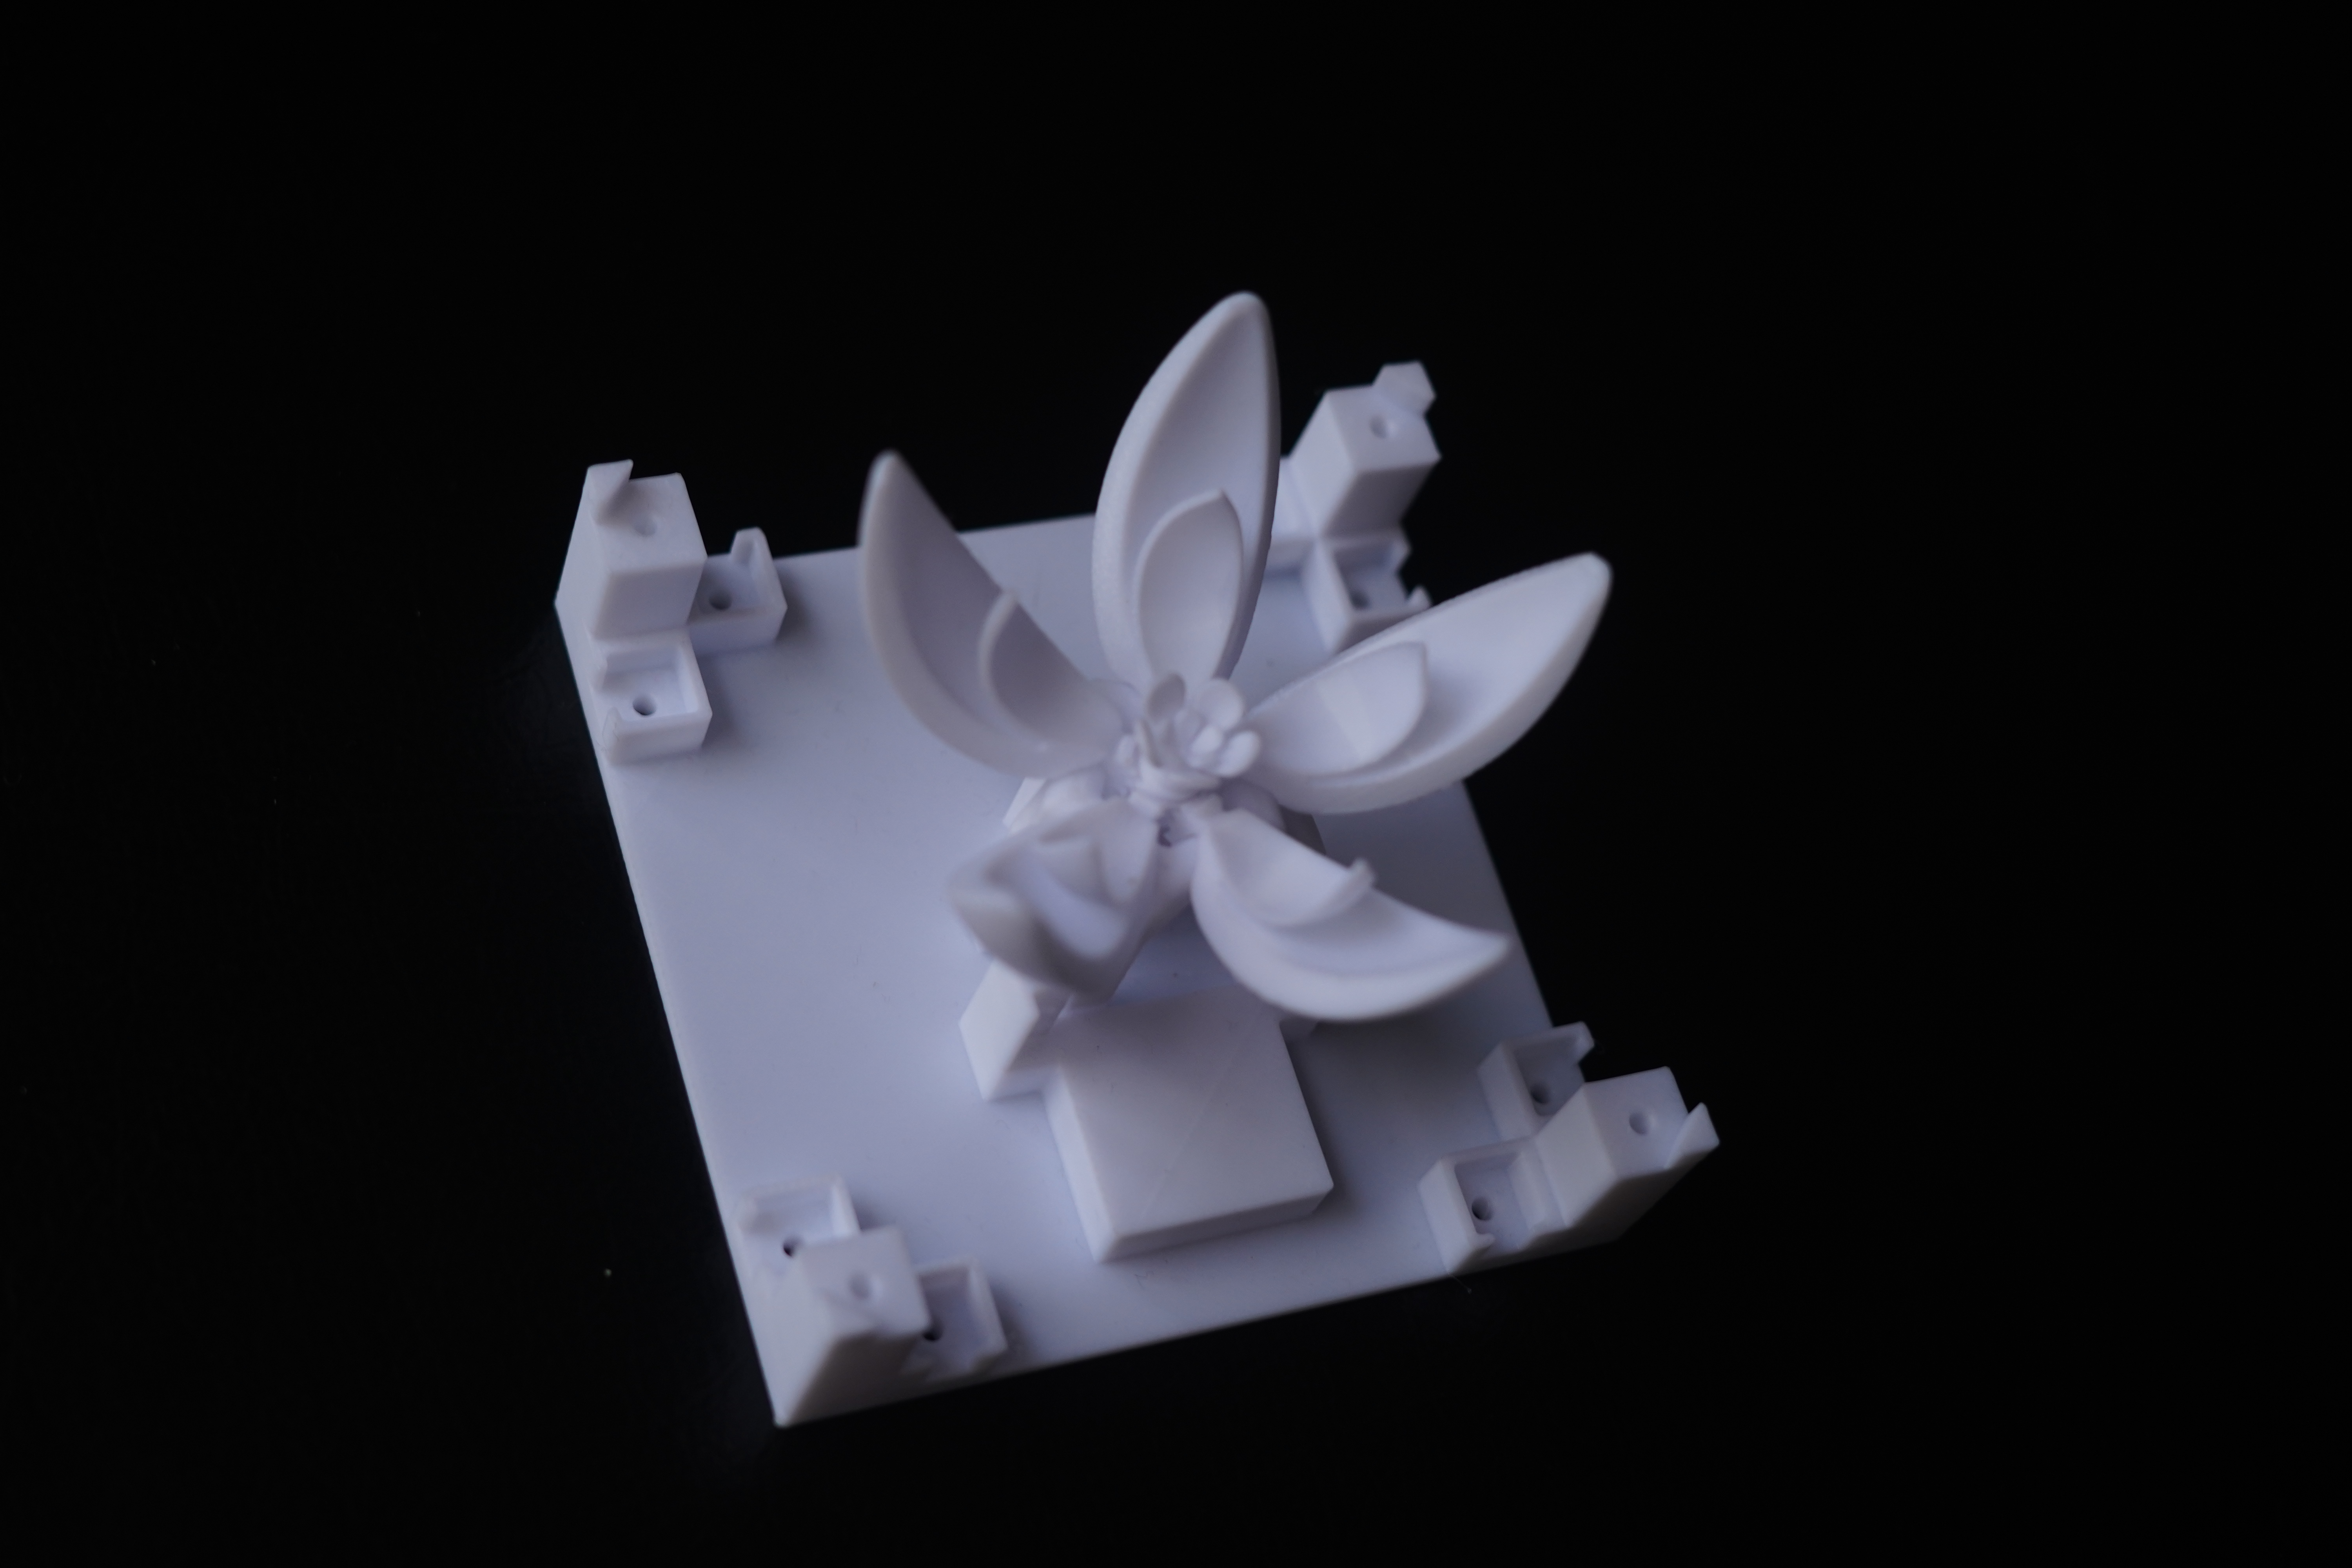
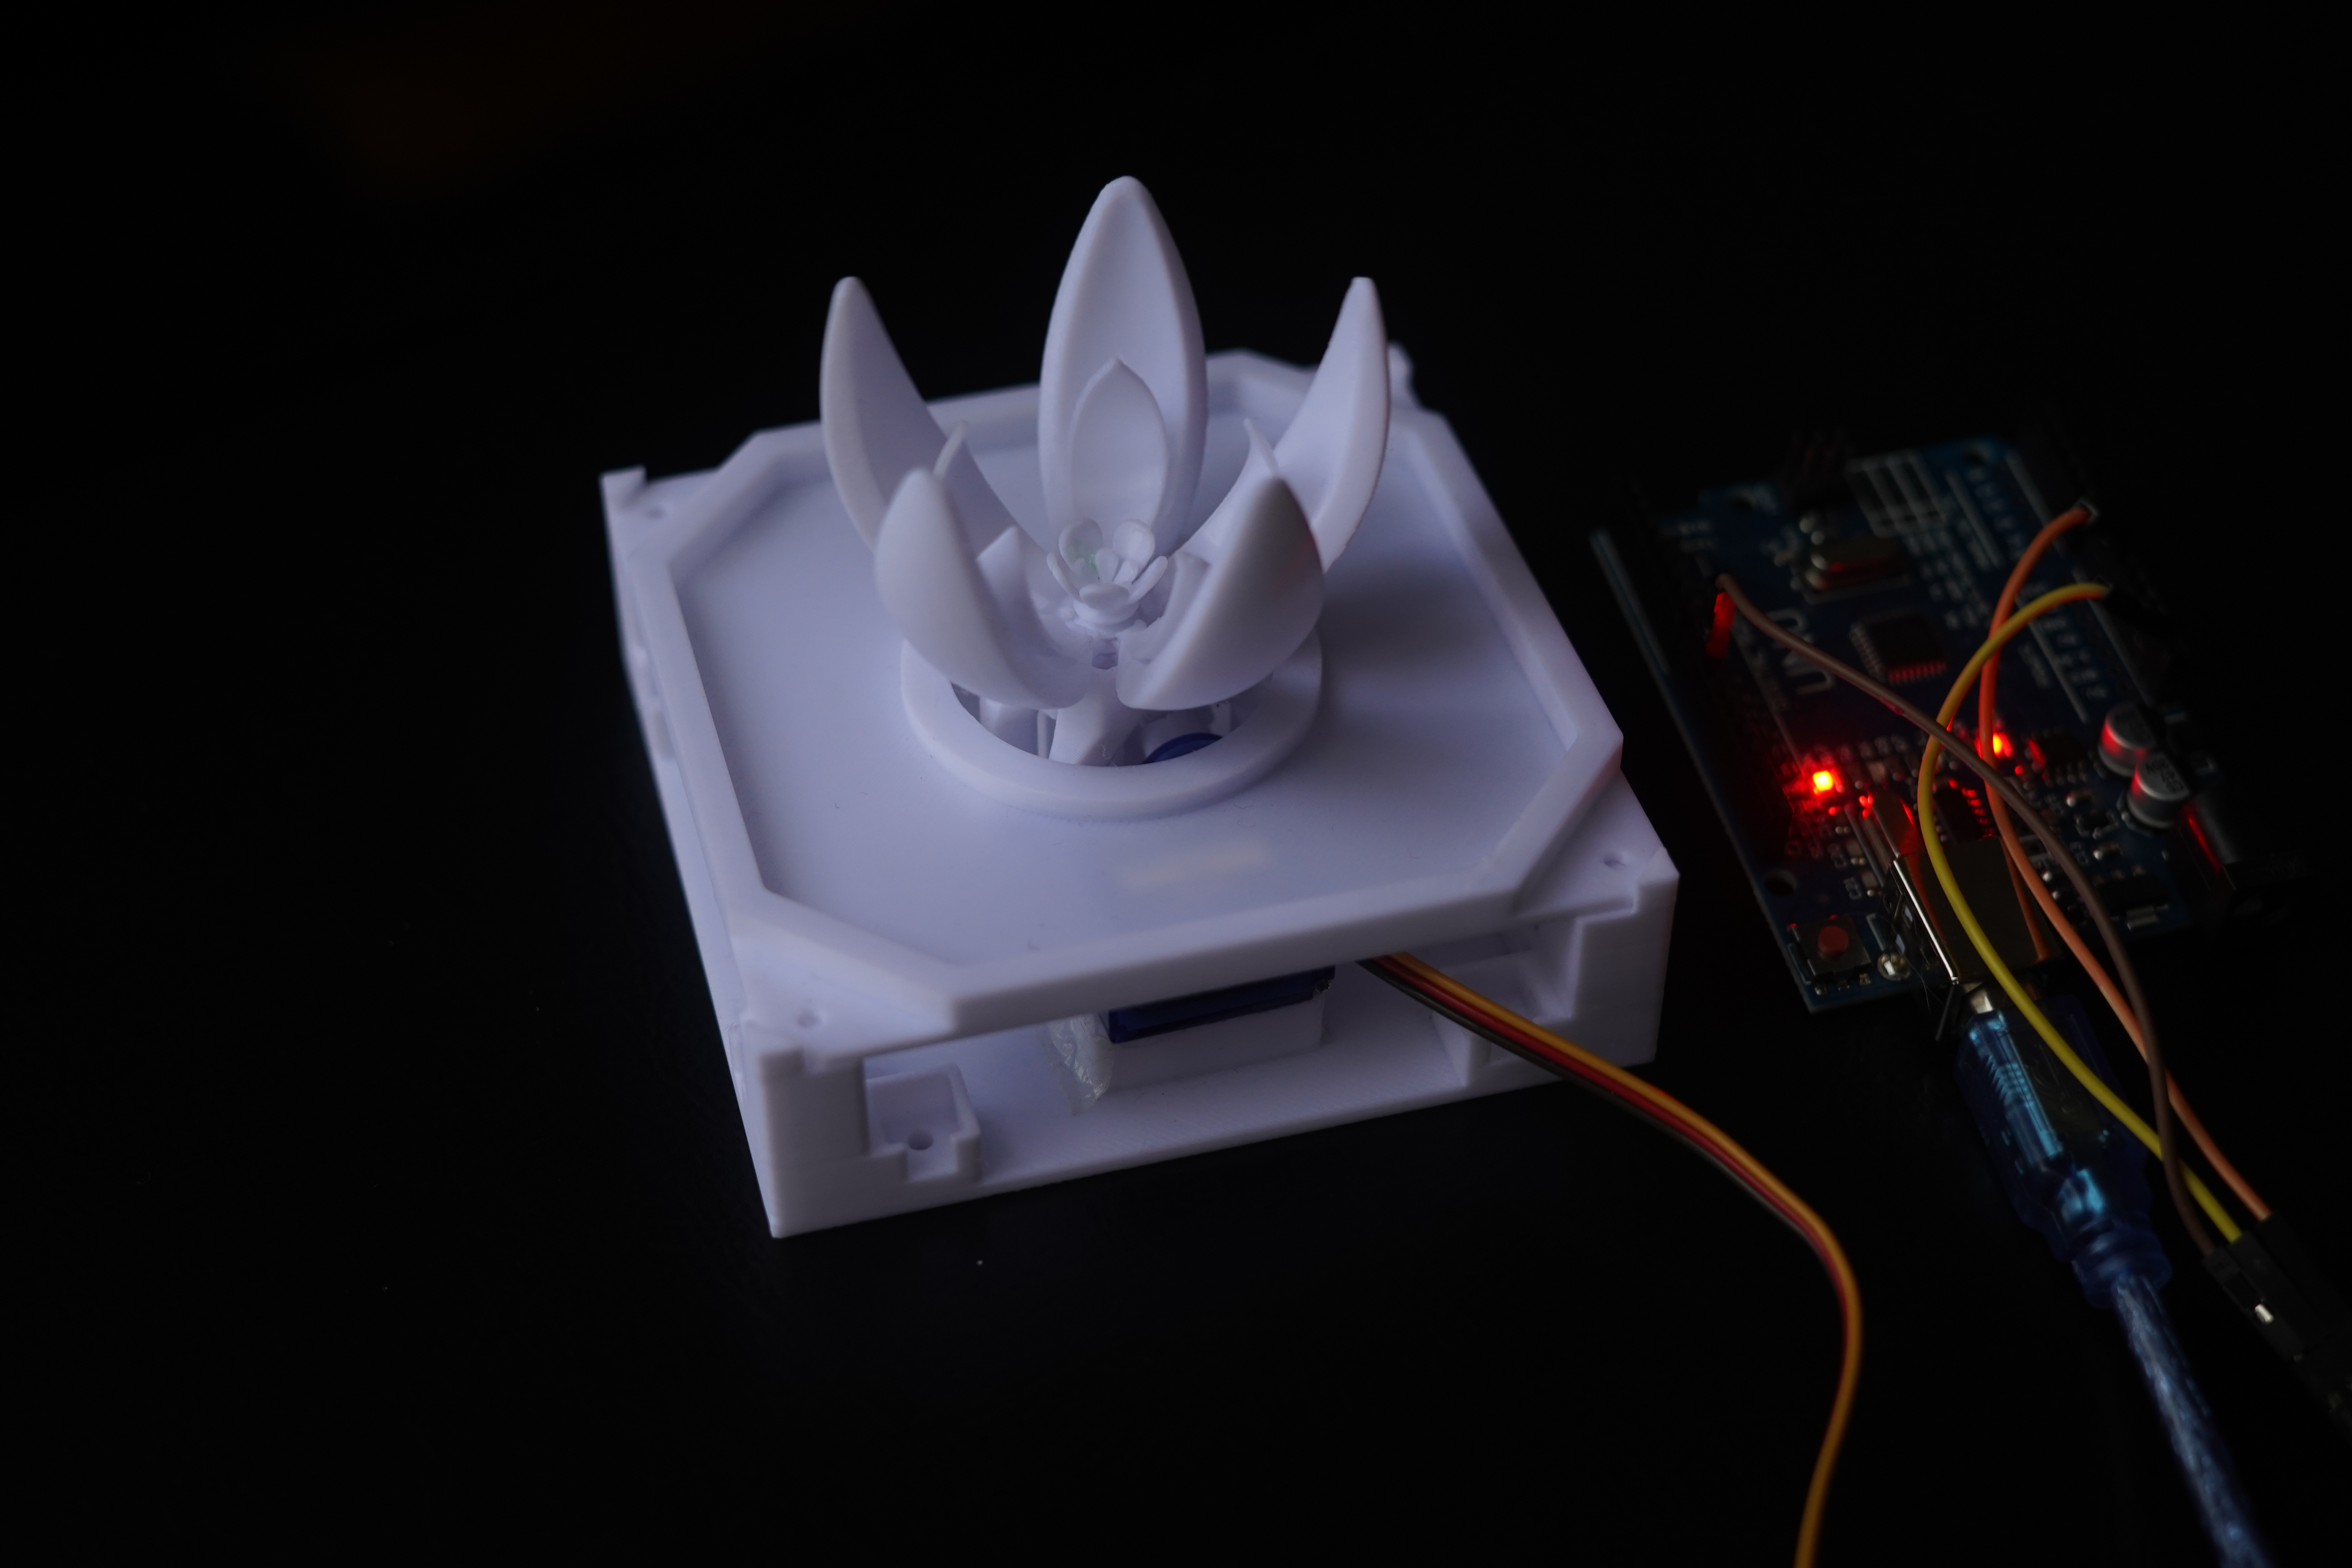
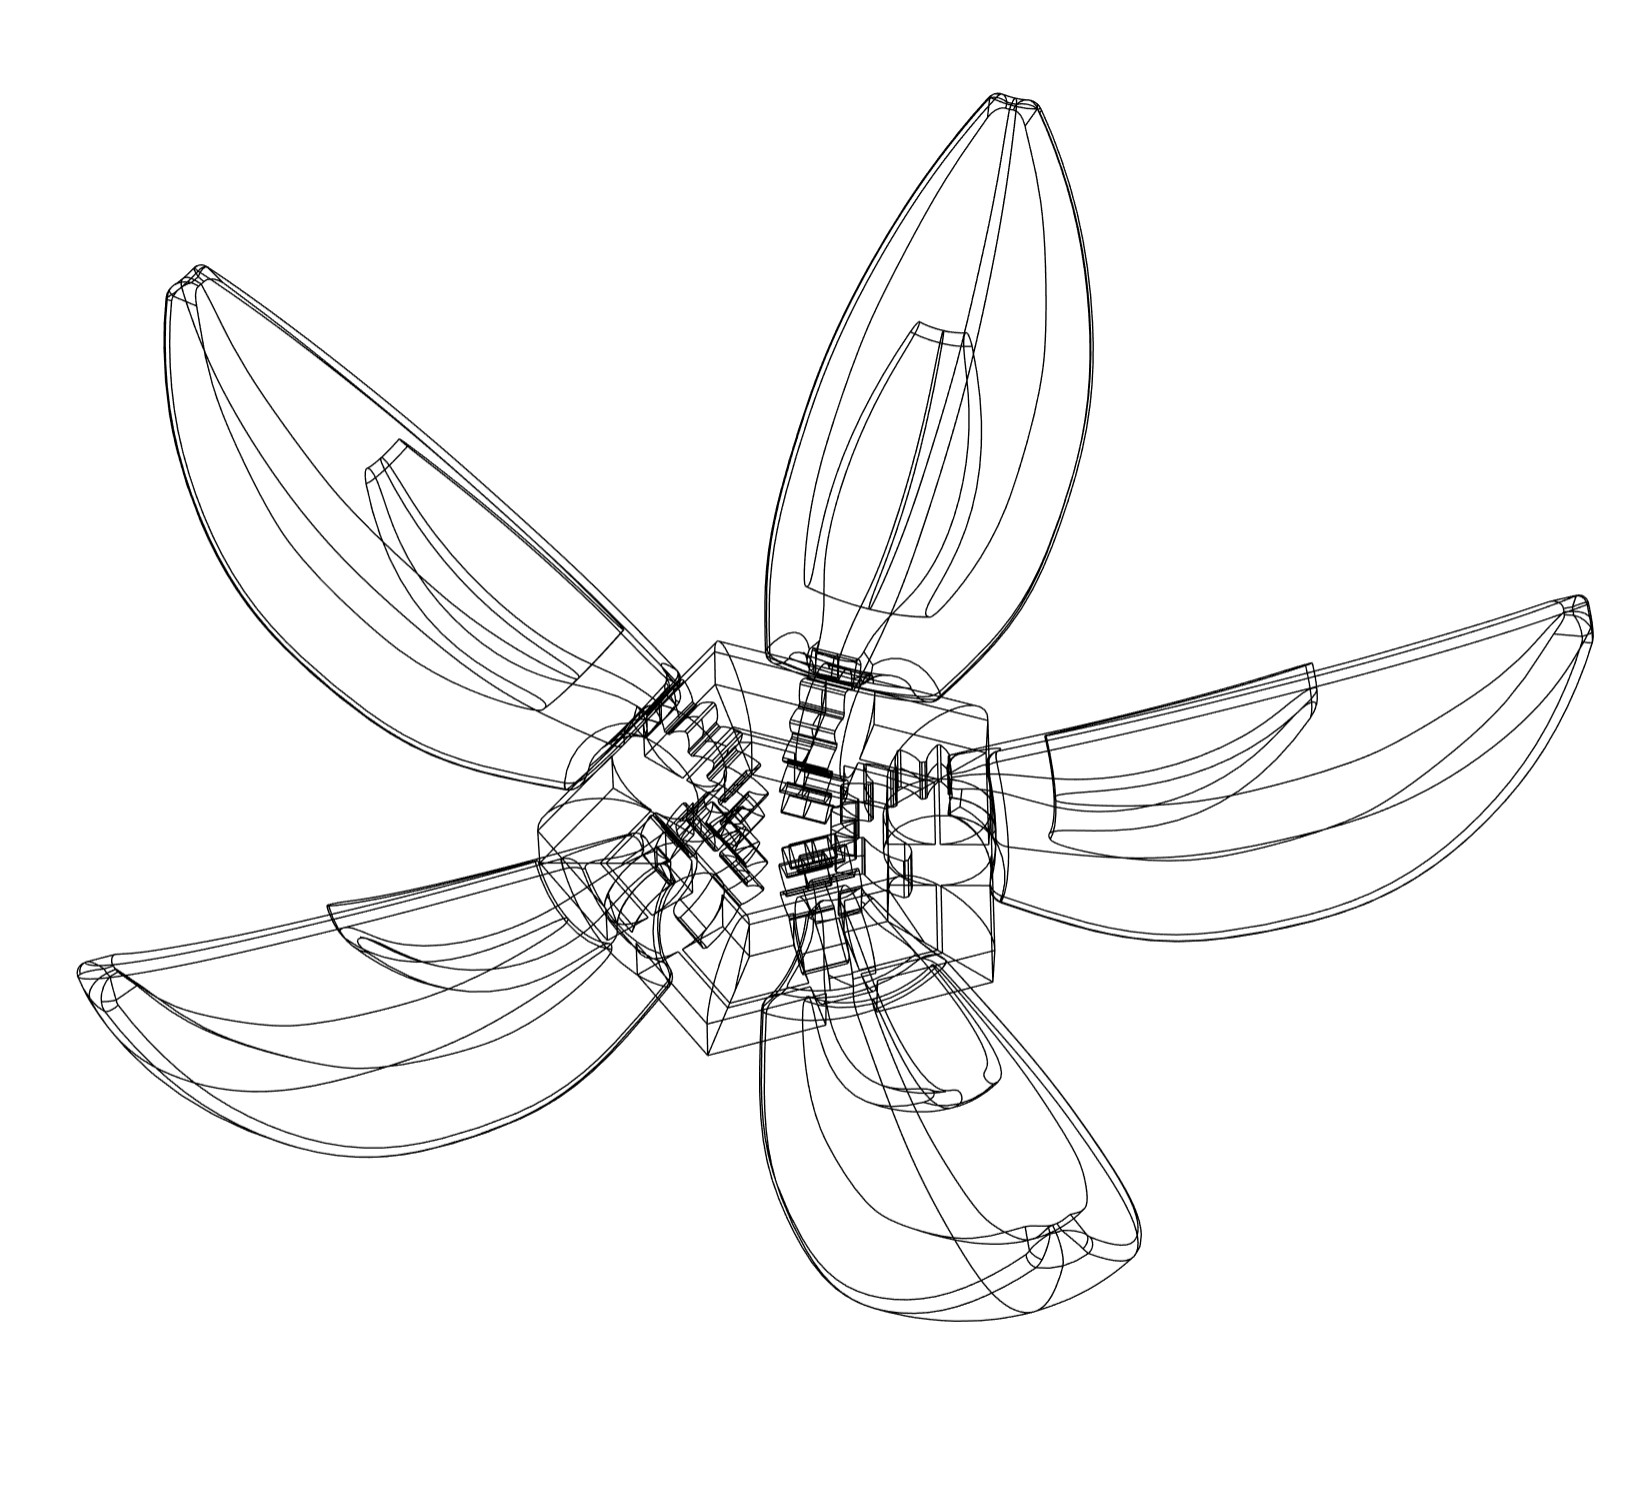
First Mechanical Flower — 8 Petal

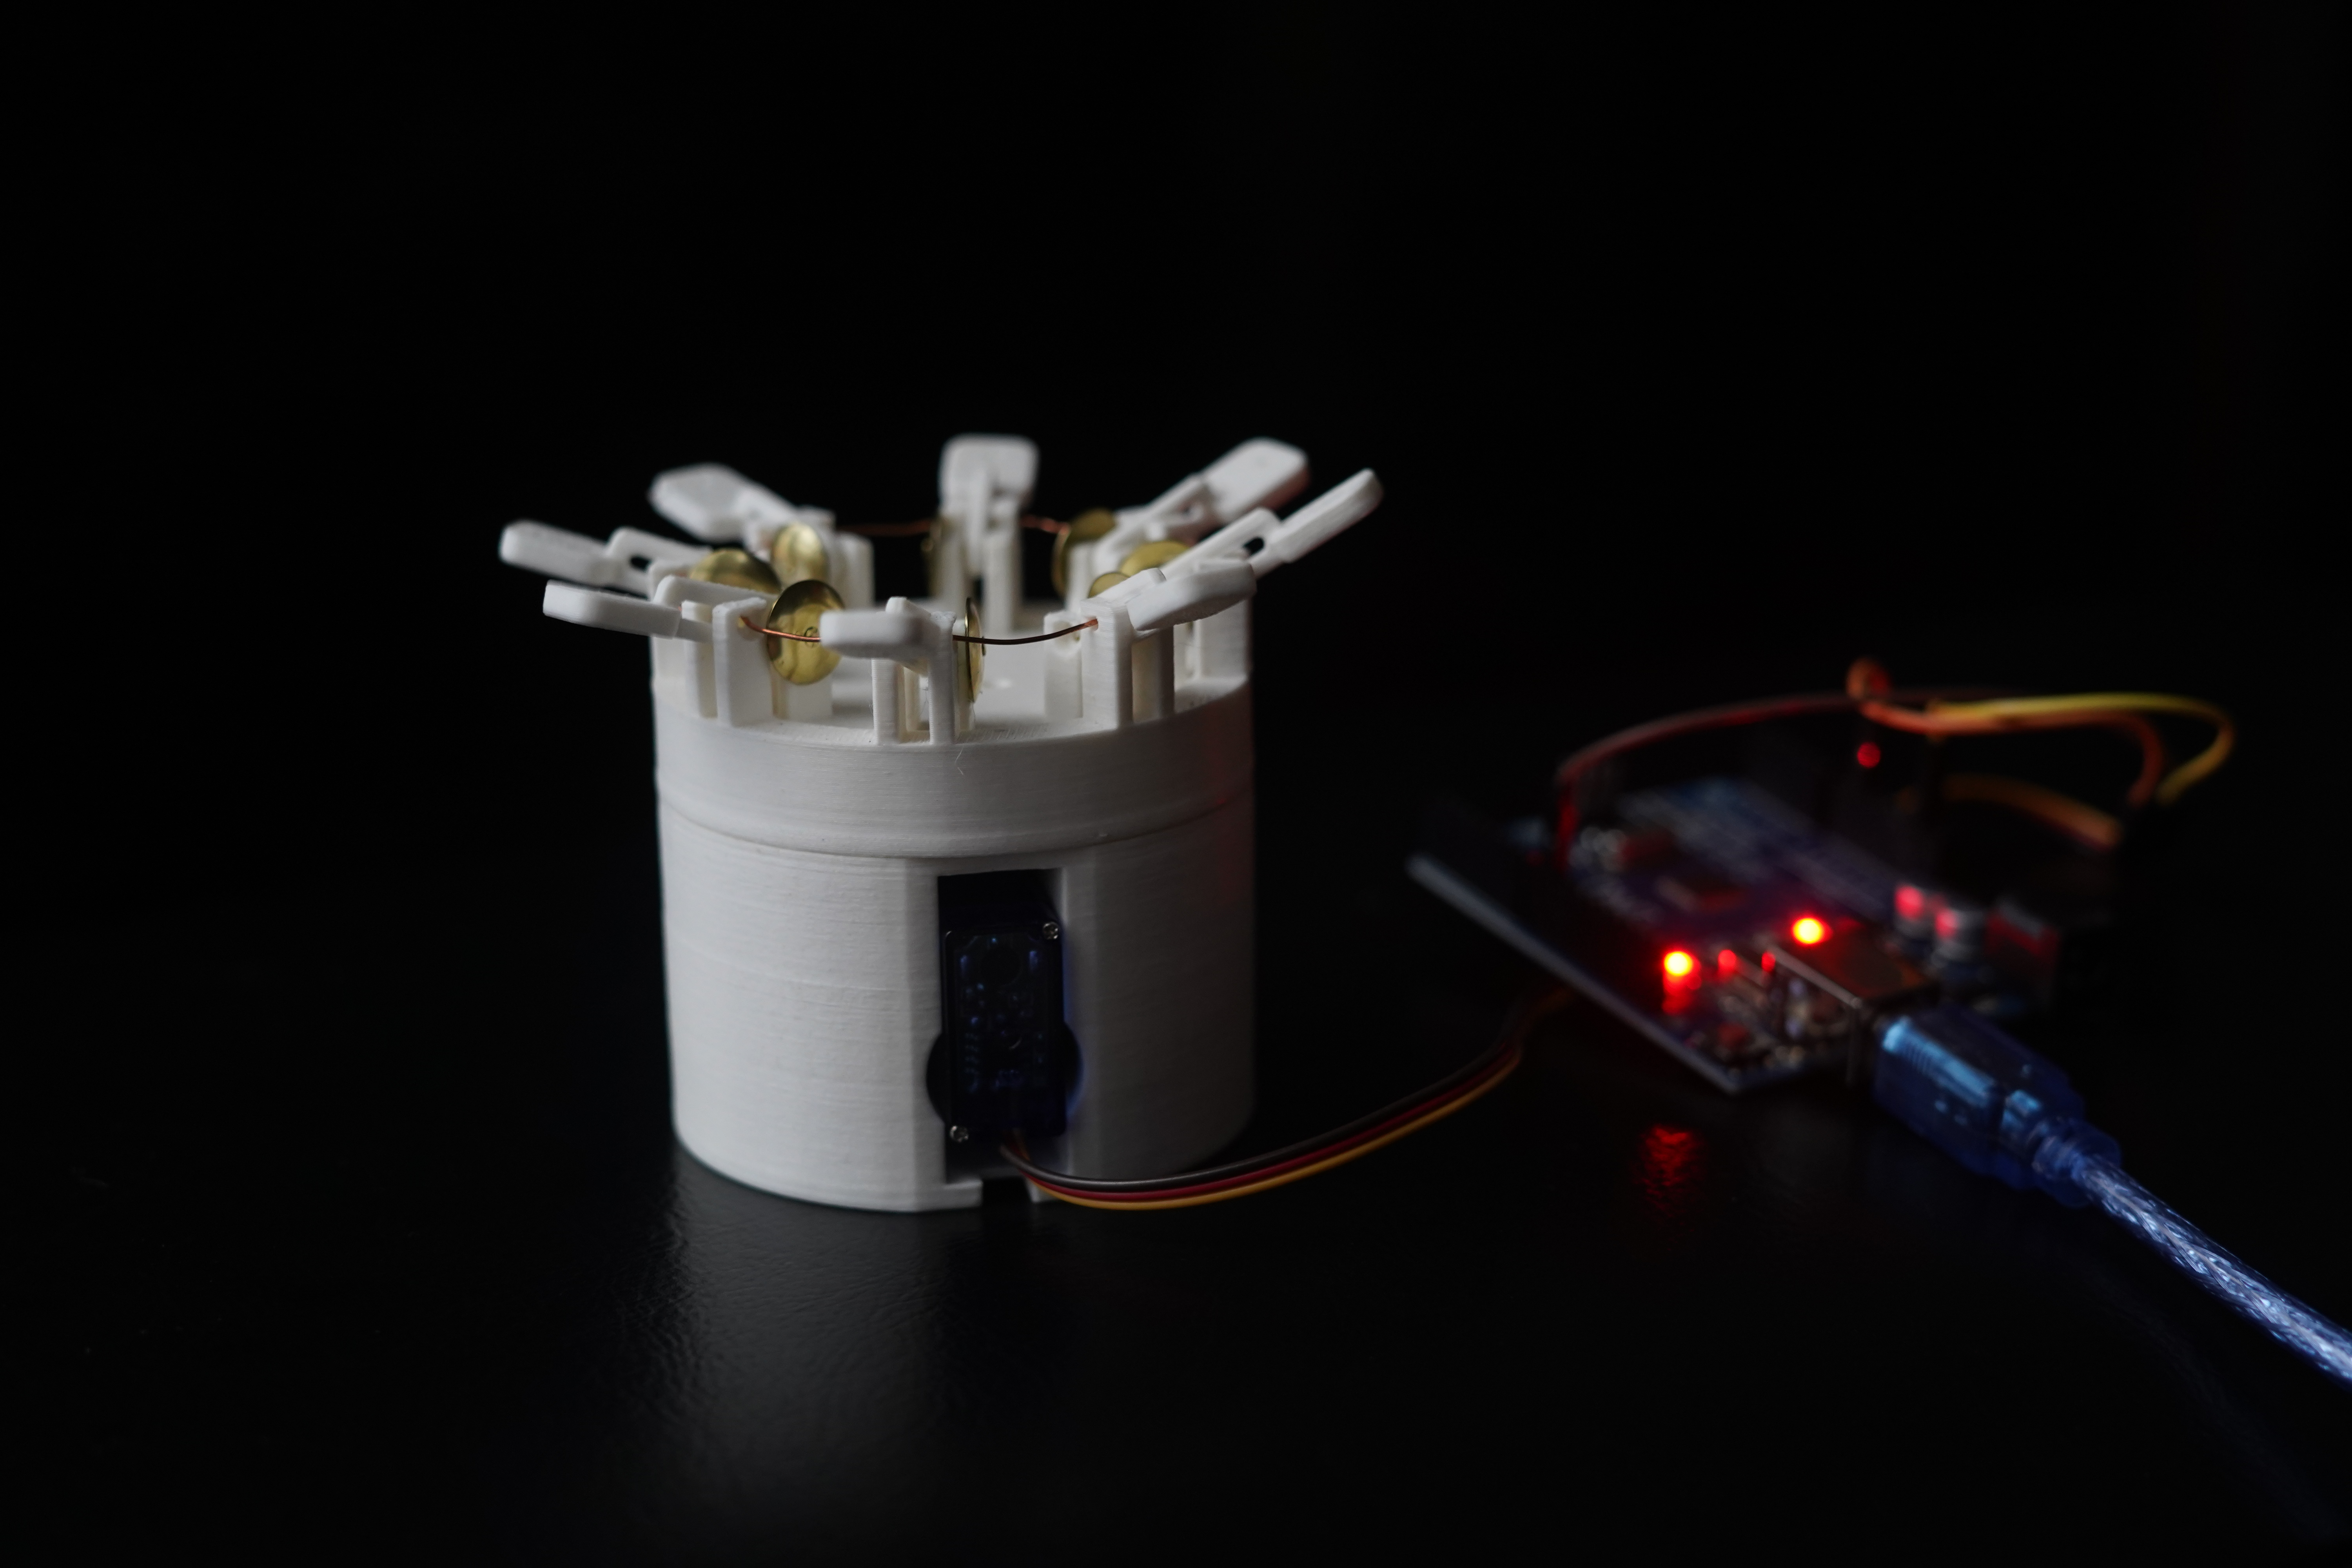
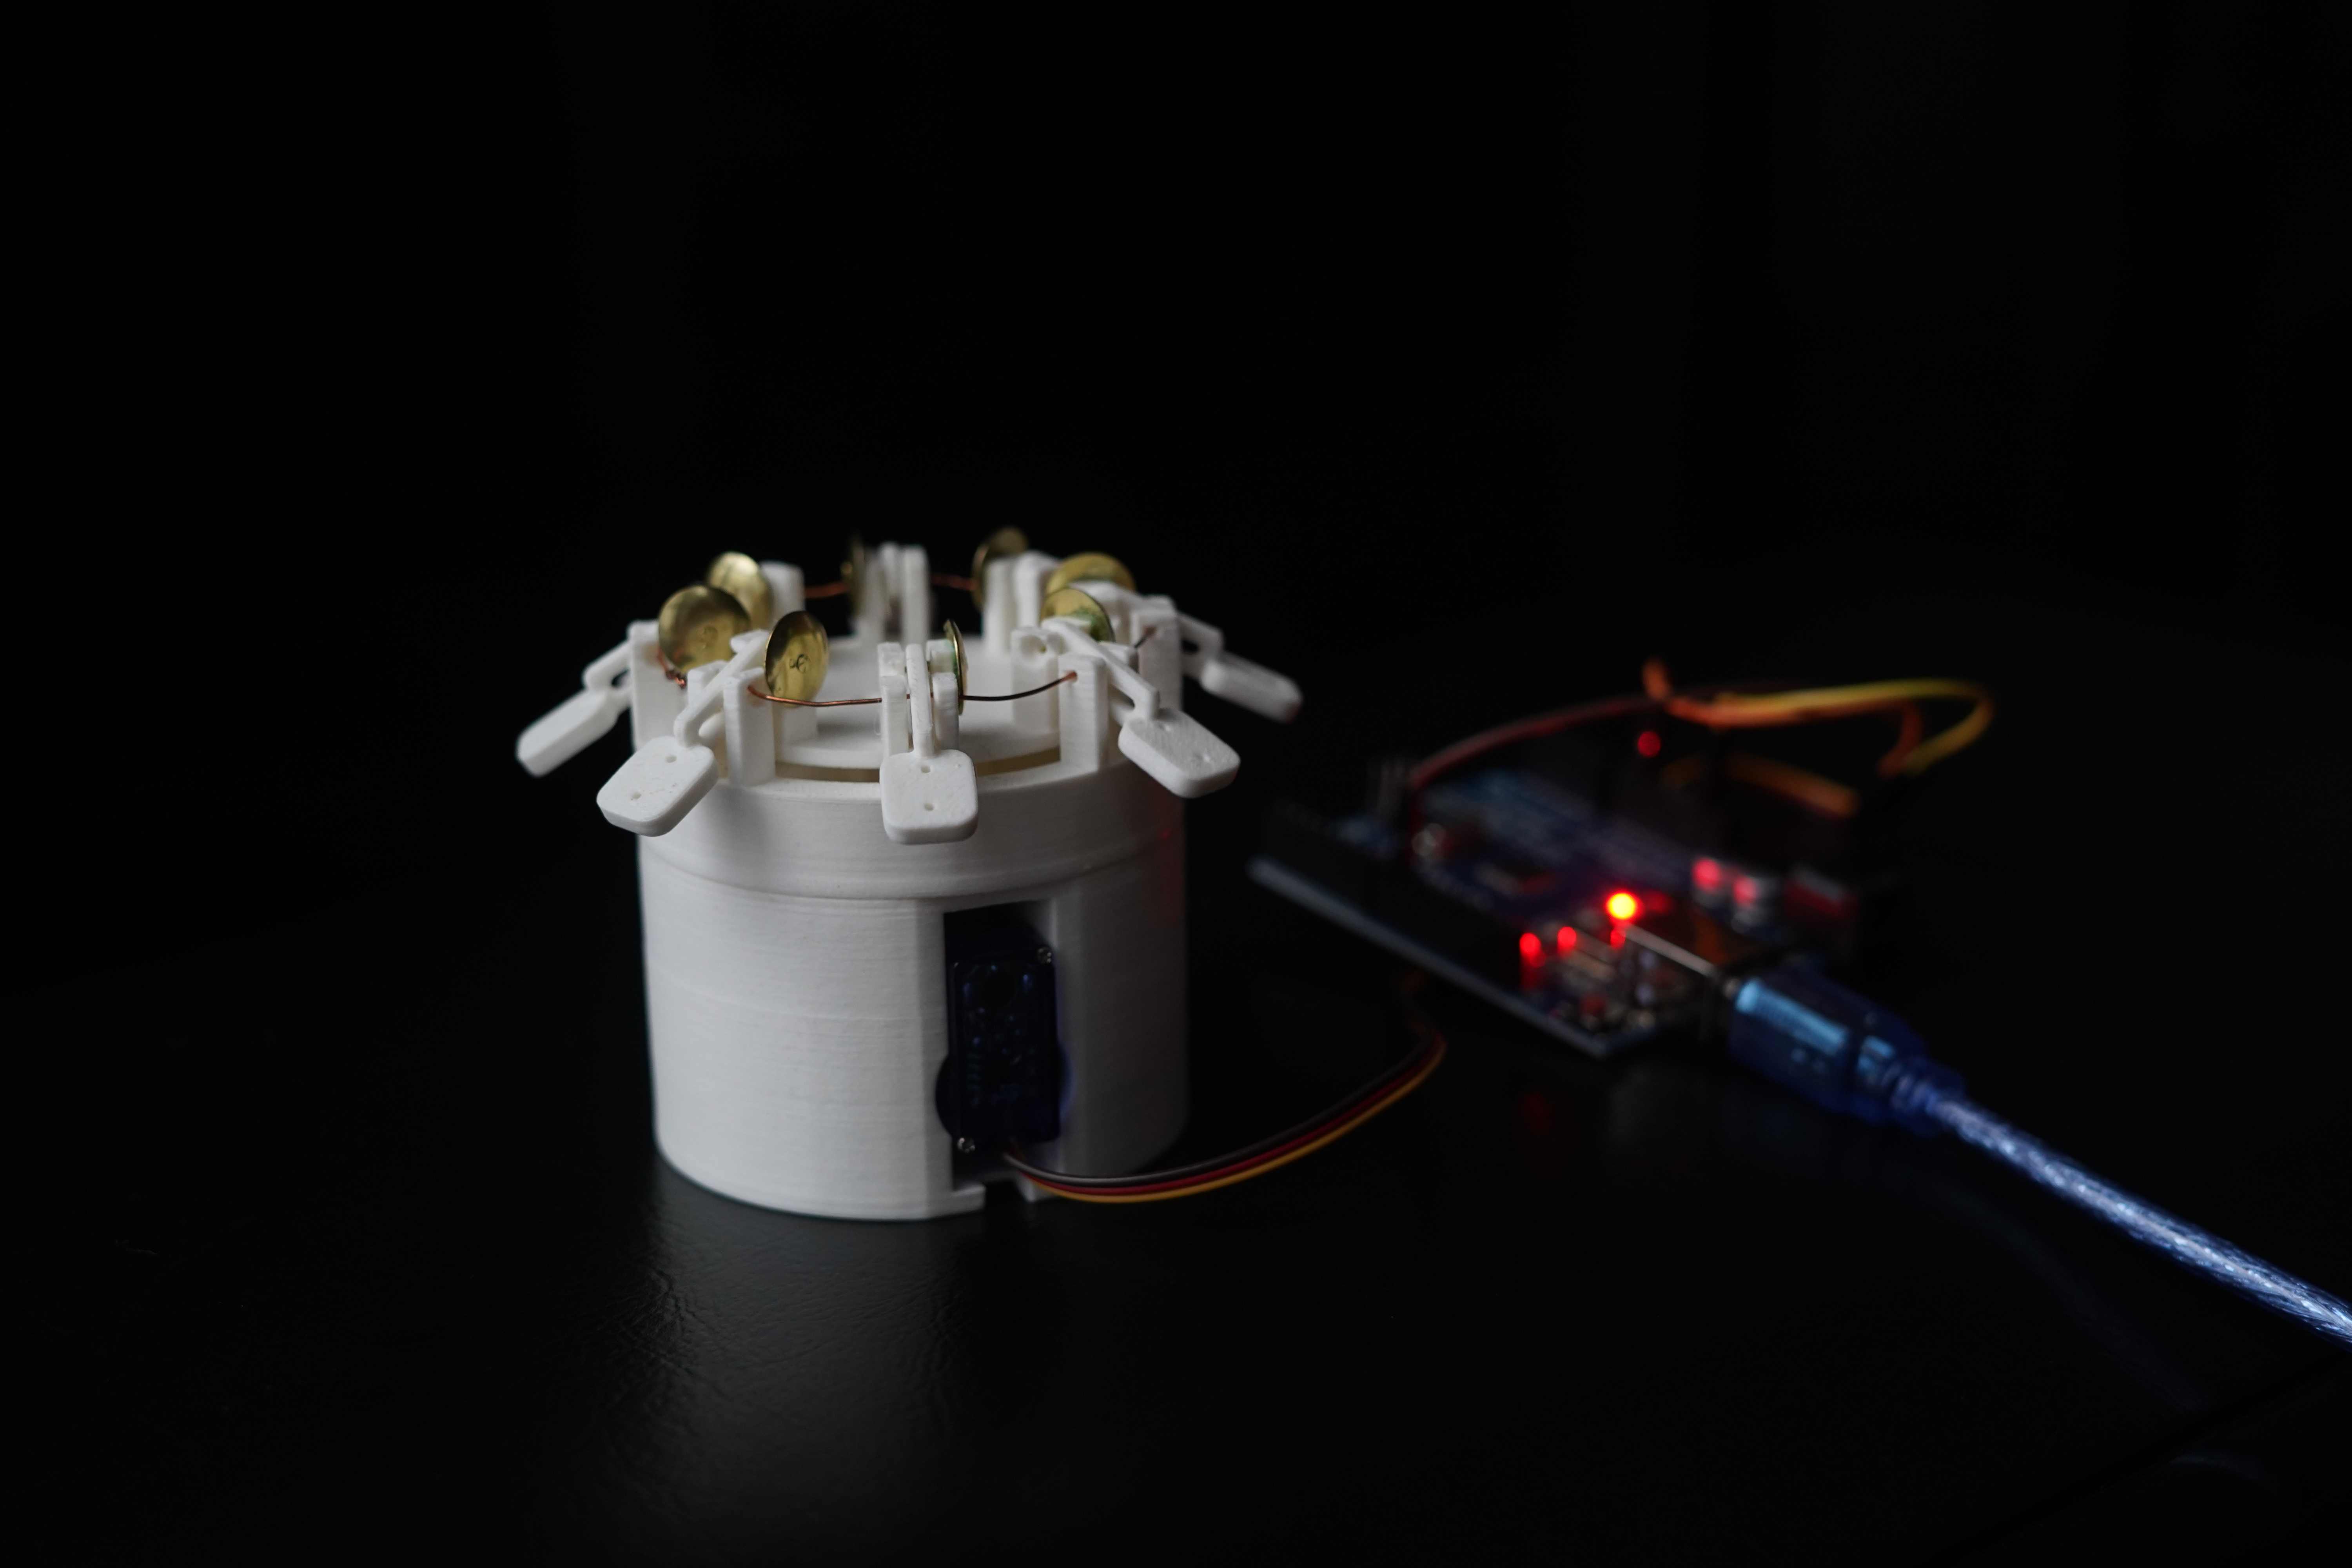
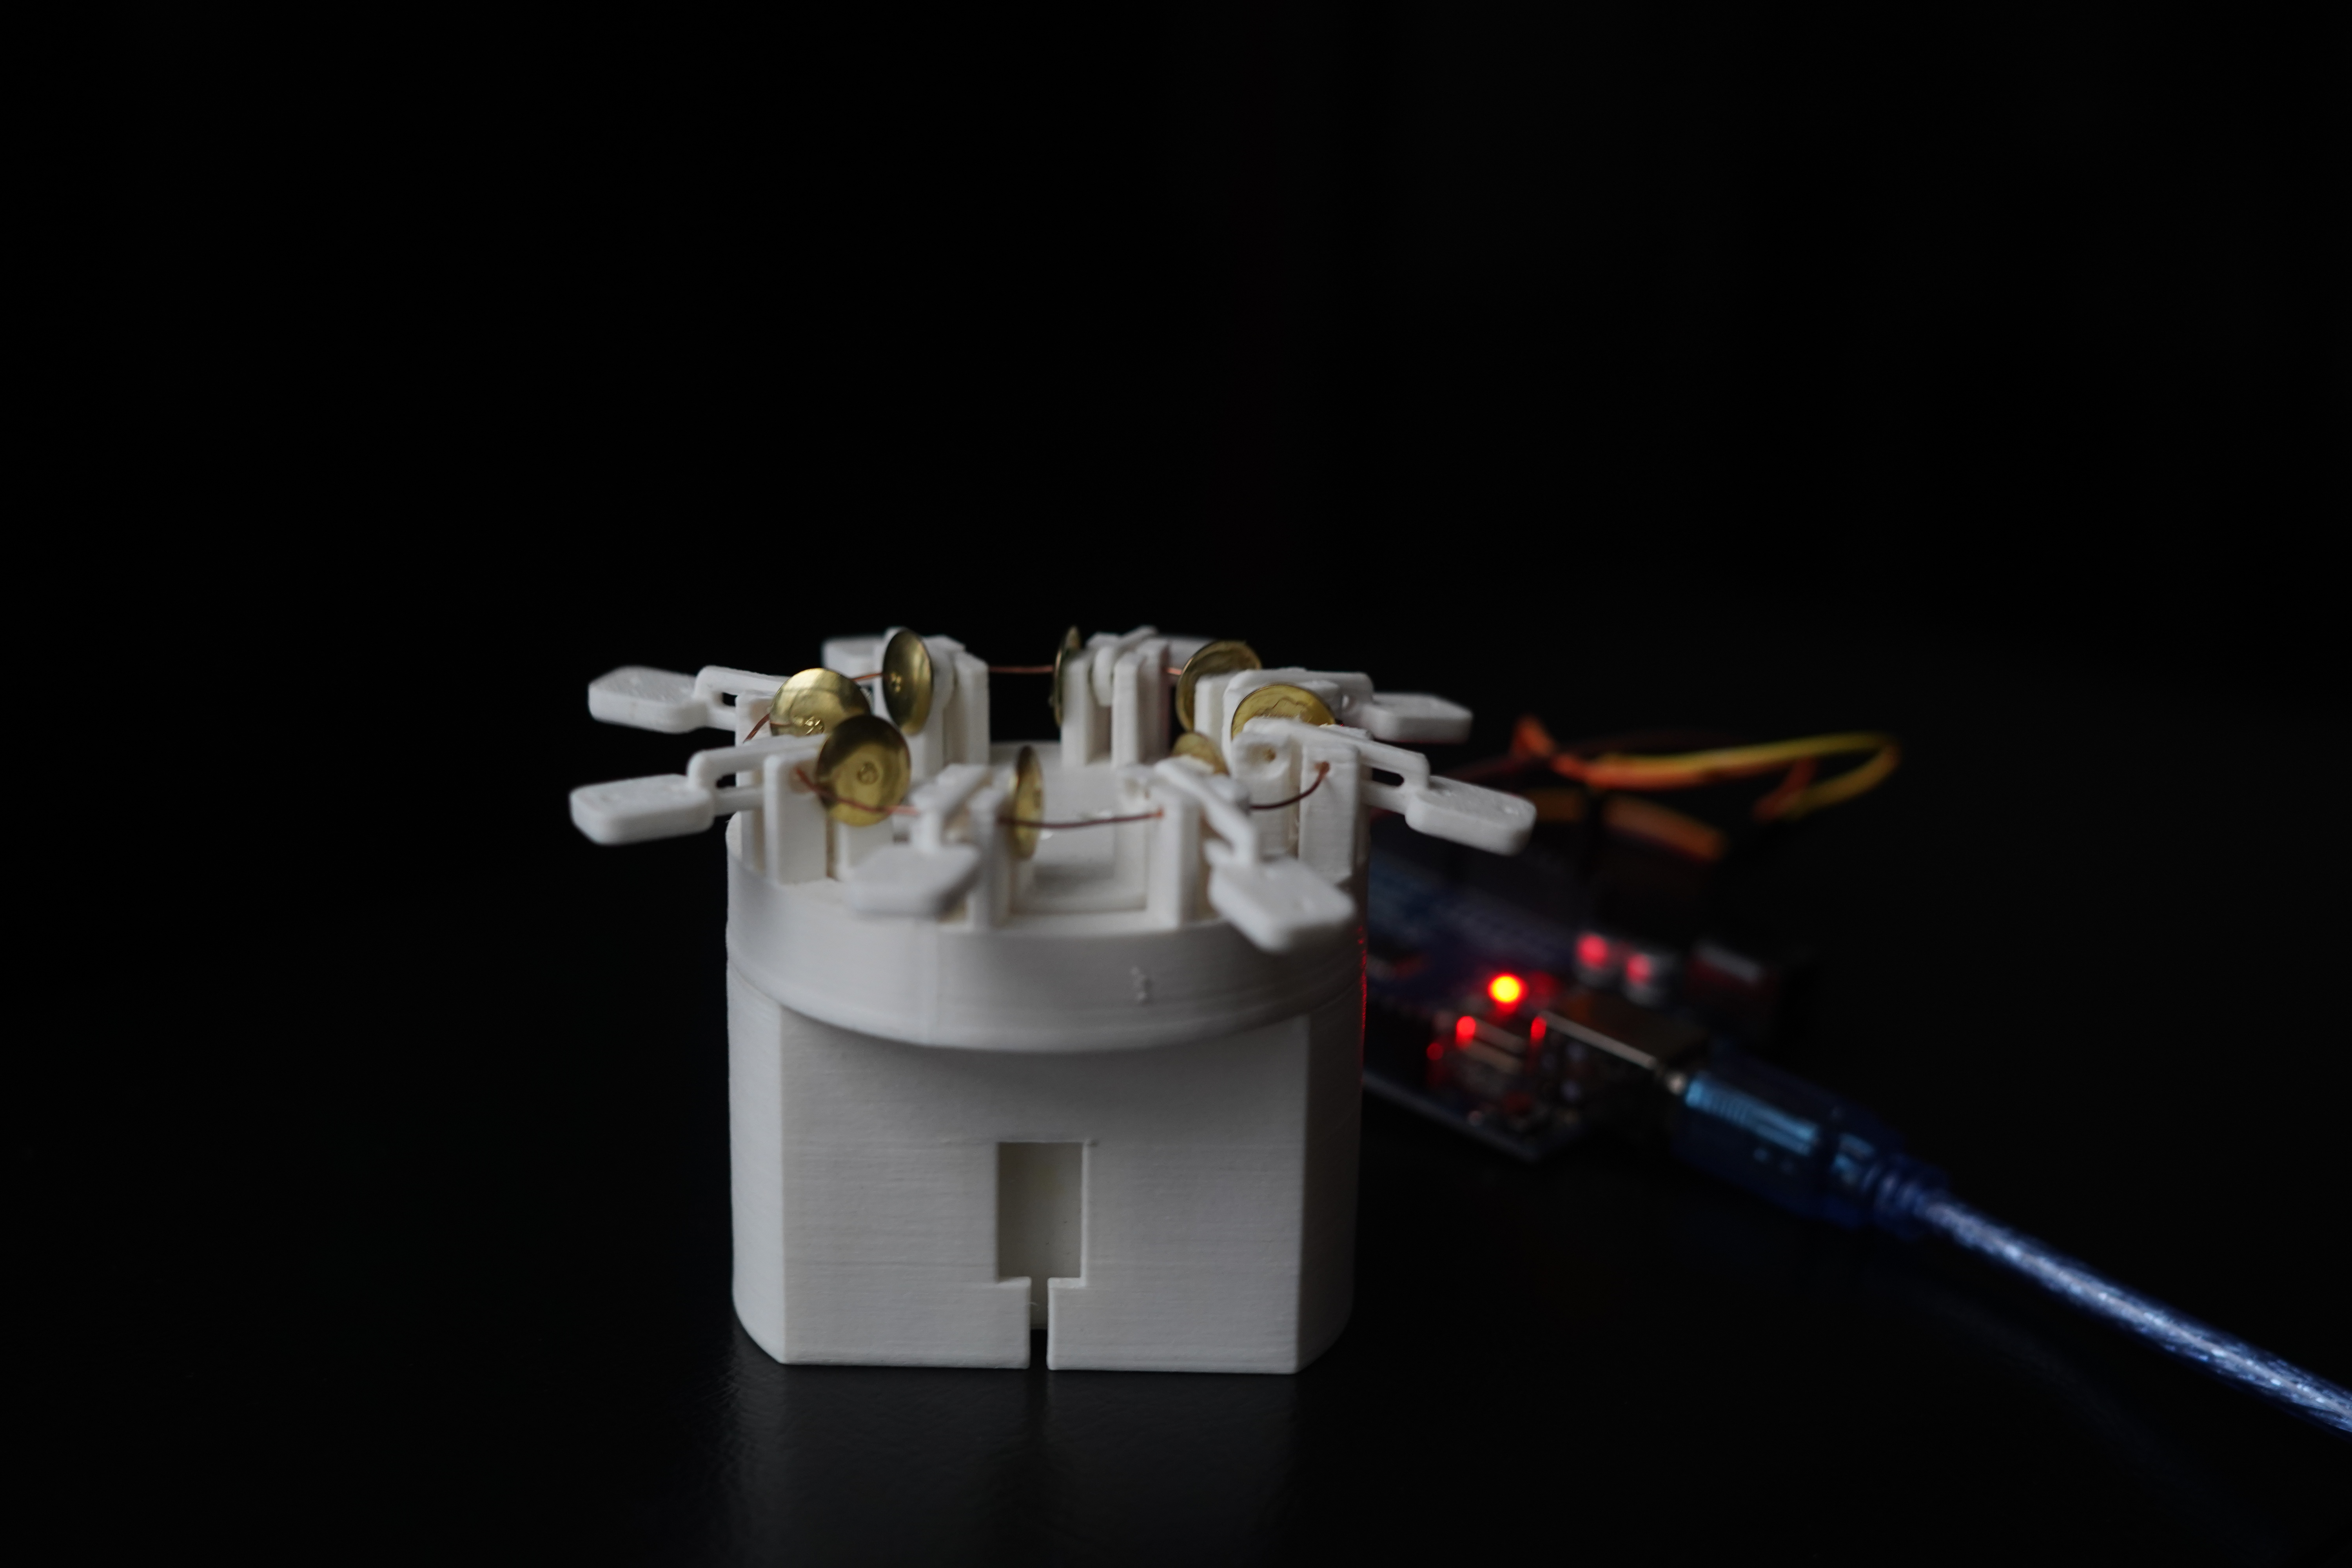
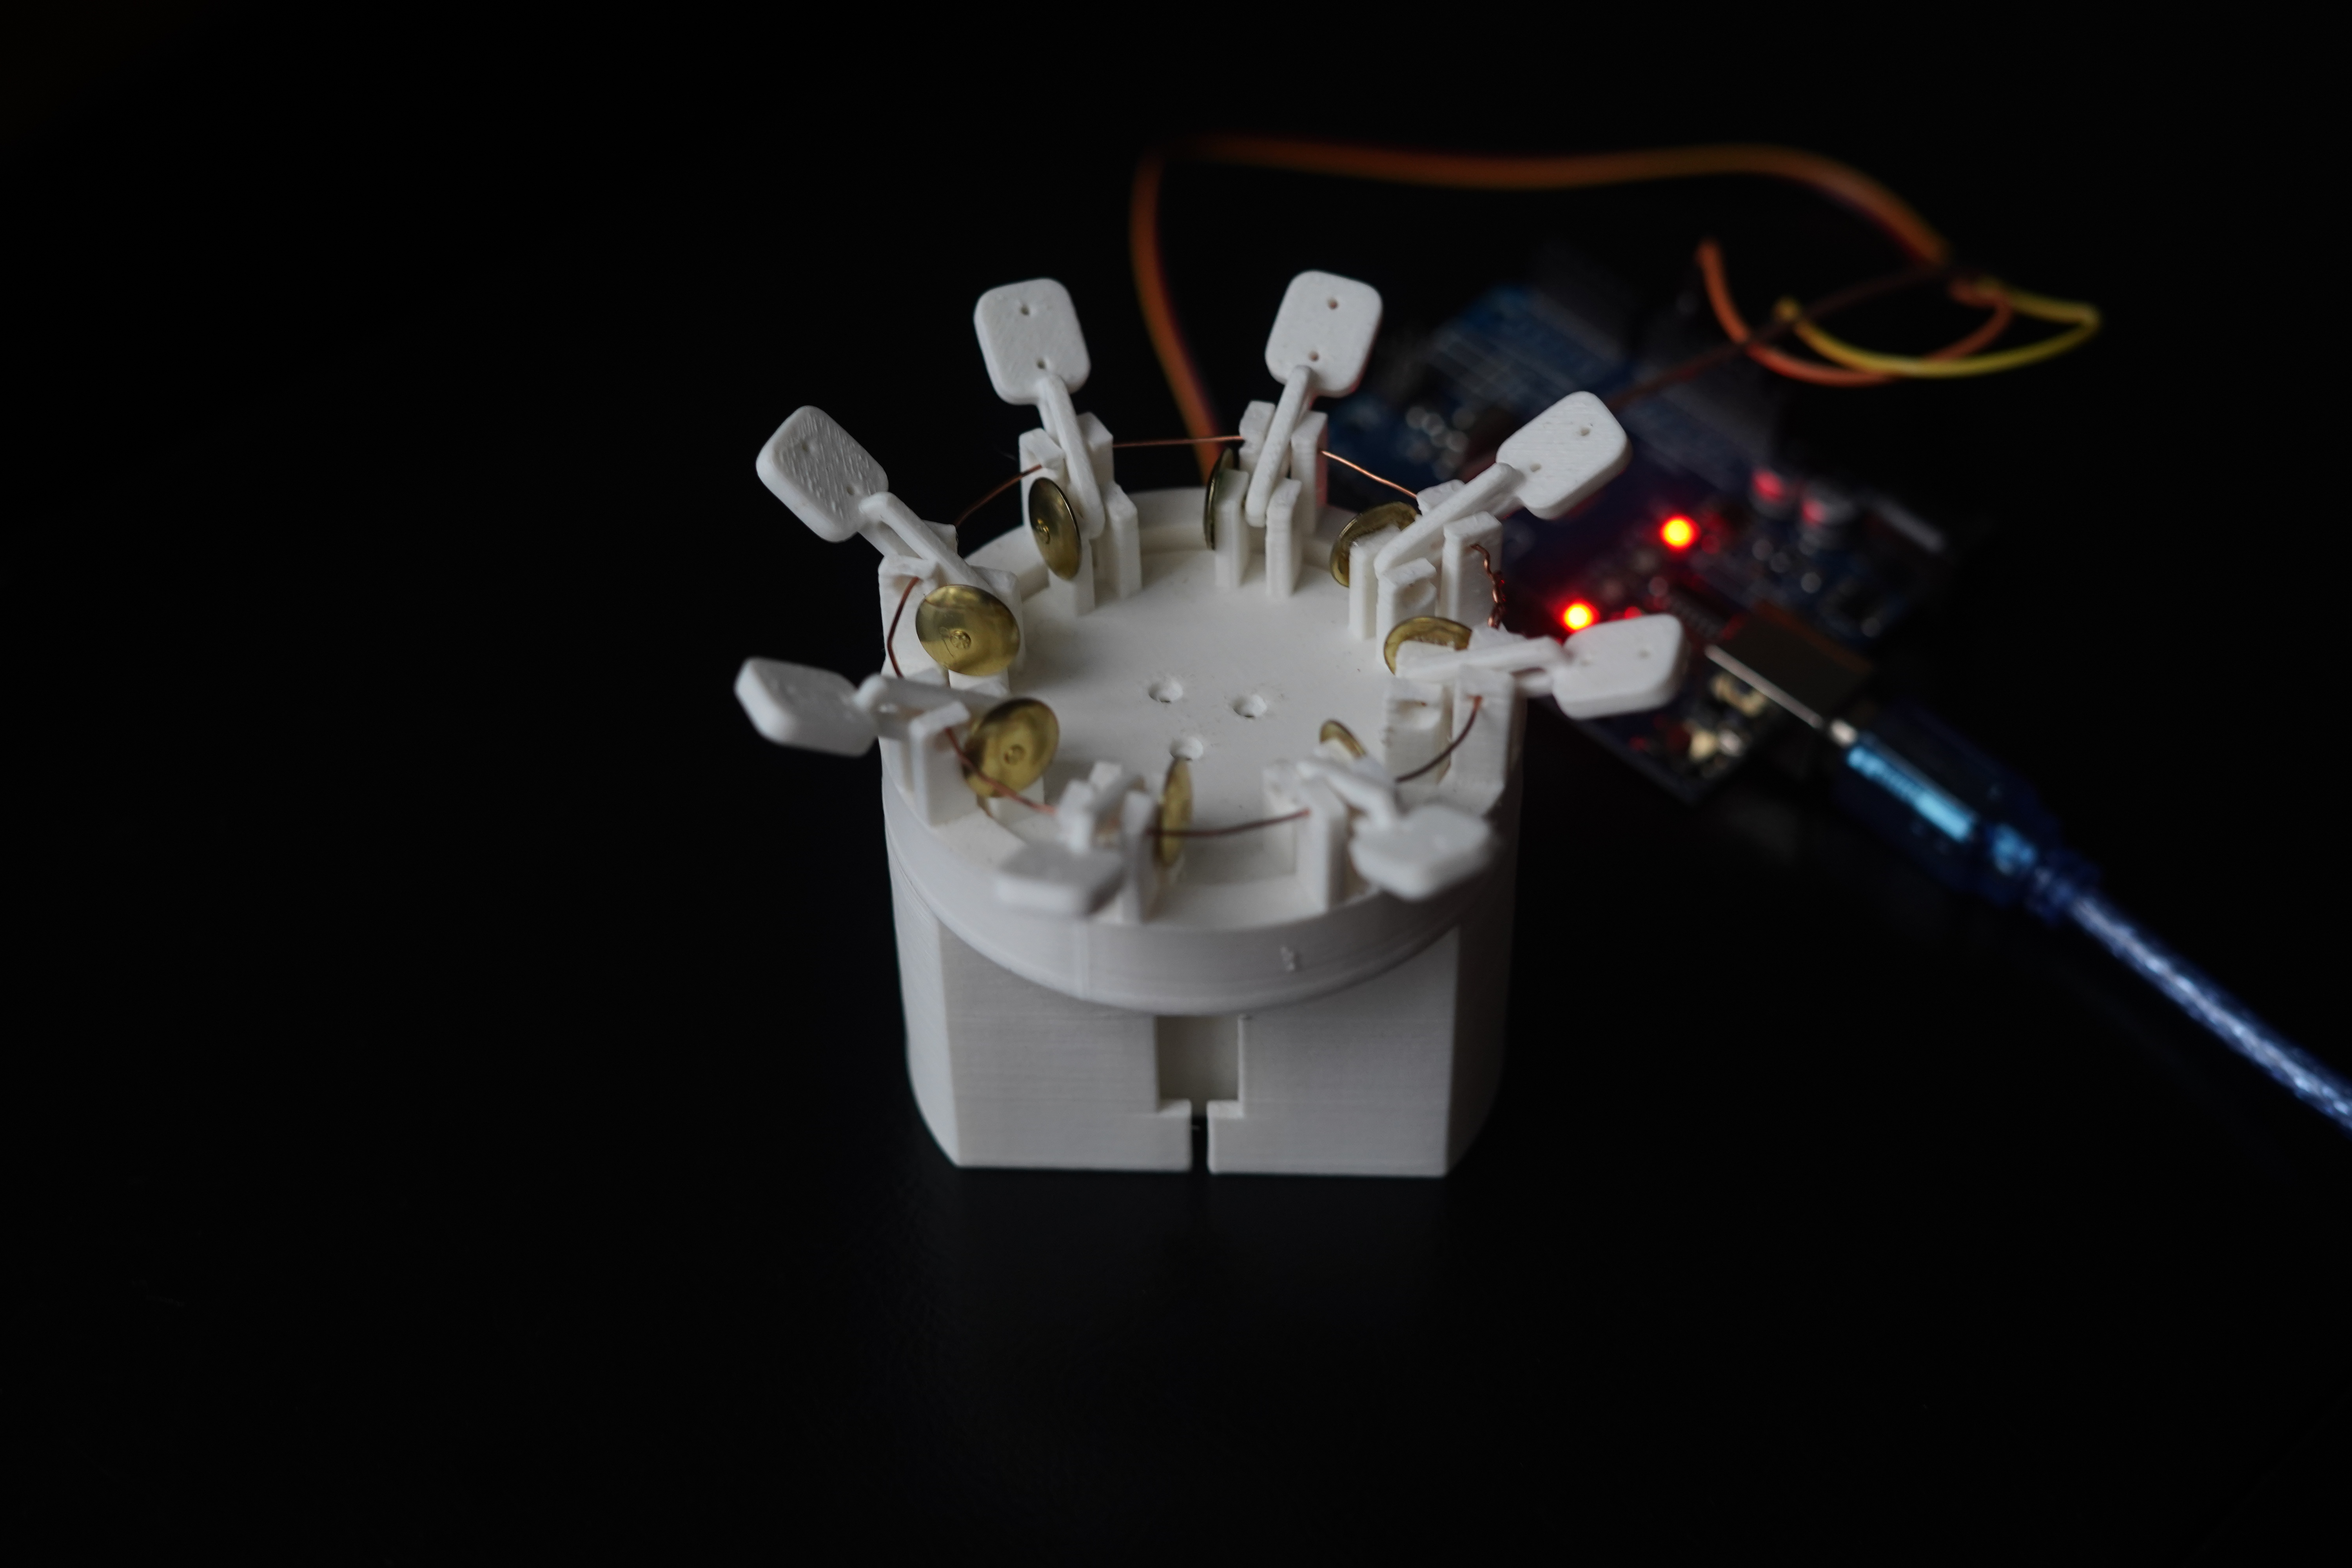
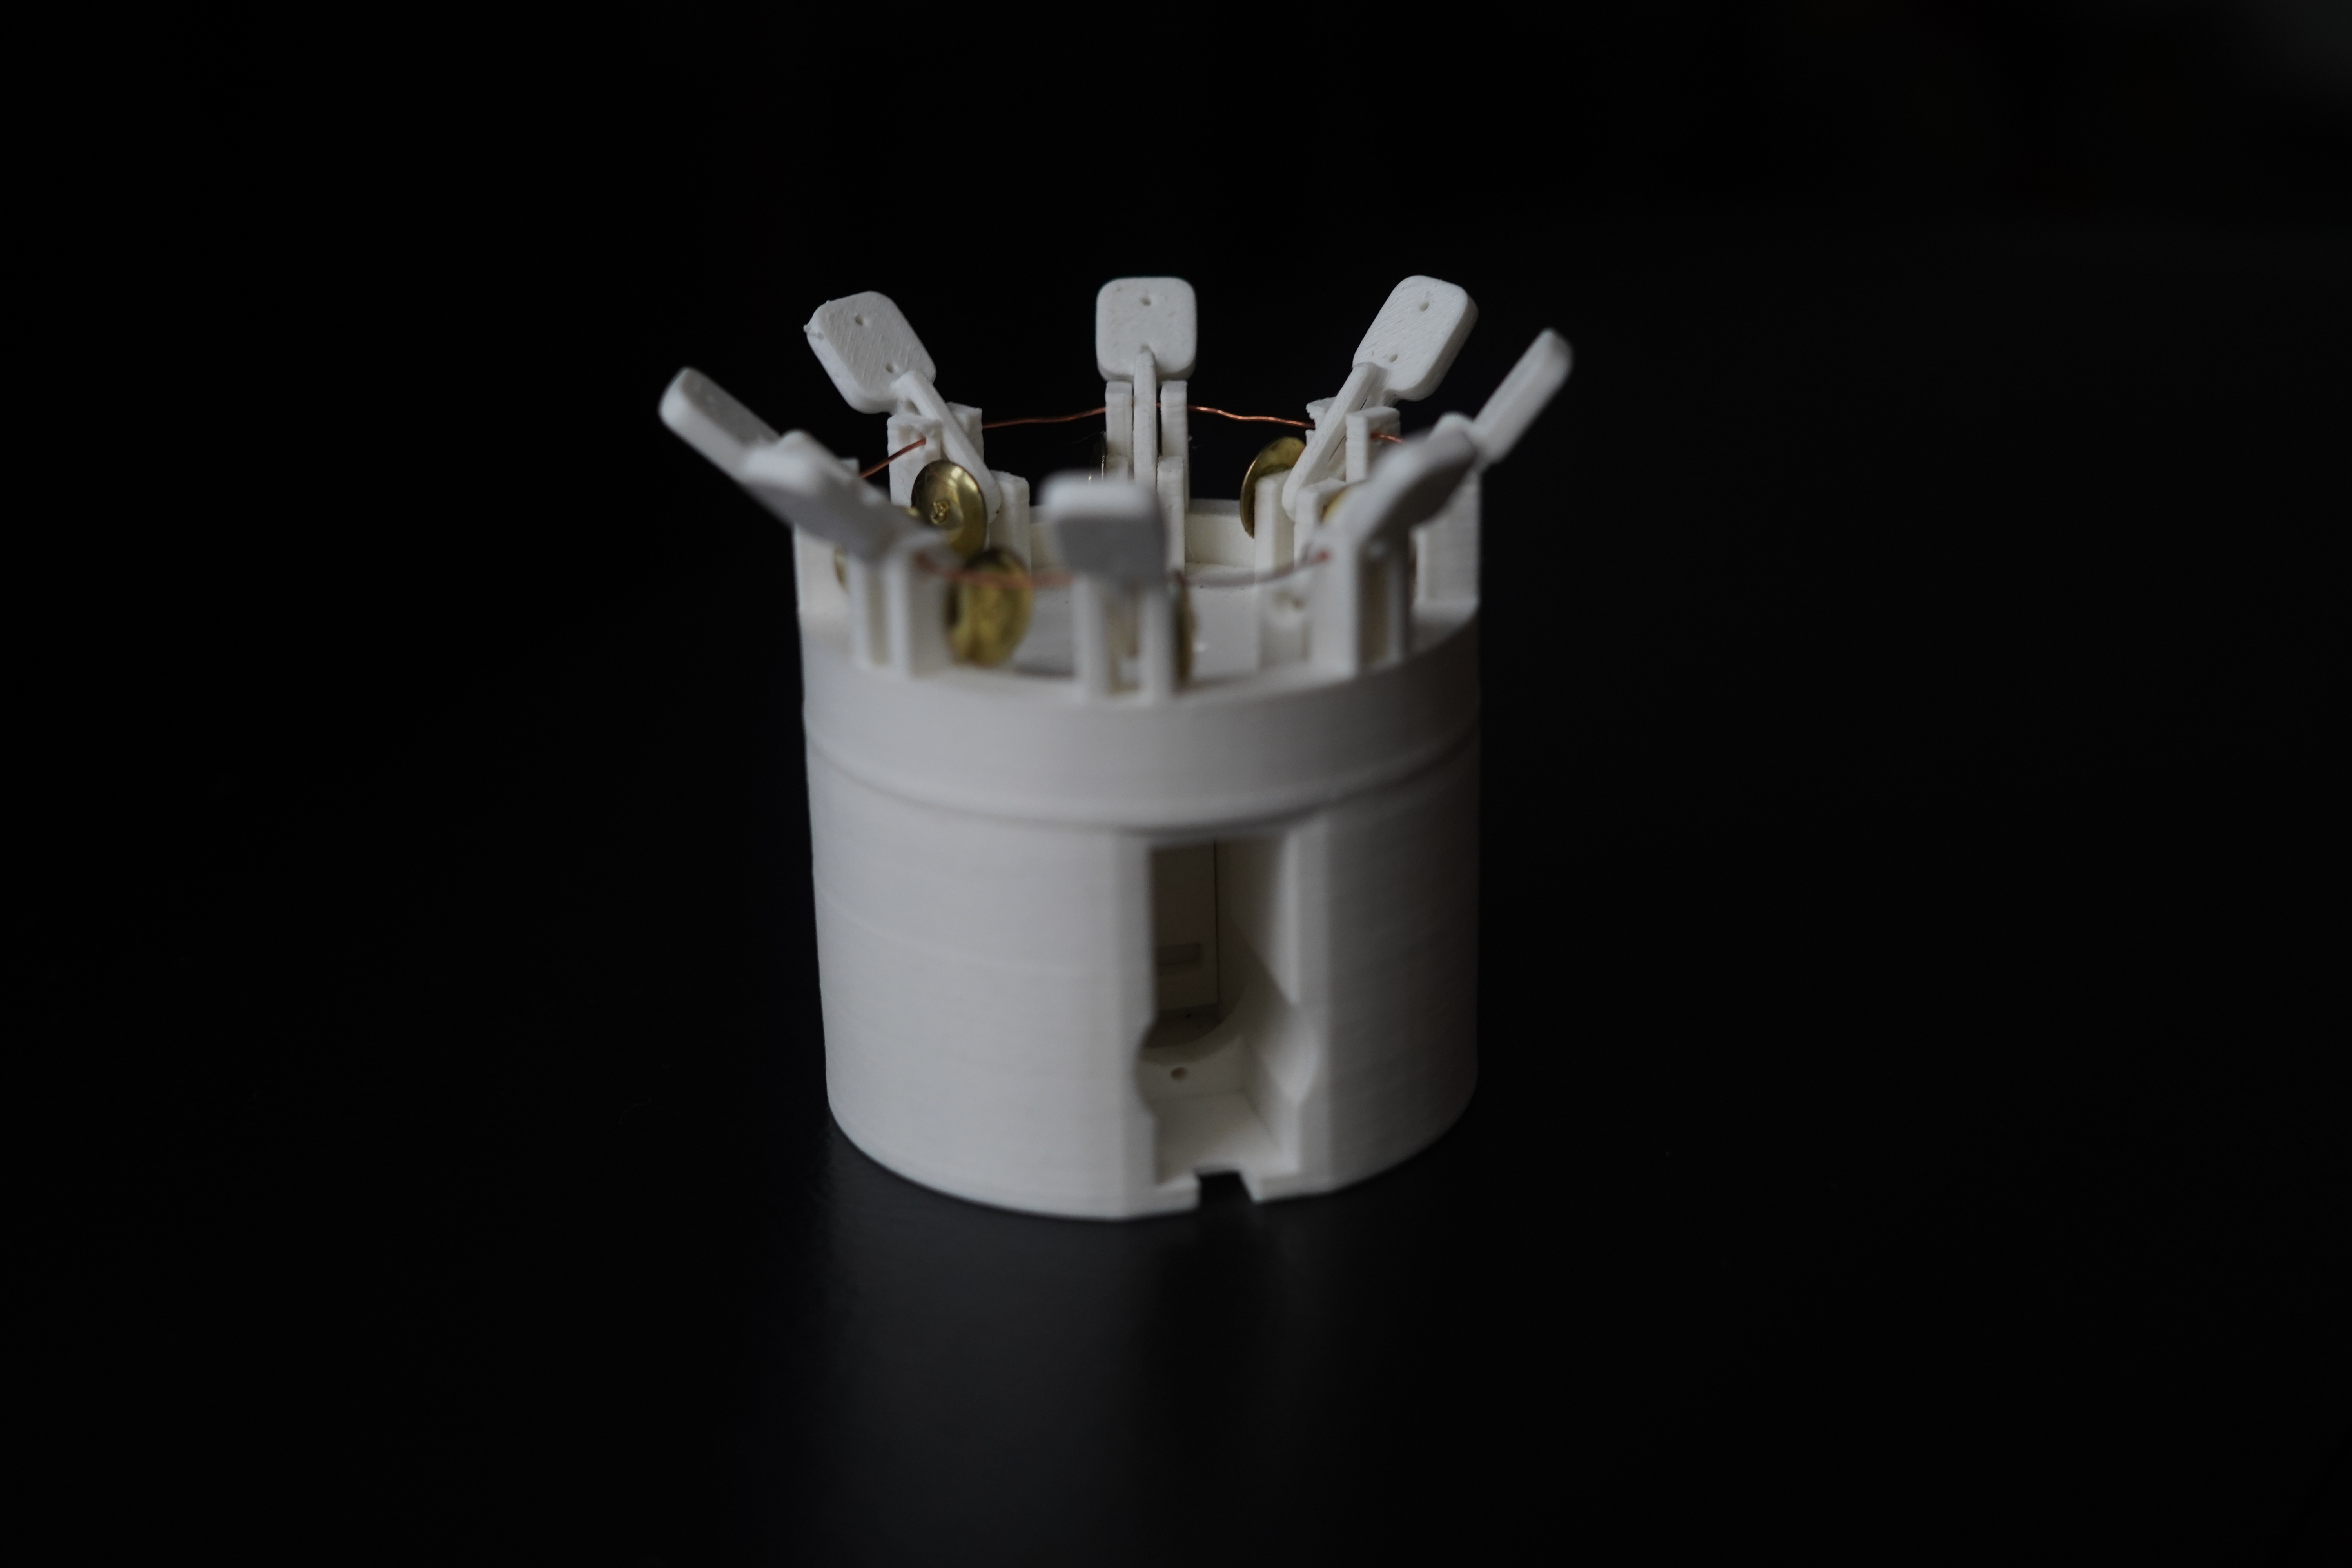
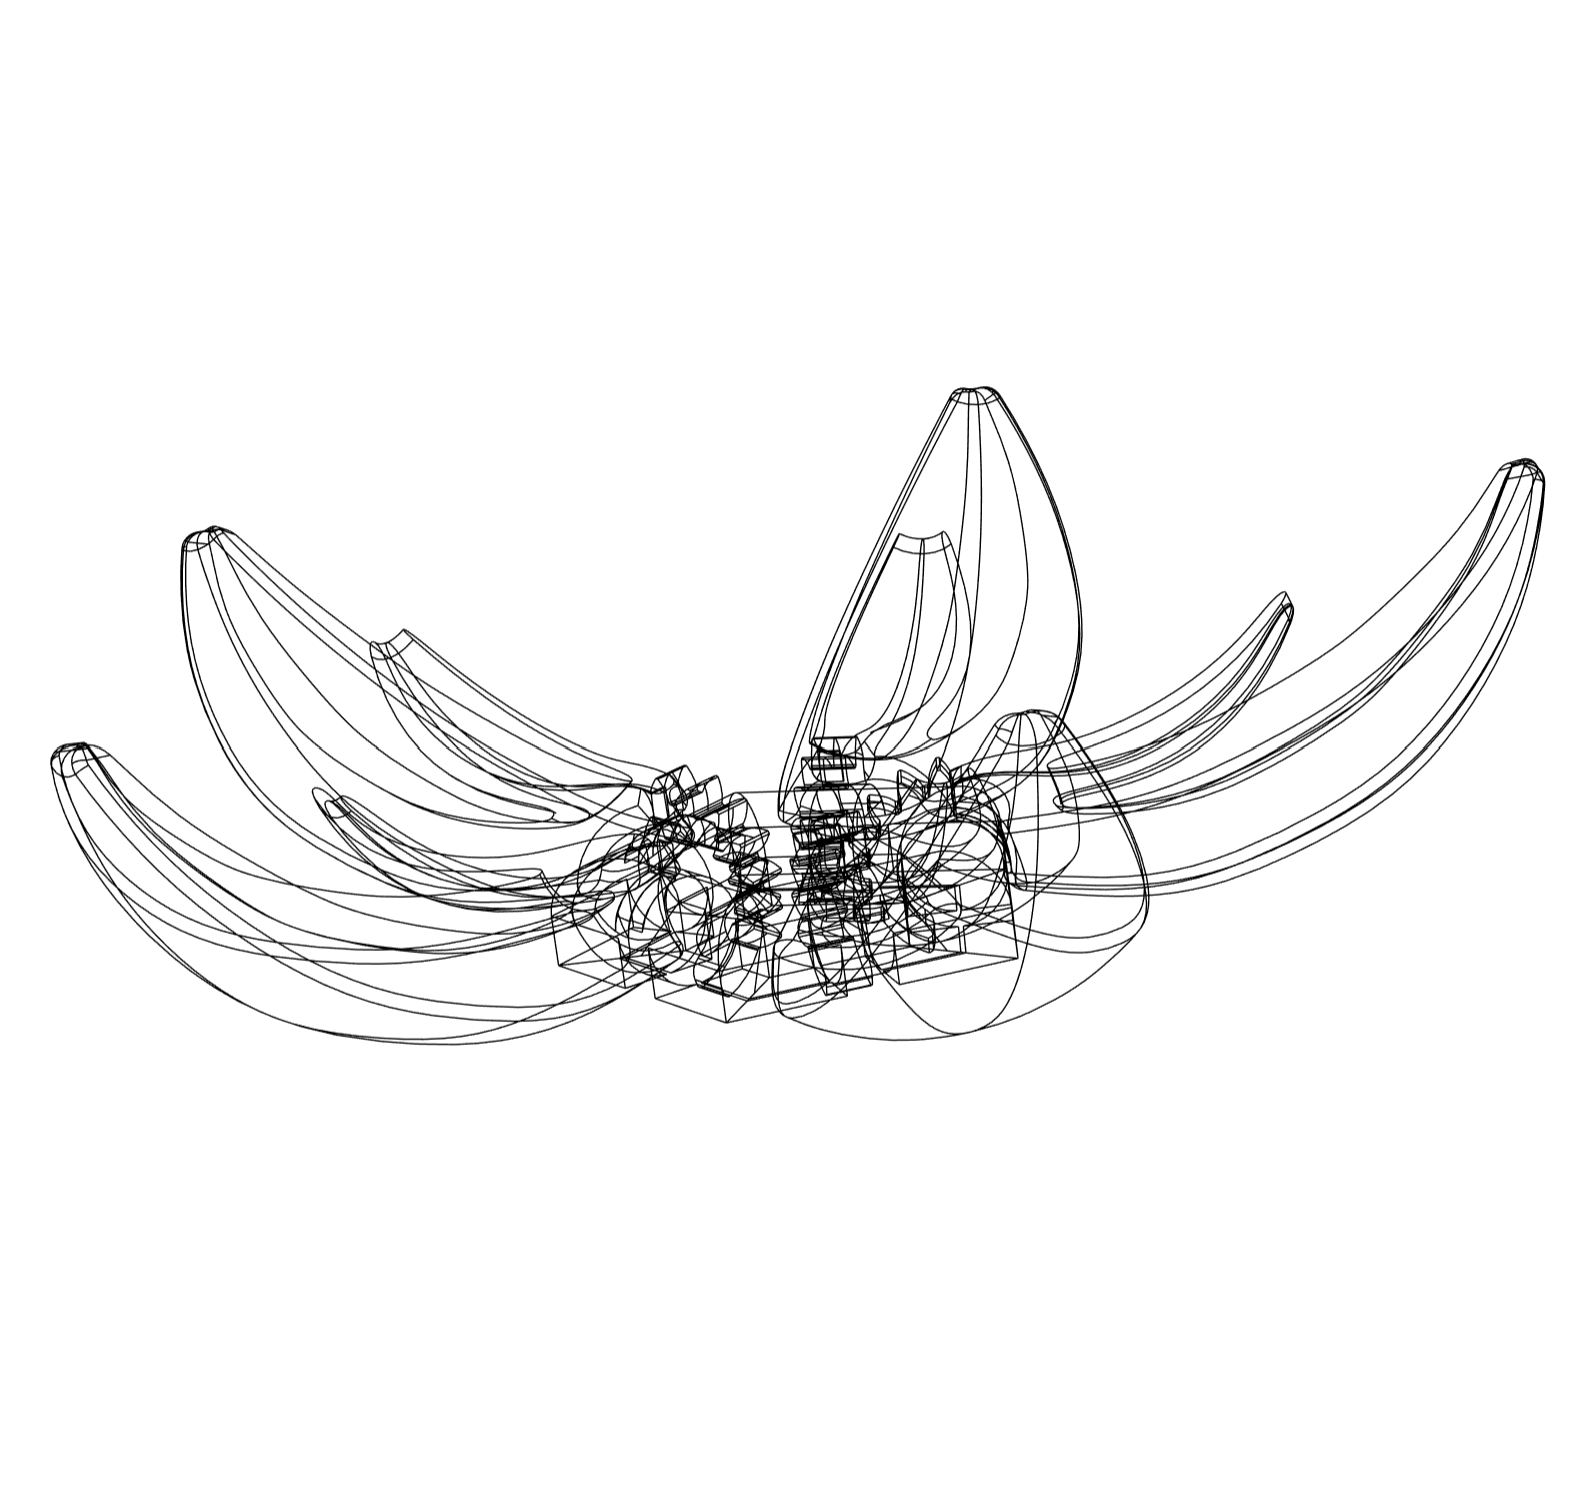
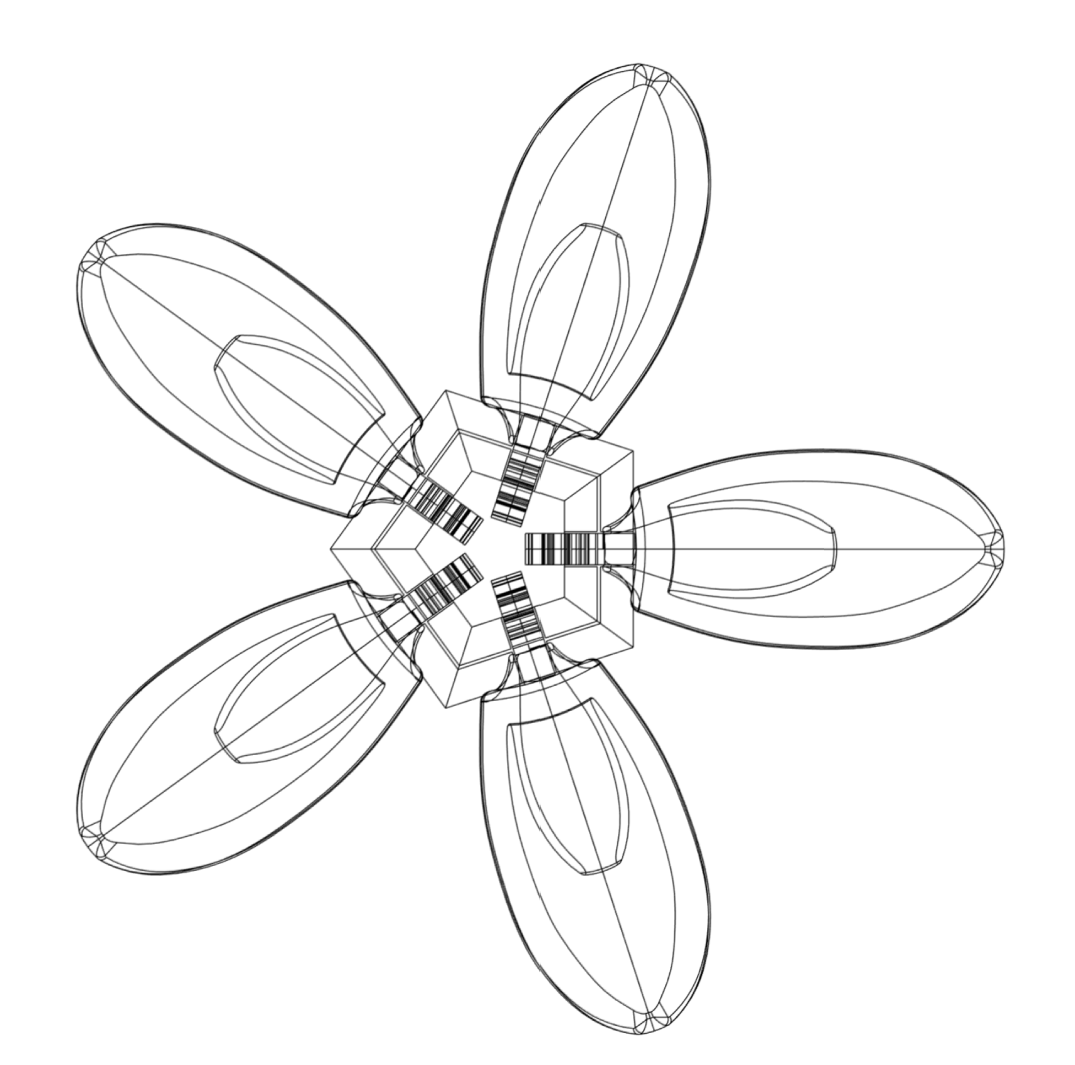
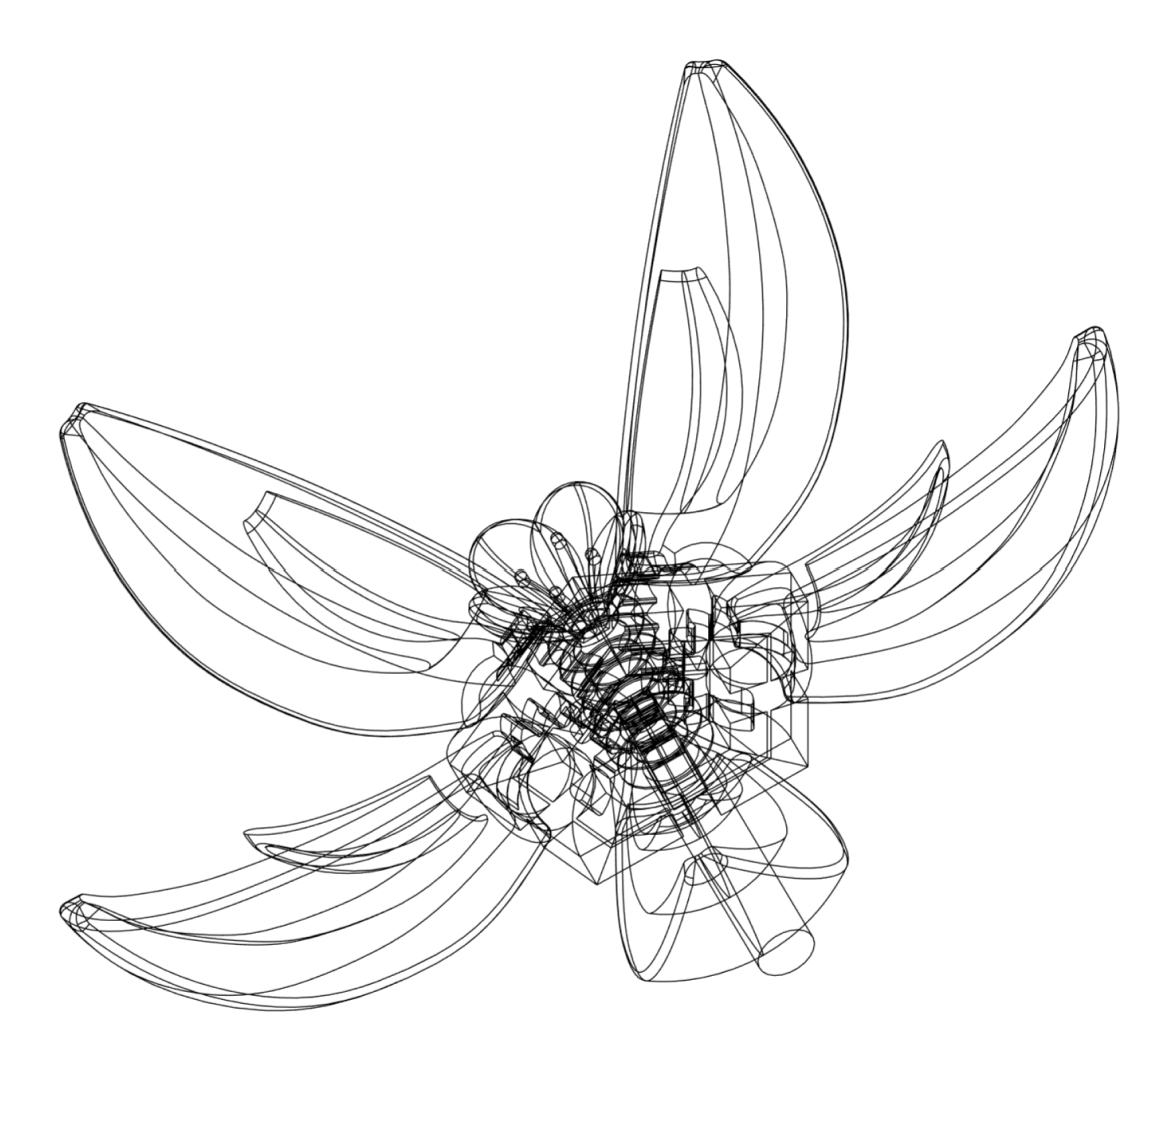
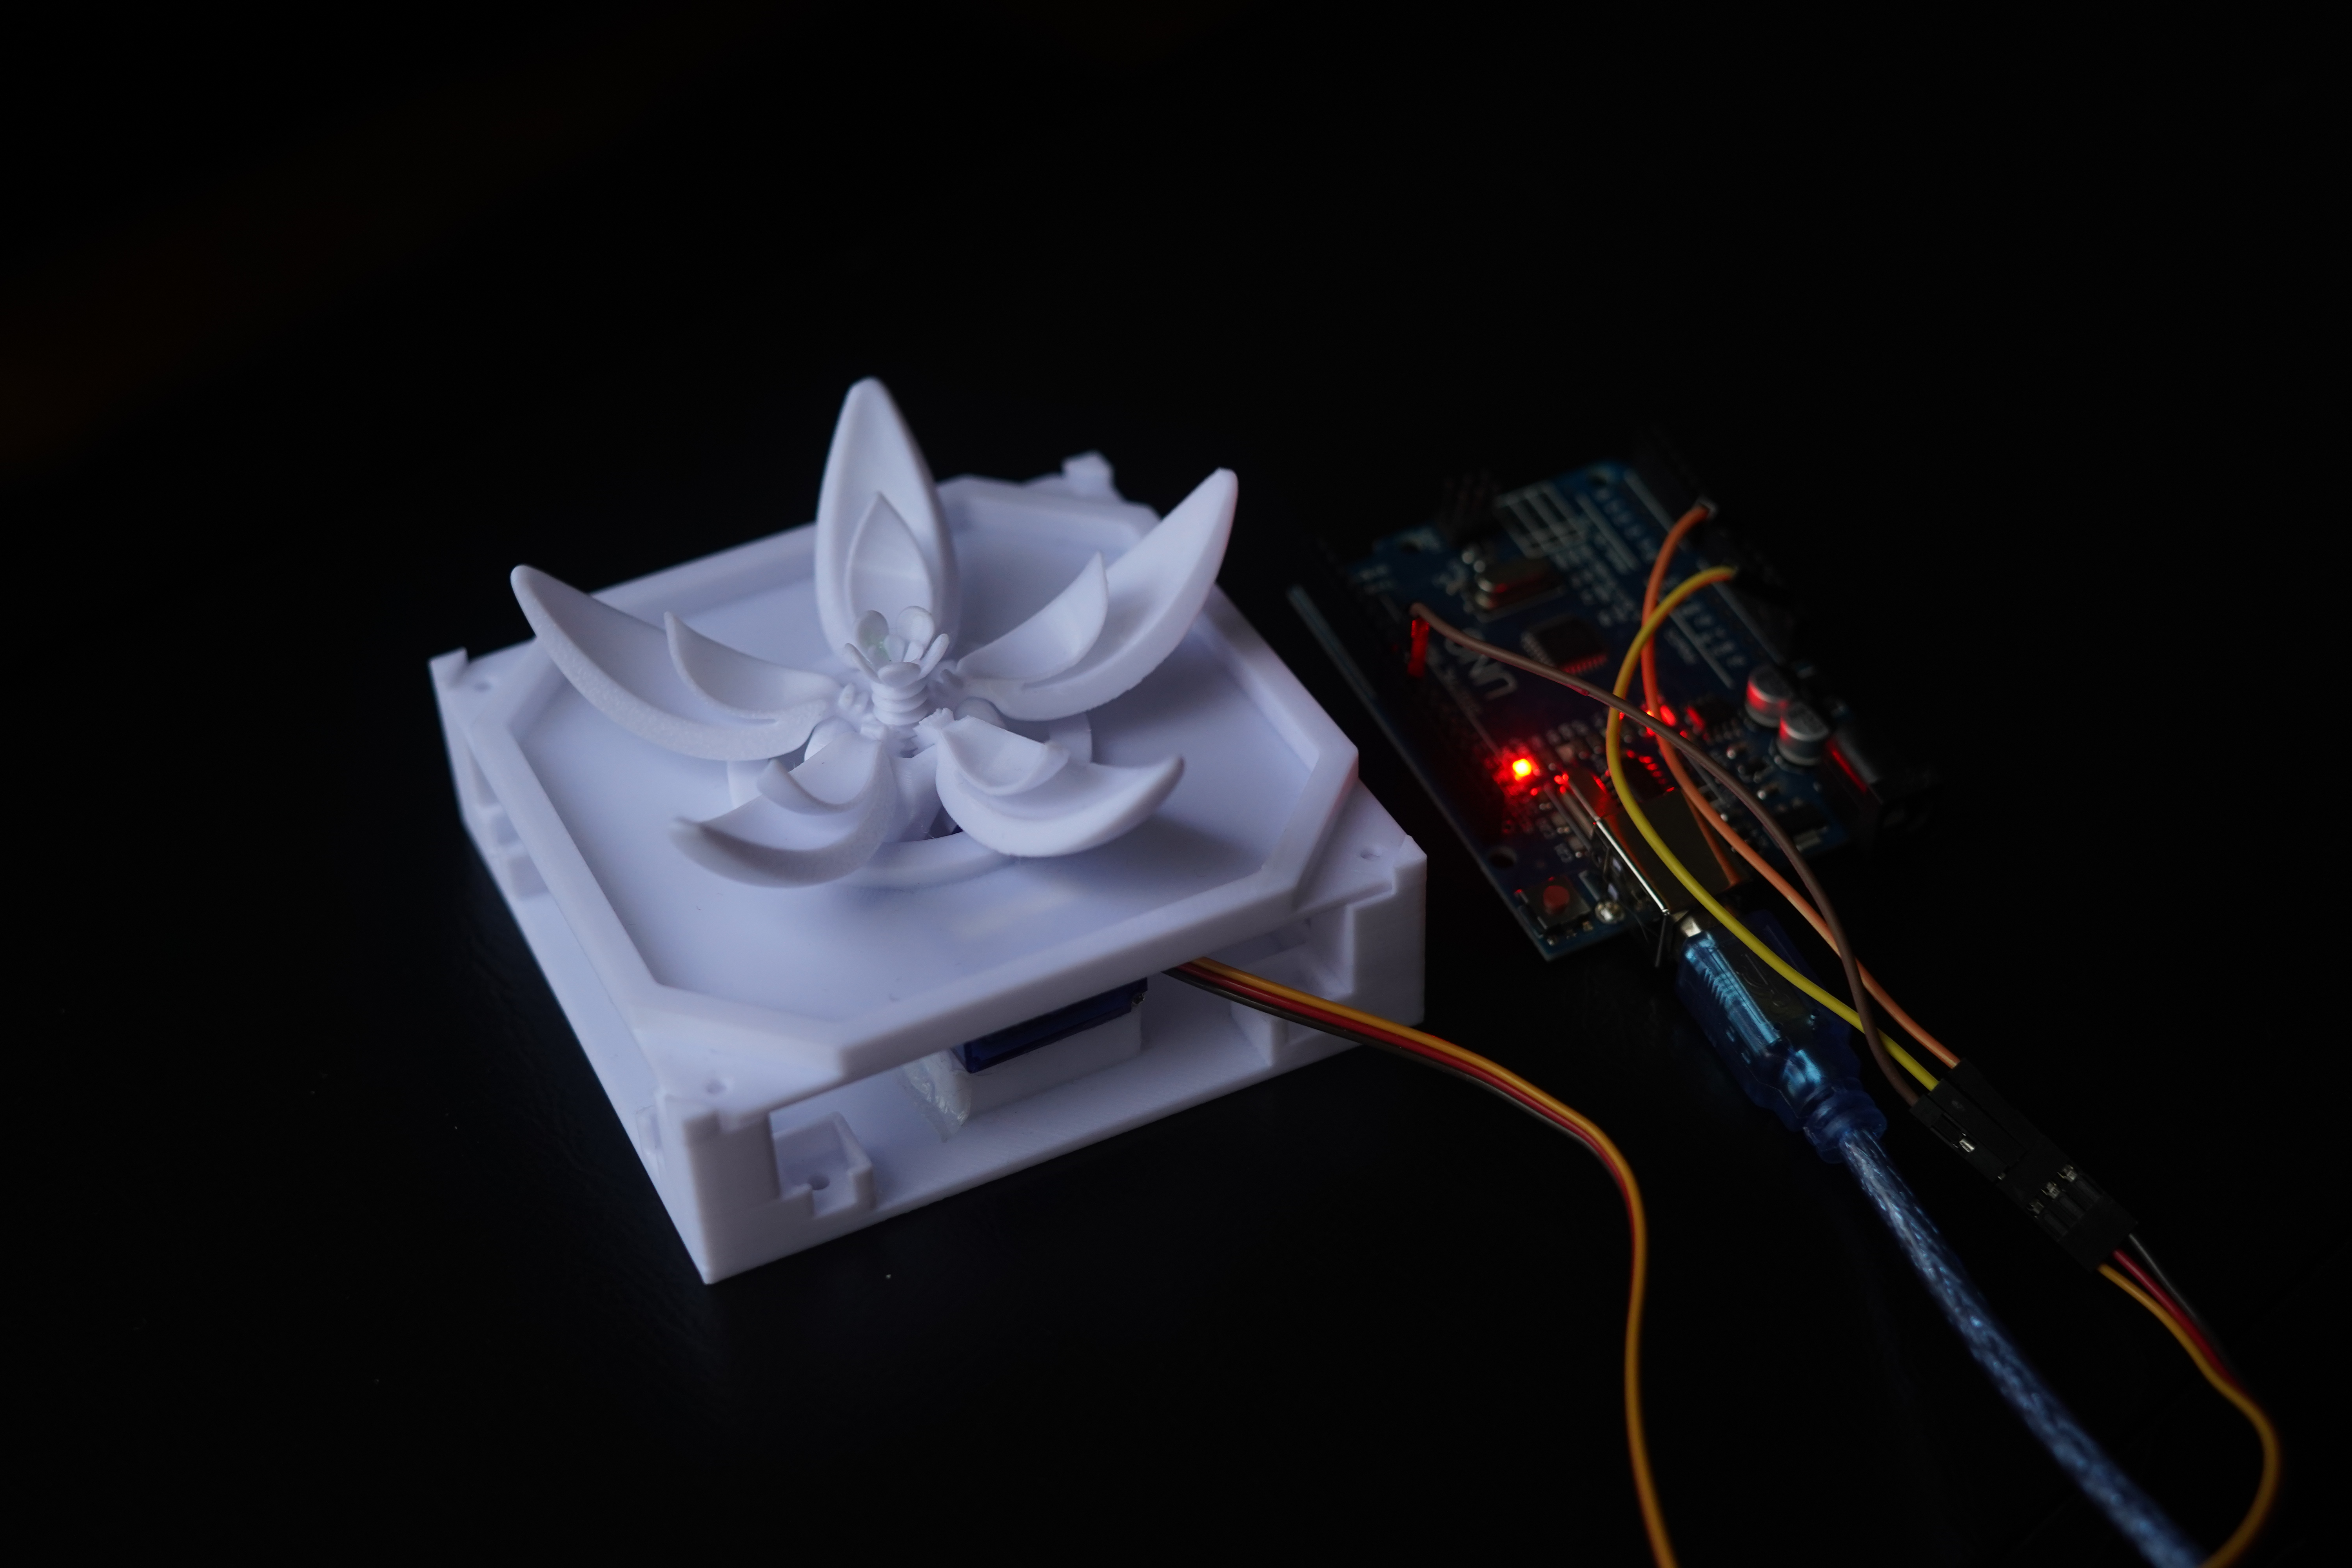
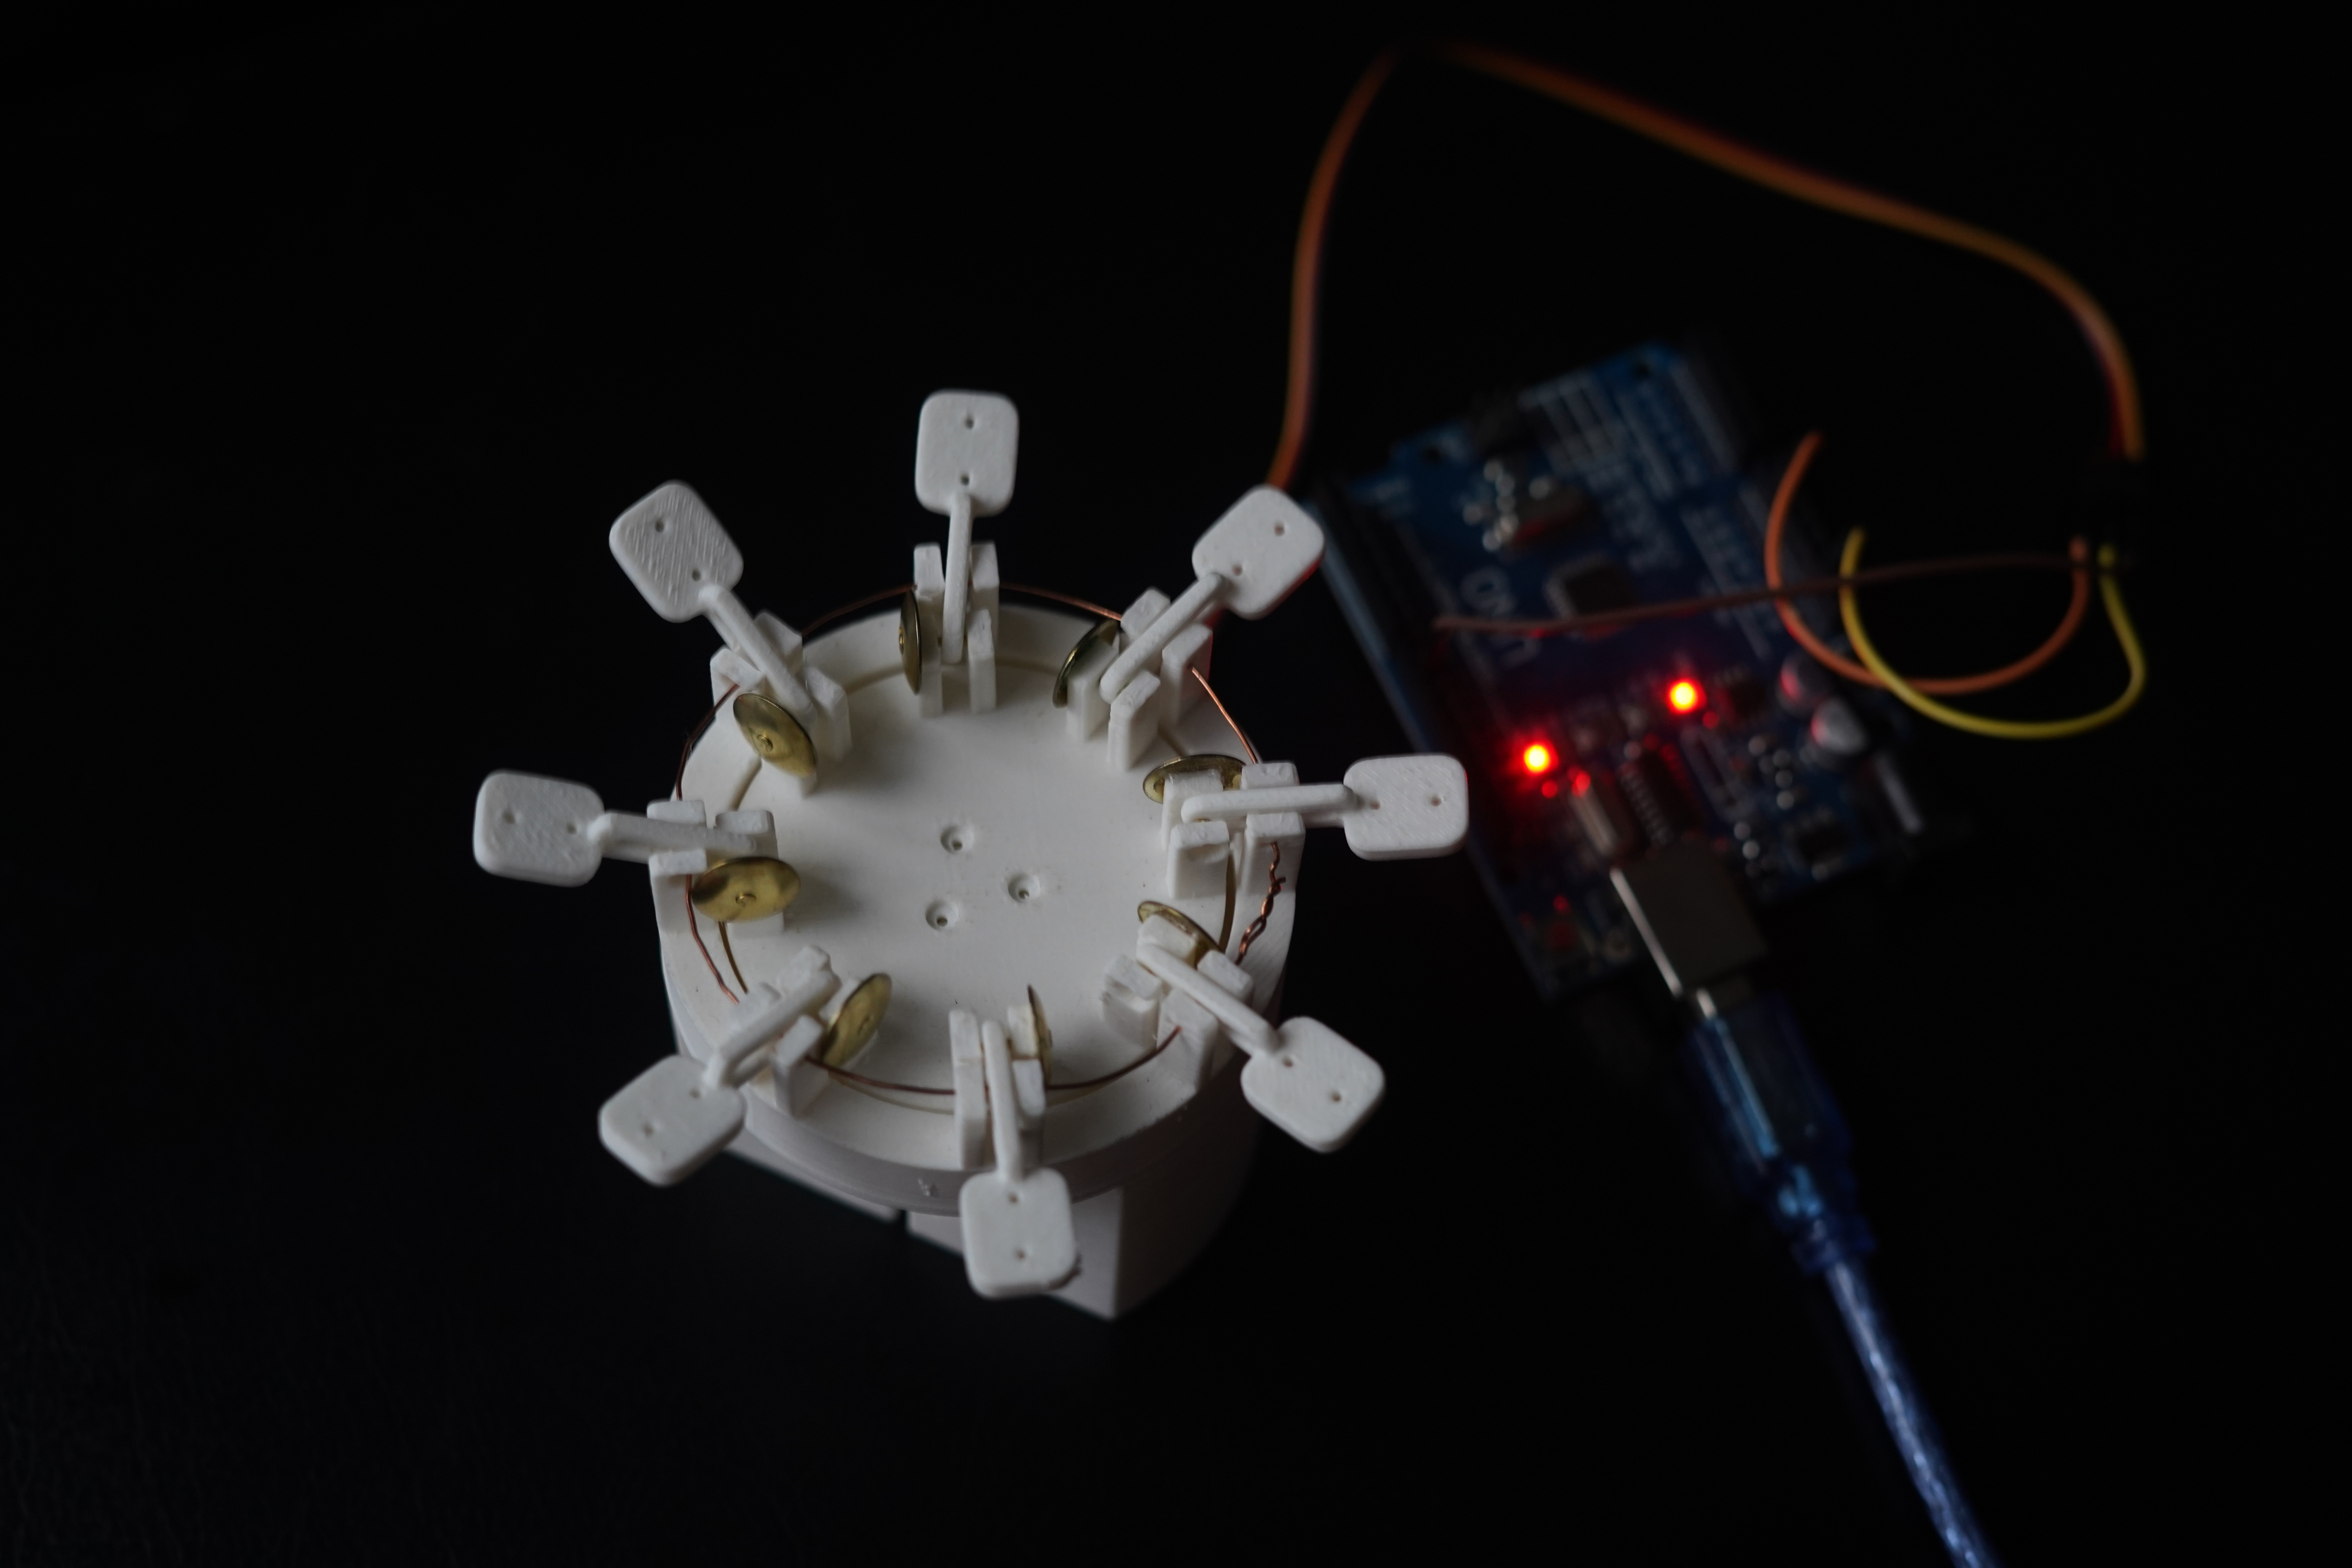
This first flower prototype explored how a physical mechanism could turn digital states into visible movement. The model used an eight-petal assembly with a servo-driven core and was built as an early proof that blooming motion could be translated into tangible interaction. It confirmed the expressive potential of kinetic flowers, but the system was large, fragile, and too tedious to scale. That limitation pushed the project toward a smaller, more modular mechanism in the next iteration.

Main view of the first mechanical flower experiment
First flower image 1
First flower image 2
First flower image 3
Final view of the first mechanical flower setup
First-only flower view 1
First-only flower view 2
First-only flower view 3
First-only flower view 4

Experiment 08

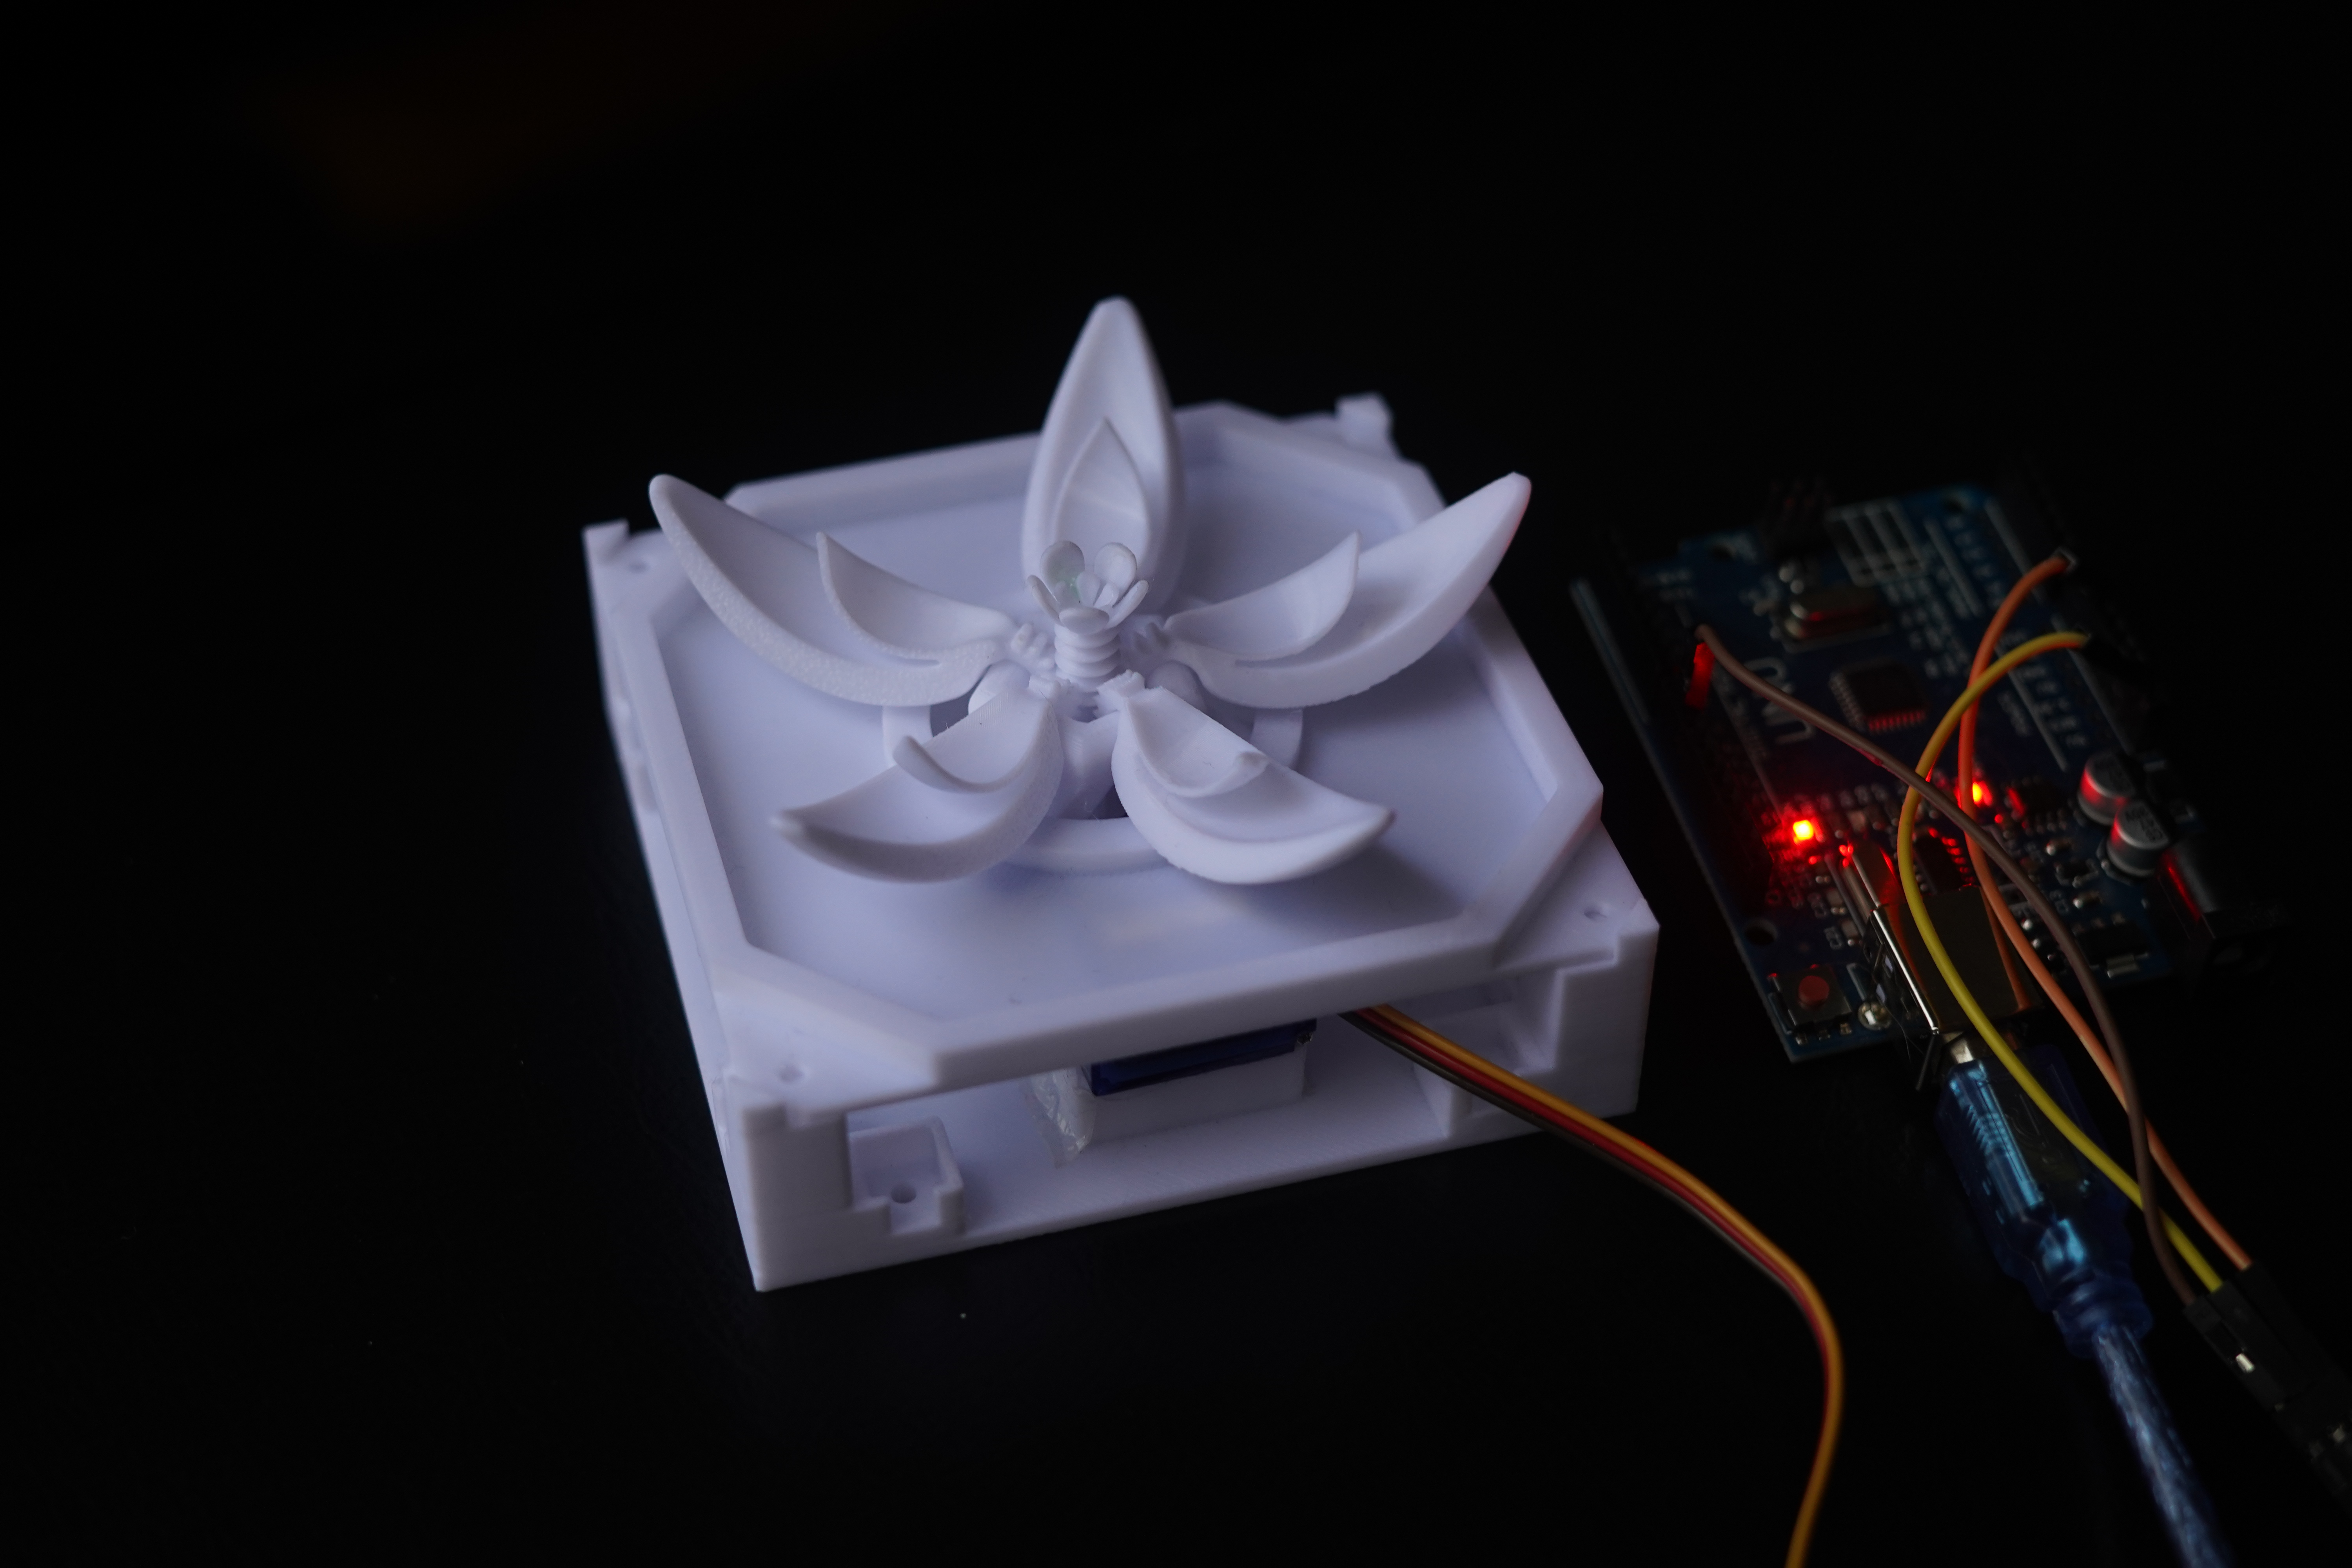
Current Flower — Rack & Pinion

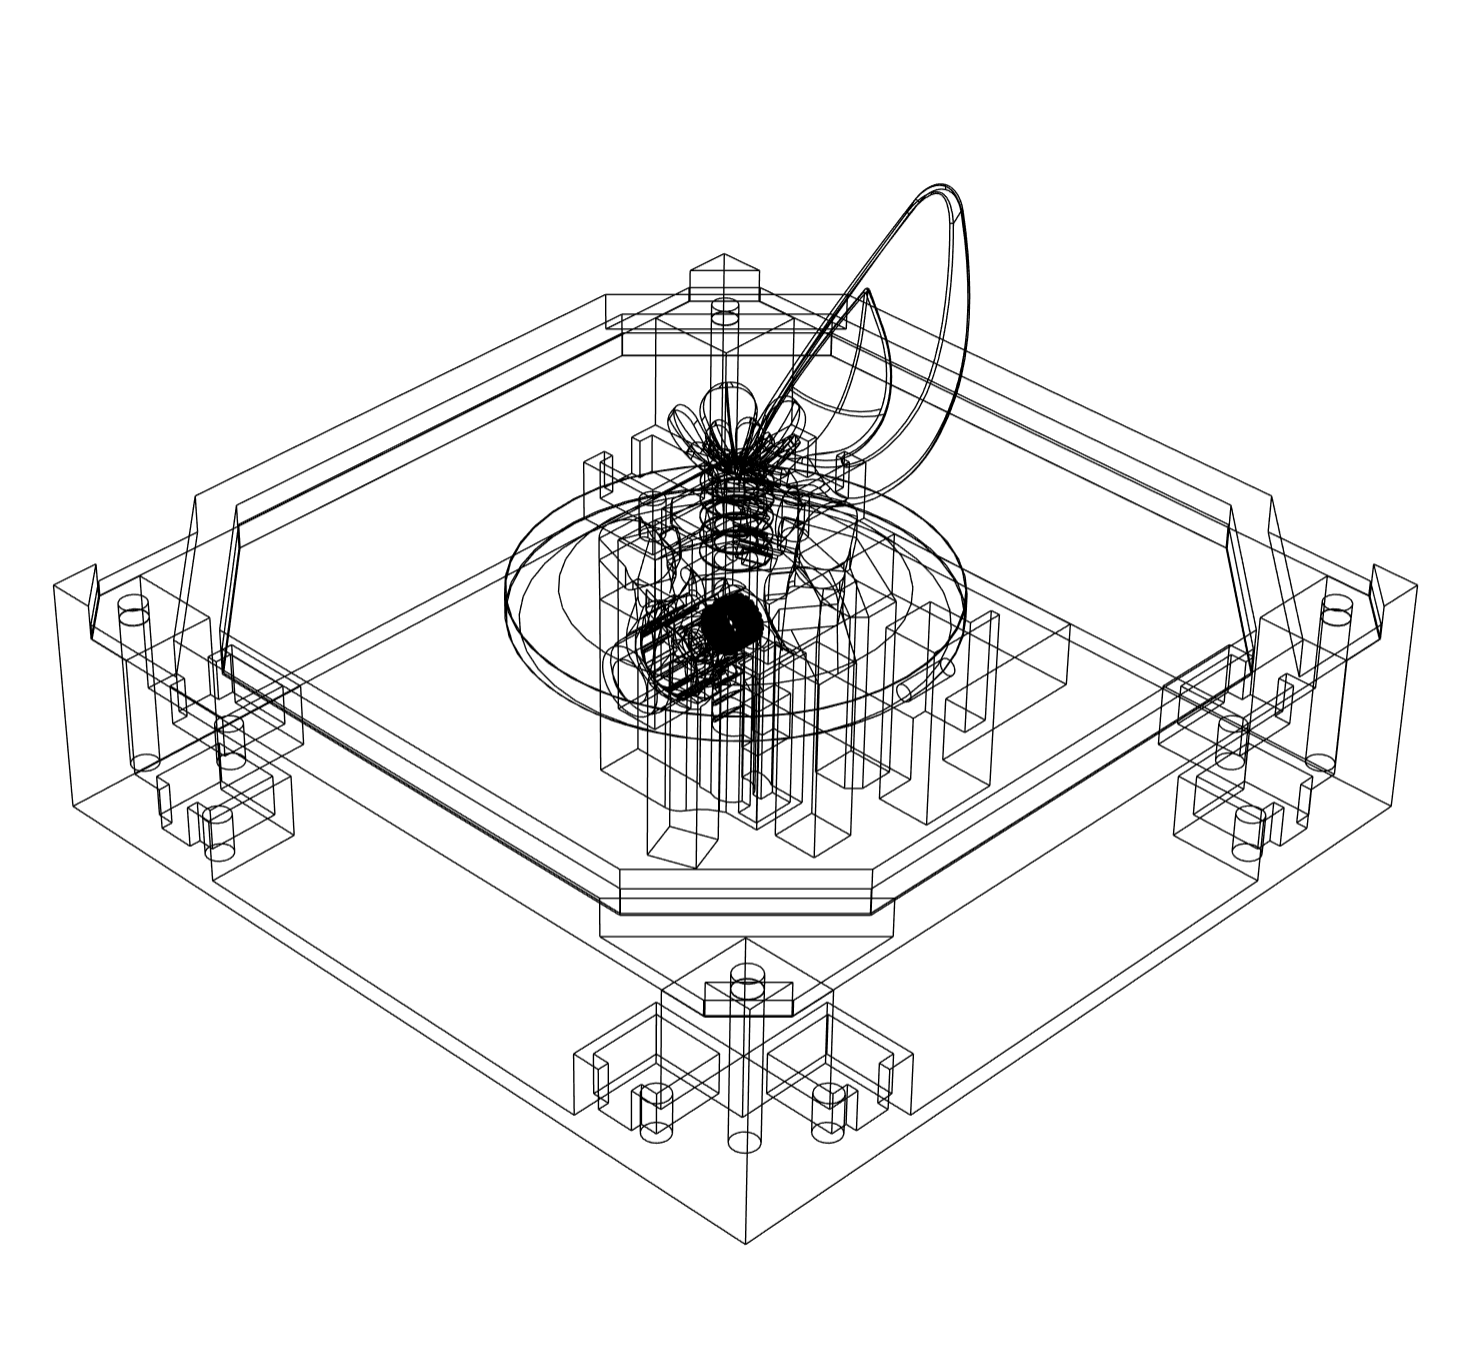
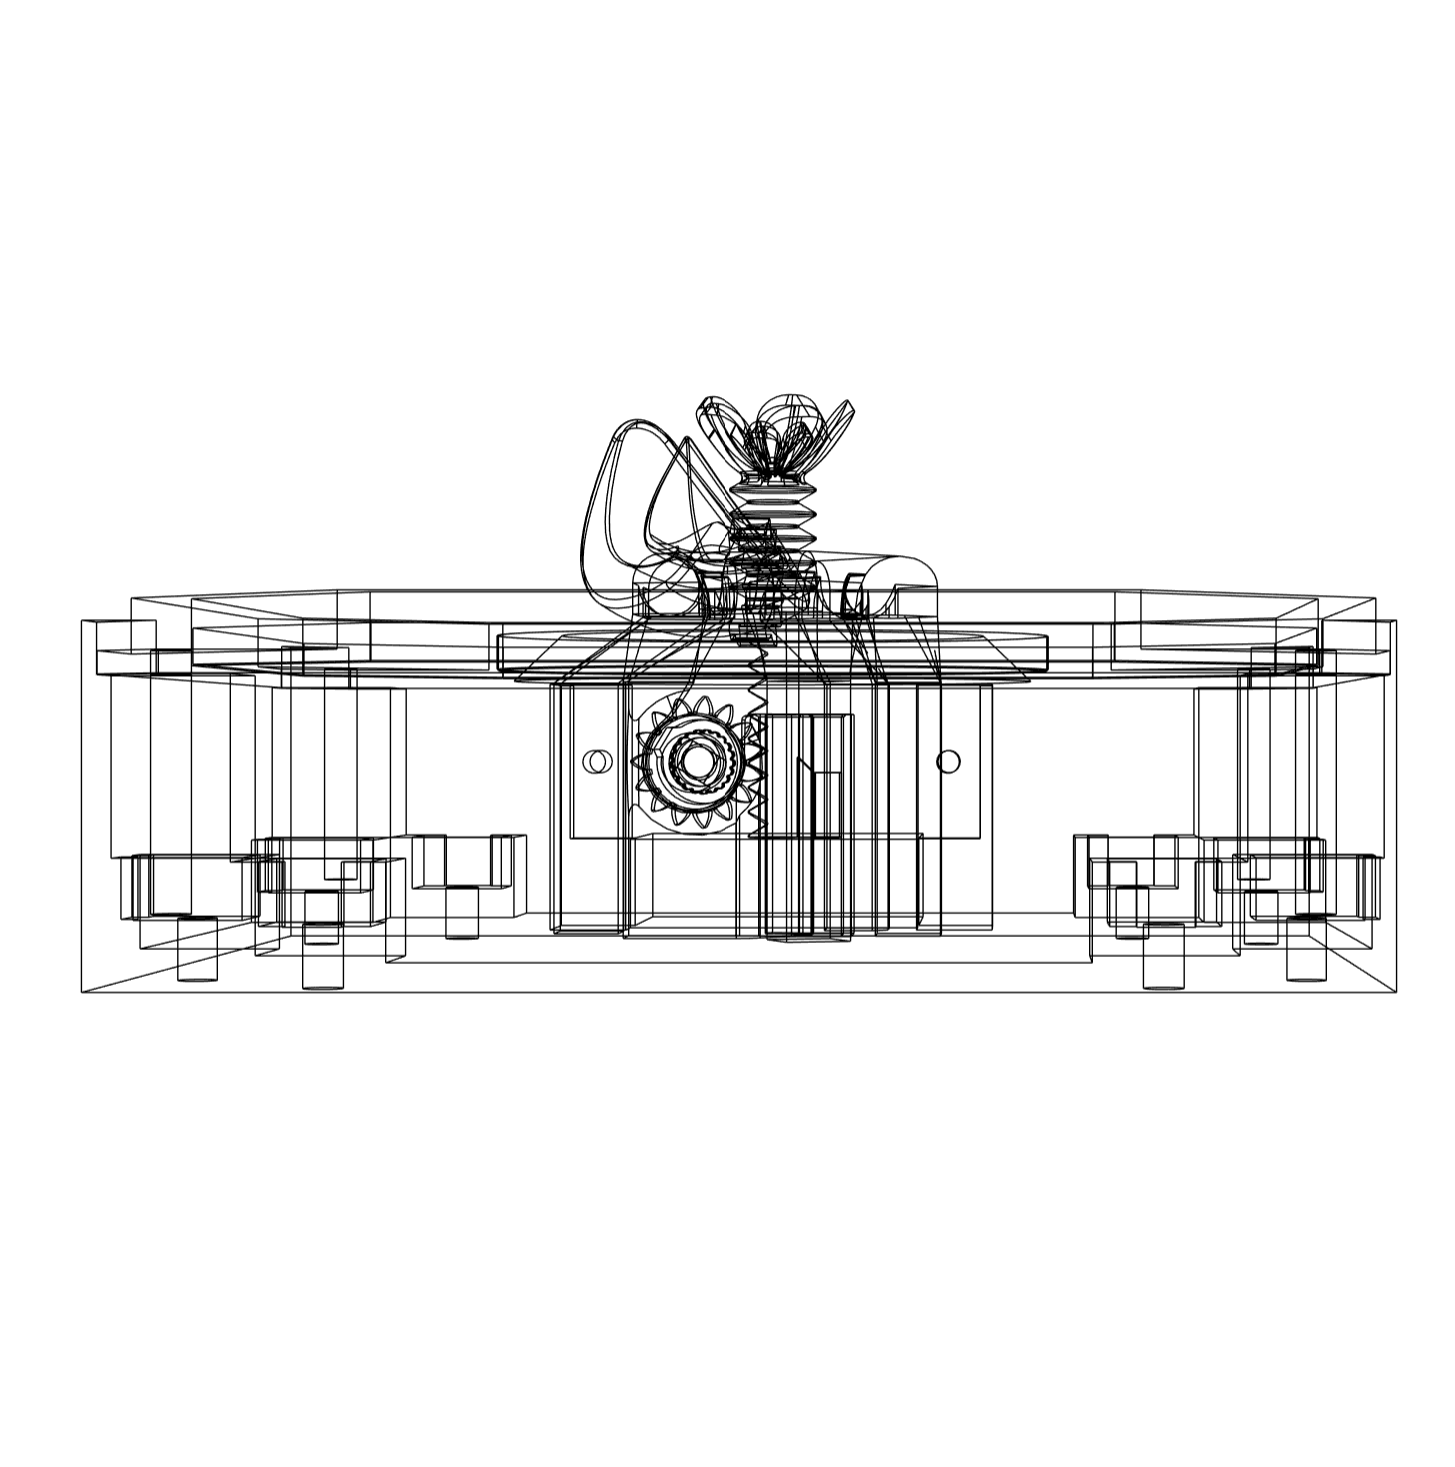
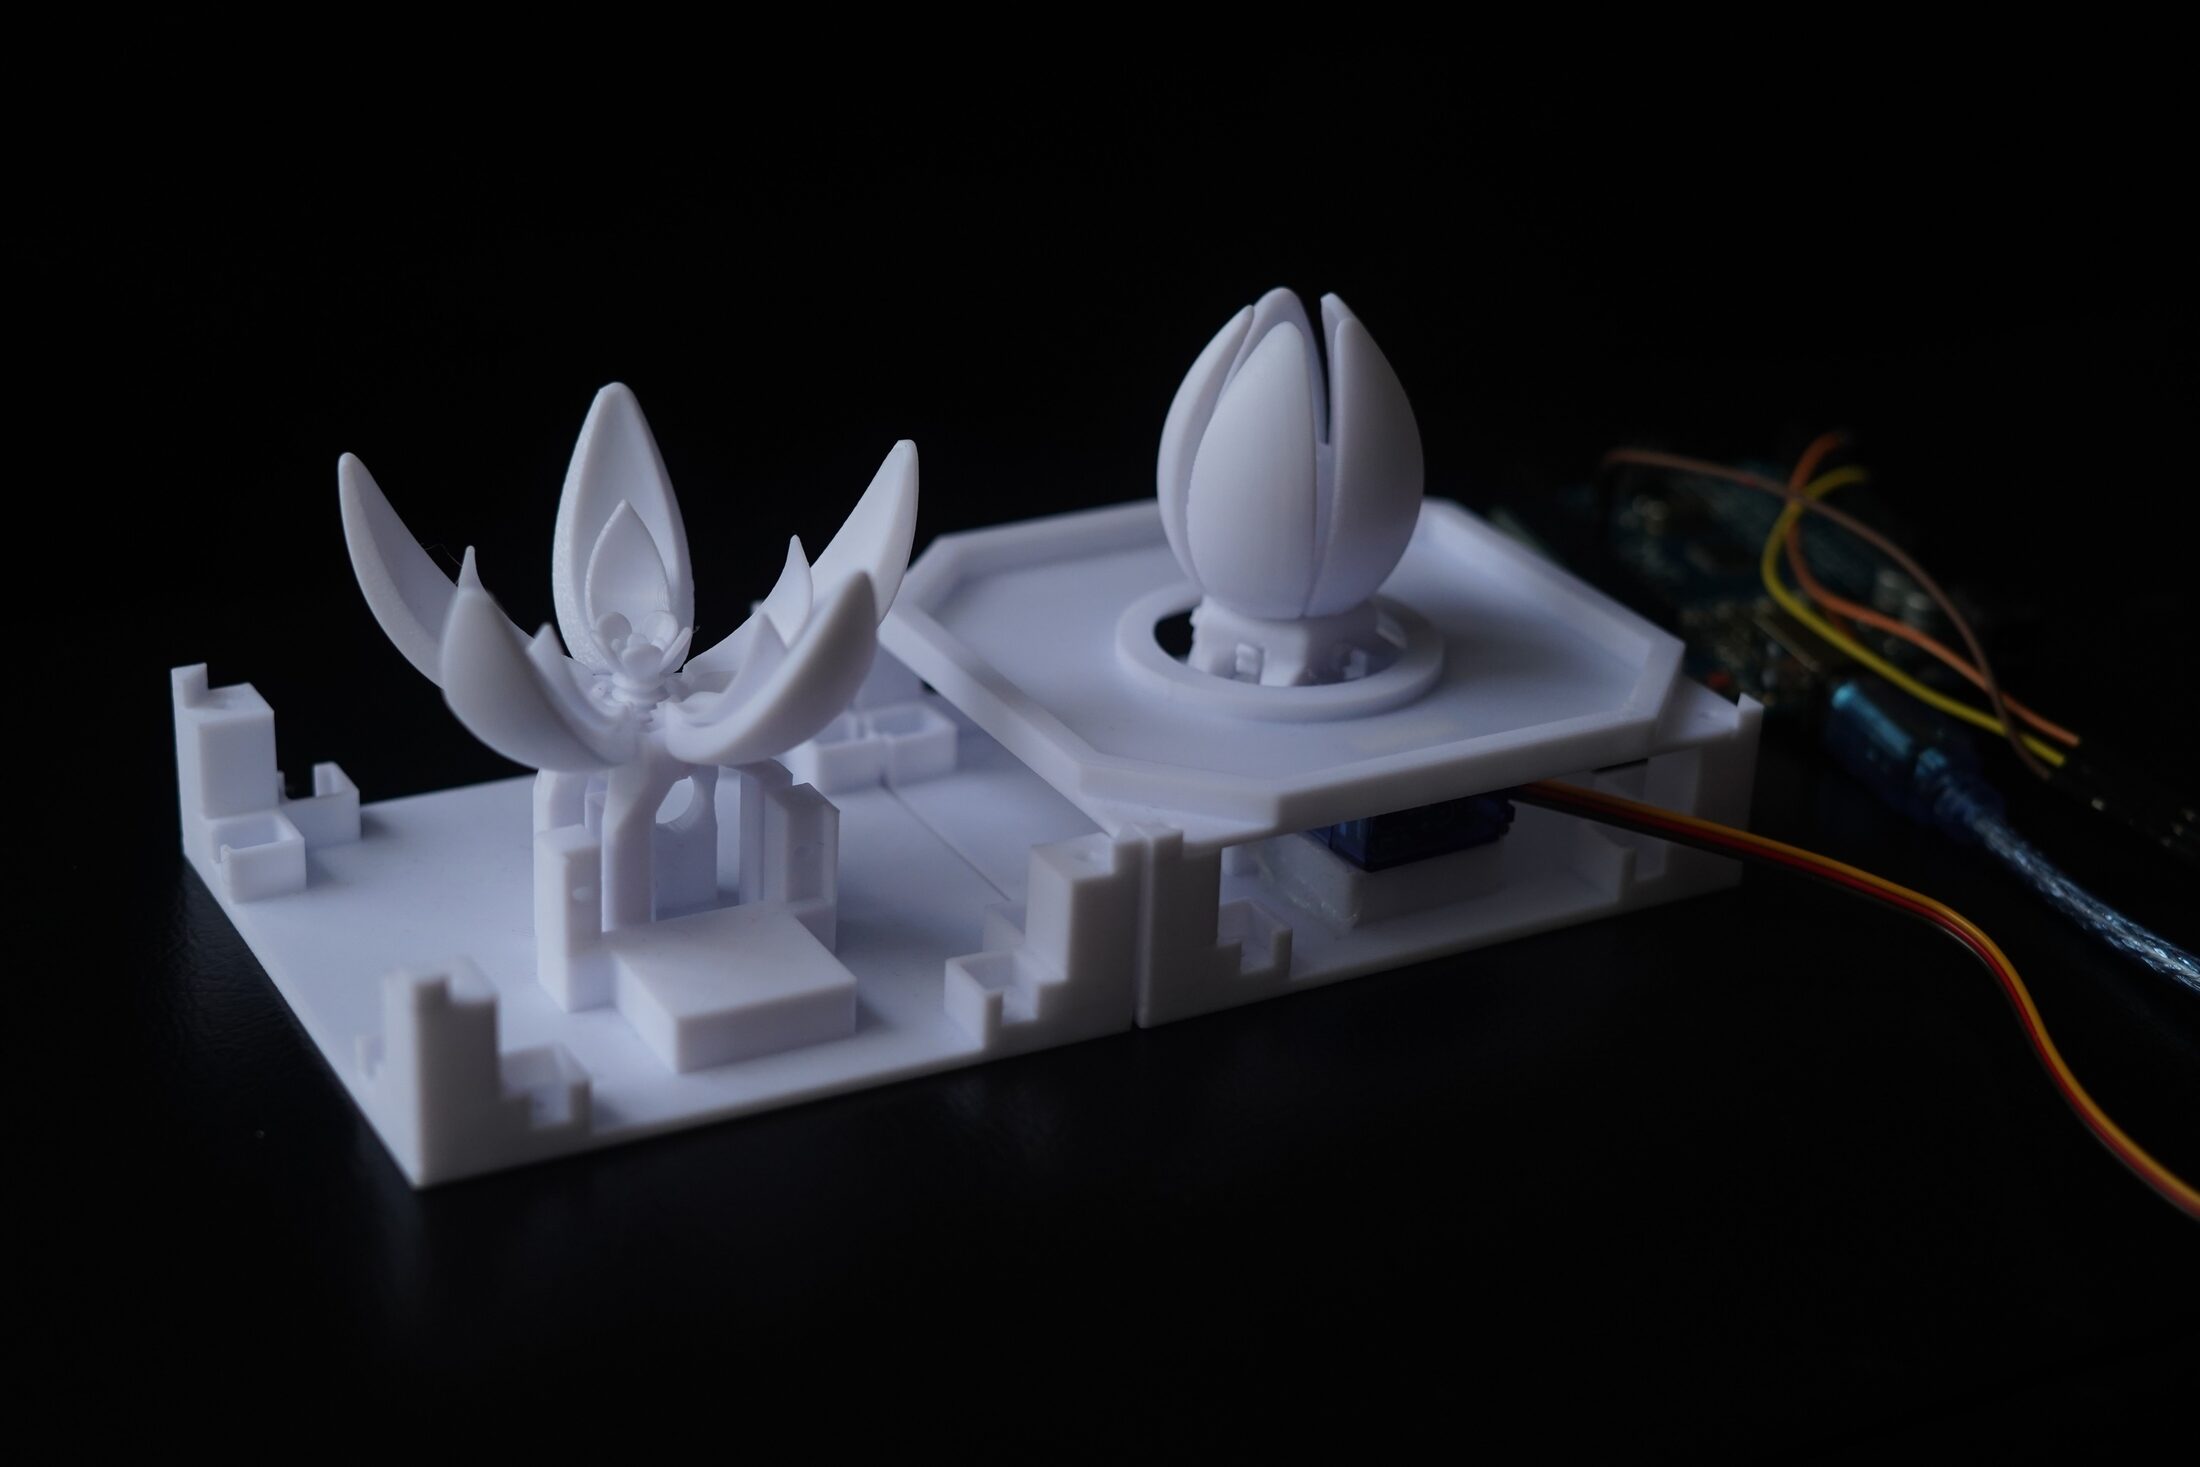
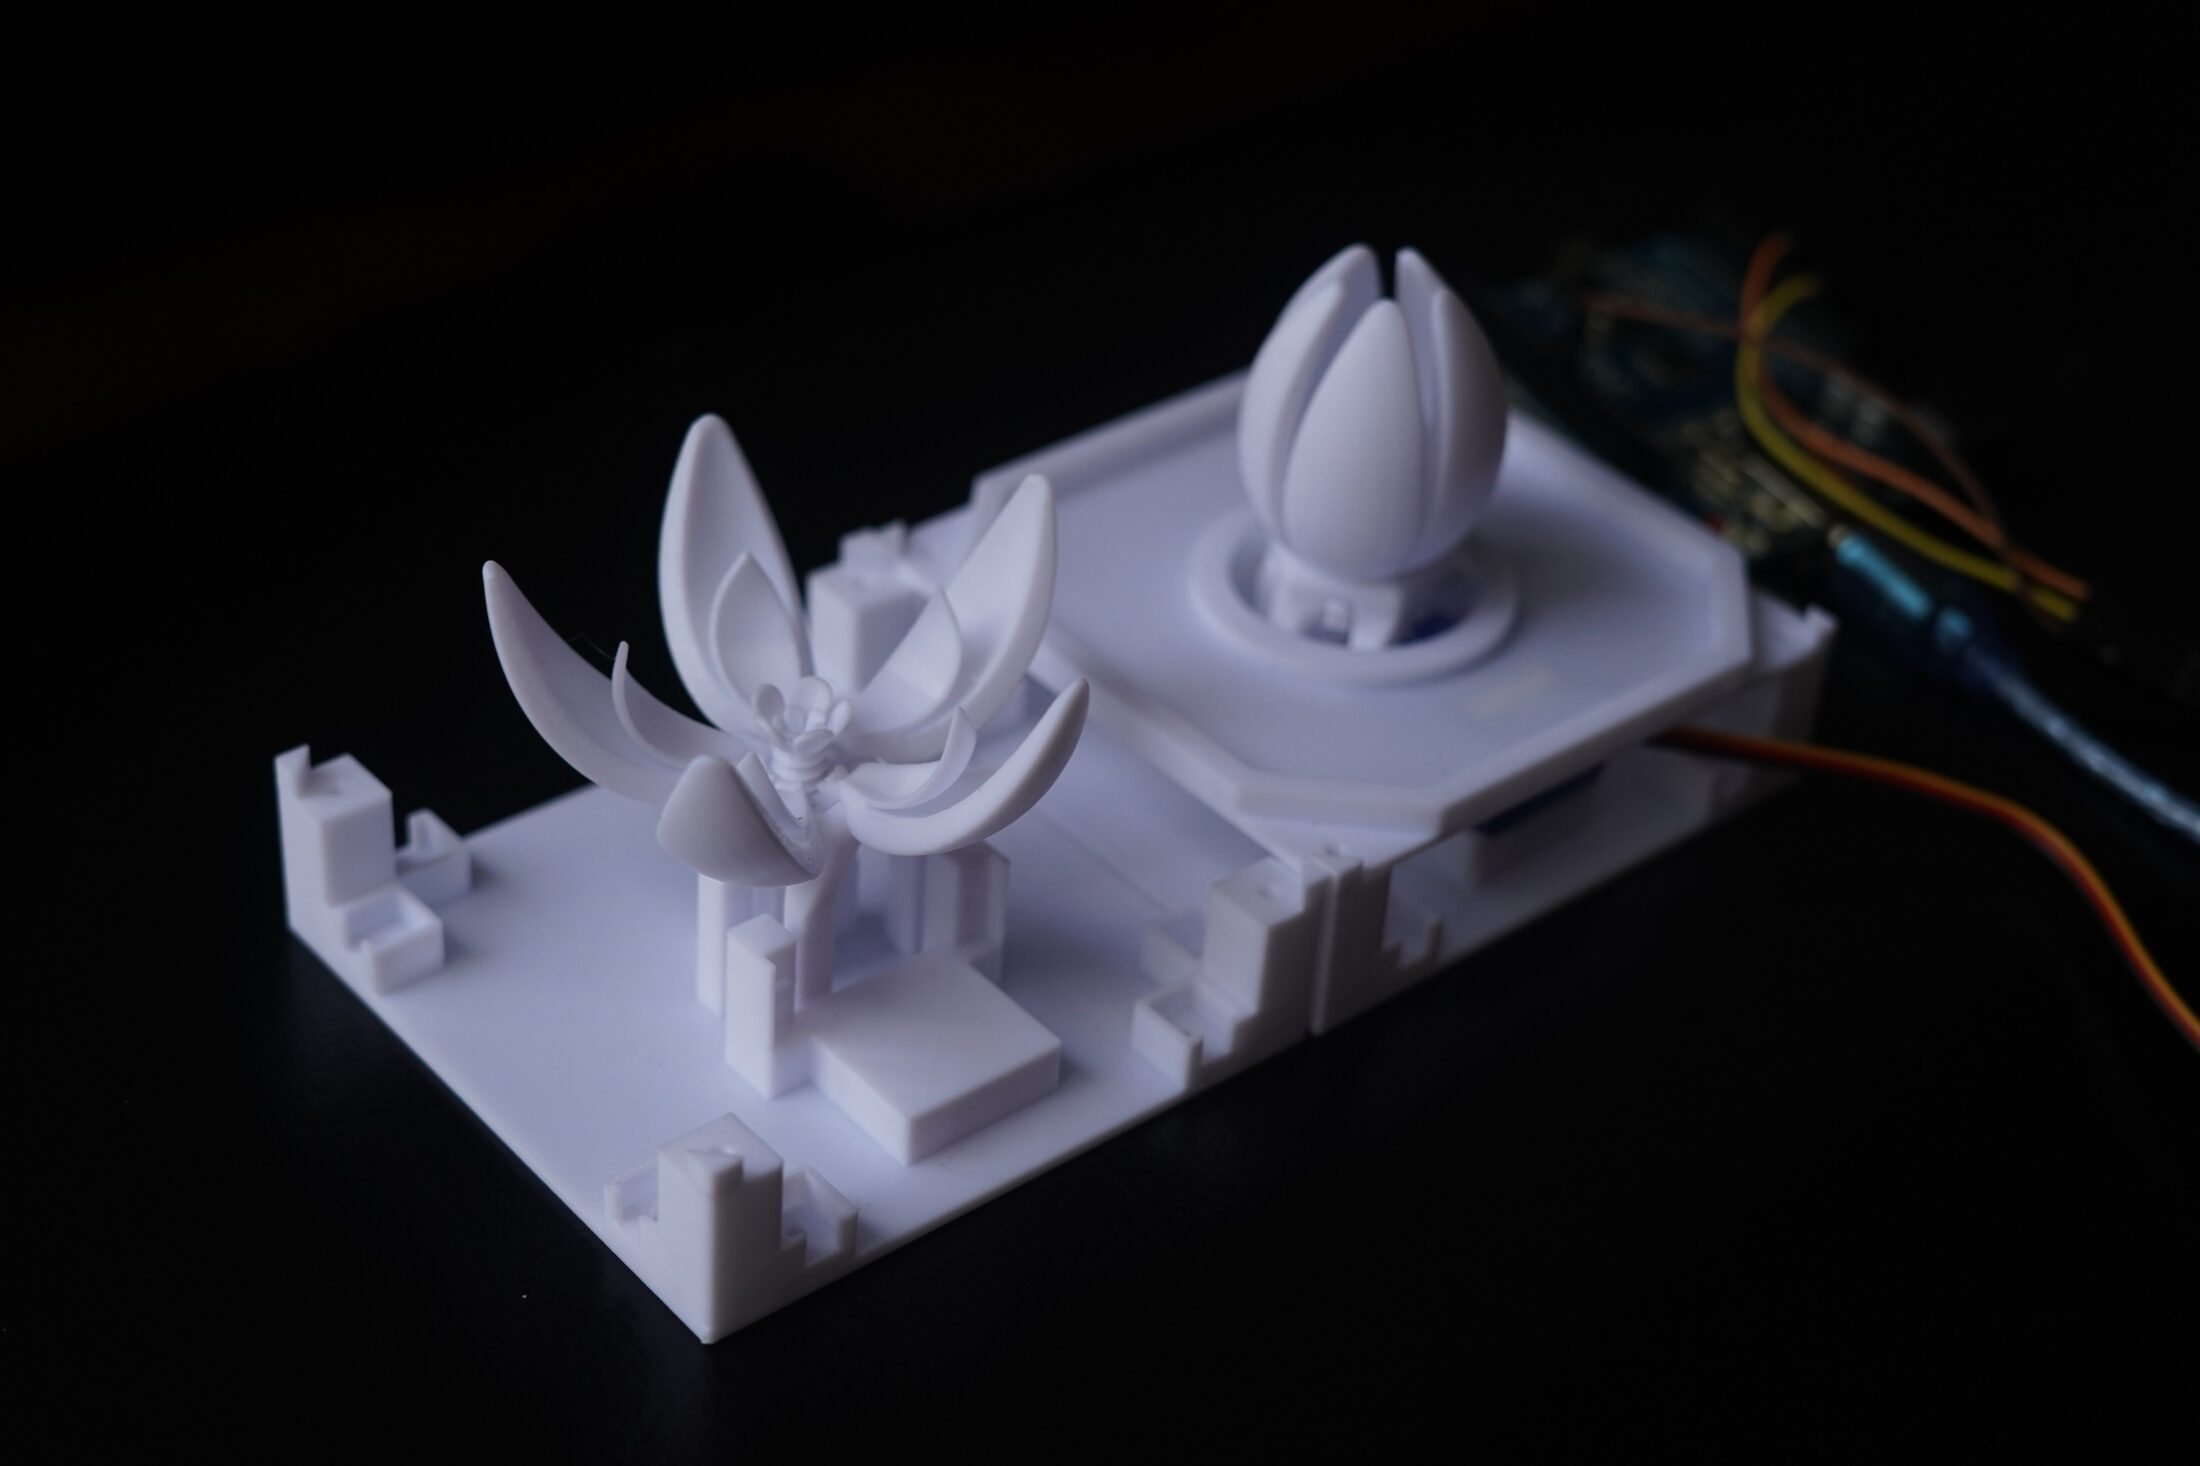
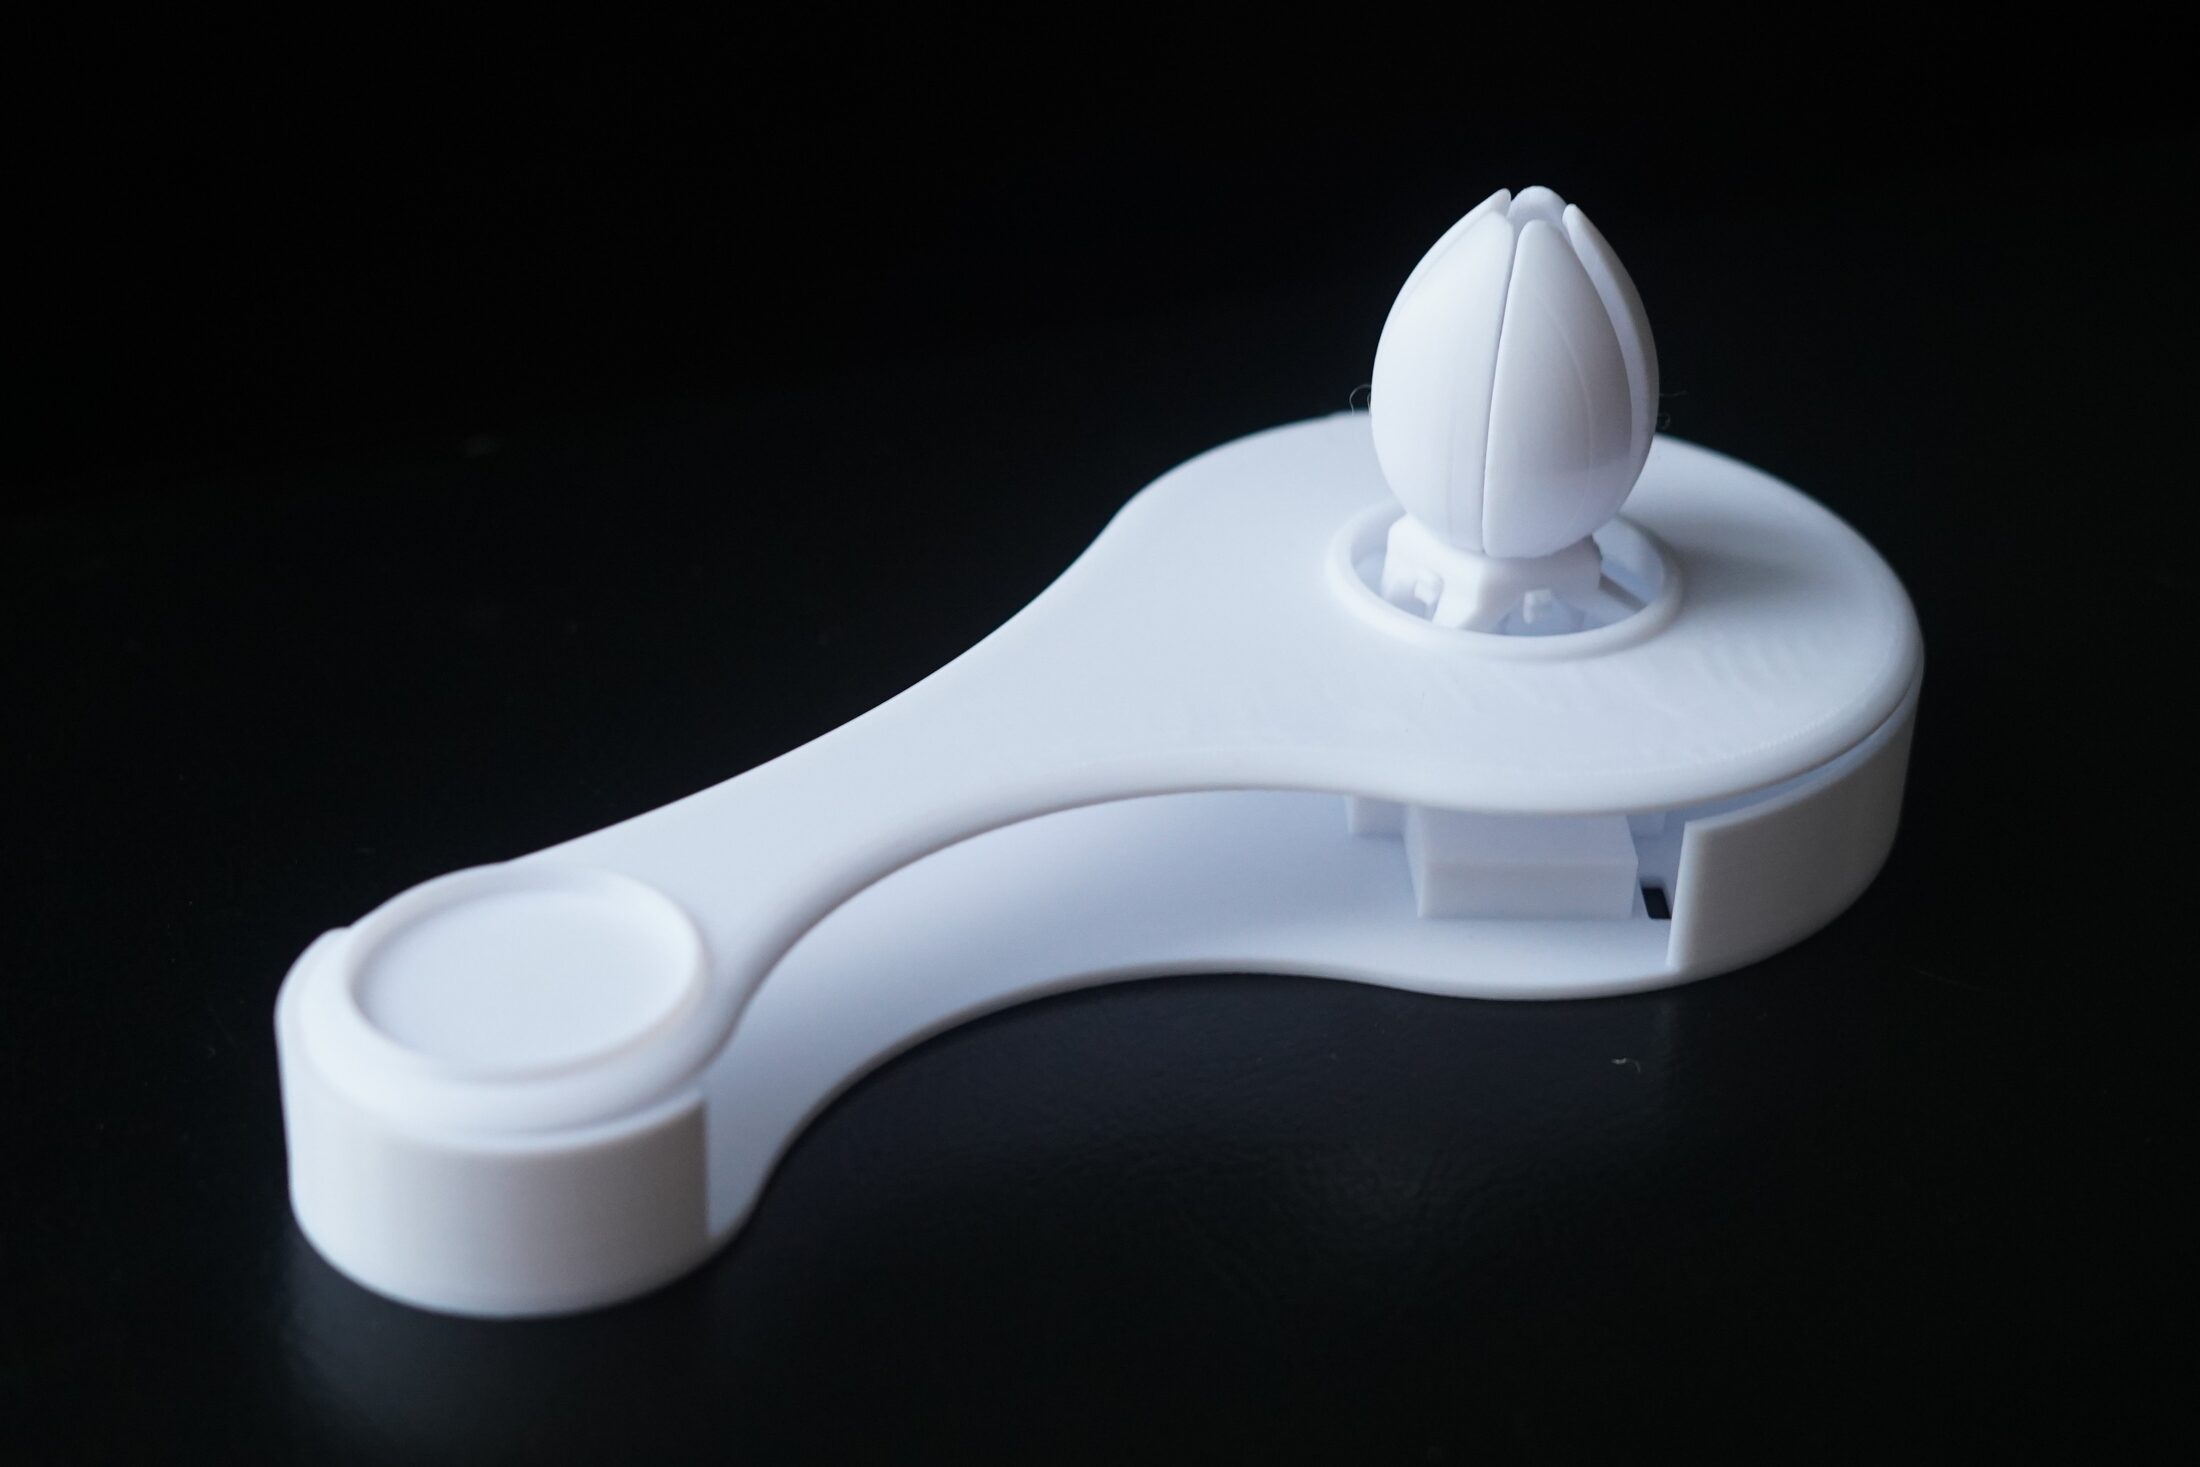
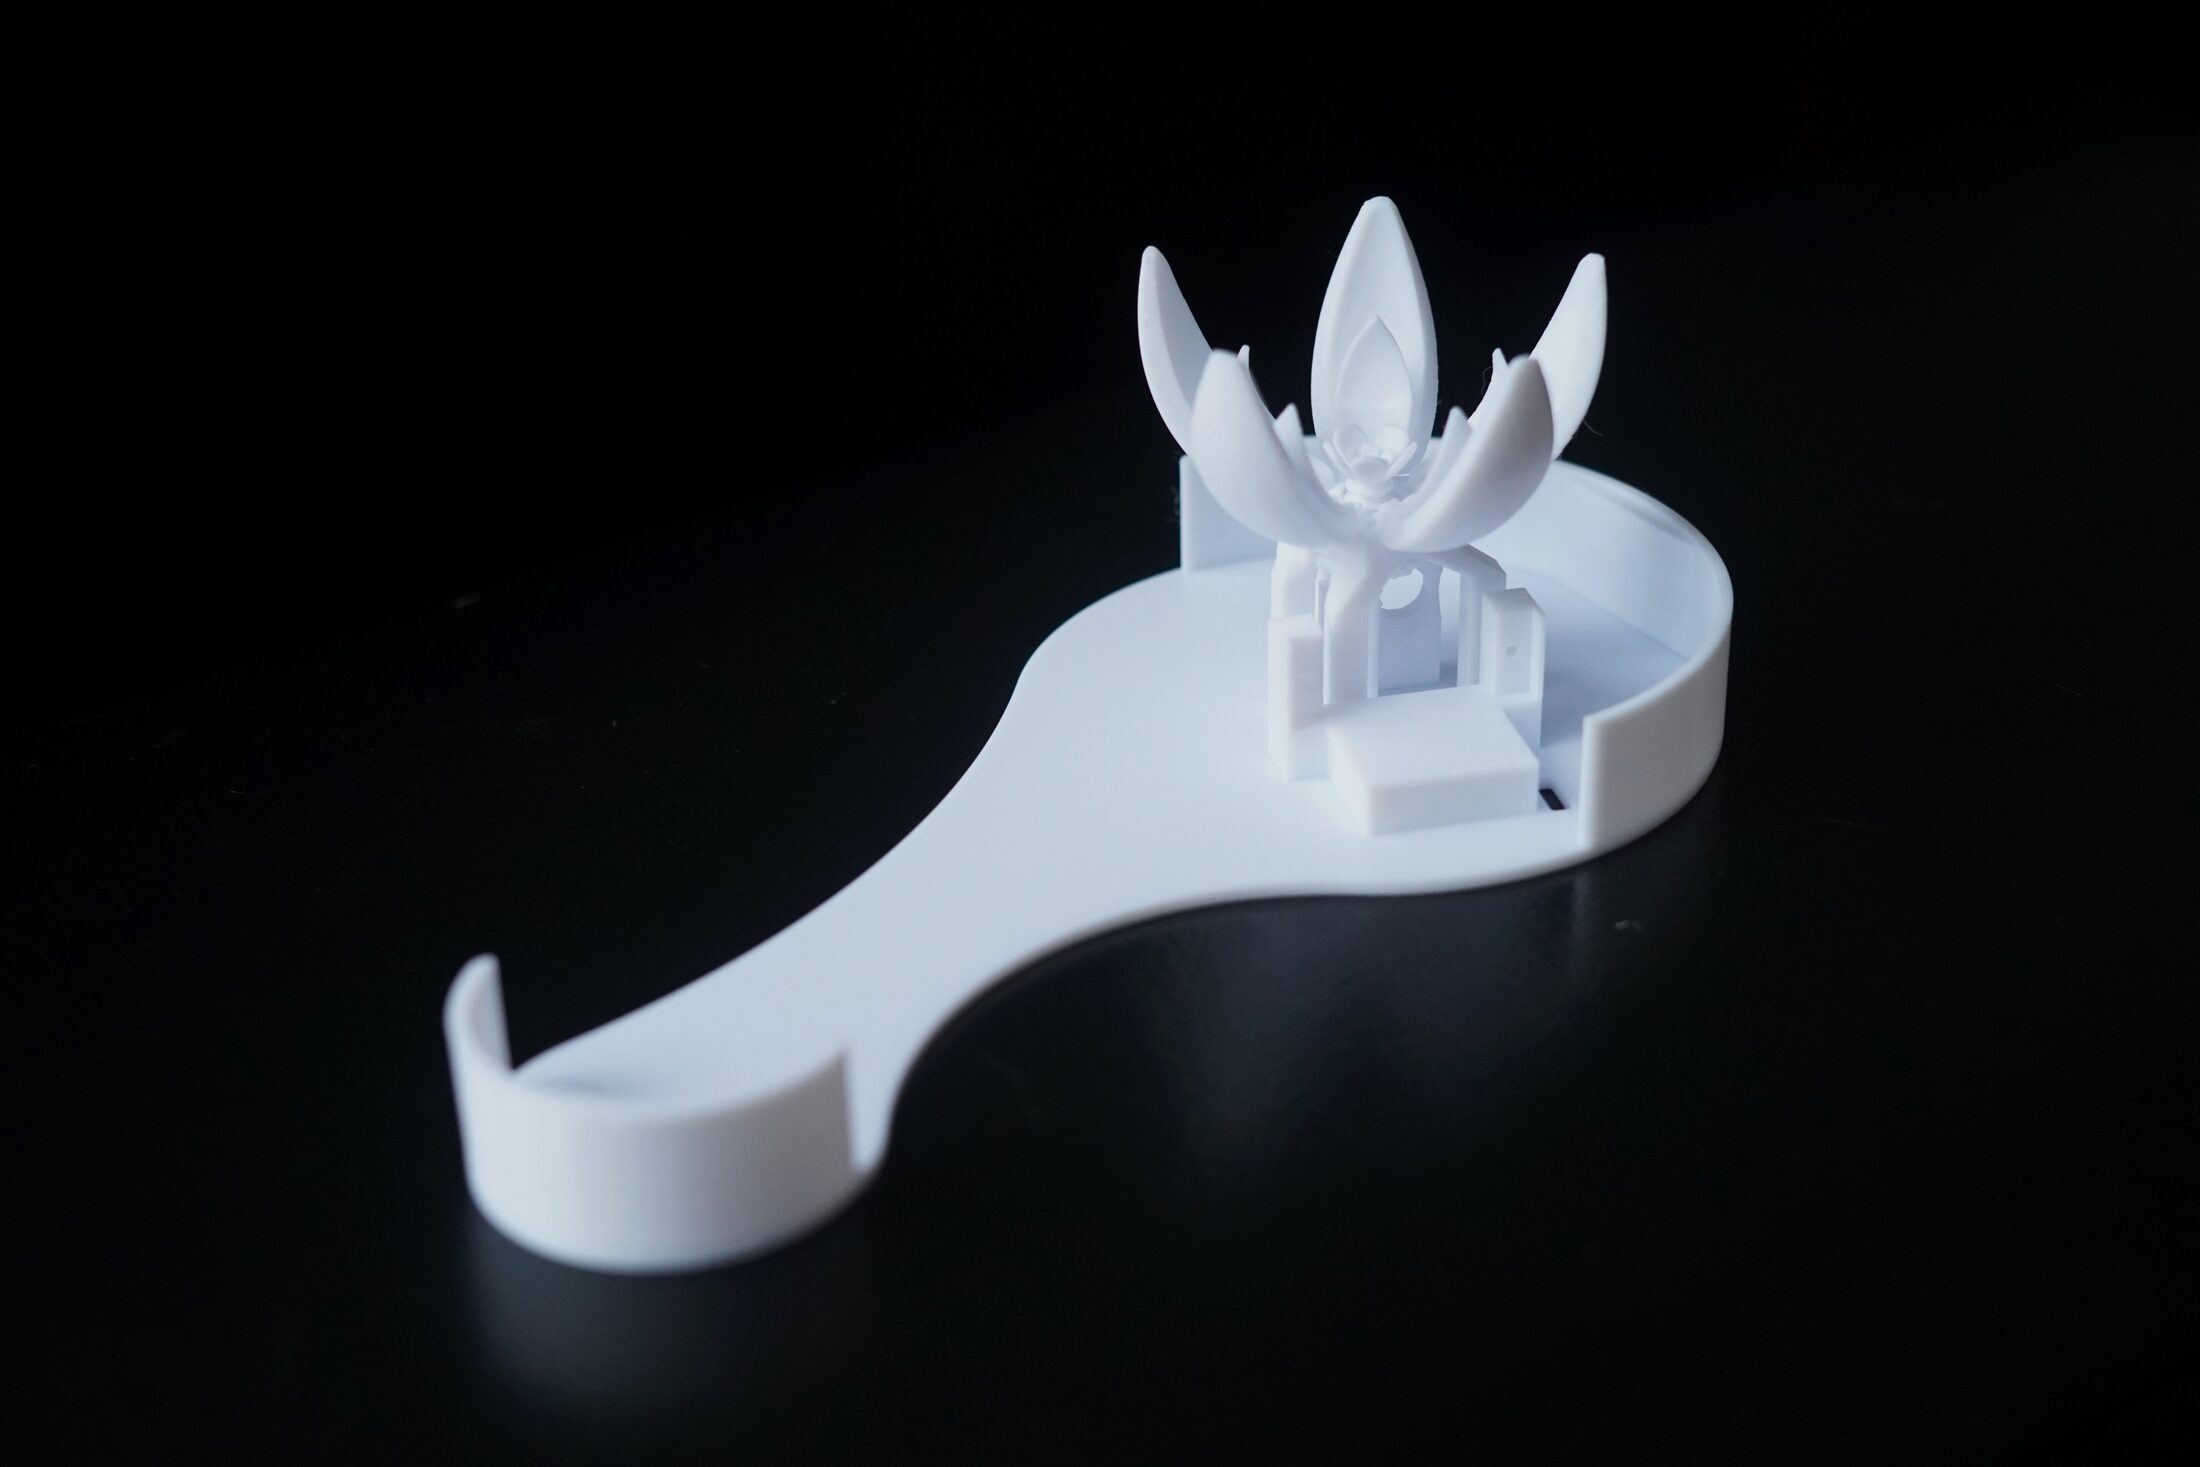
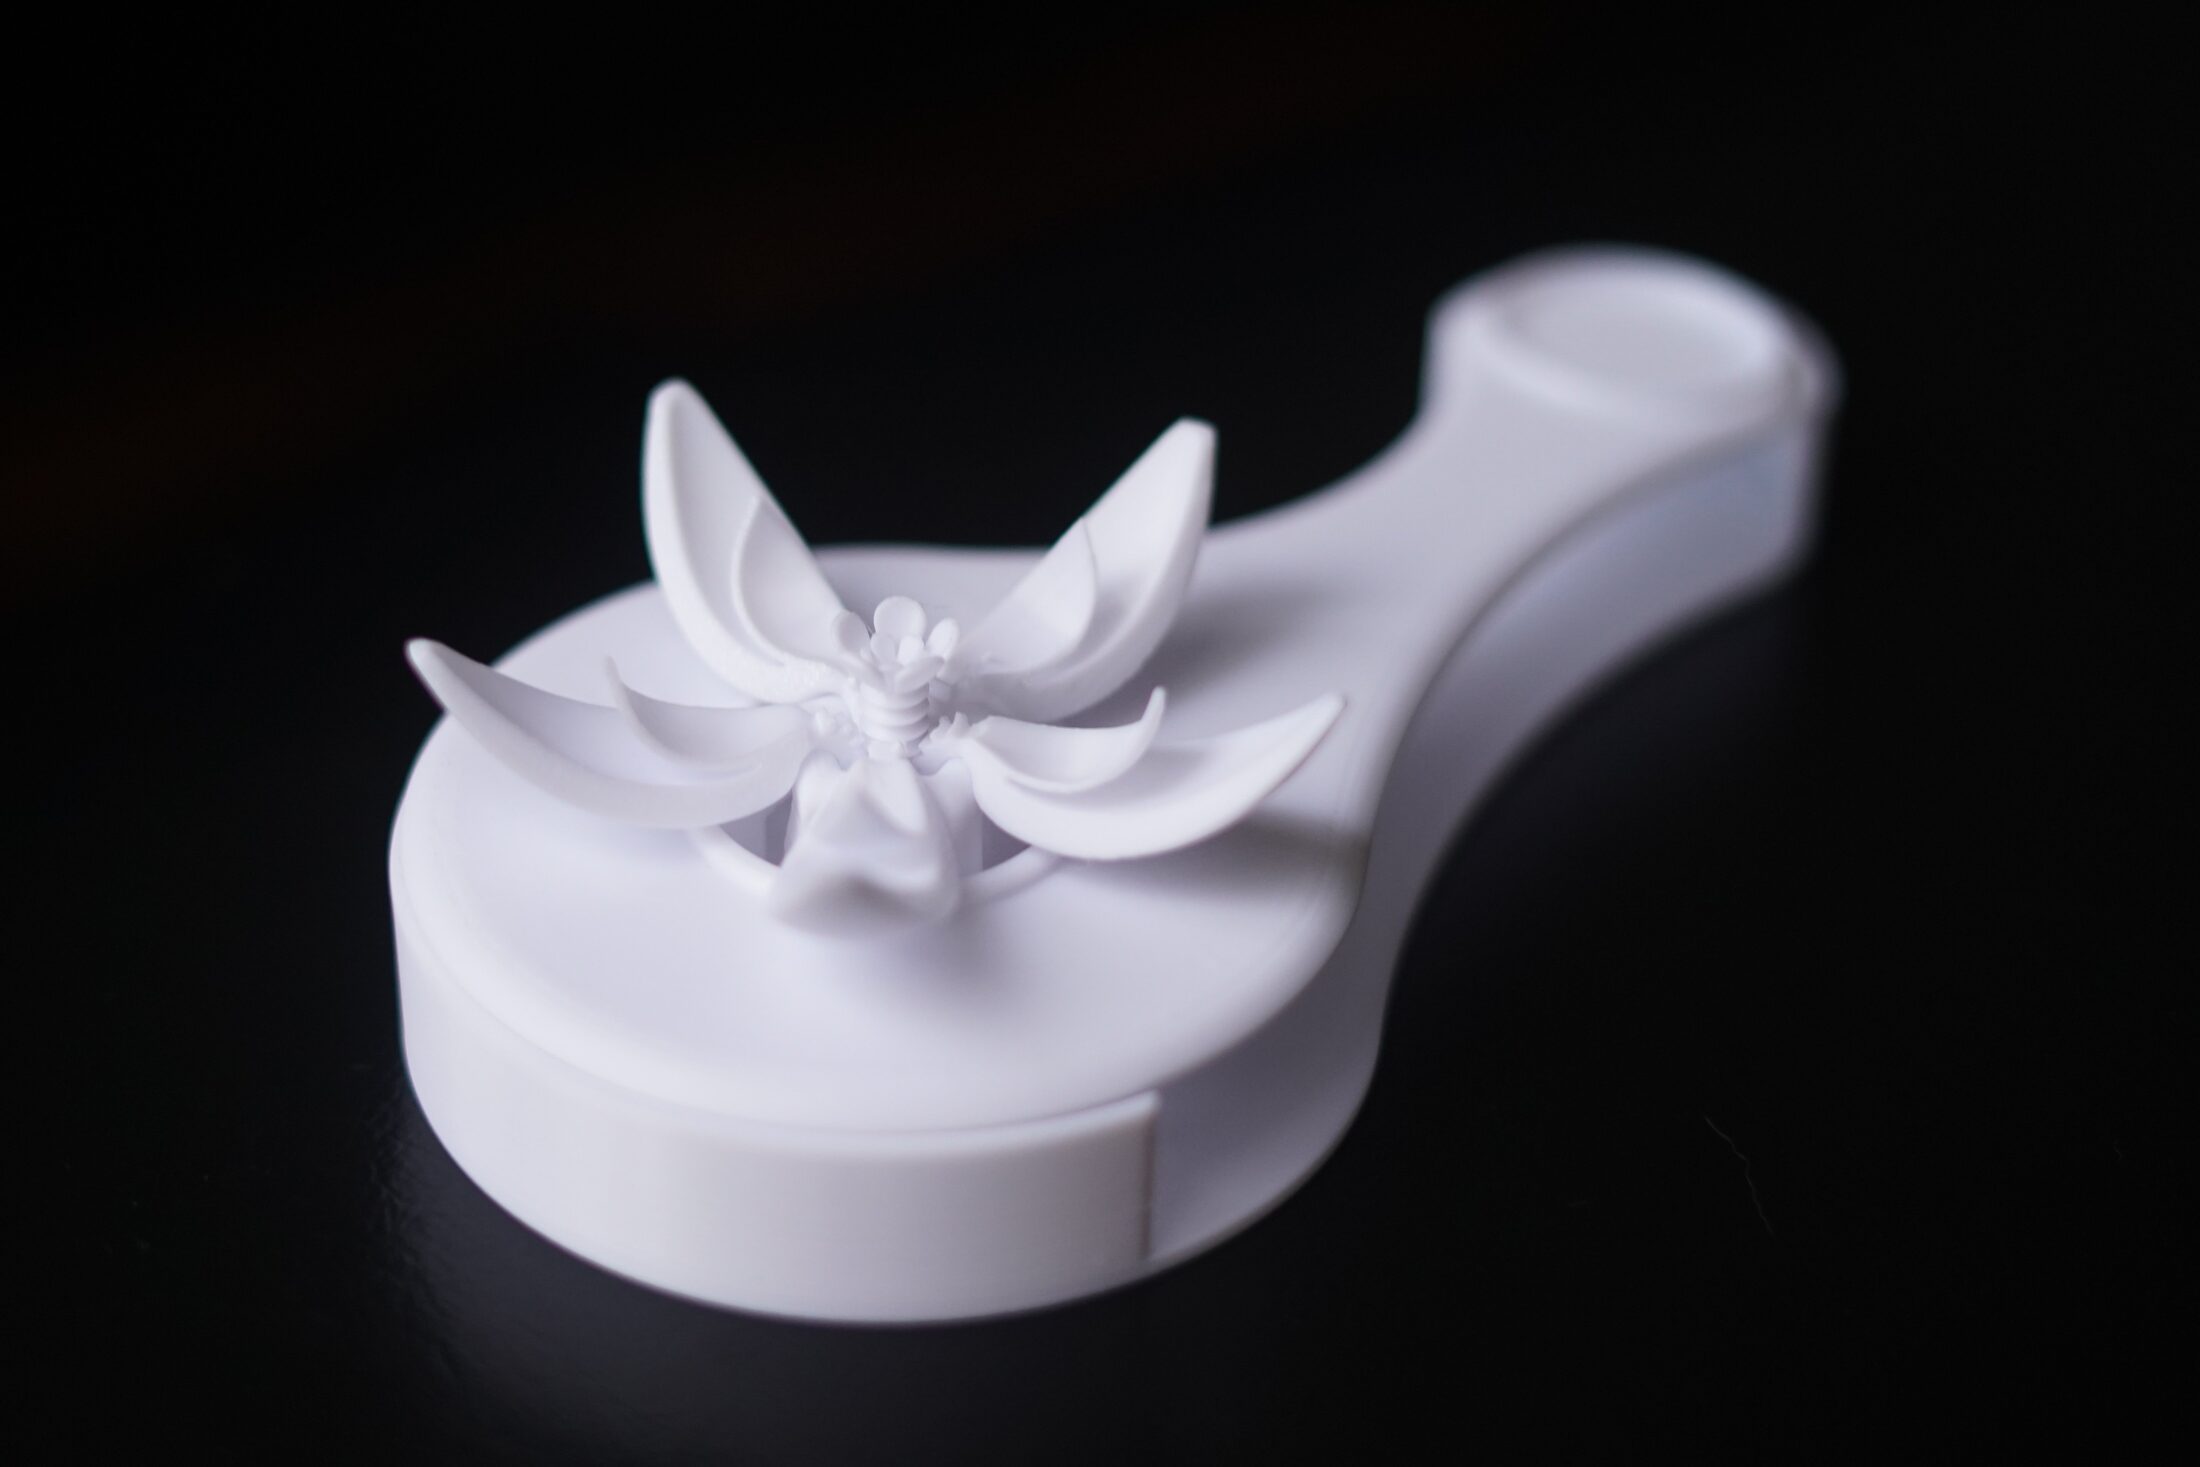
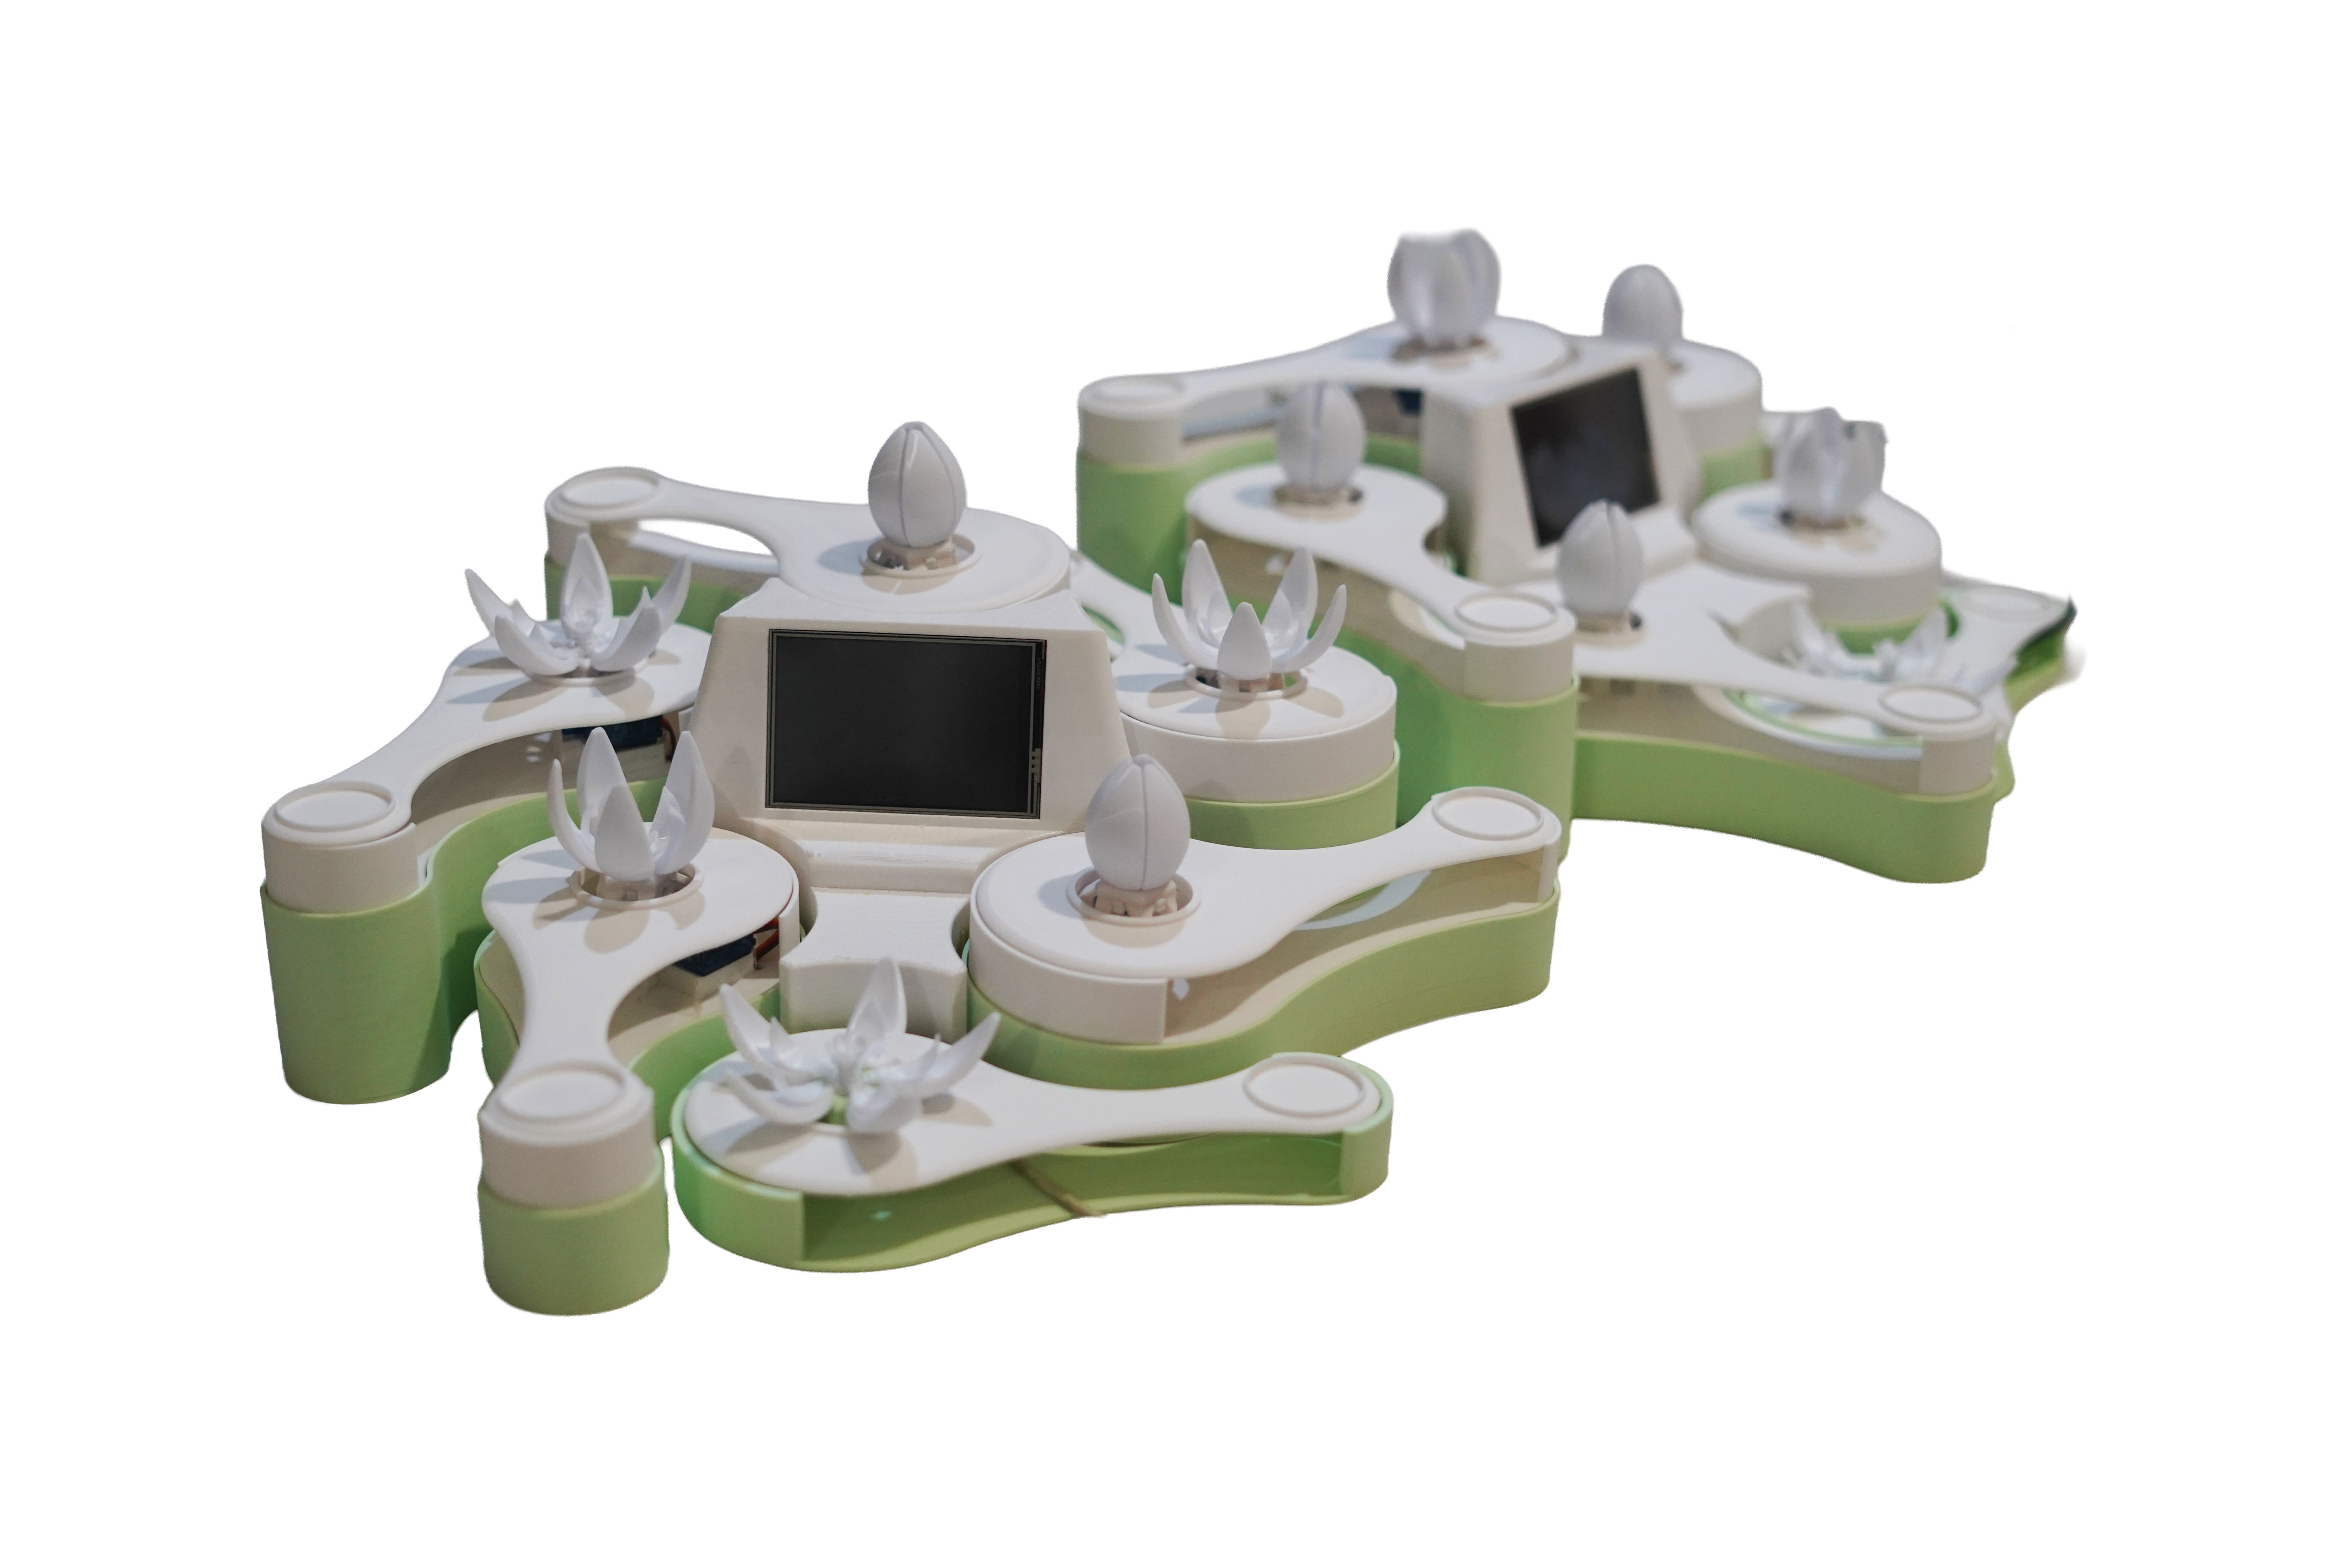
This phase refined the flower mechanism into a smaller, smarter, and more modular unit. It began by integrating flower motion and token placement into a compact single-body prototype, then evolved into a cleaner rack-and-pinion system where vertical travel drives petal bloom and closure. The aim was for each flower to function as an adaptable, replaceable component within a larger Tangible Garden network. Compared with the first prototype, this iteration significantly improved manufacturability, orientation flexibility, and interaction clarity without losing the expressive movement.

Current flower main image
Current flower image 1
Current flower image 2
Current flower image 3
Current flower wiring detail 9
Current flower wiring detail 10
Current flower wiring detail 11
Current flower wiring detail 12
Current flower wiring detail 13
Current flower wiring detail 14
Current flower image 4
Side-by-side comparison of the eight-petal flower and the simpler bud version
Alternate angle of the two flowers compared side by side
Comma-shaped module with bud flower closed and empty token slot
Comma-shaped module with simpler bloomed flower in open state
Transitional stage with the eight-petal flower mounted on the comma-shaped module

Final Prototype

Teleflora

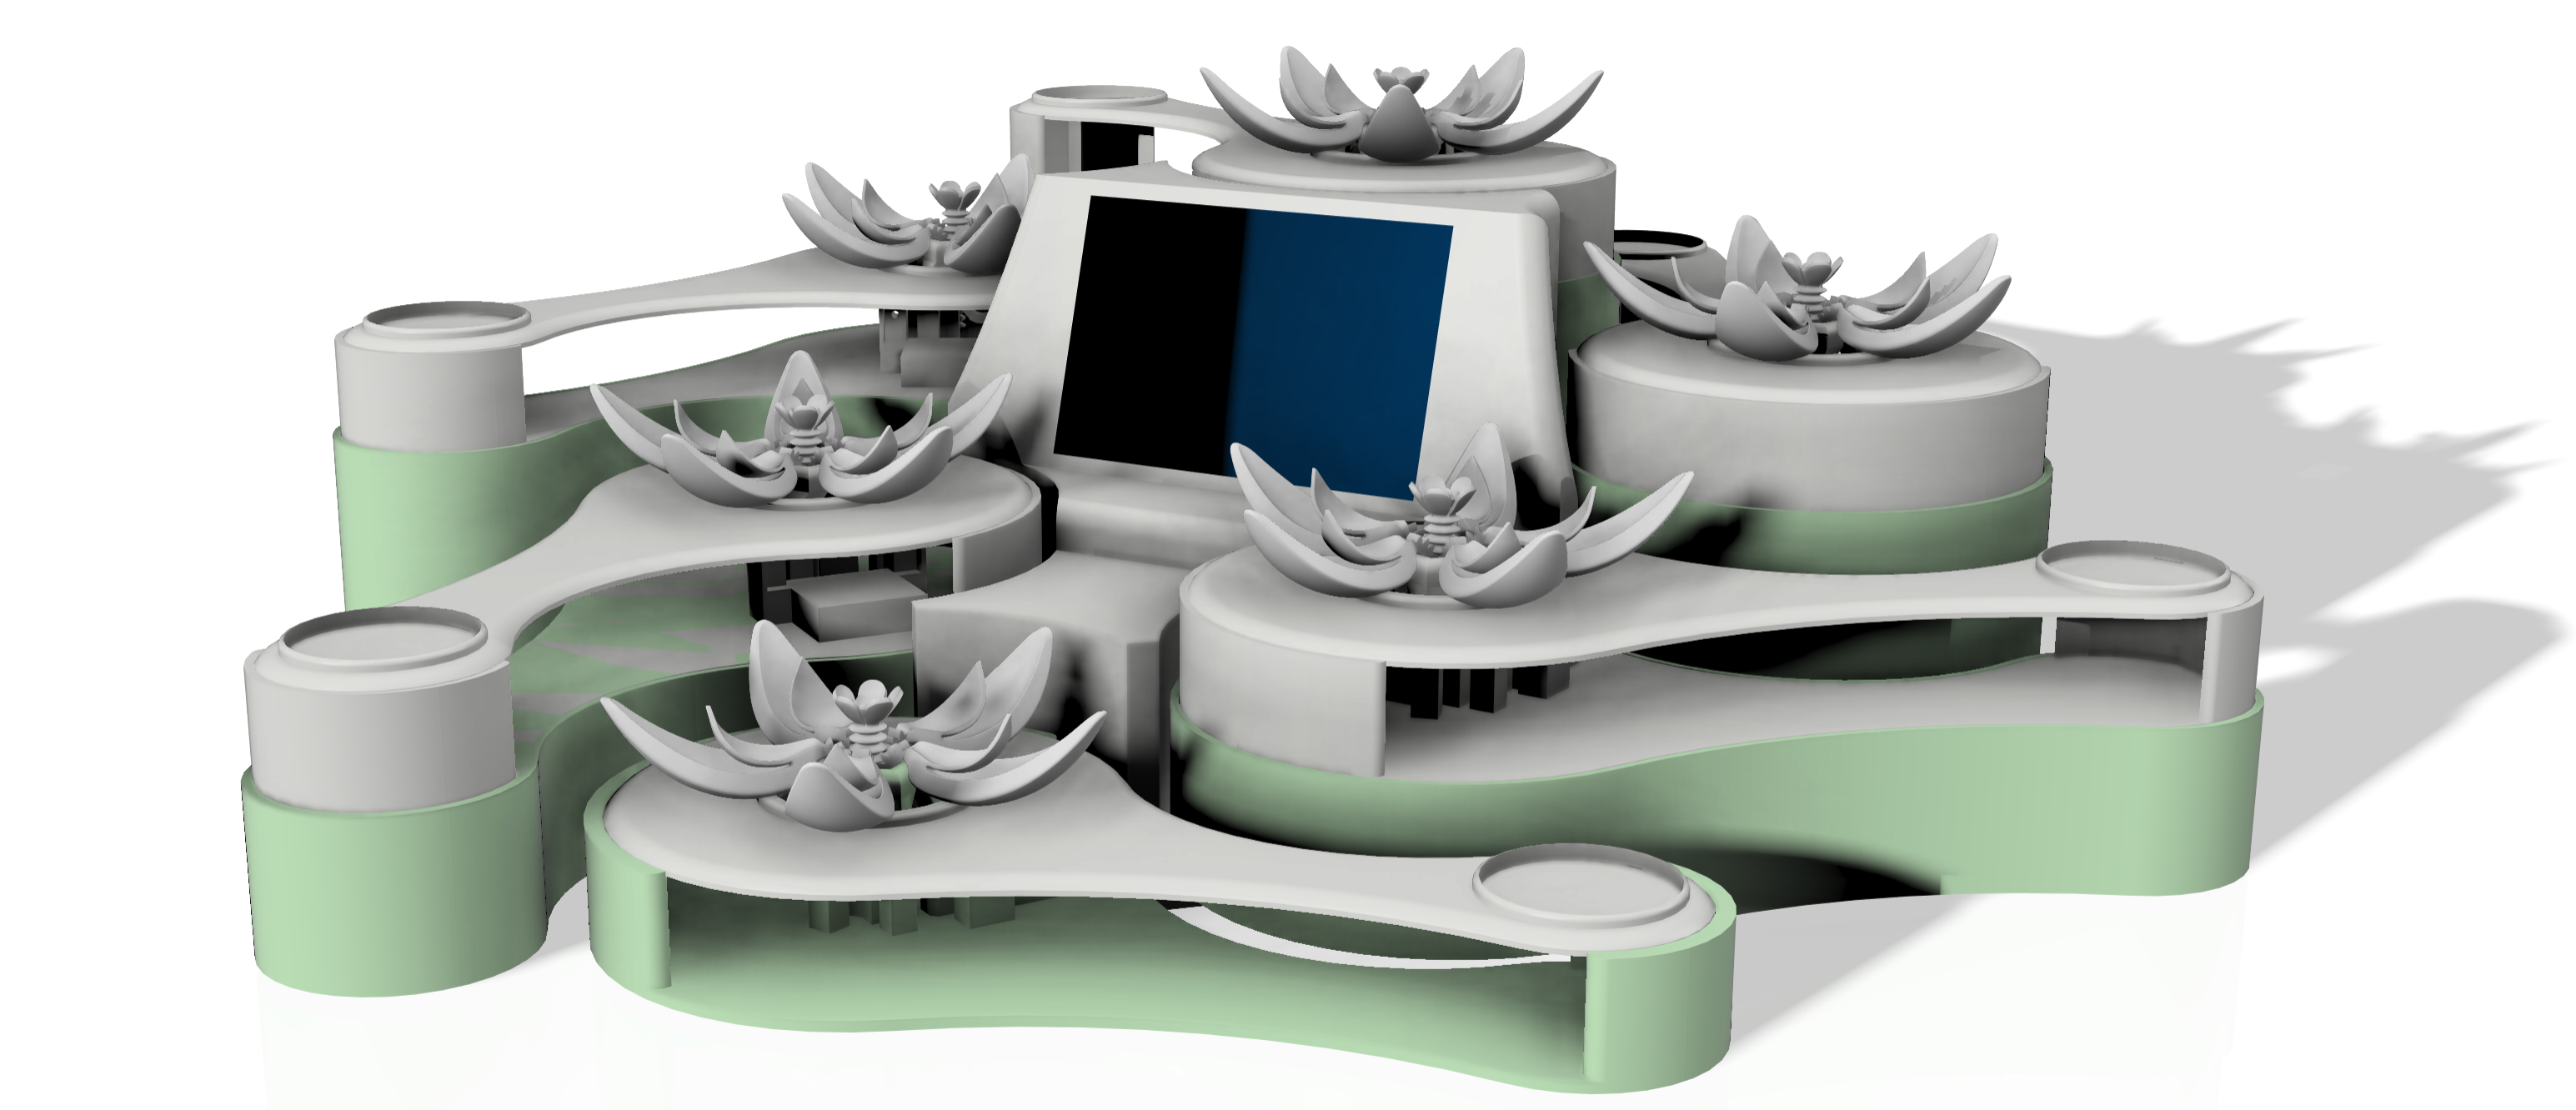
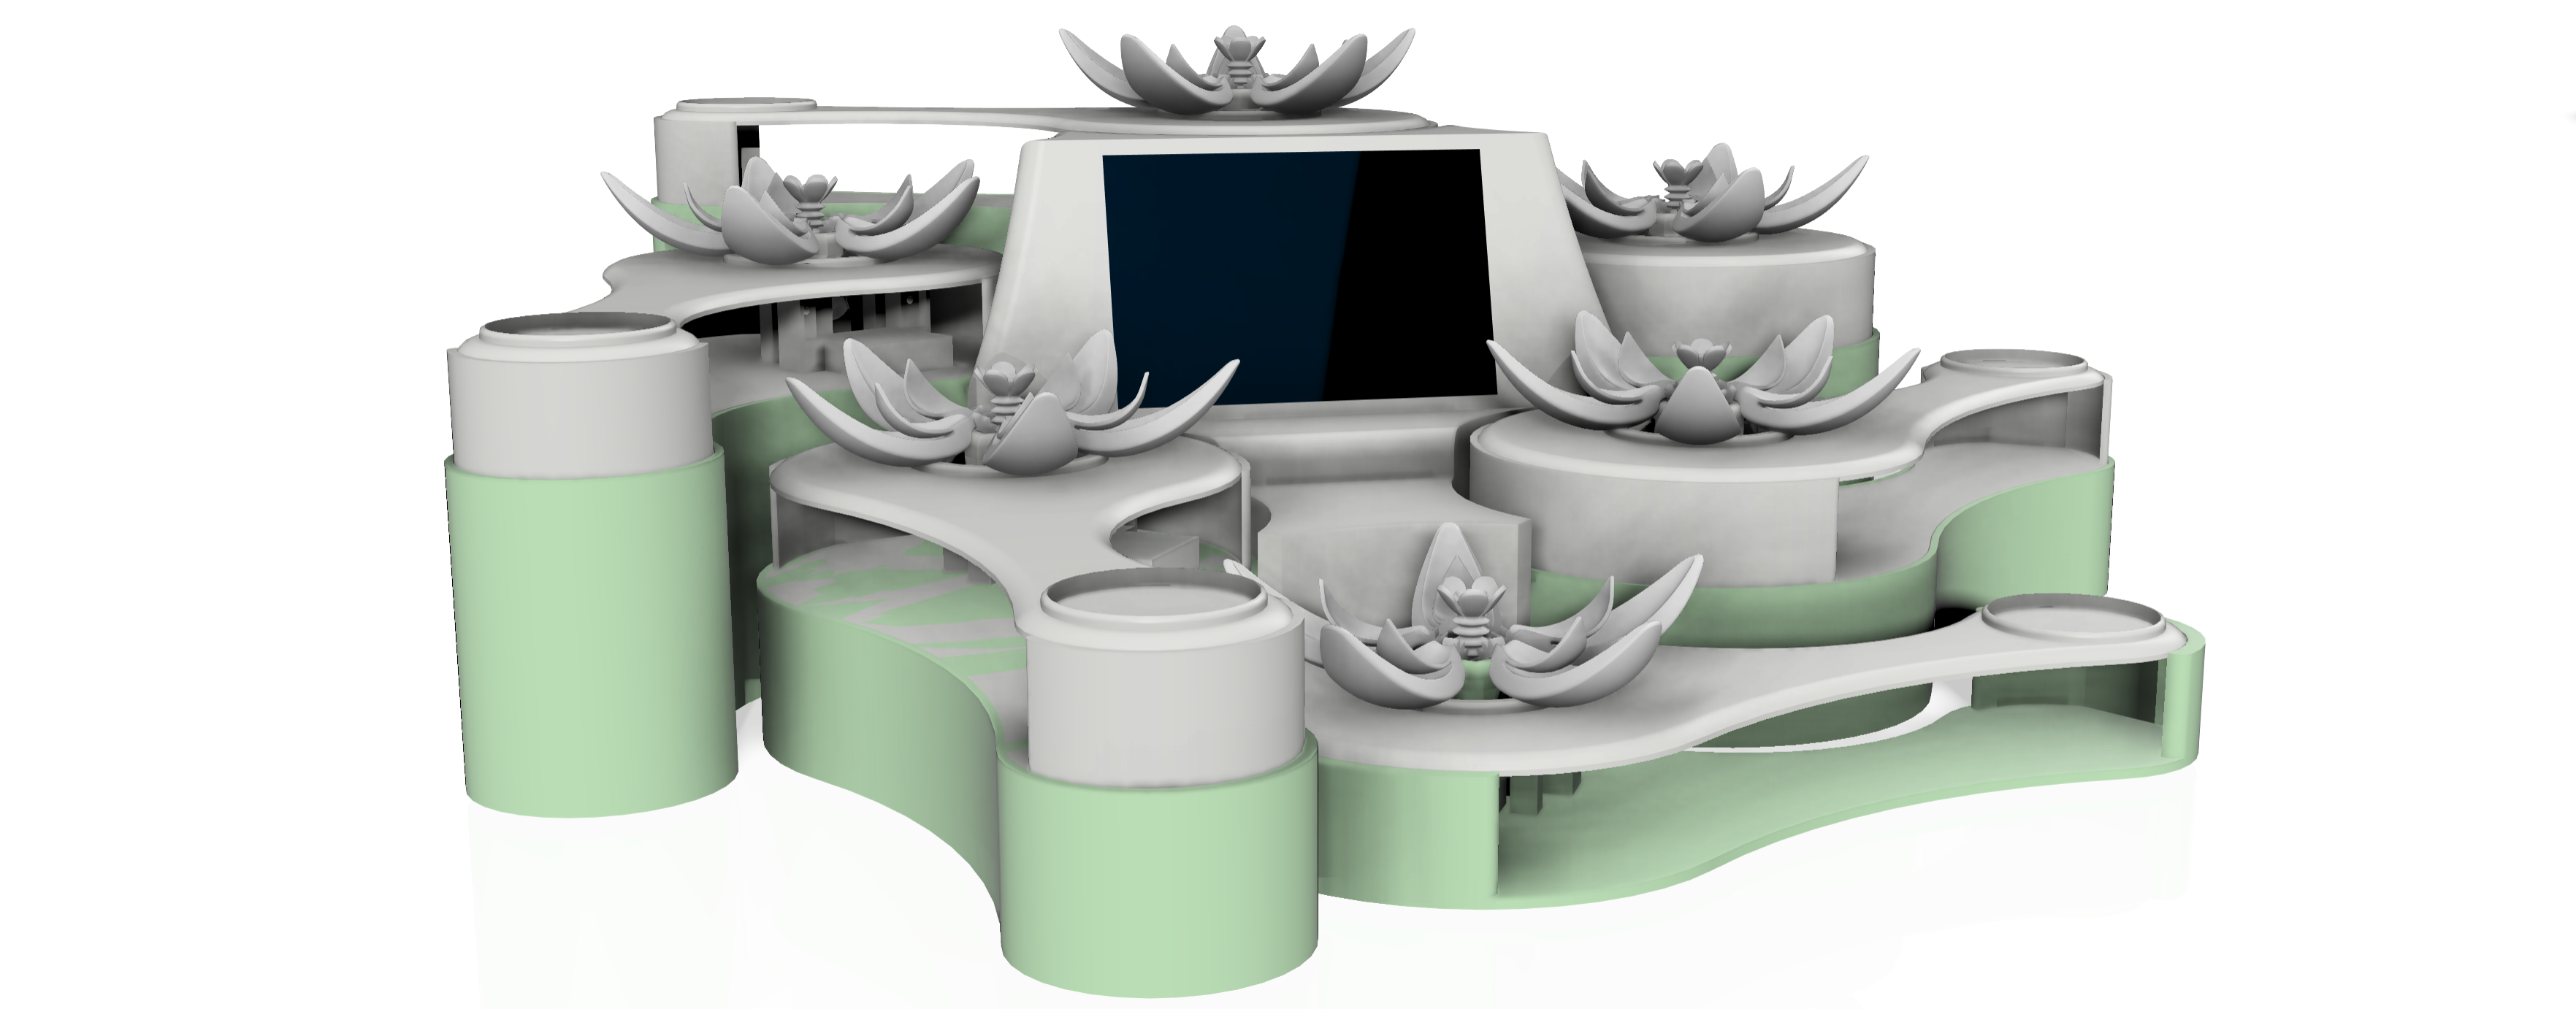
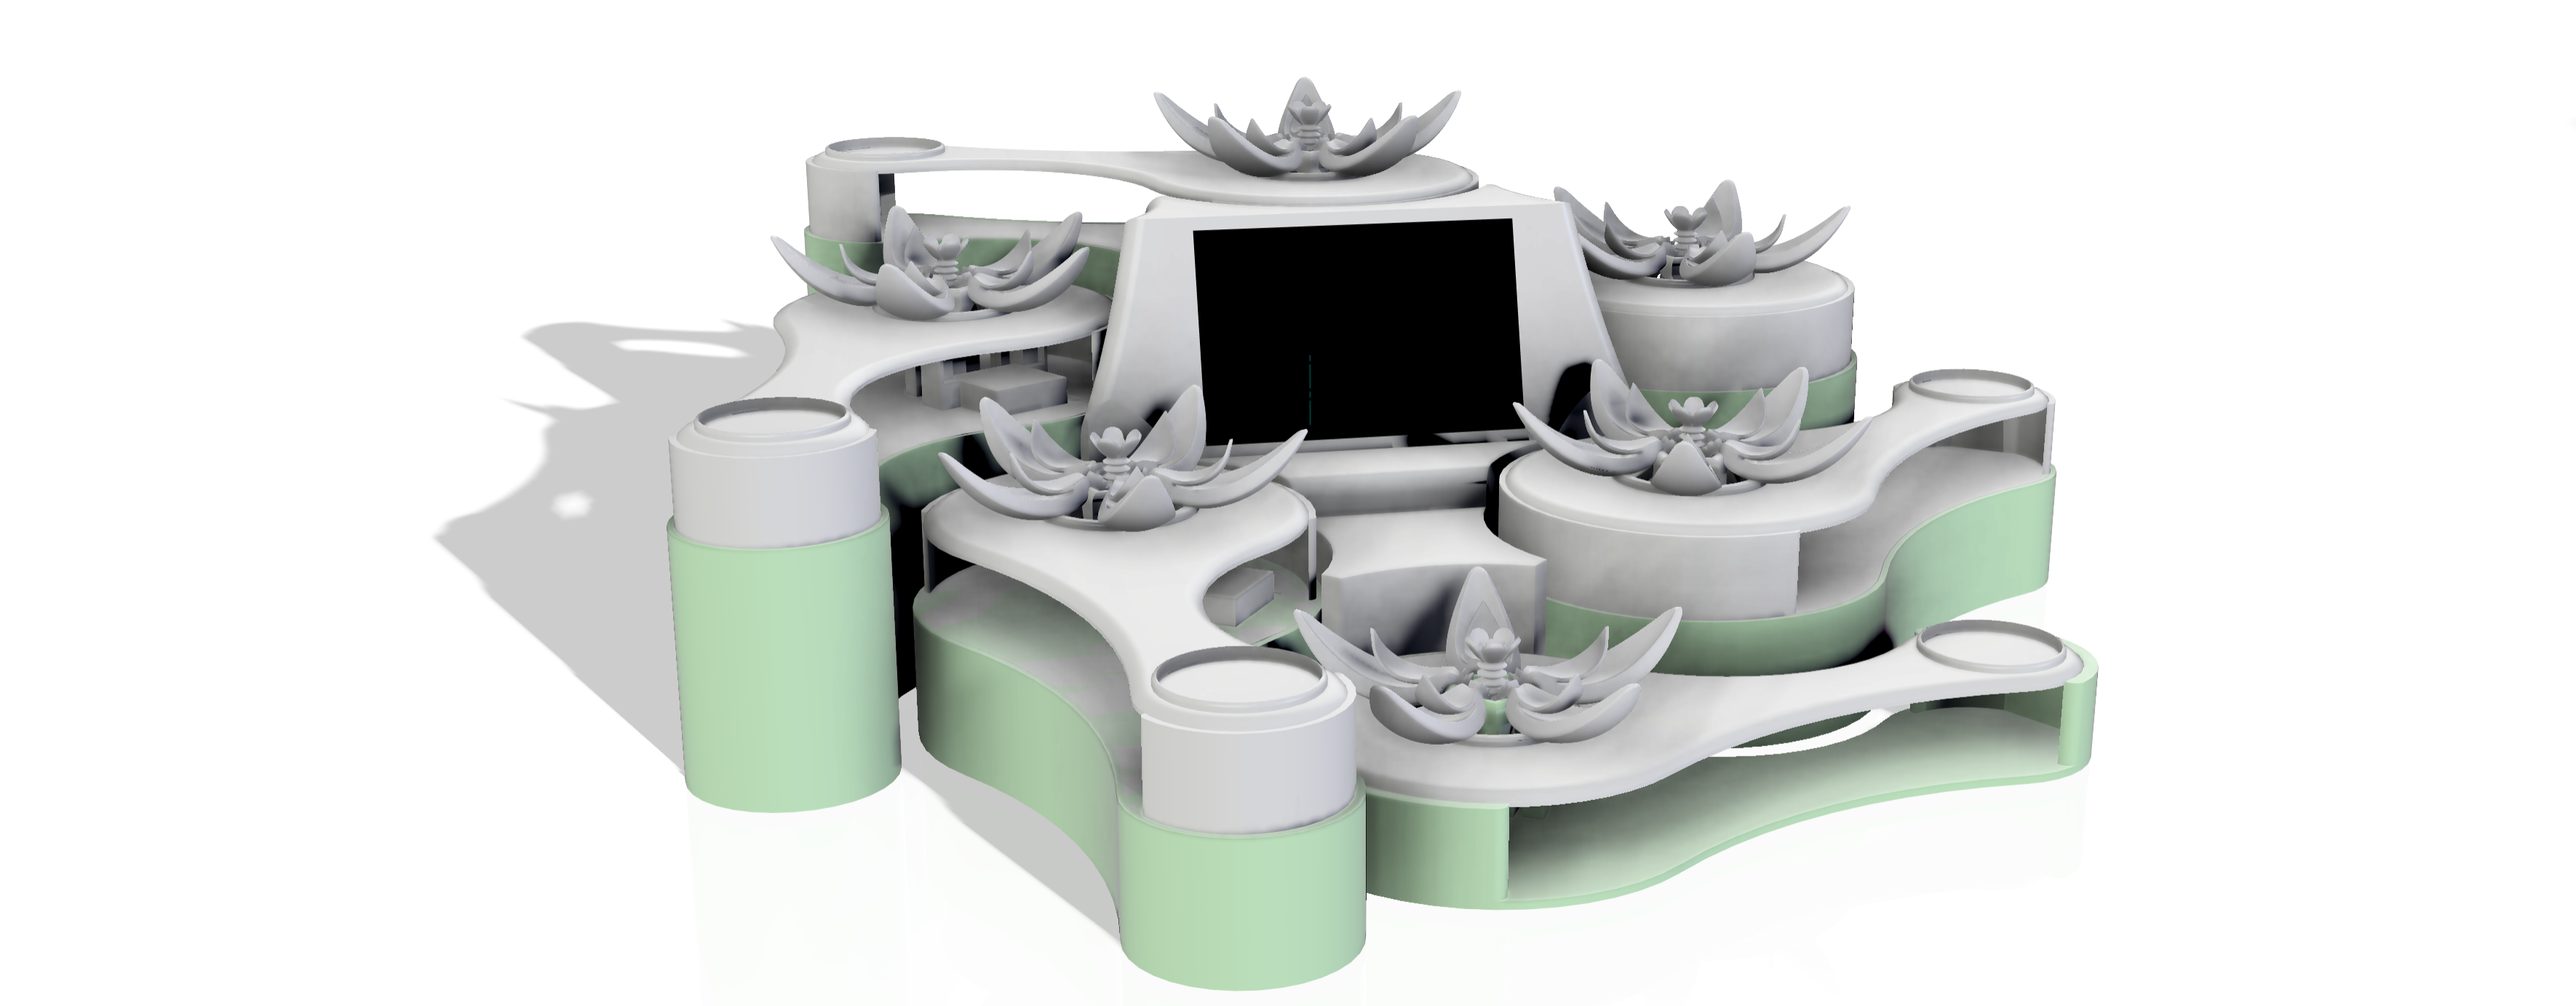
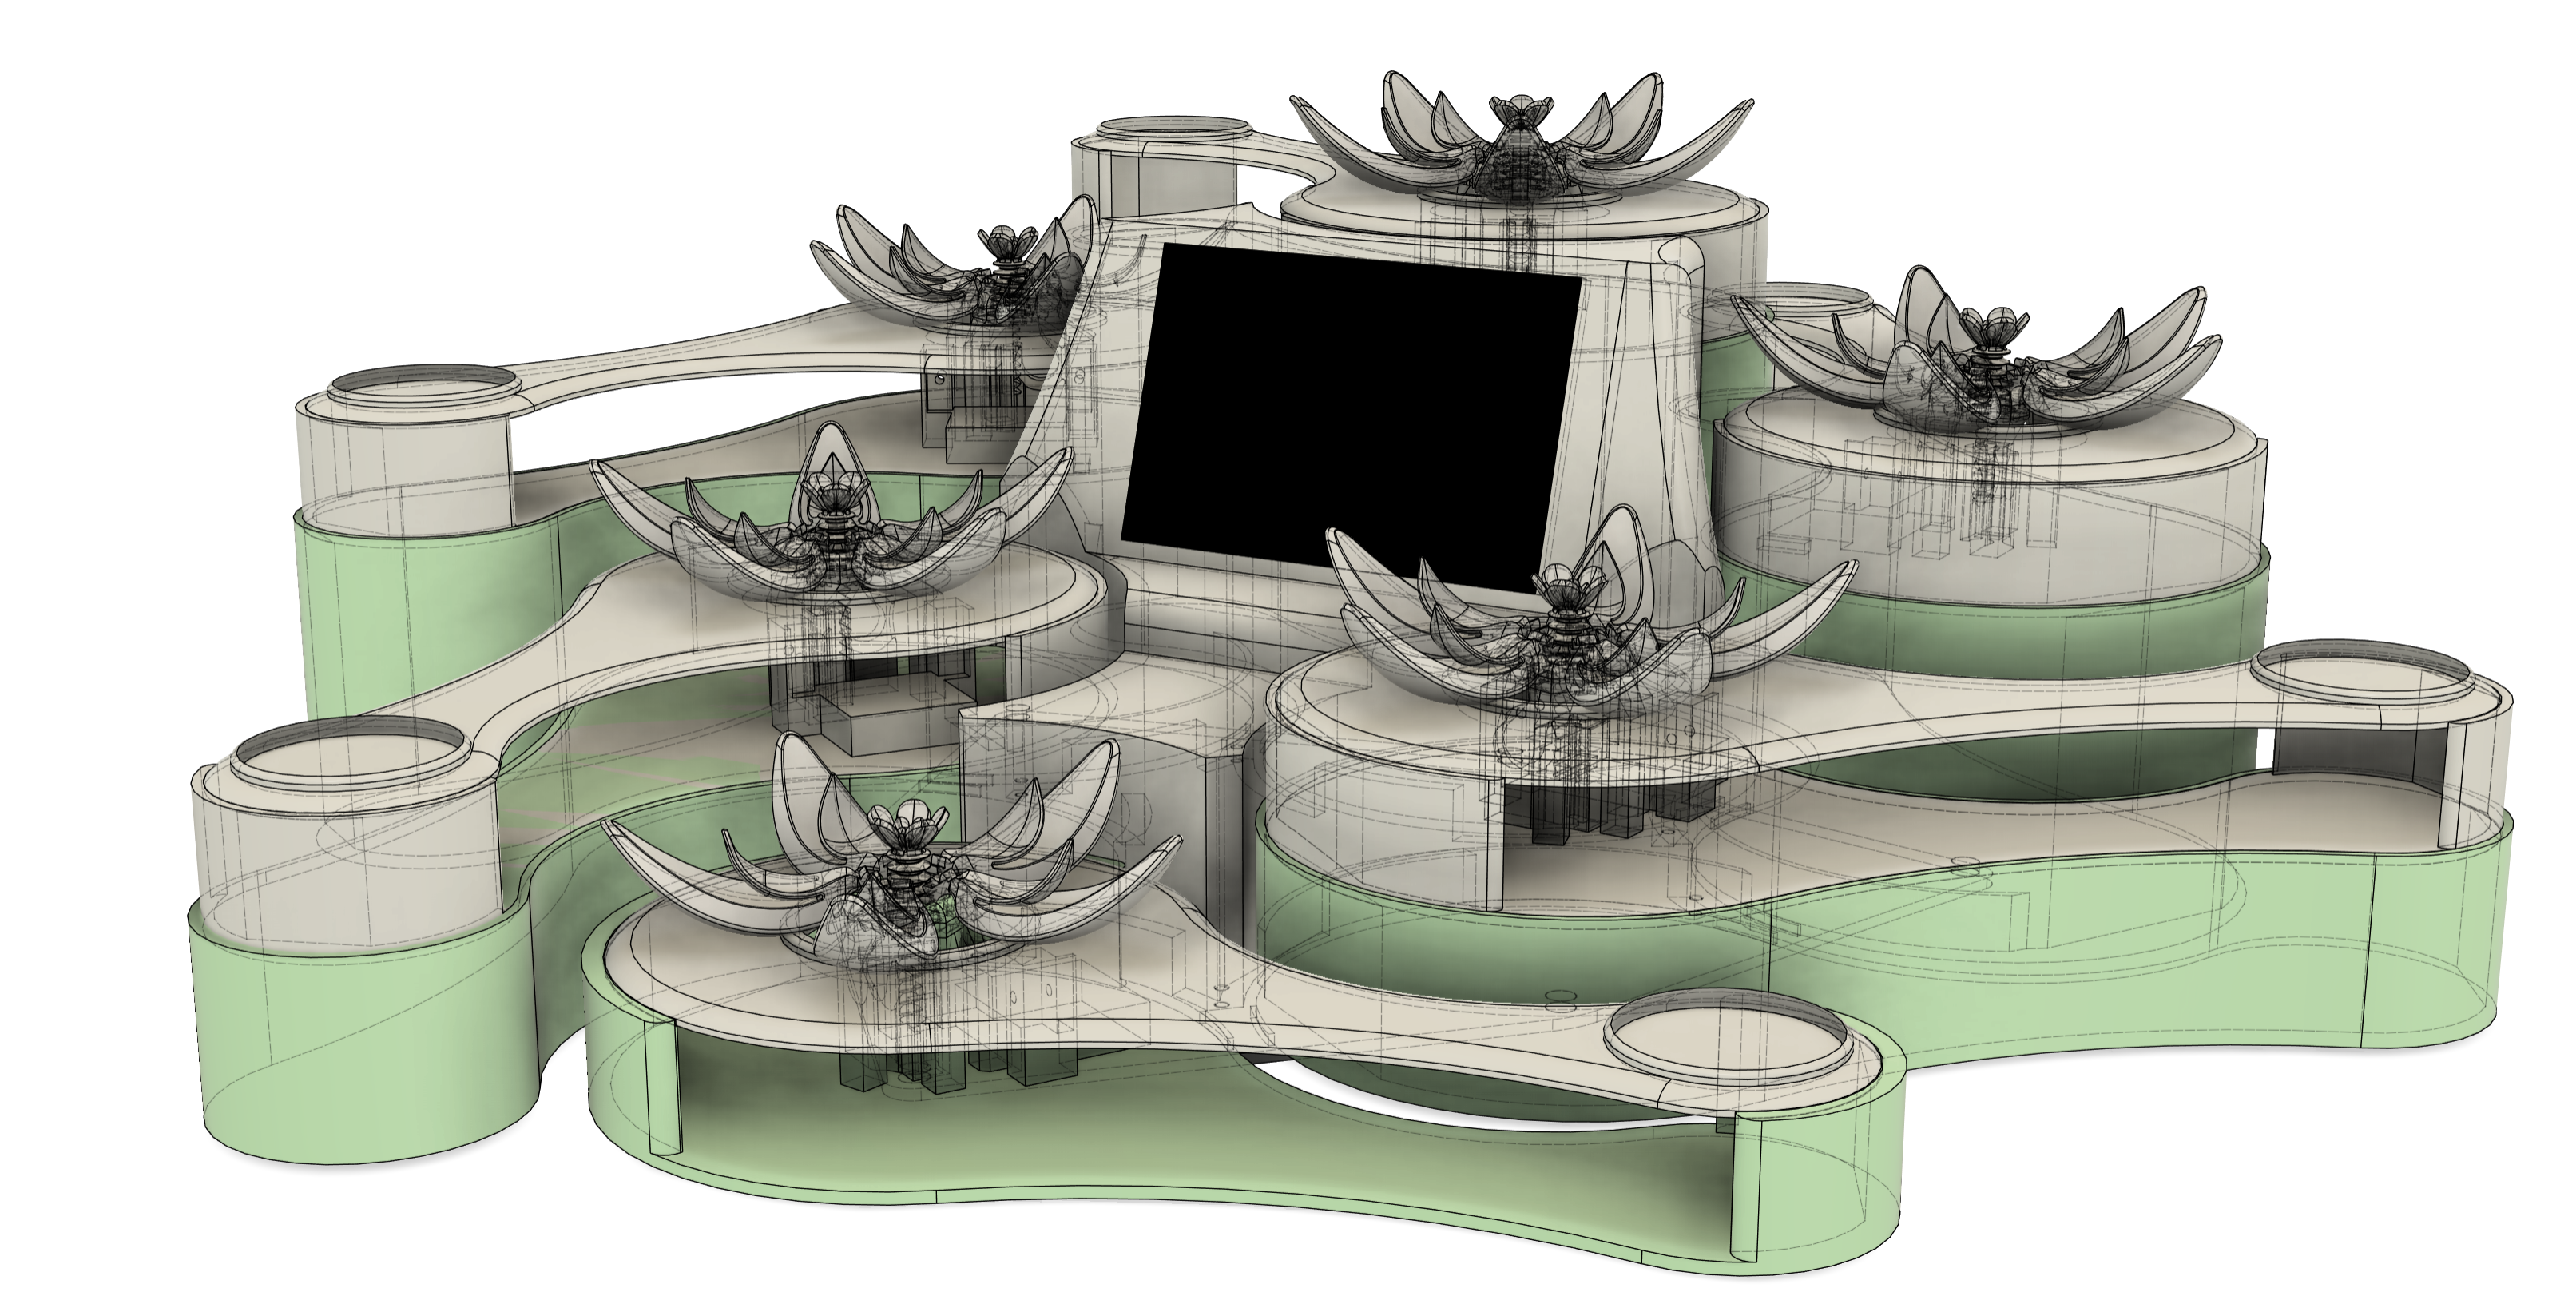
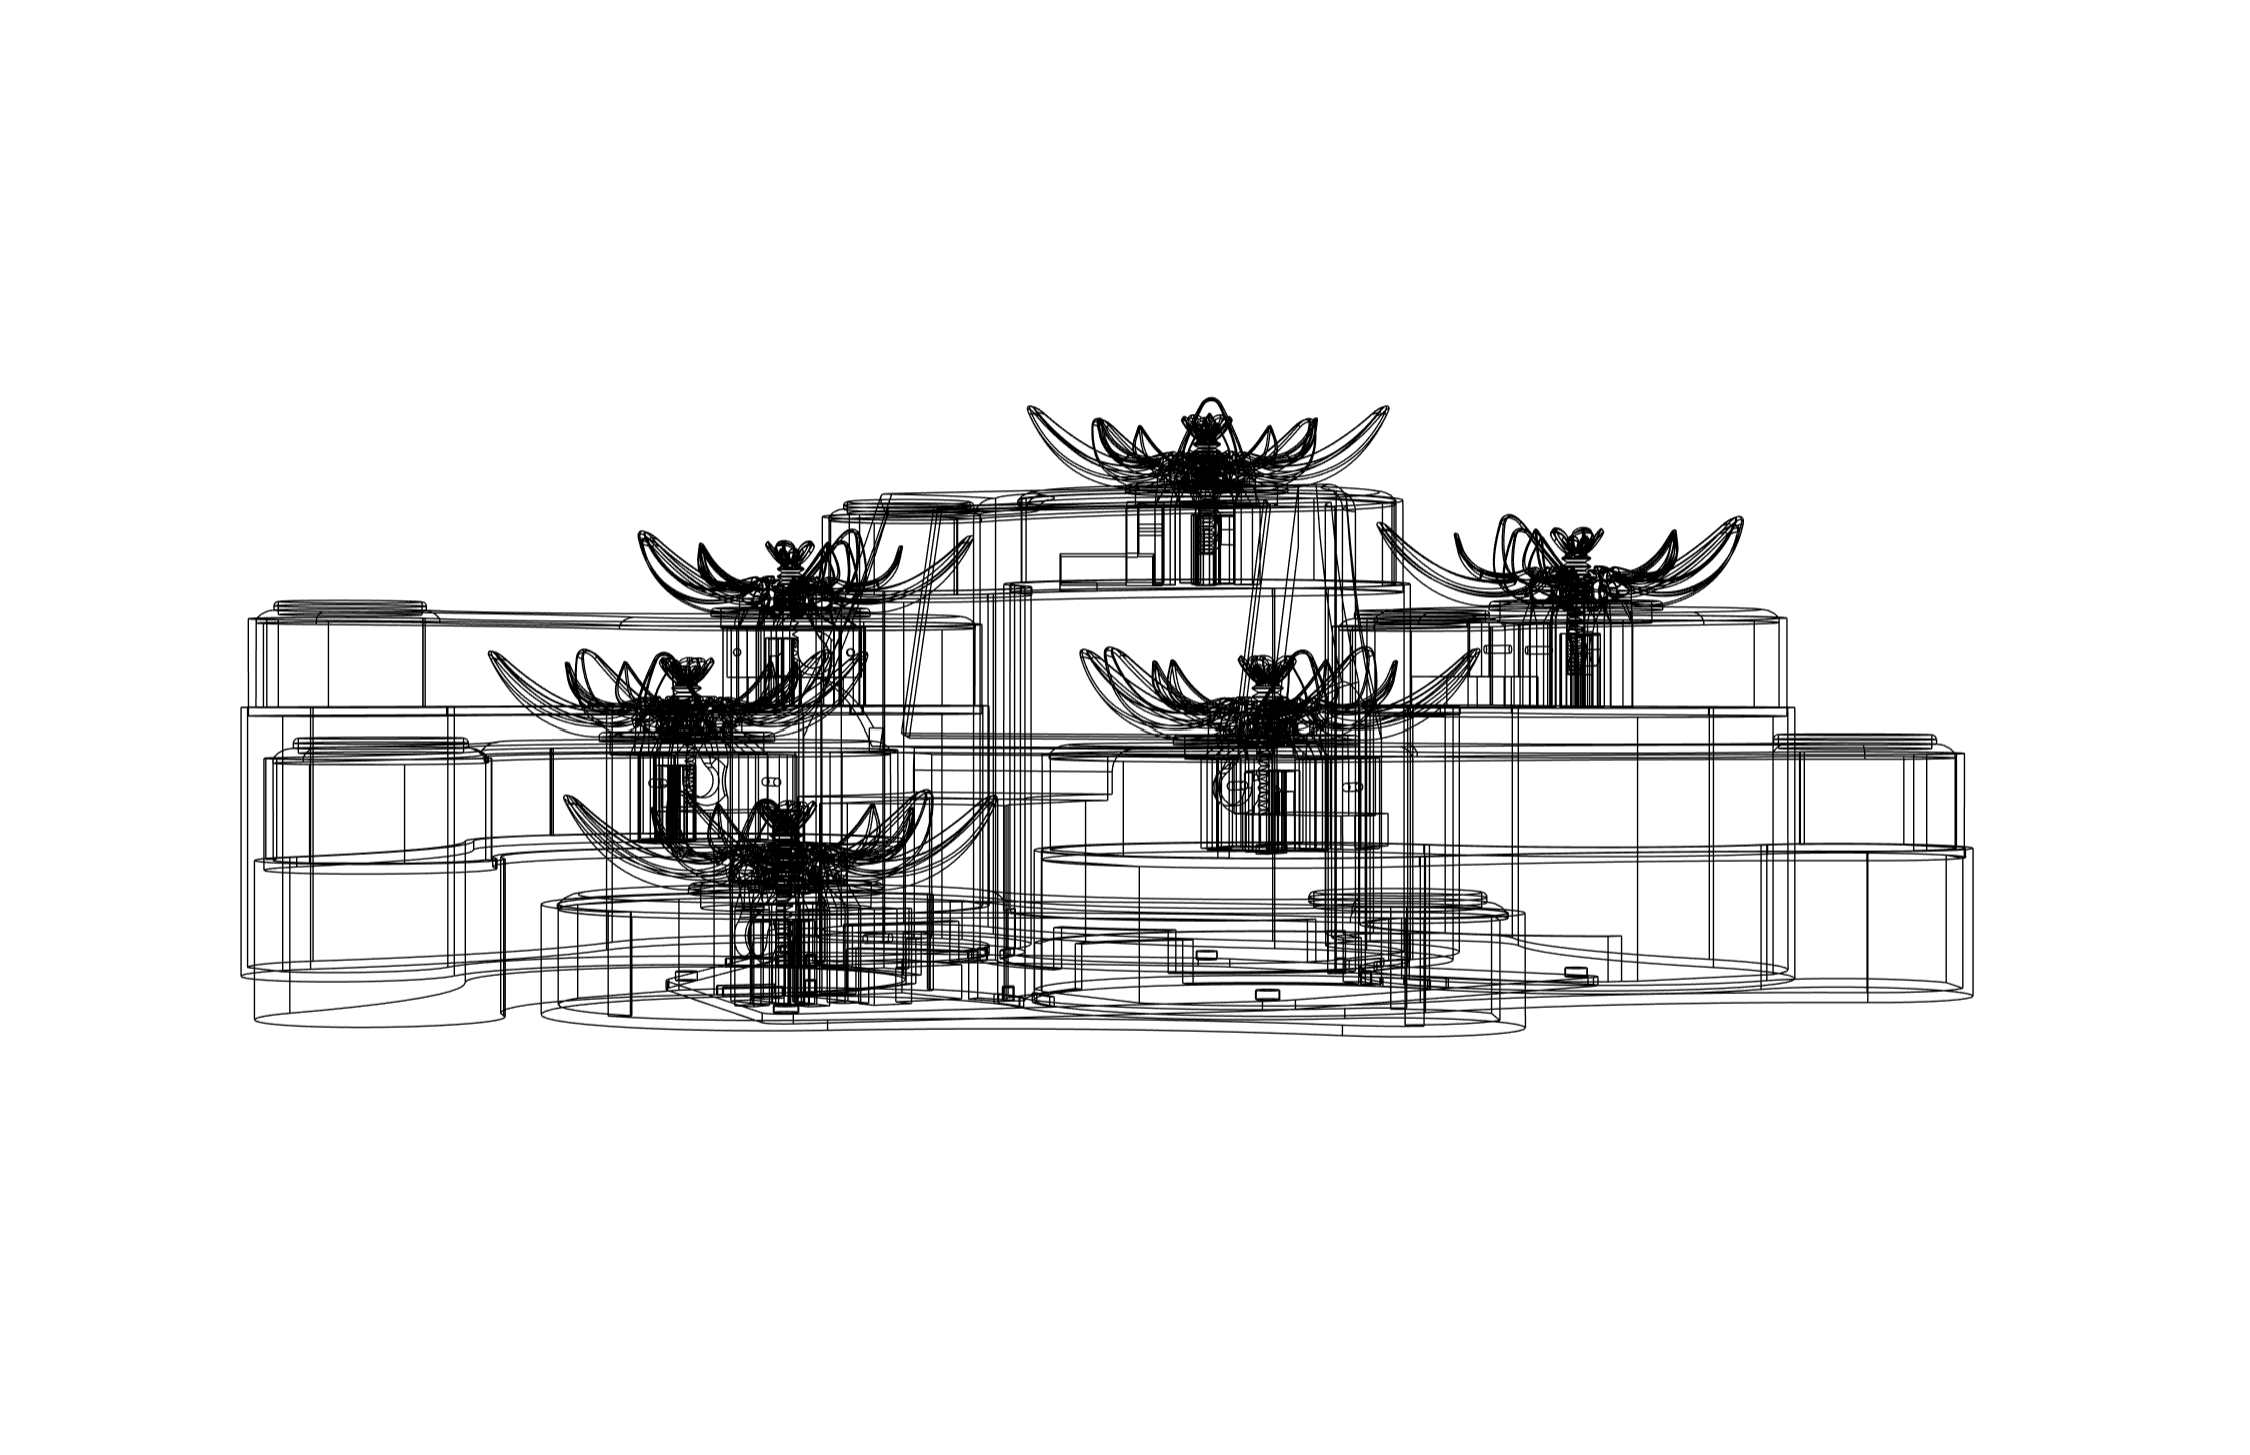
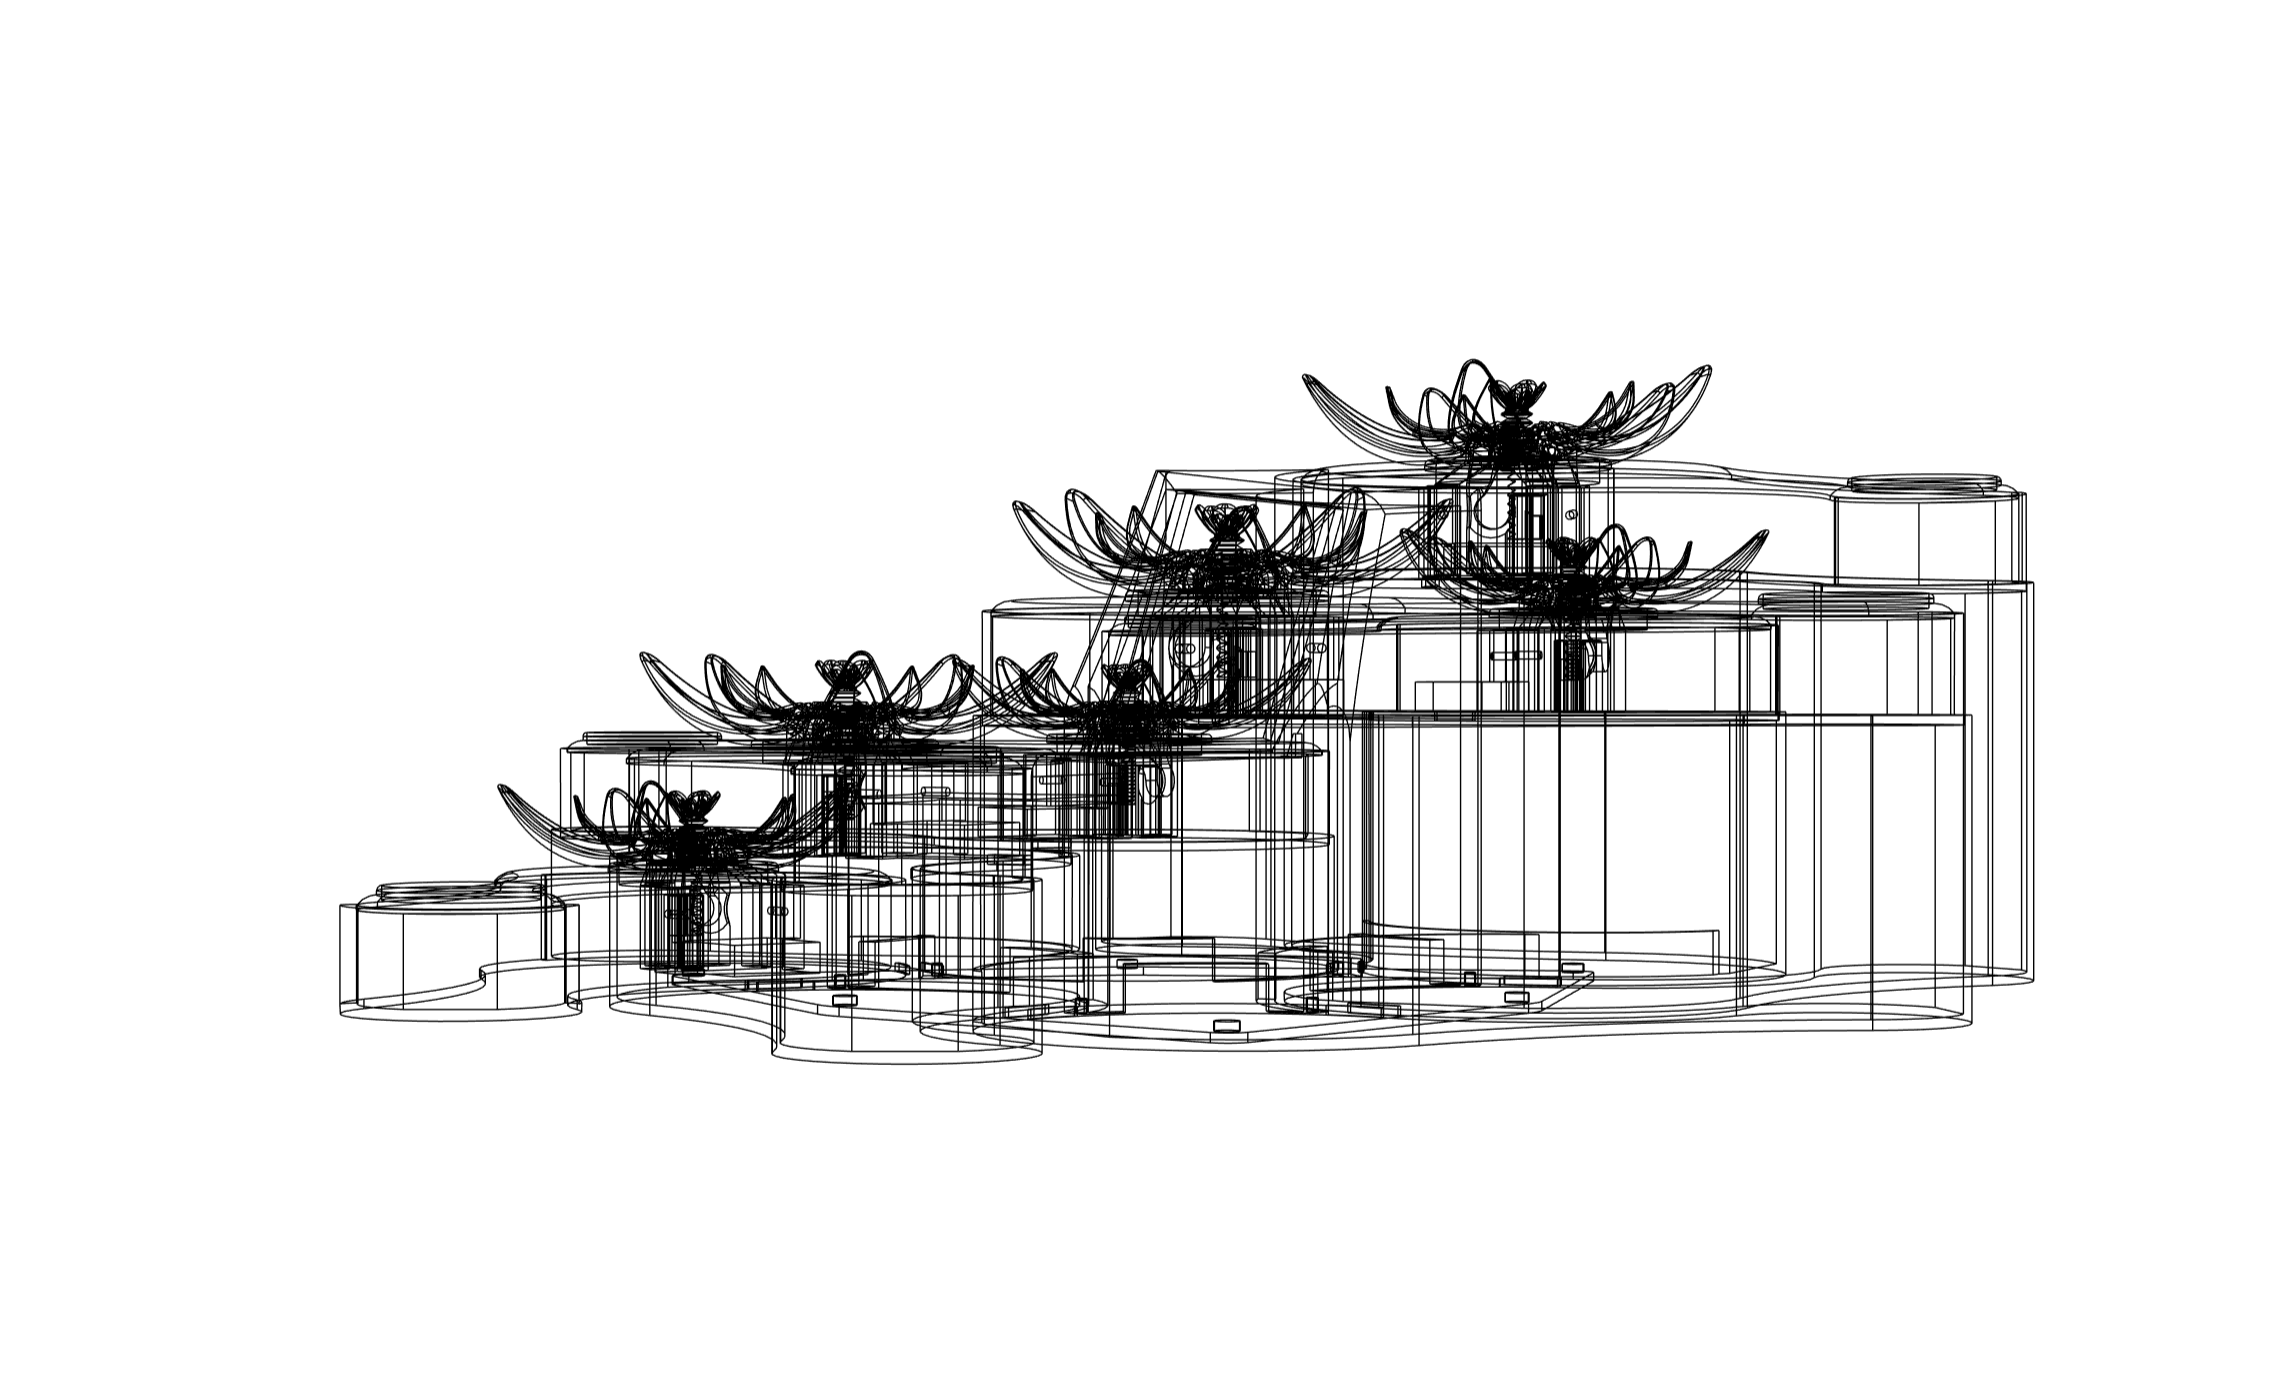
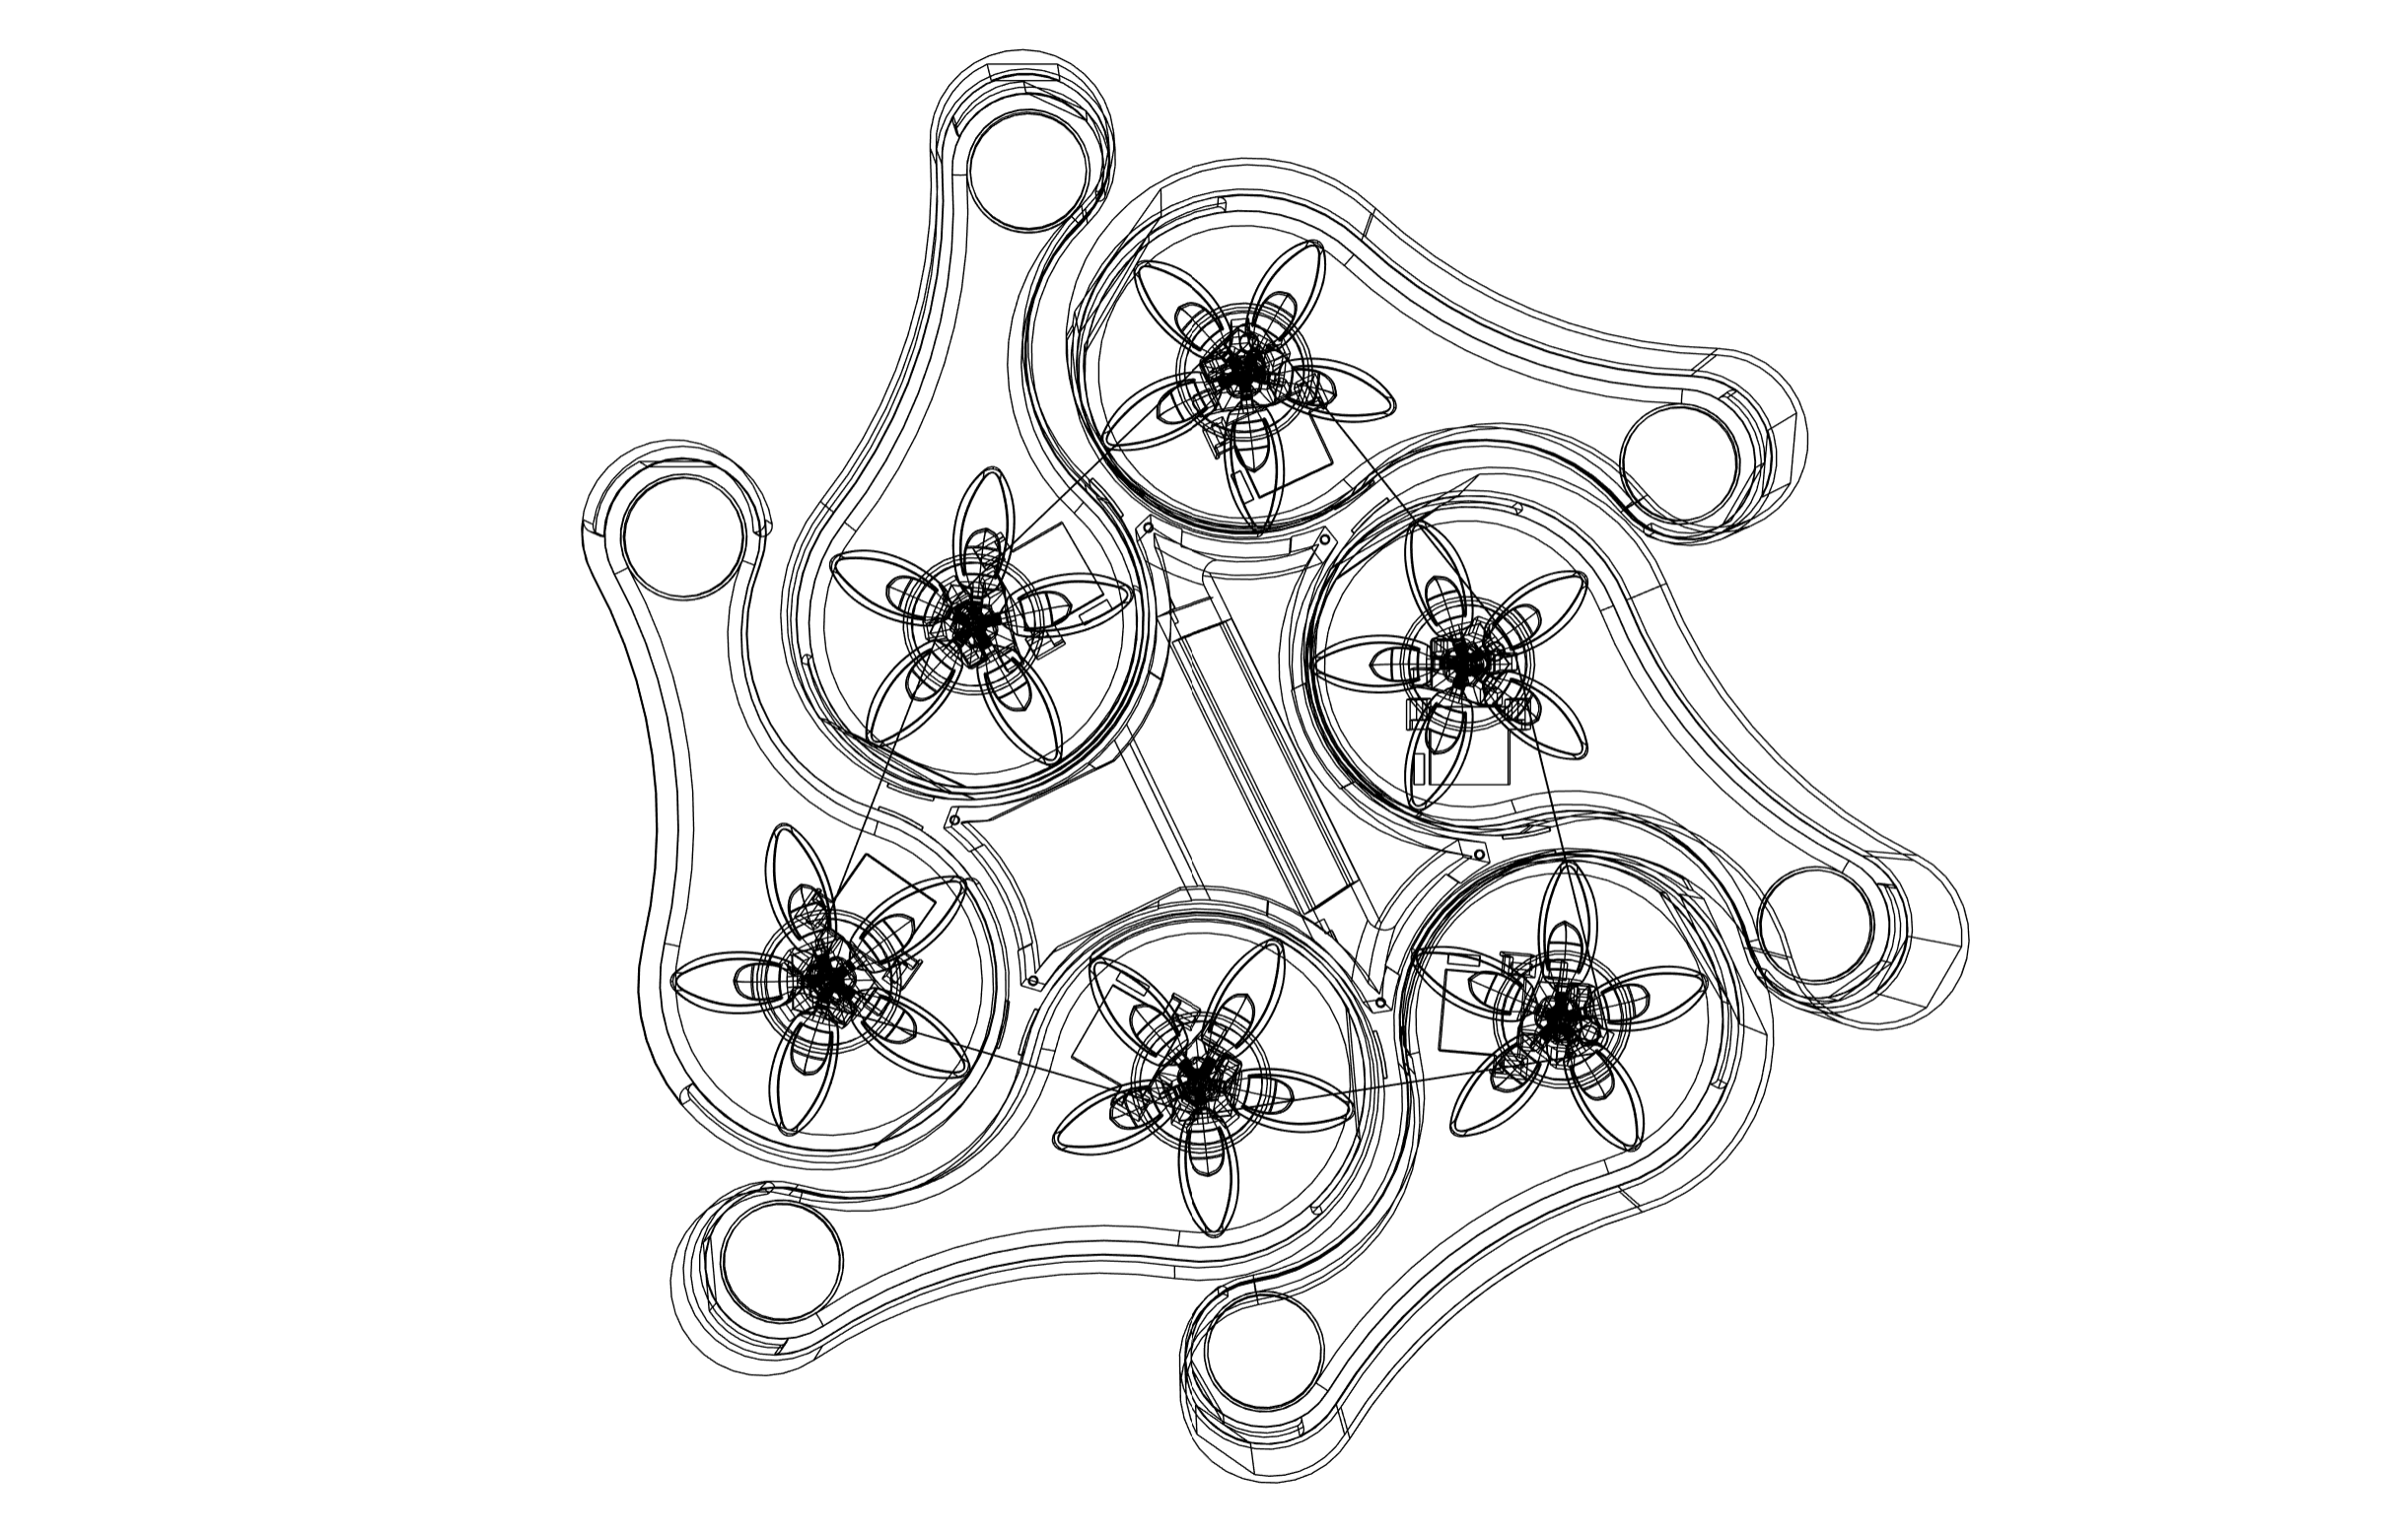
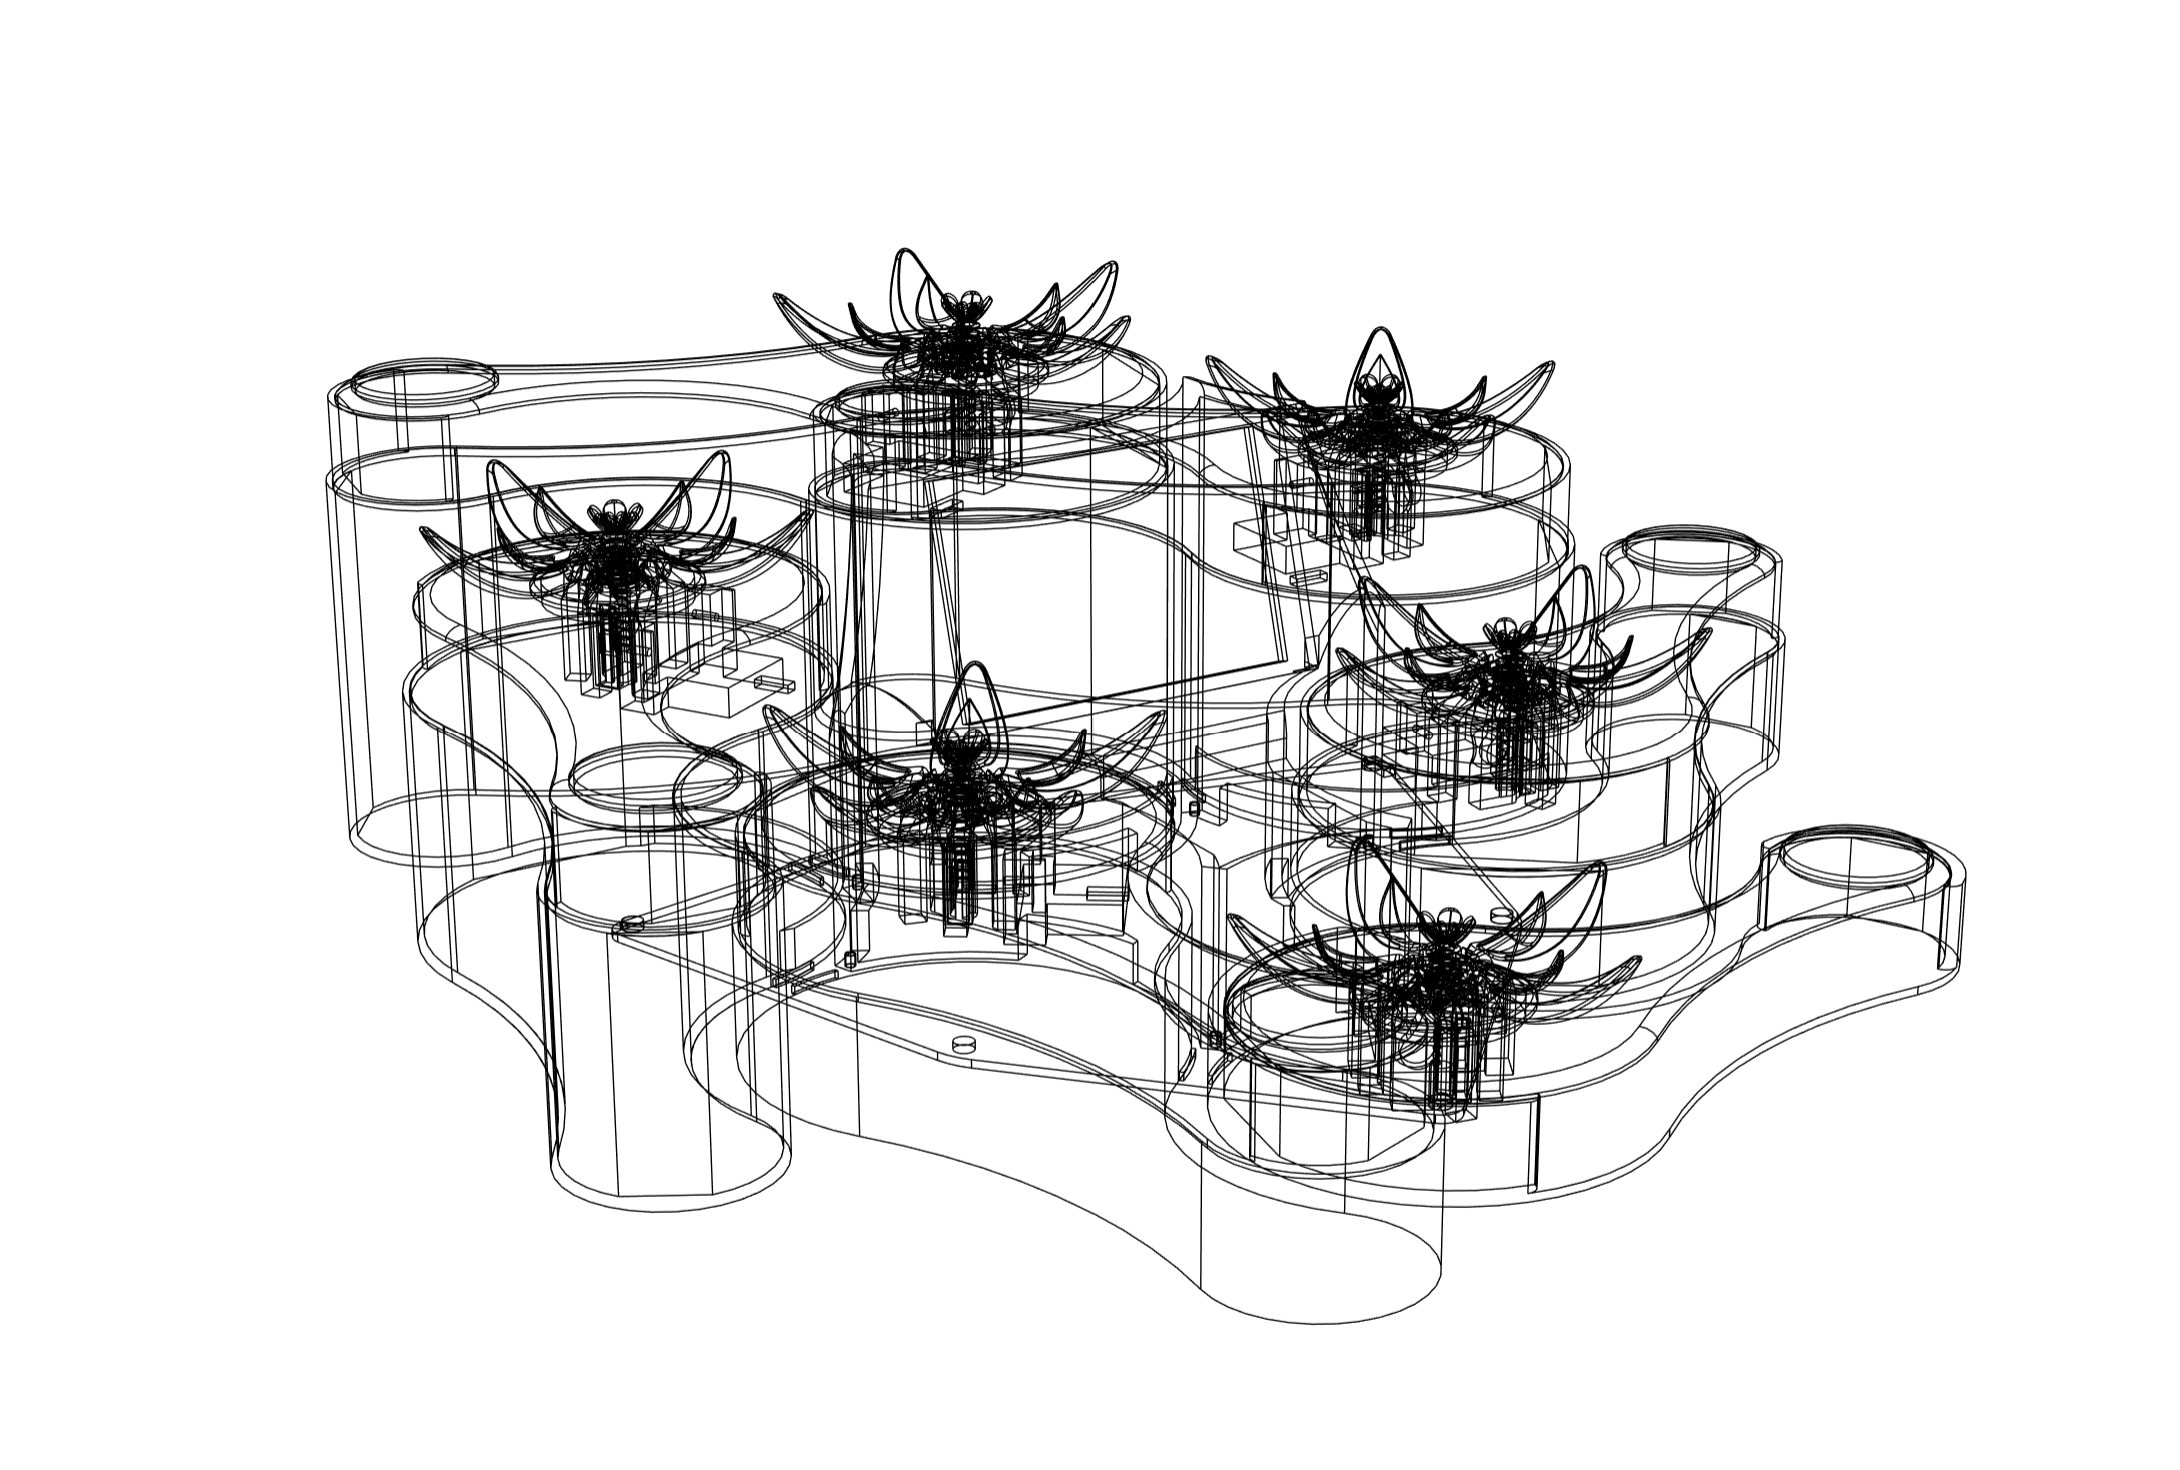
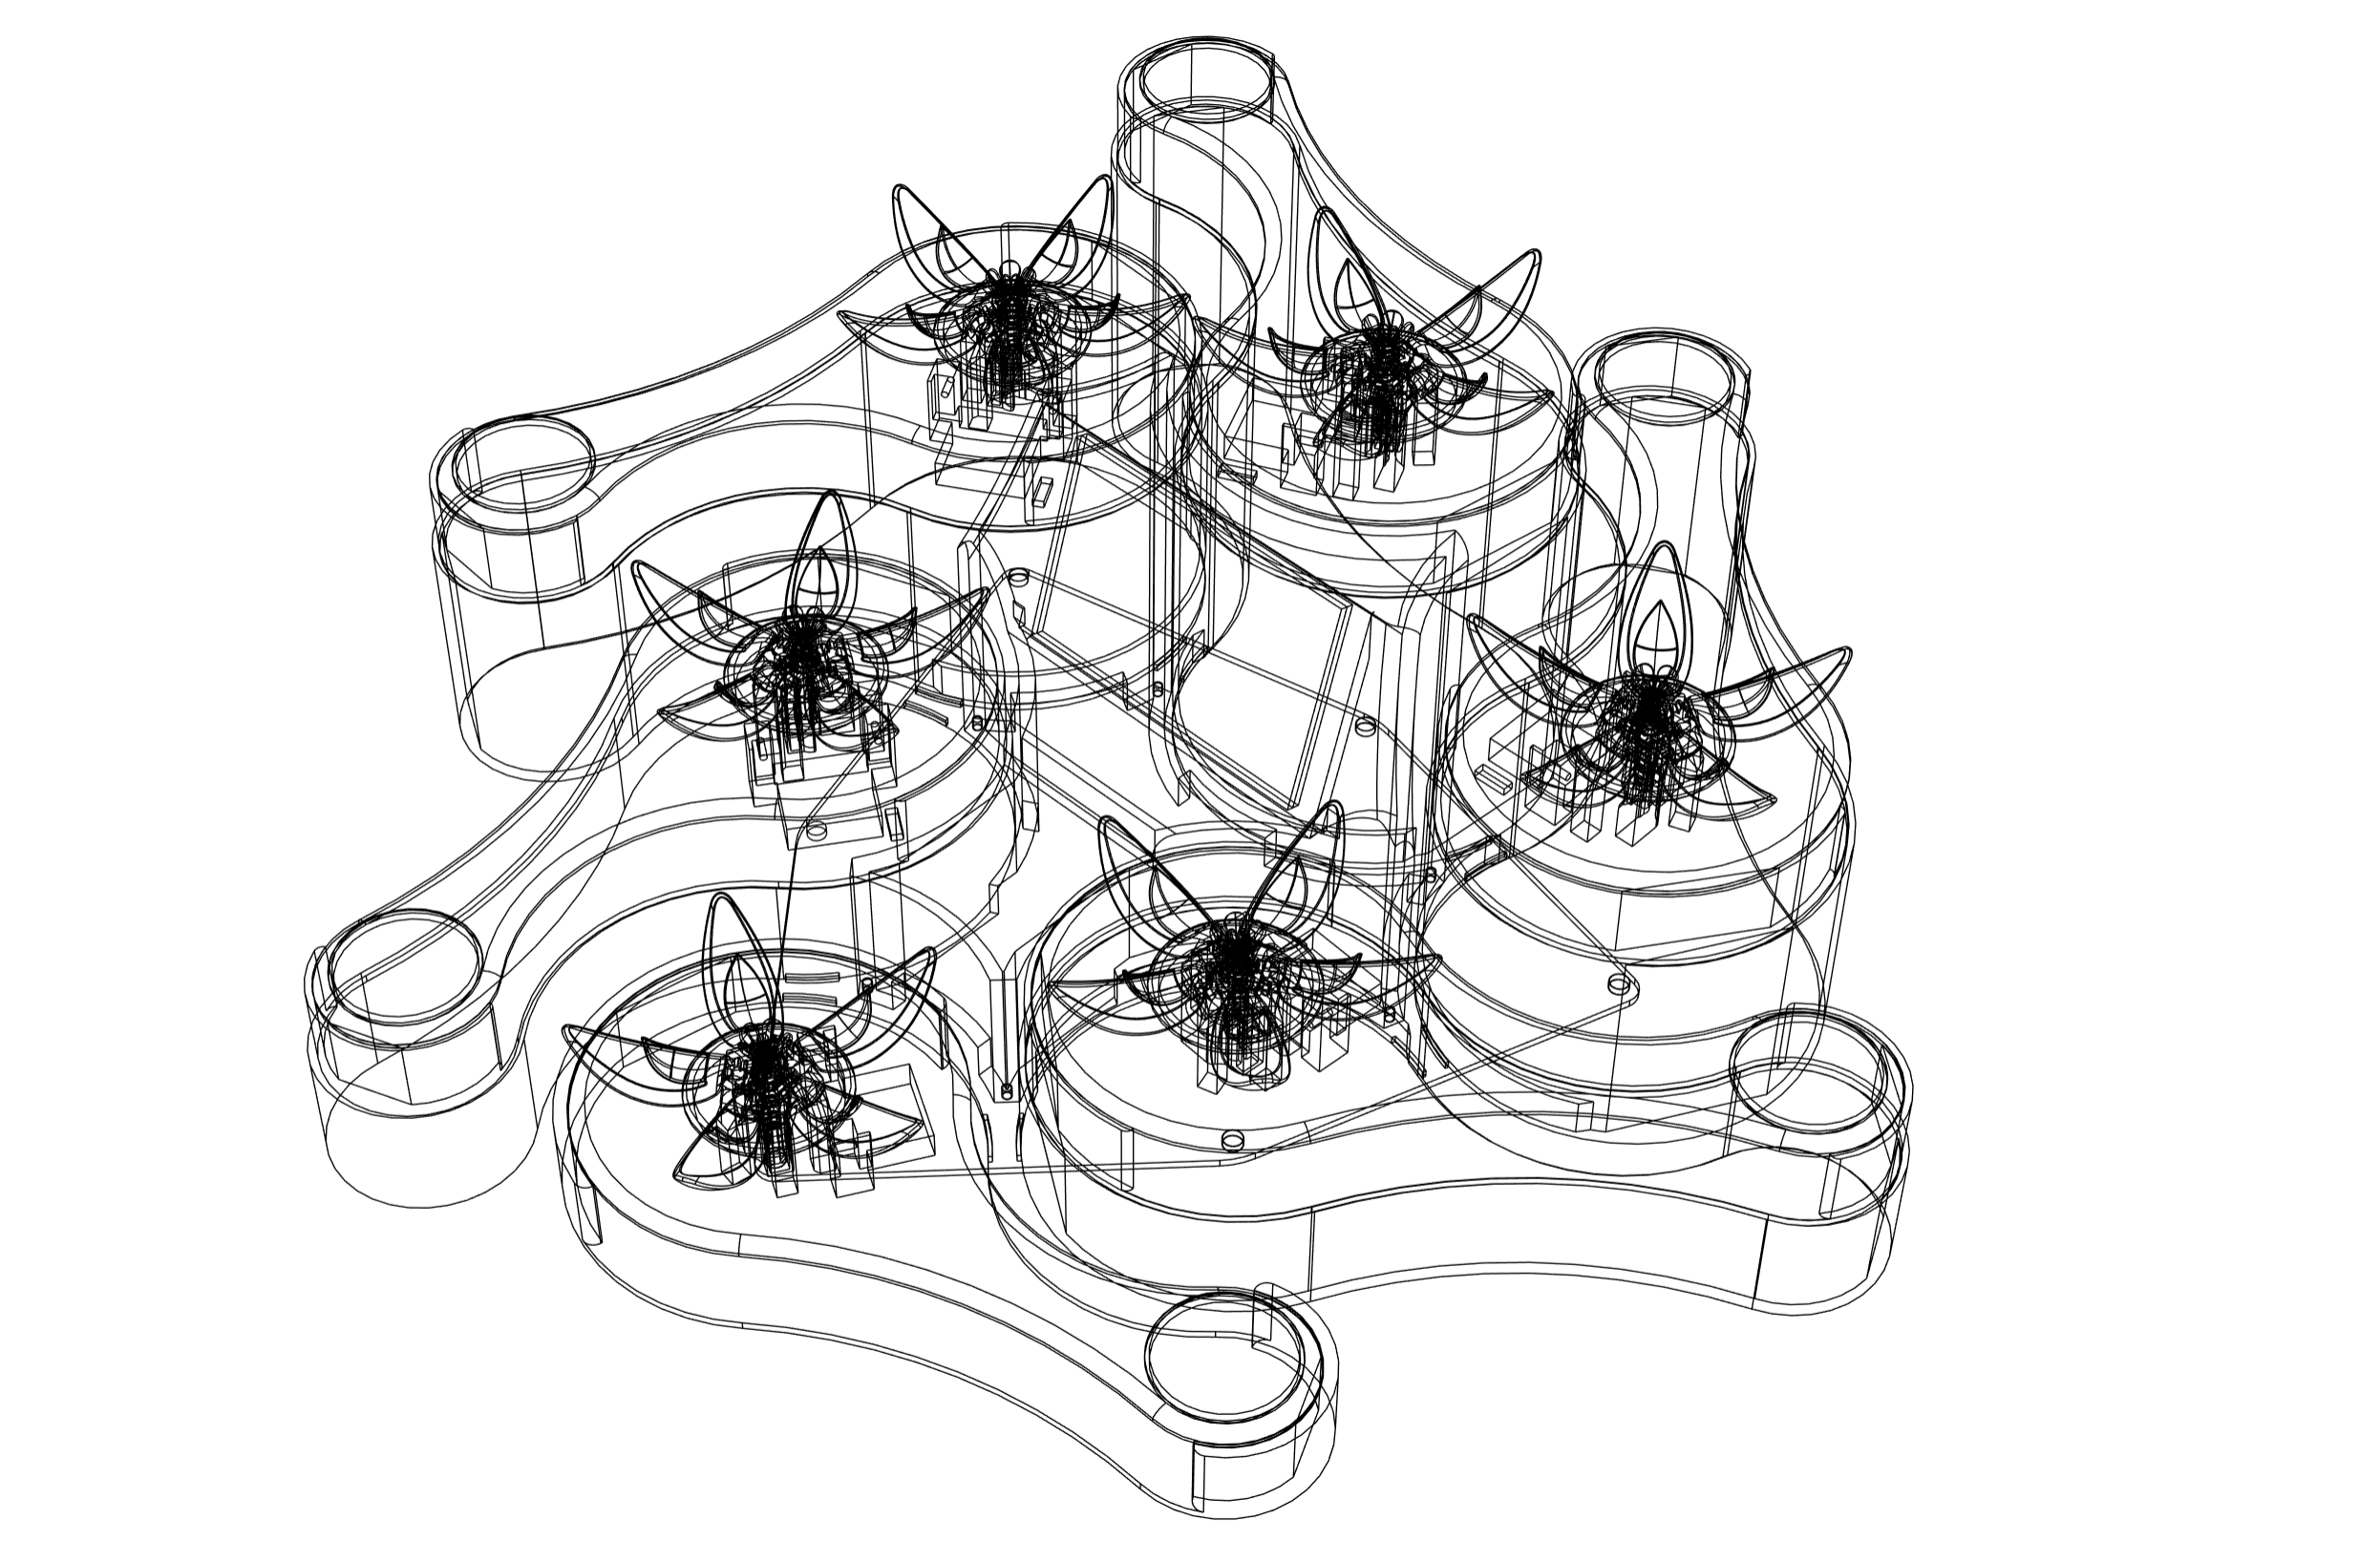
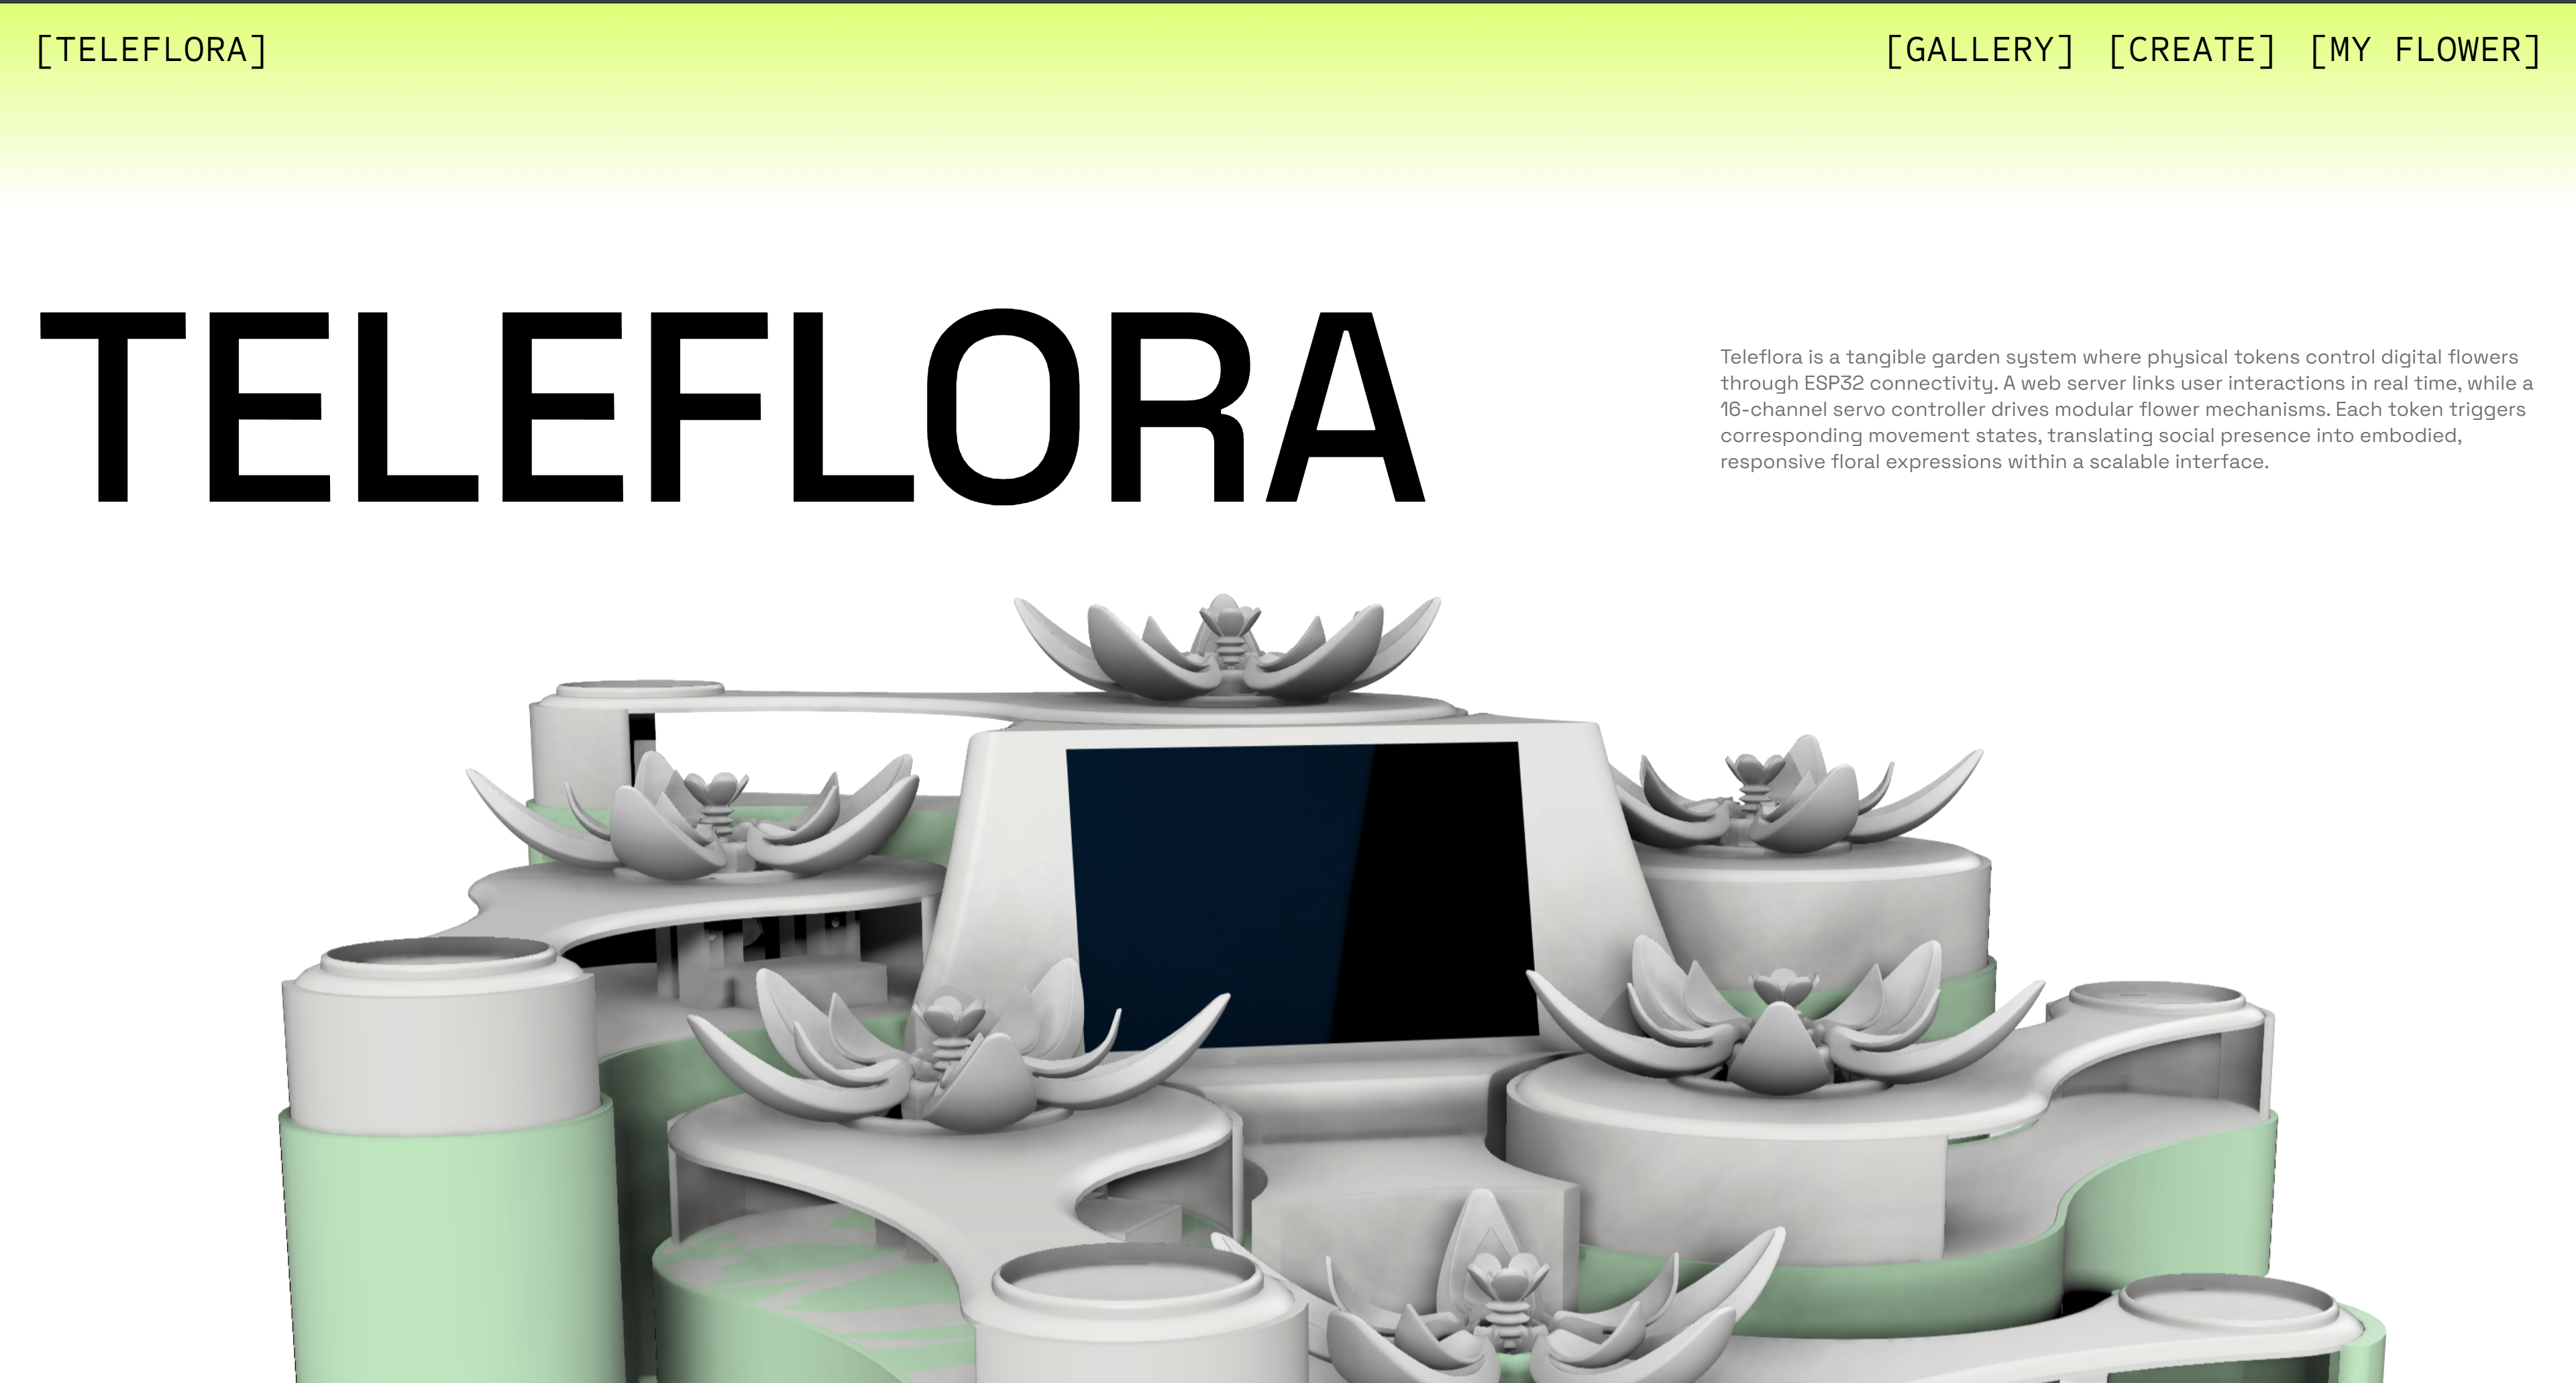
Teleflora emerged from iterative experiments across mechanical prototyping, RFID interaction, and ESP32-enabled connectivity. It is a tangible garden system where physical tokens control digital flower behaviours, translating social presence into embodied, responsive expression. RFID-tagged tokens are detected by an ESP32, synchronised through a web server in real time, and rendered as flower states on the TFT interface while a 16-channel servo controller drives the modular kinetic flower mechanisms. Together, these parts form a scalable, calm communication system grounded in familiar physical actions.

Teleflora main image
Teleflora final prototype
Teleflora render variant 1
Teleflora render variant 2
Teleflora image tel1
Teleflora image tel3
Teleflora image tel4
Teleflora image tel5
Teleflora image tel6
Teleflora image tel2

Teleflora Website

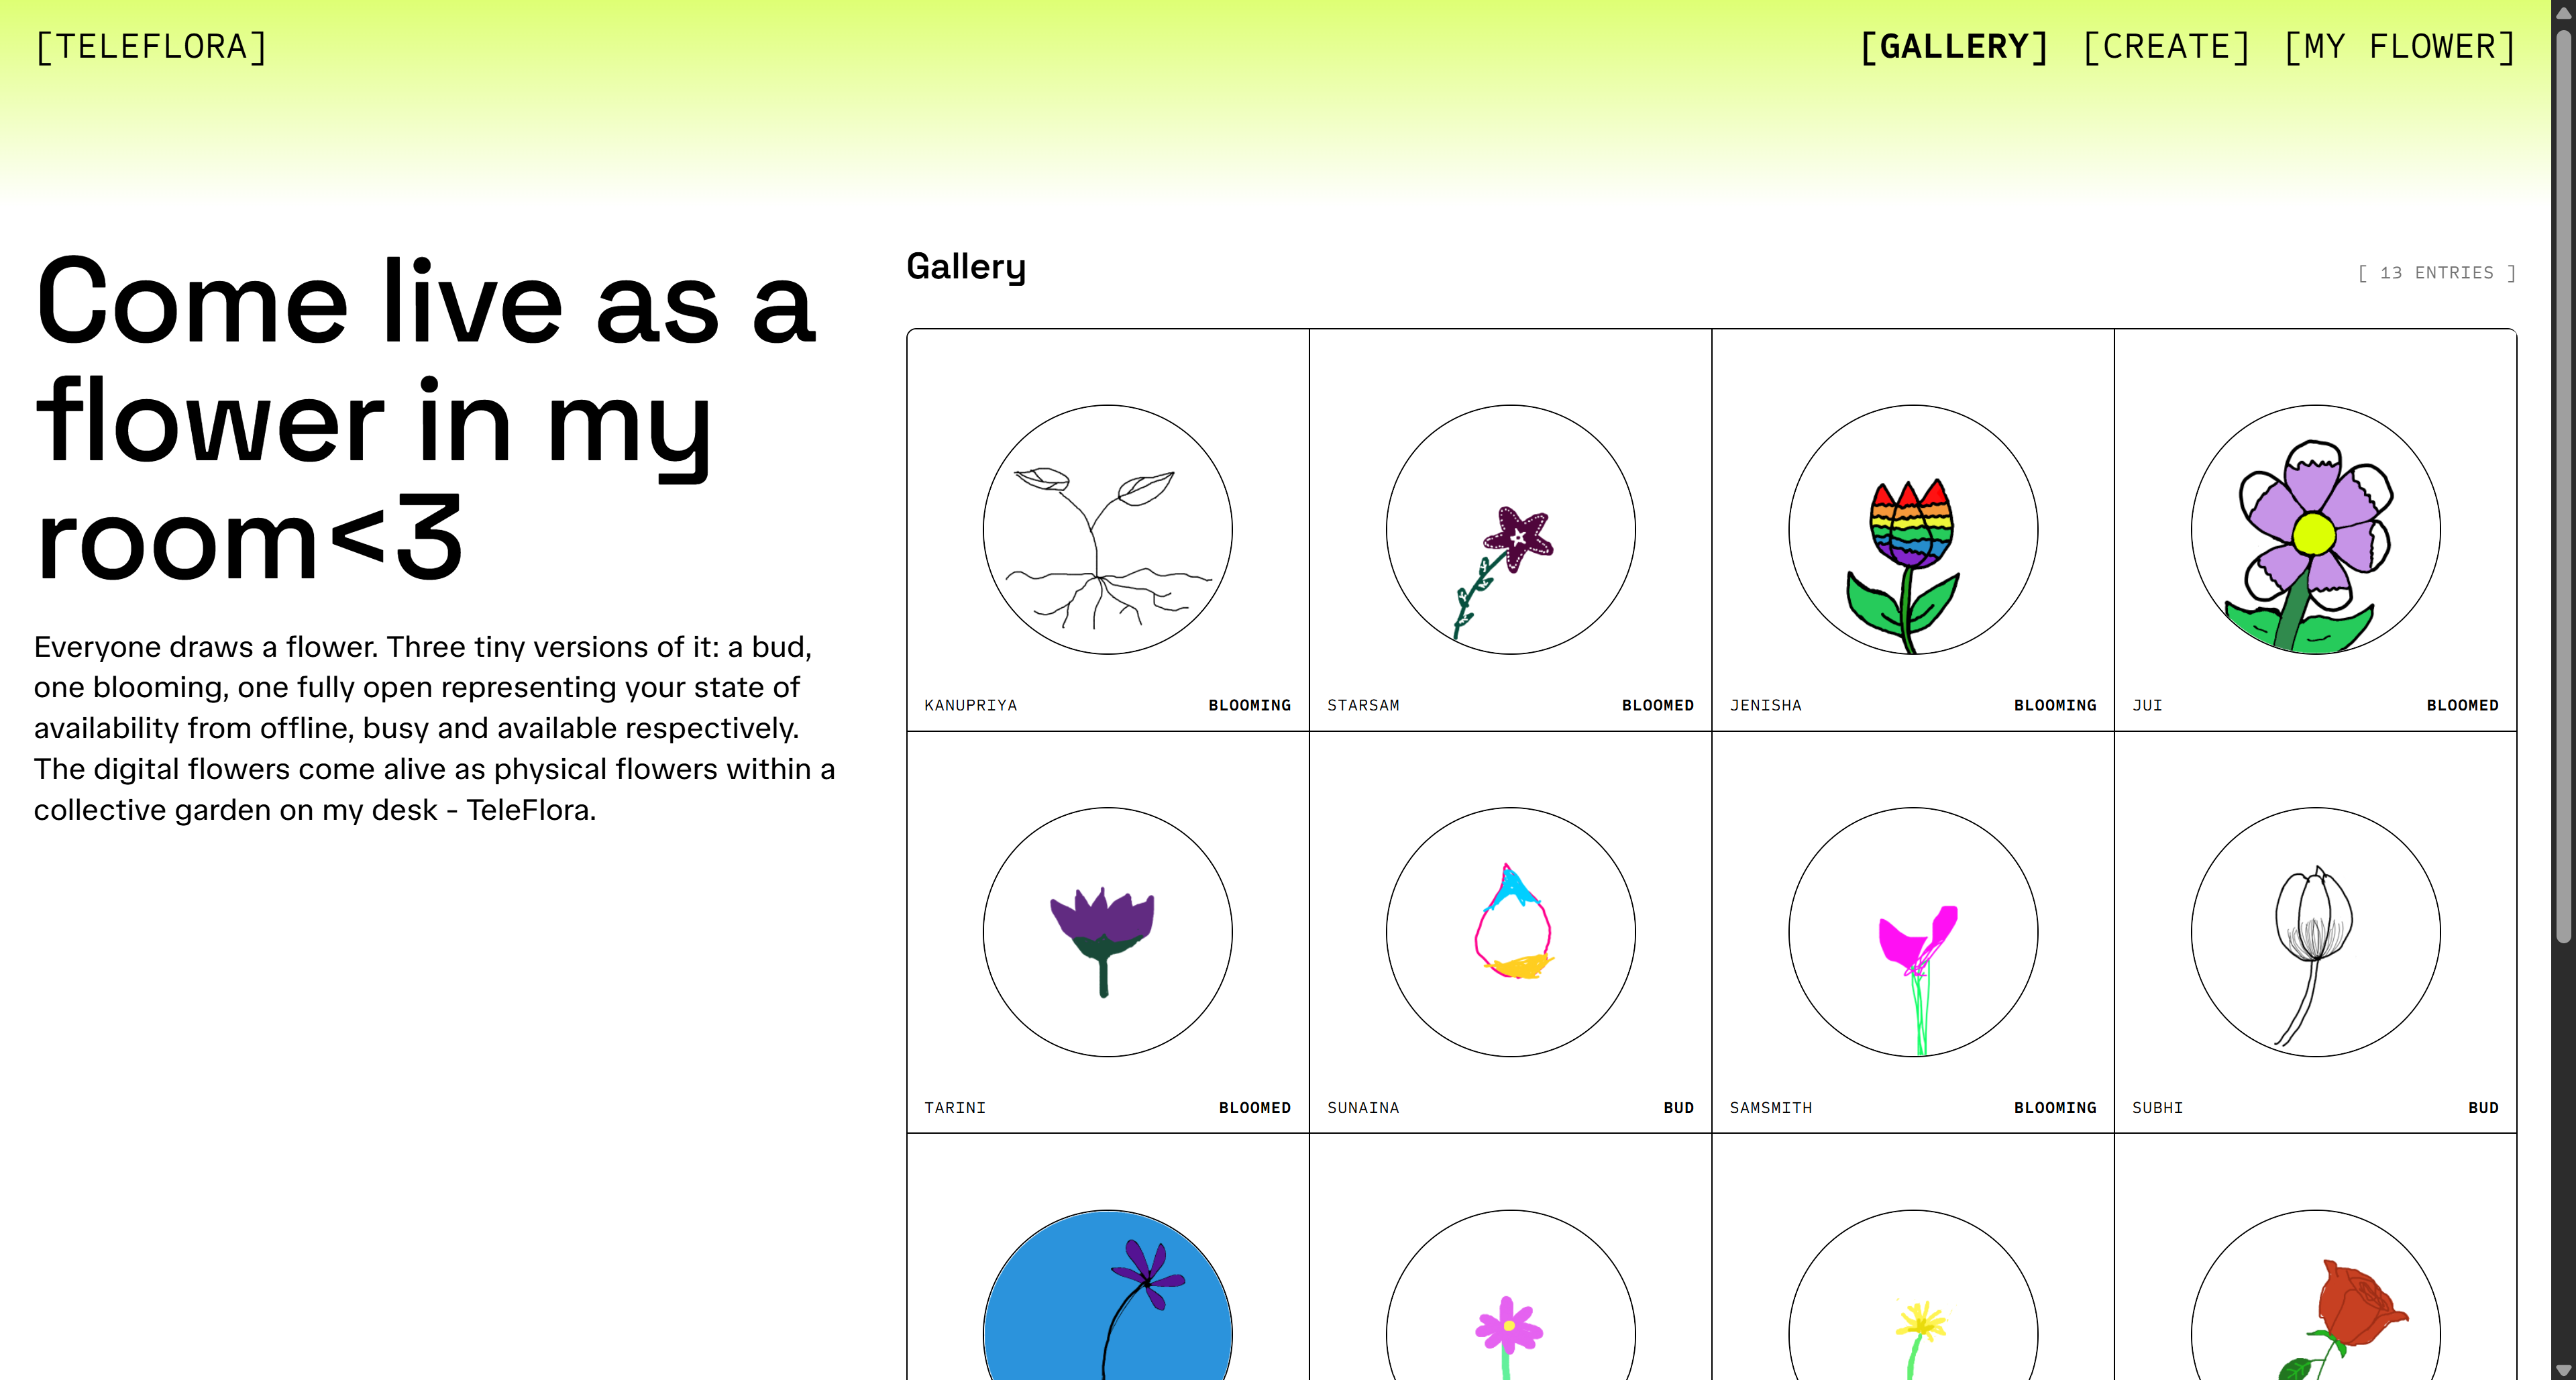
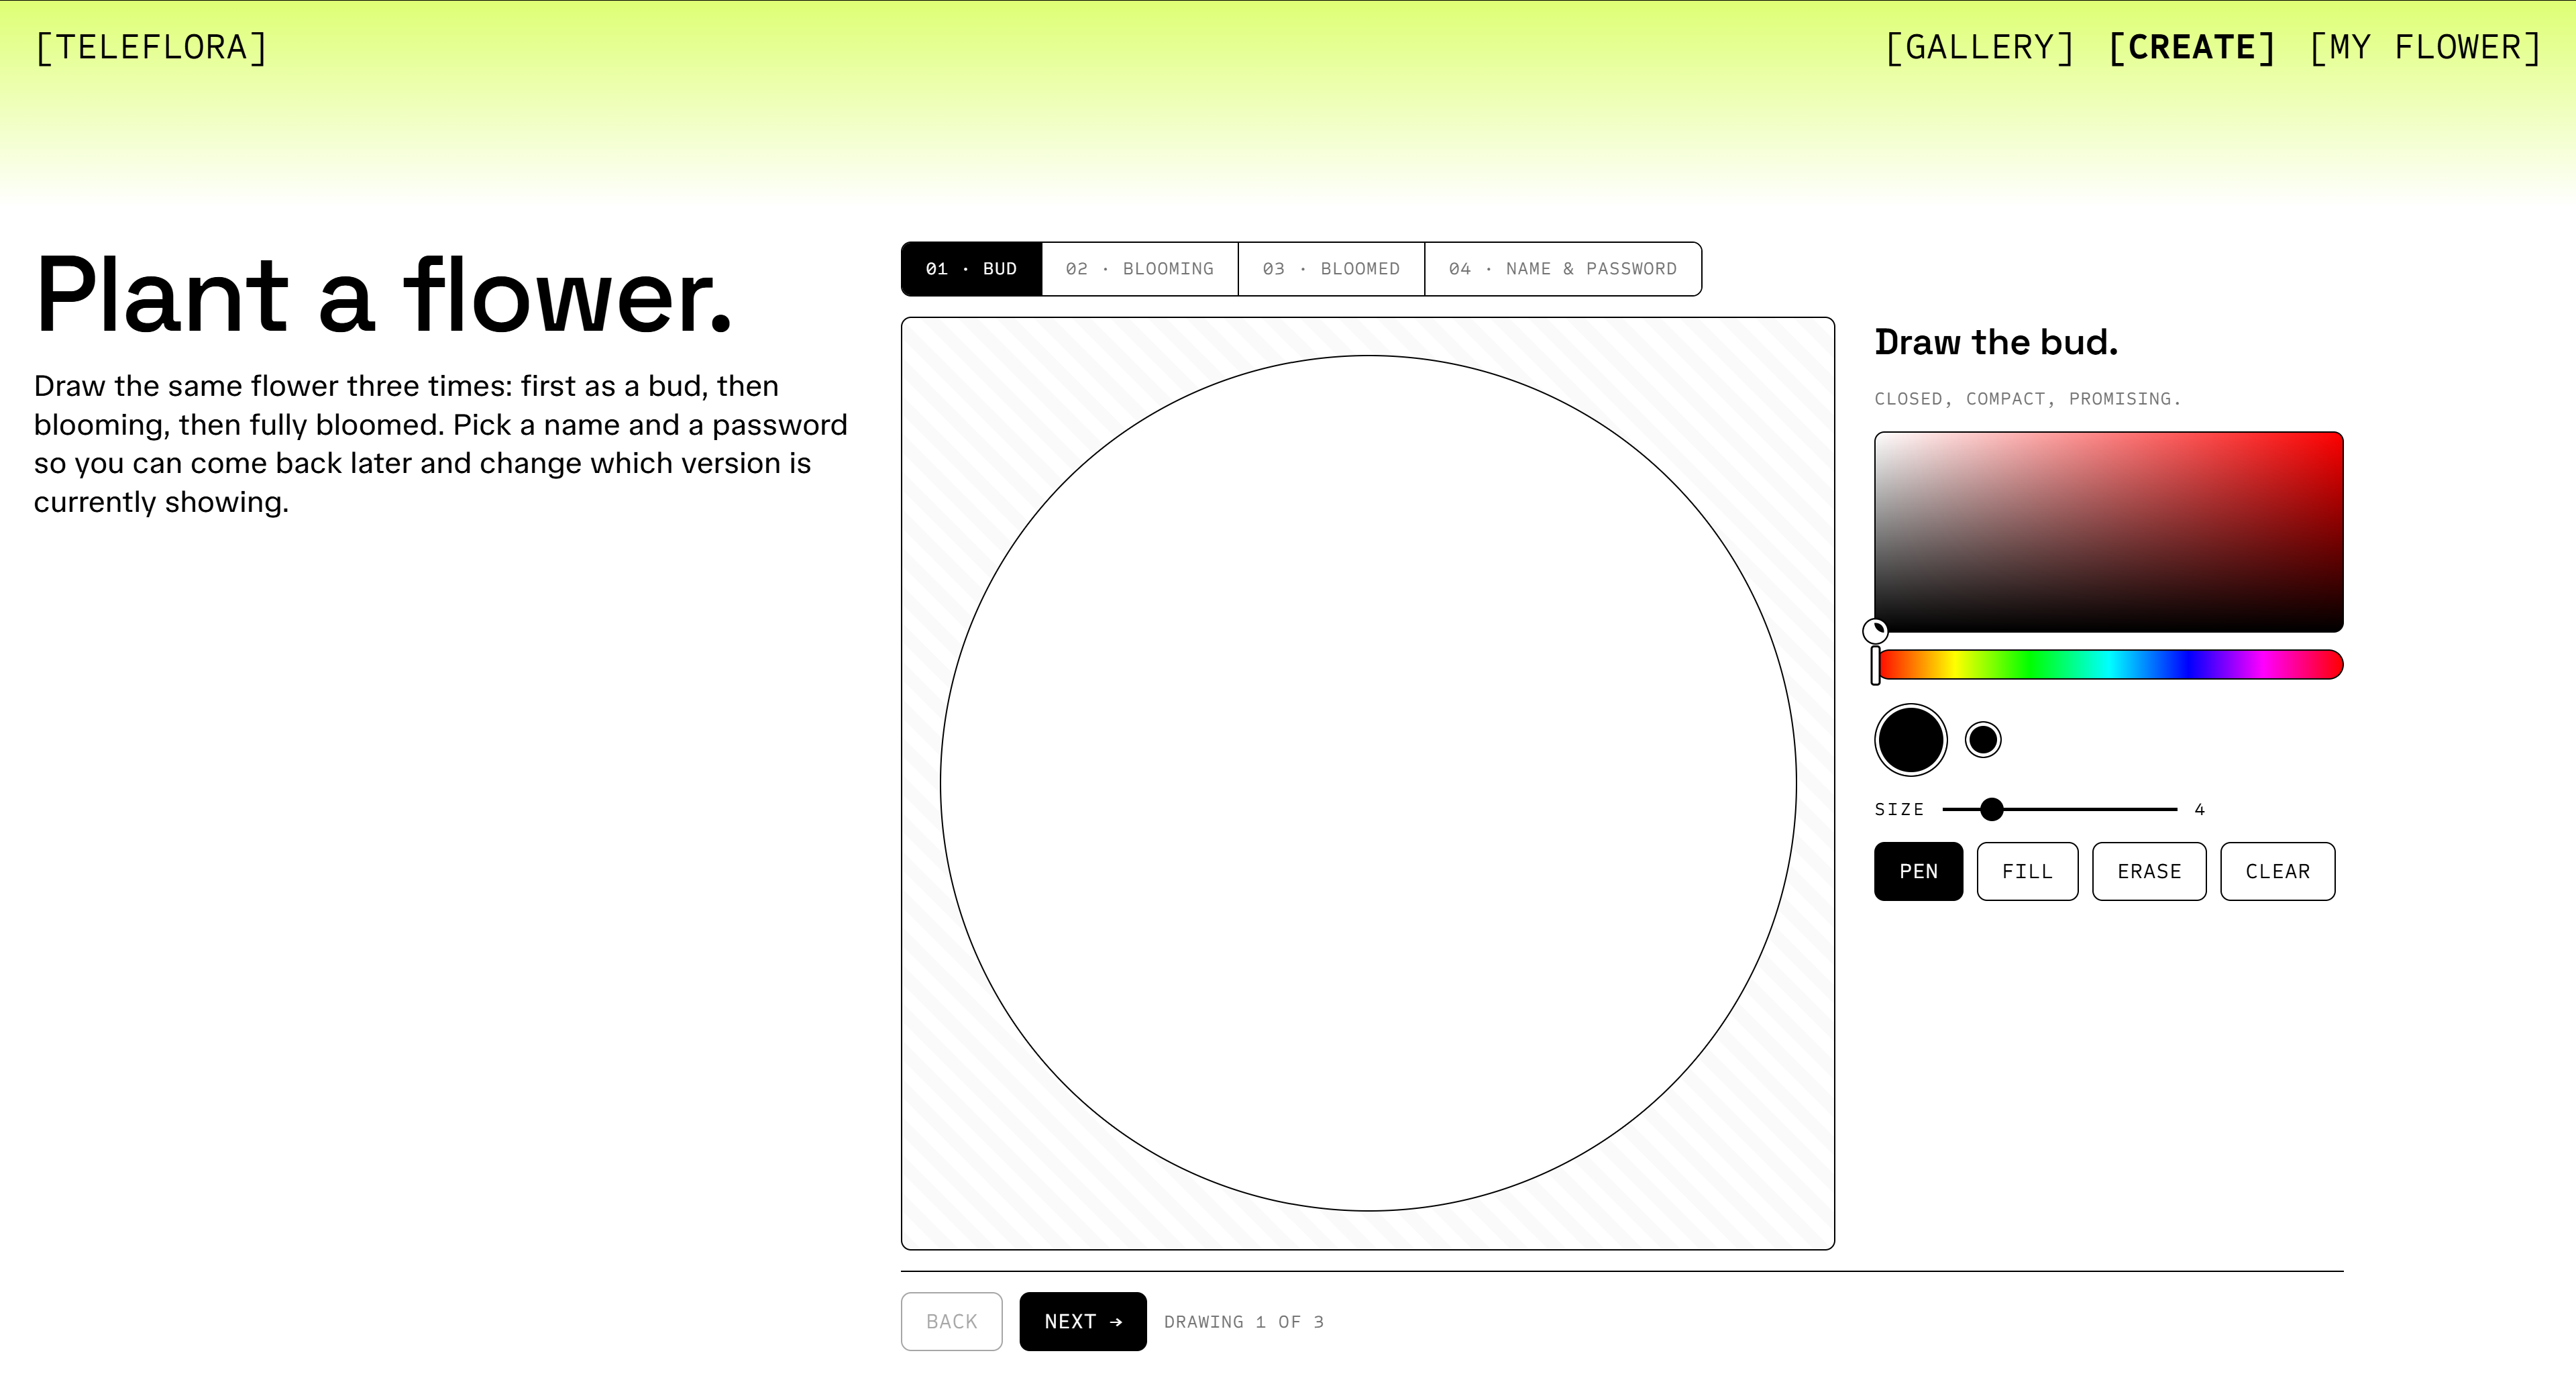
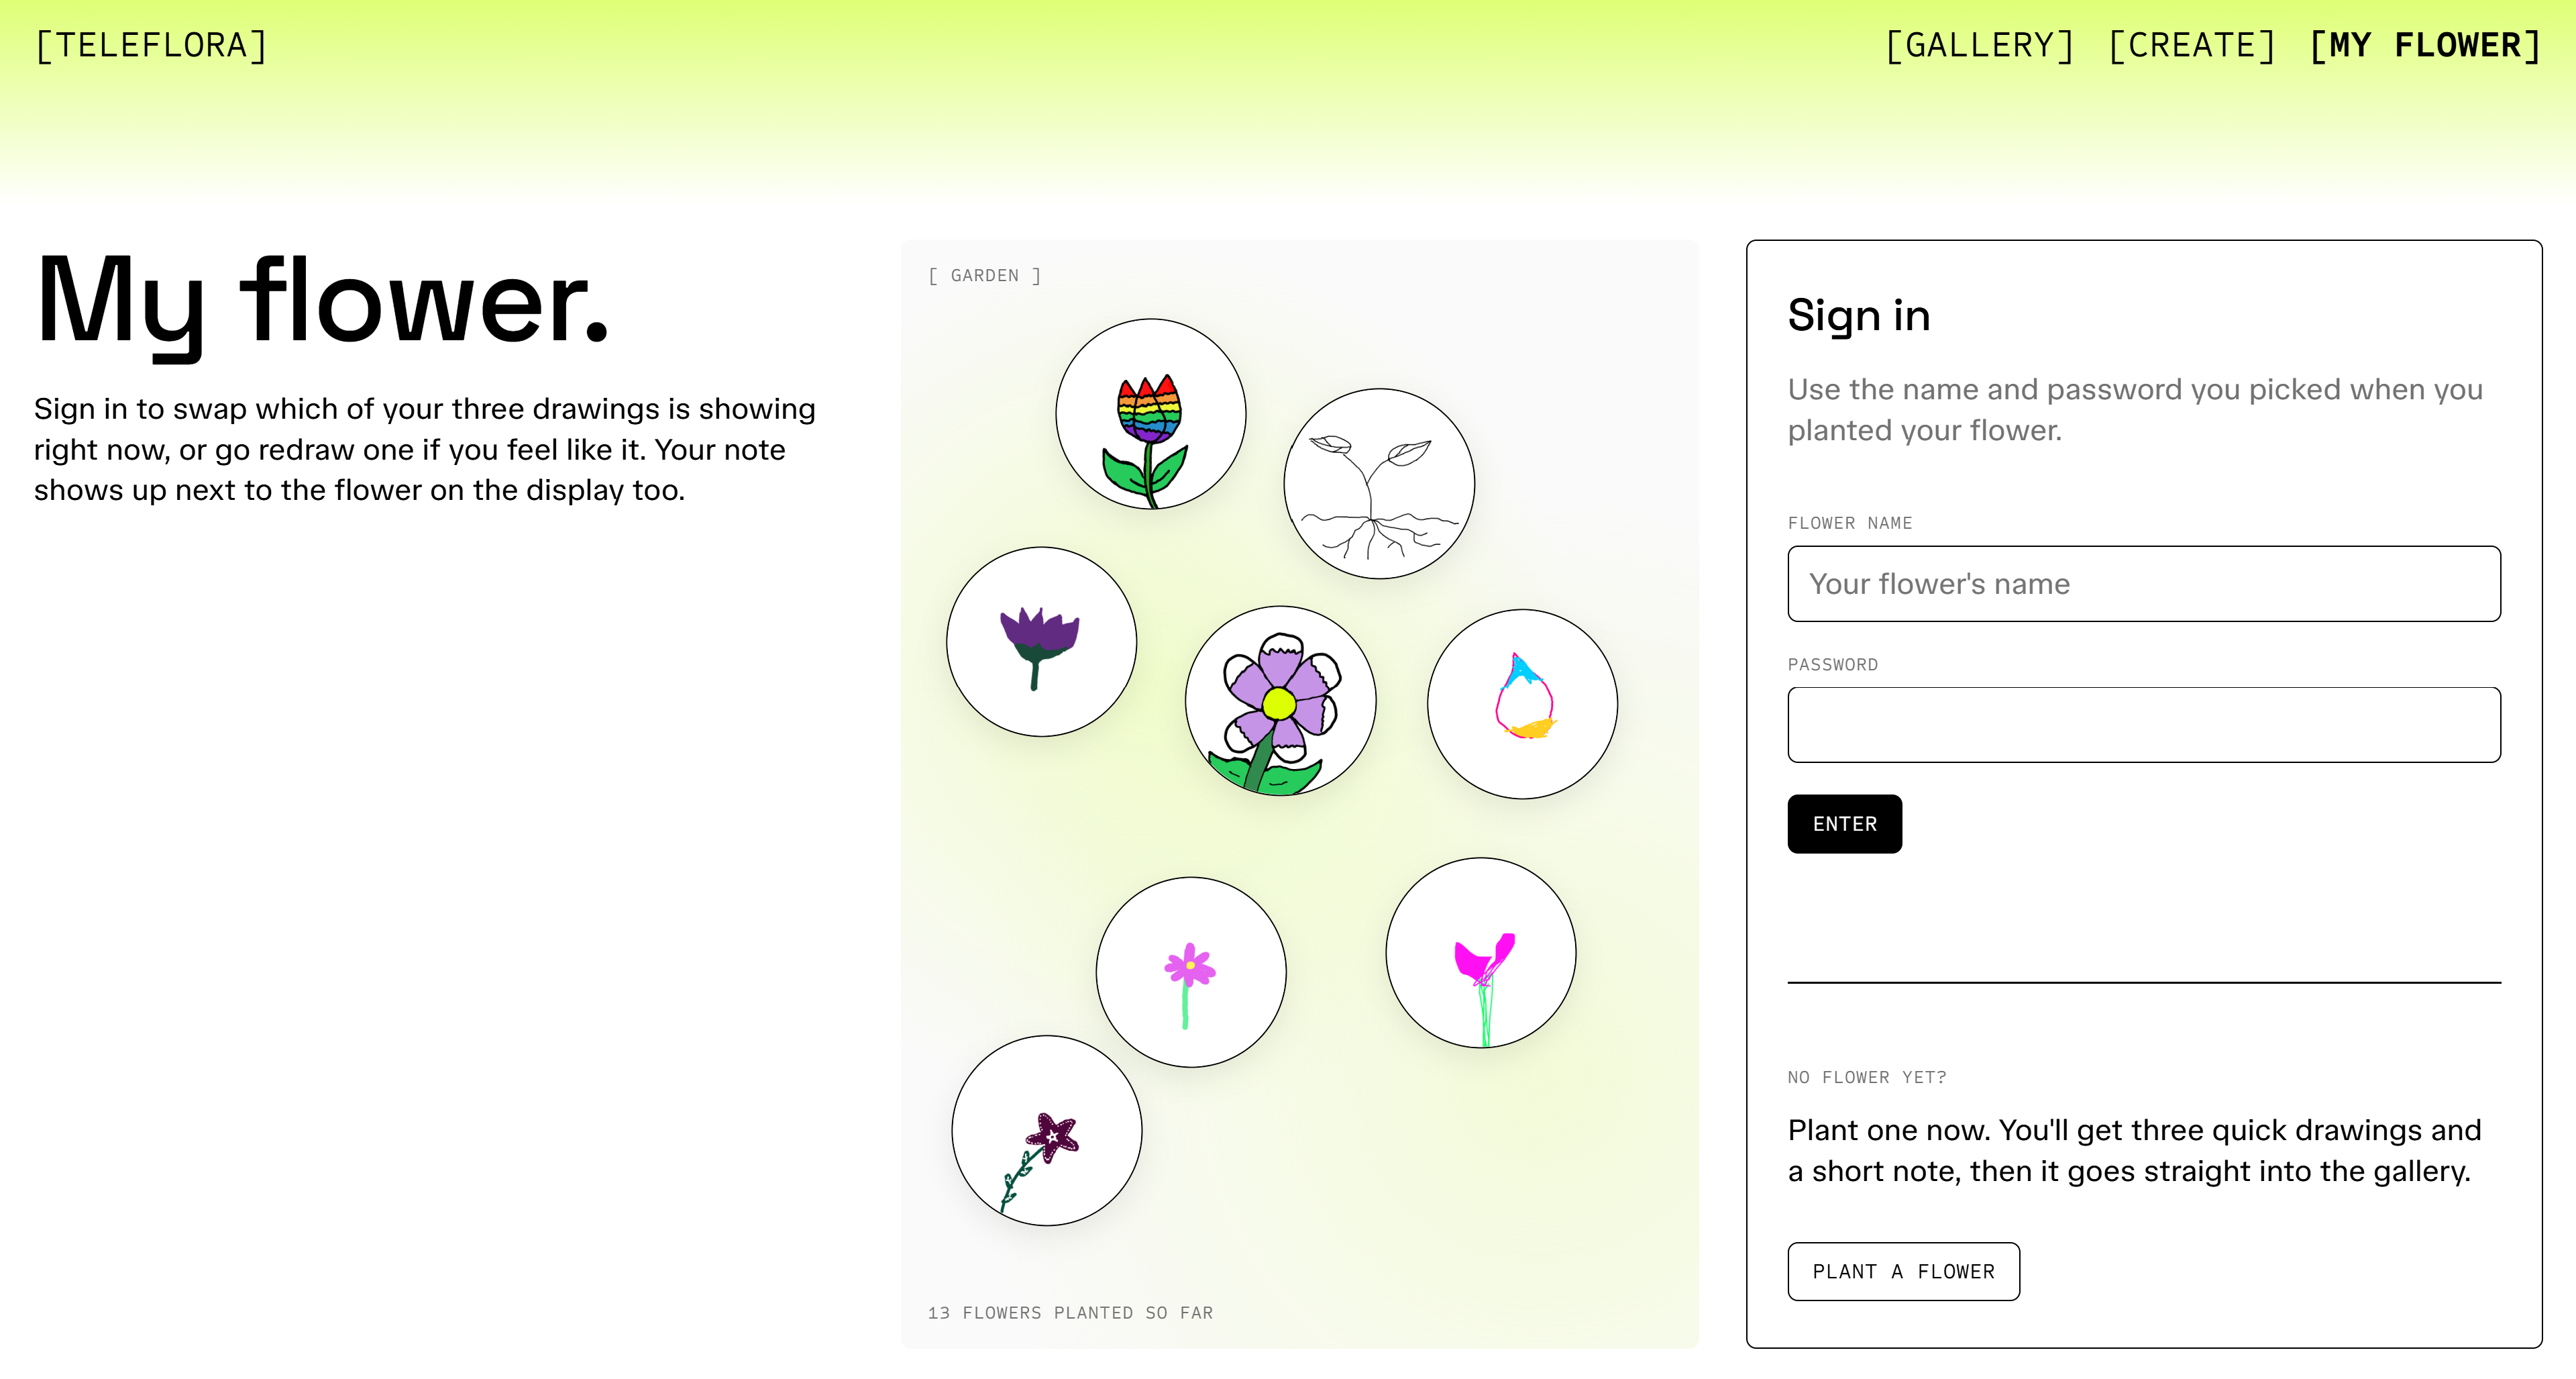
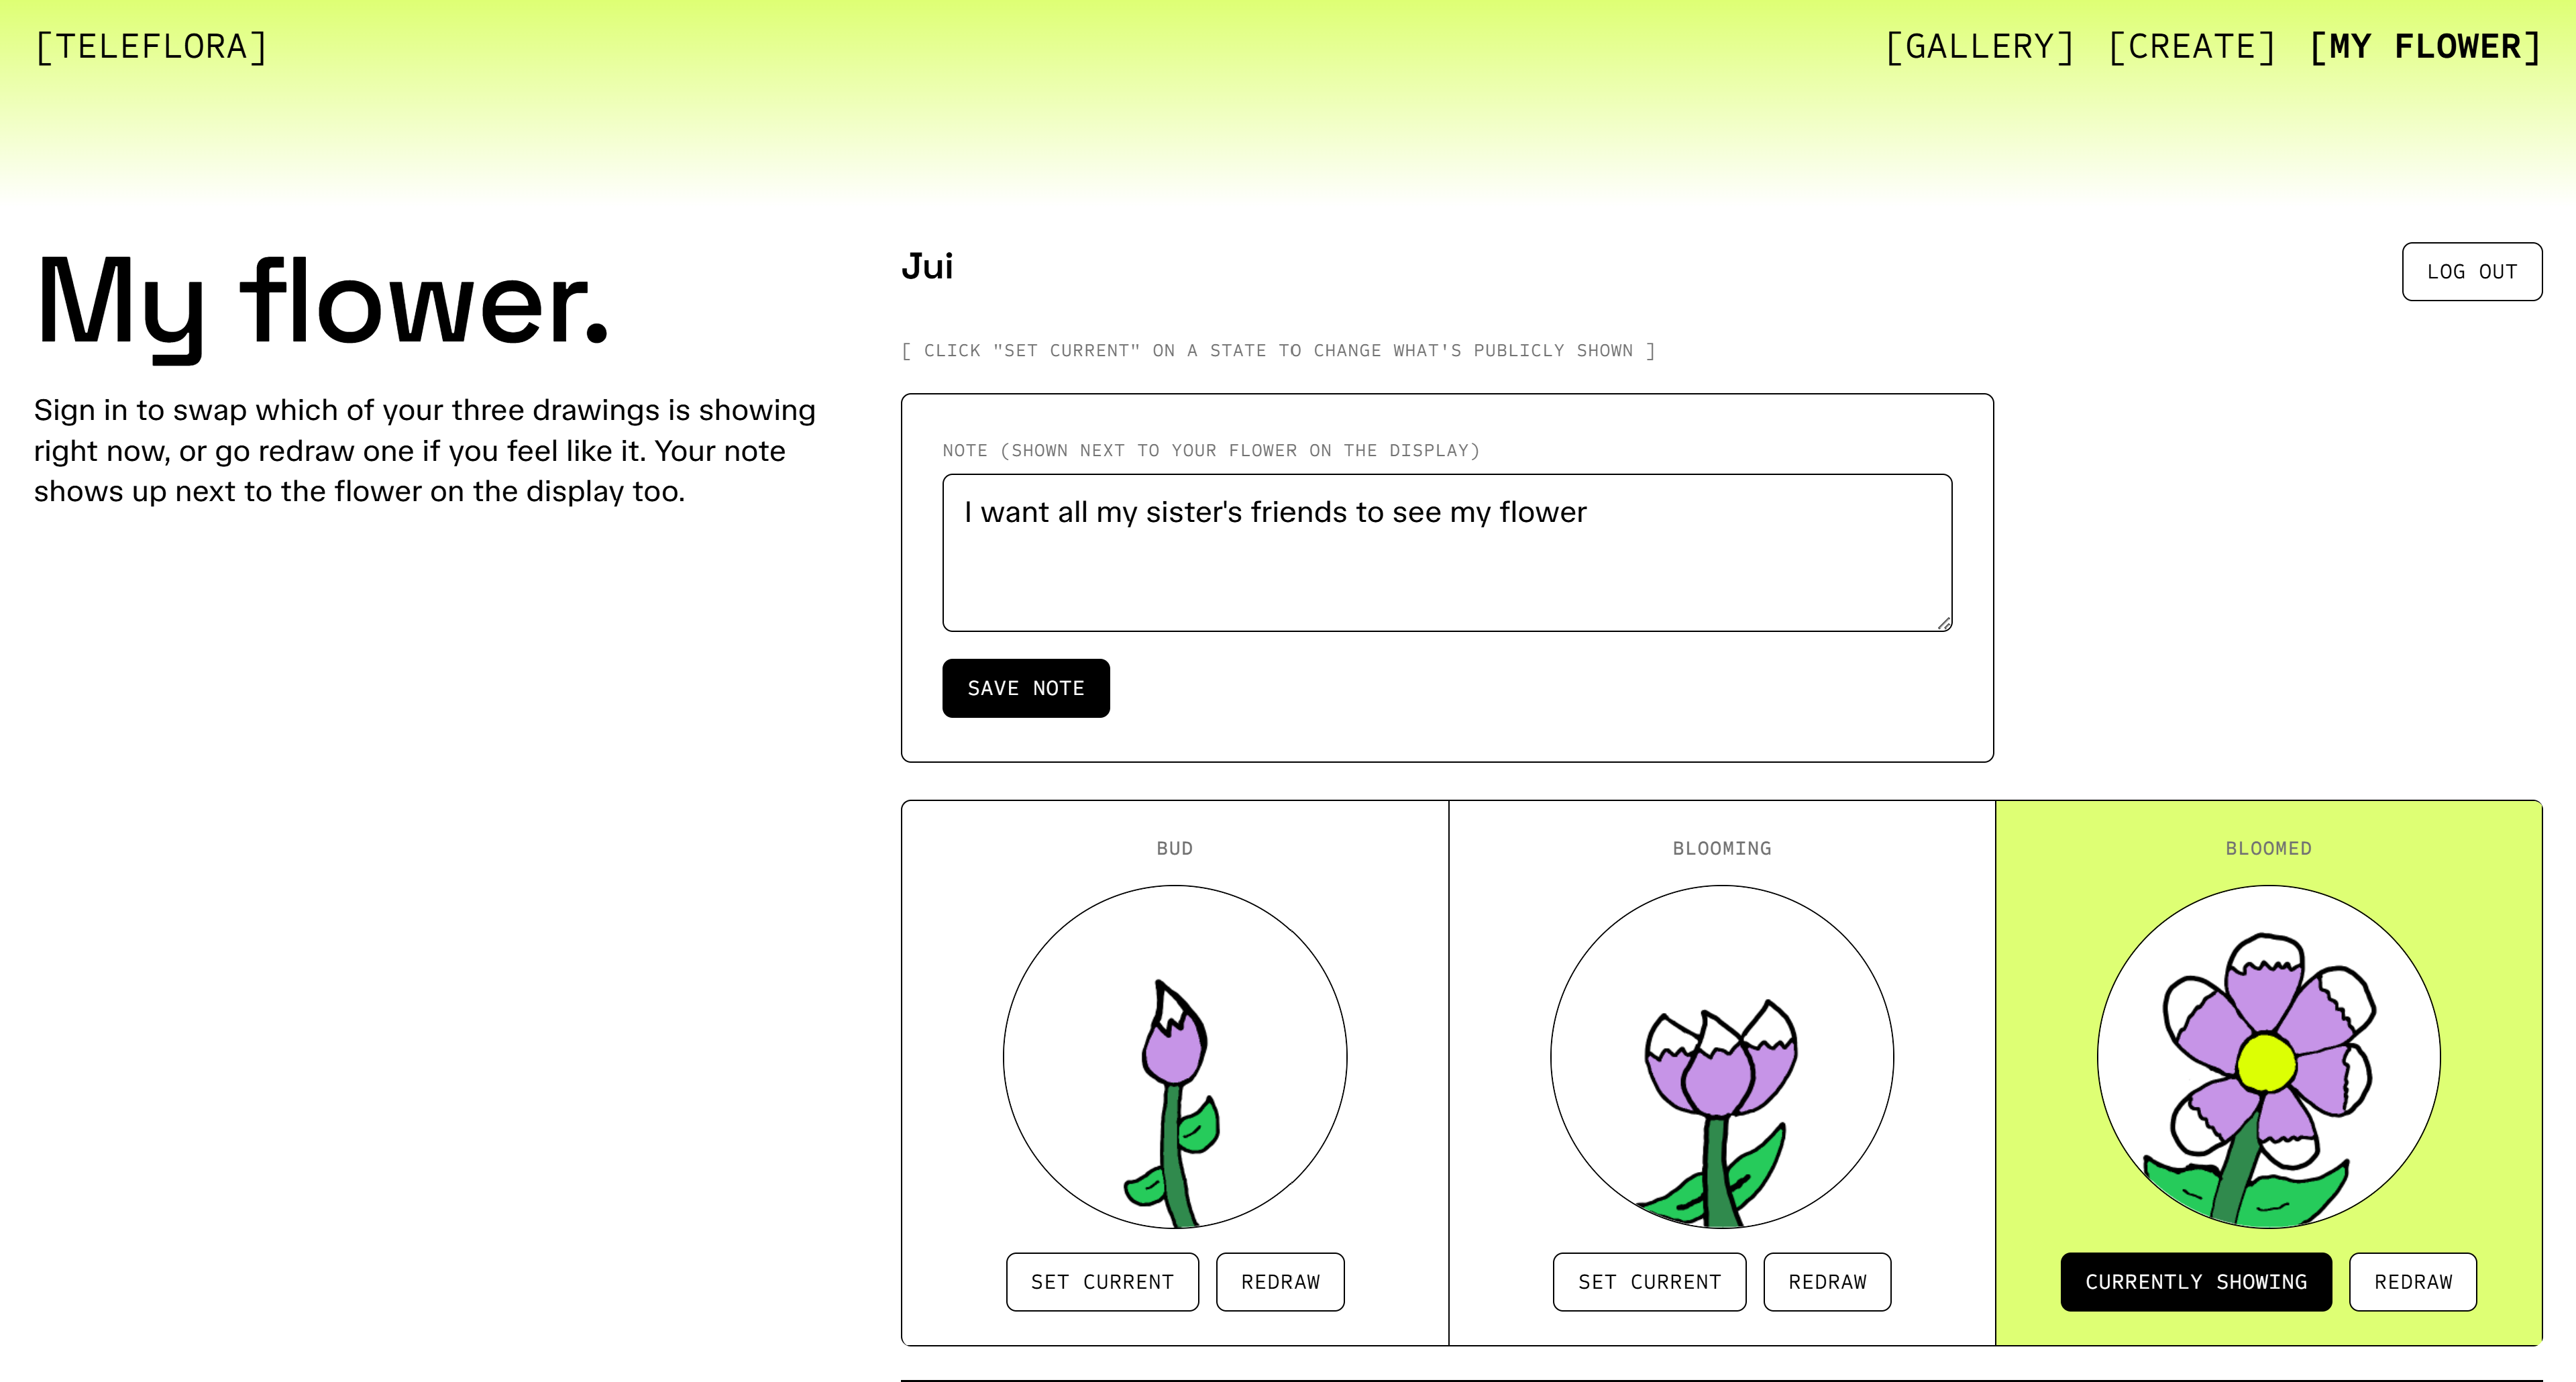
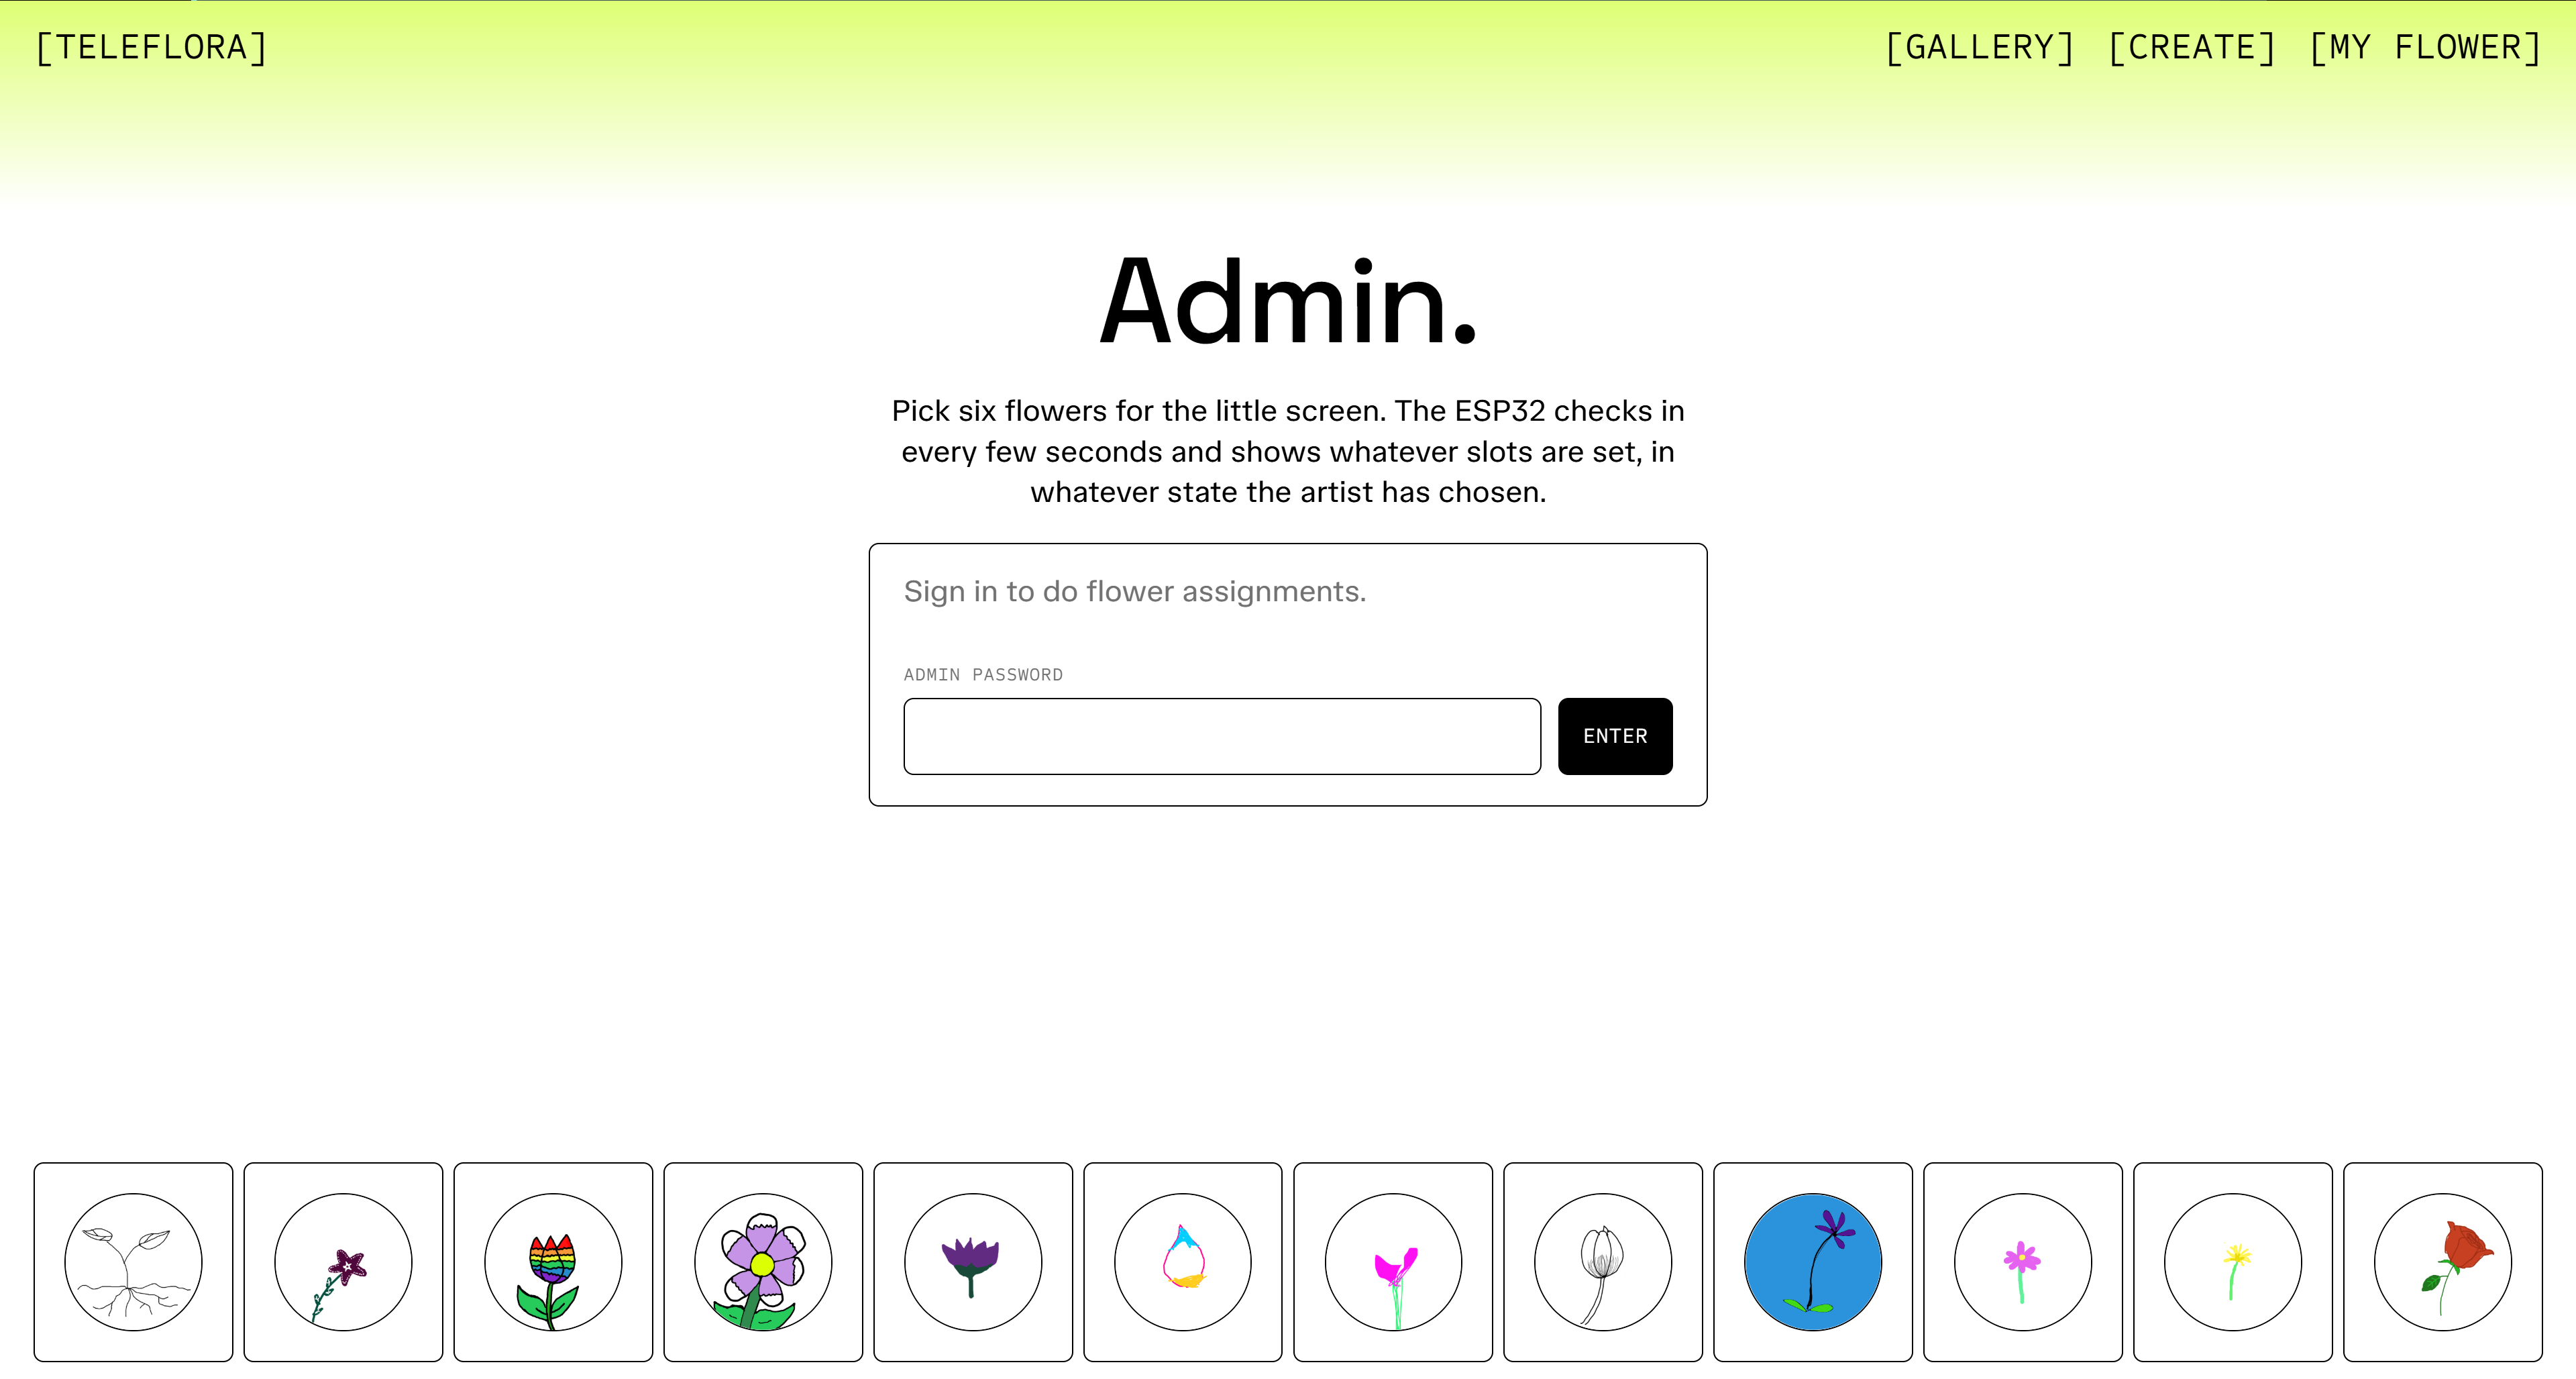
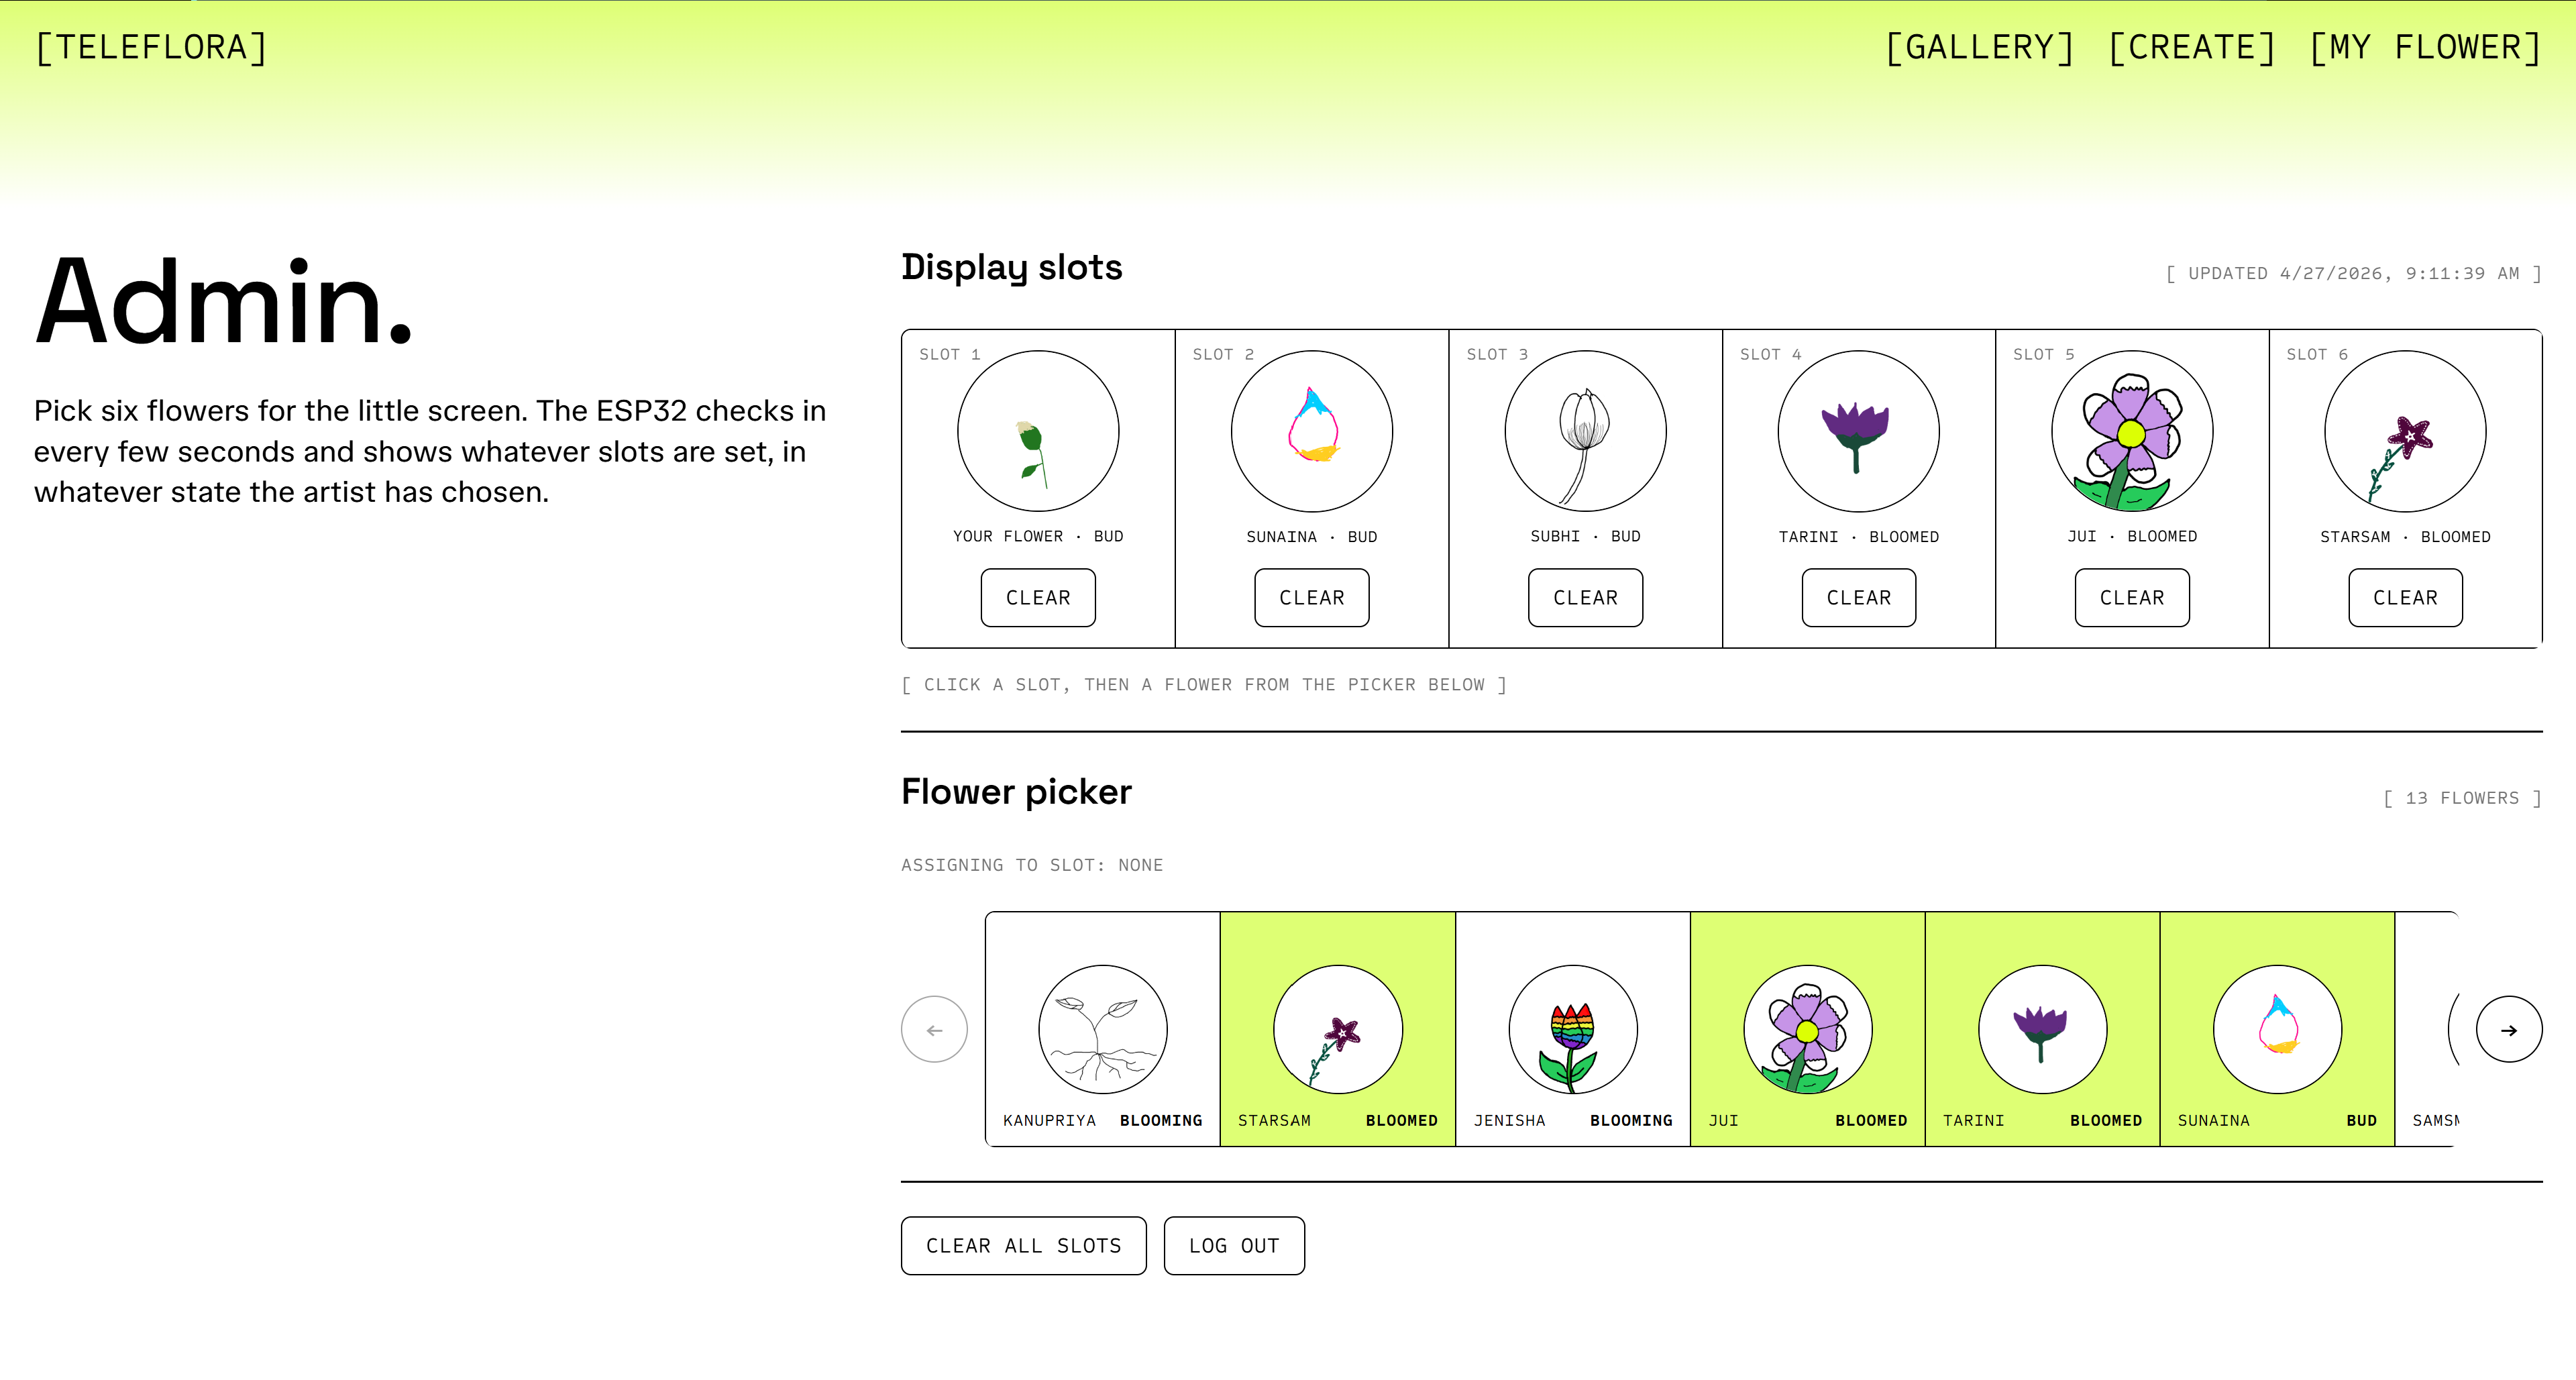
The Teleflora website acts as a real-time interface that connects physical tokens to digital flower behaviors, allowing users to remotely control and interact with responsive floral systems through a networked platform.

Teleflora web interface image 1
Teleflora web interface image 2
Teleflora web interface image 3
Teleflora web interface image 4
Teleflora web interface image 5
Teleflora web interface image 6
Teleflora web interface image 7